This will document my World War II US Army Signal Corps Impression. Now, per Chad Phillips, who is an expert in World War II Signal Corps impressions, research, and documentation in the WW2 Signal Corps Facebook group, indicated that for a basic Lineman and Groundsman Impression, you should have the following –
Lineman
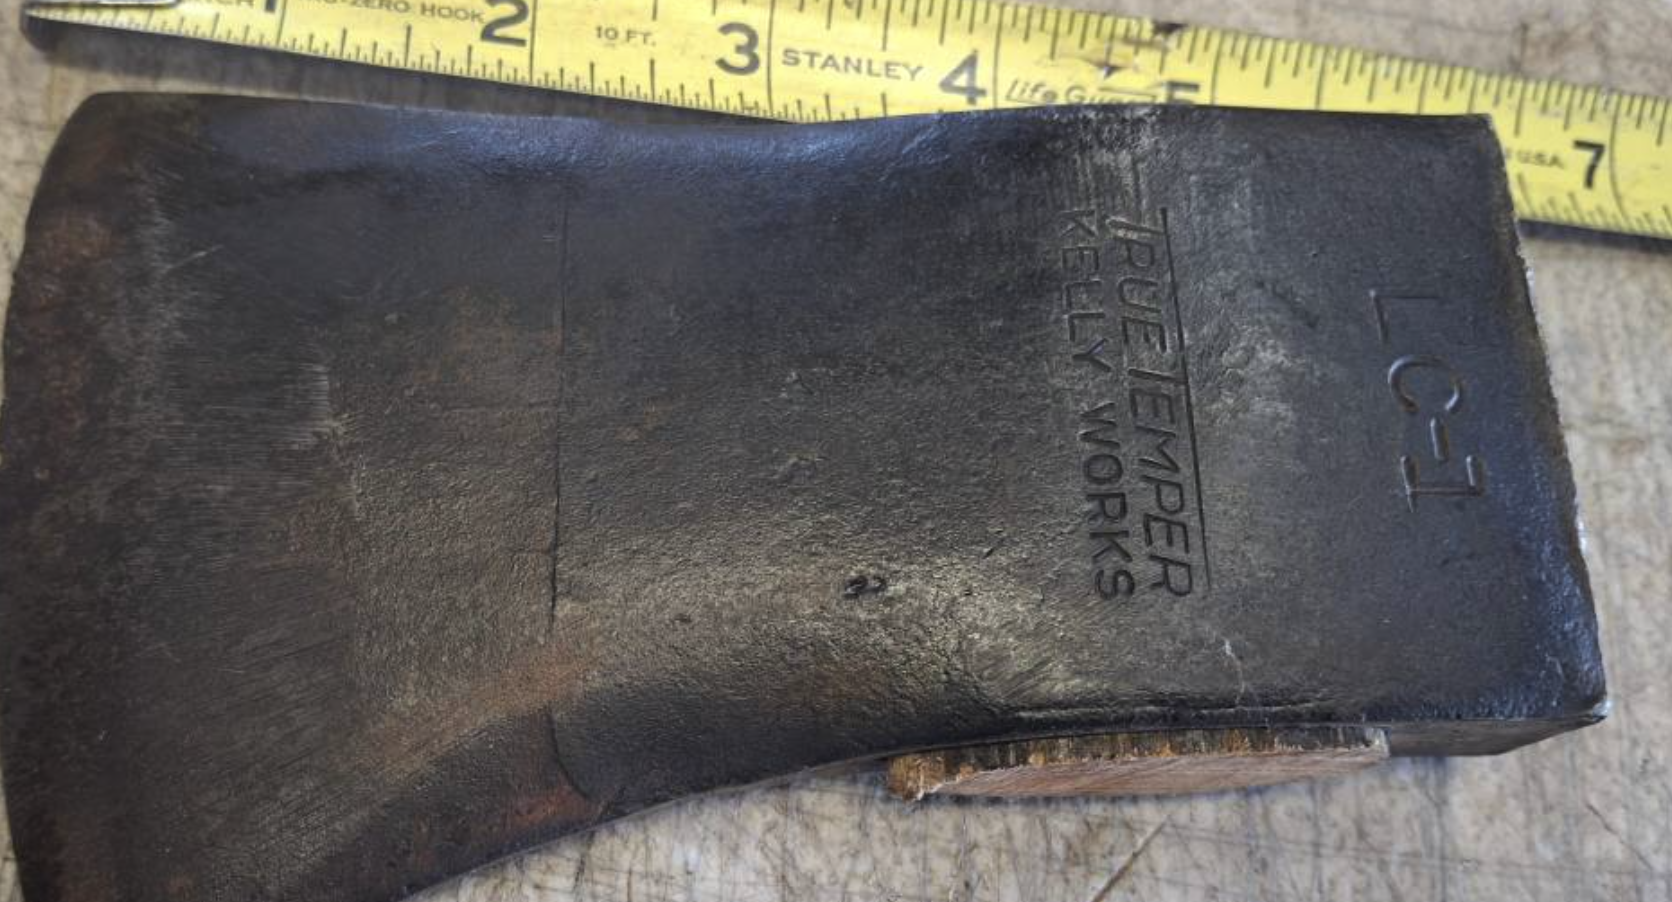
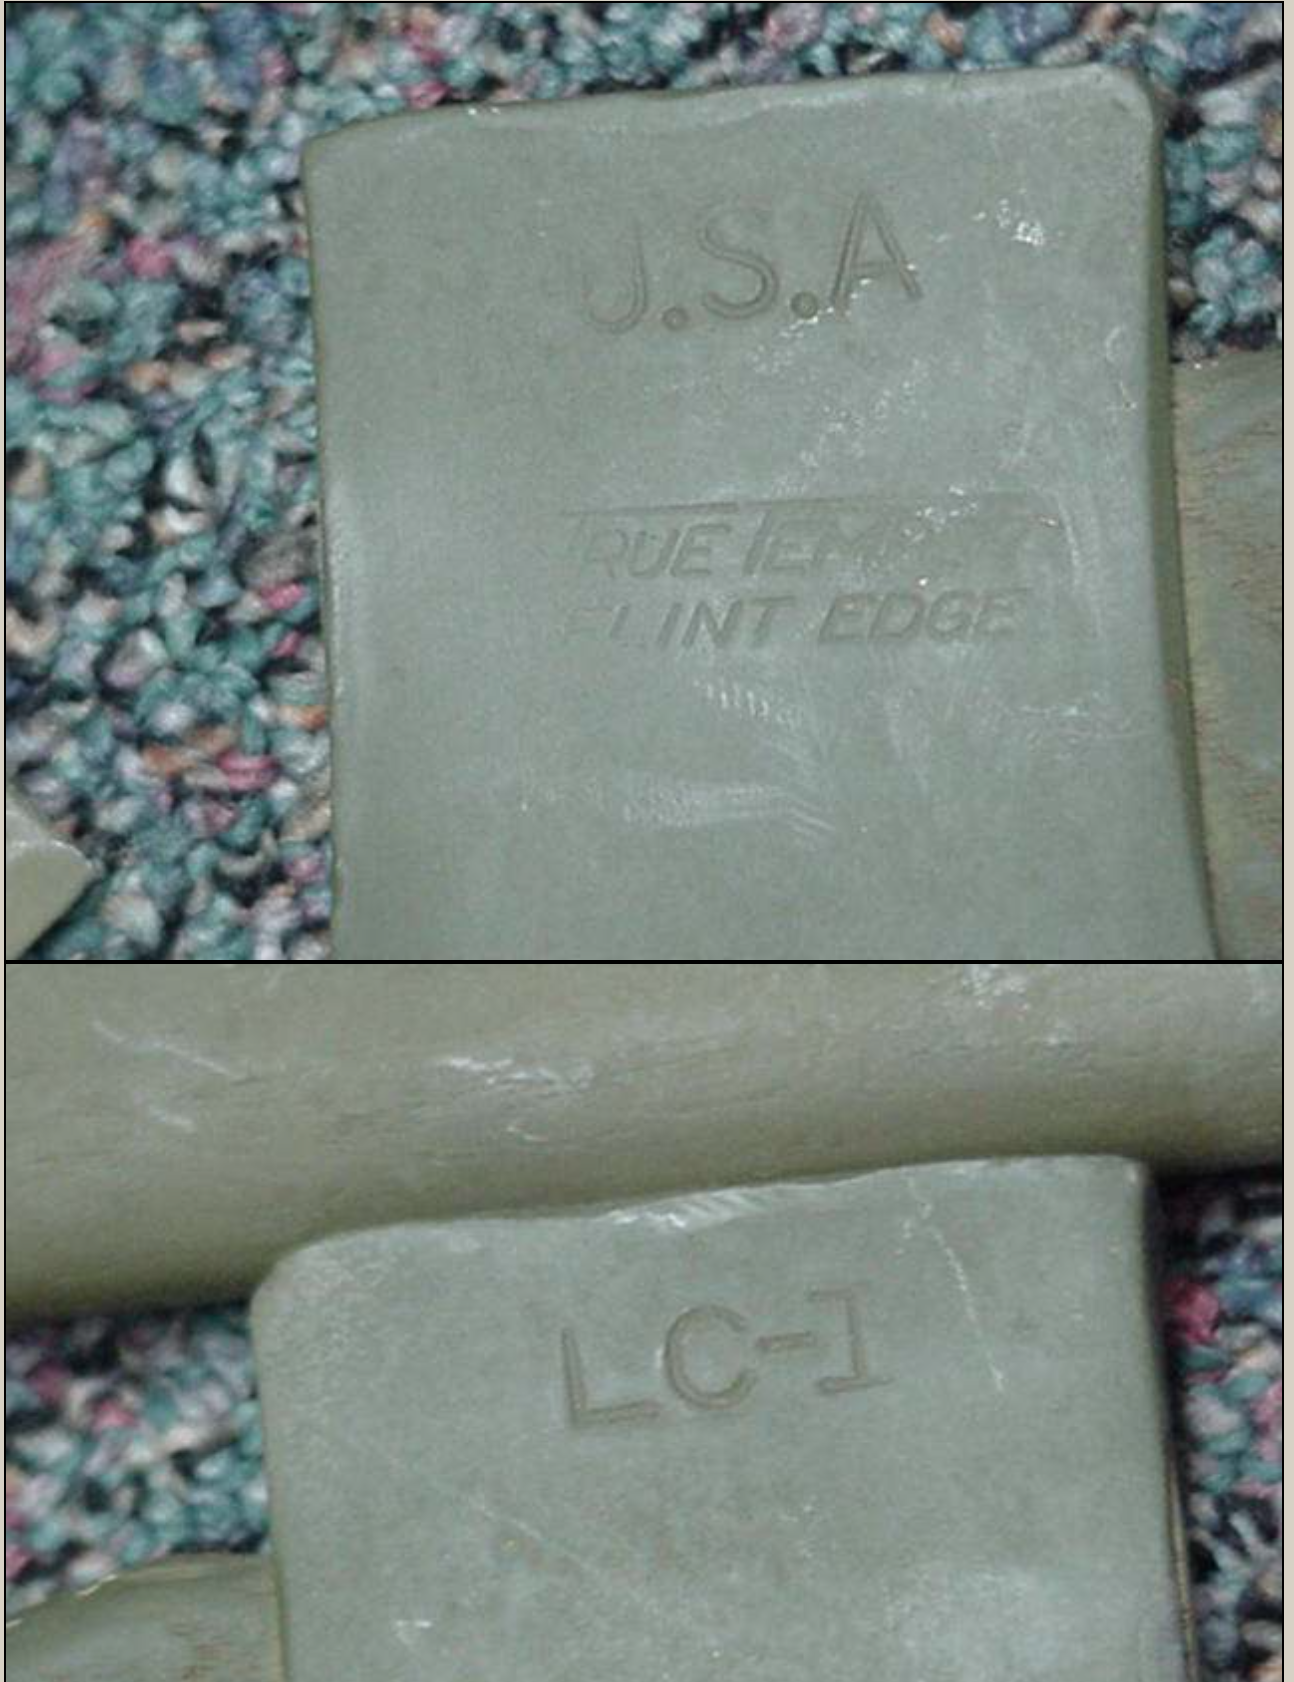
LC-1 Axe: LC stands for Line Construction, and would say LC-1 on it, and might say “True Temper Kelly Works” or “True Temper Flint Edge”.
Kelly Axe Manufacturing Company produced axes but was bought by American Fork and Hoe in 1930. They then began the True Temper brand of axes. AFH likely kept the name “Kelly Works” on some of the “True Temper” brand of axes. For a look at the 1938 American Fork and Co. catalog, see: True Temper Tools General Catalog 1R.
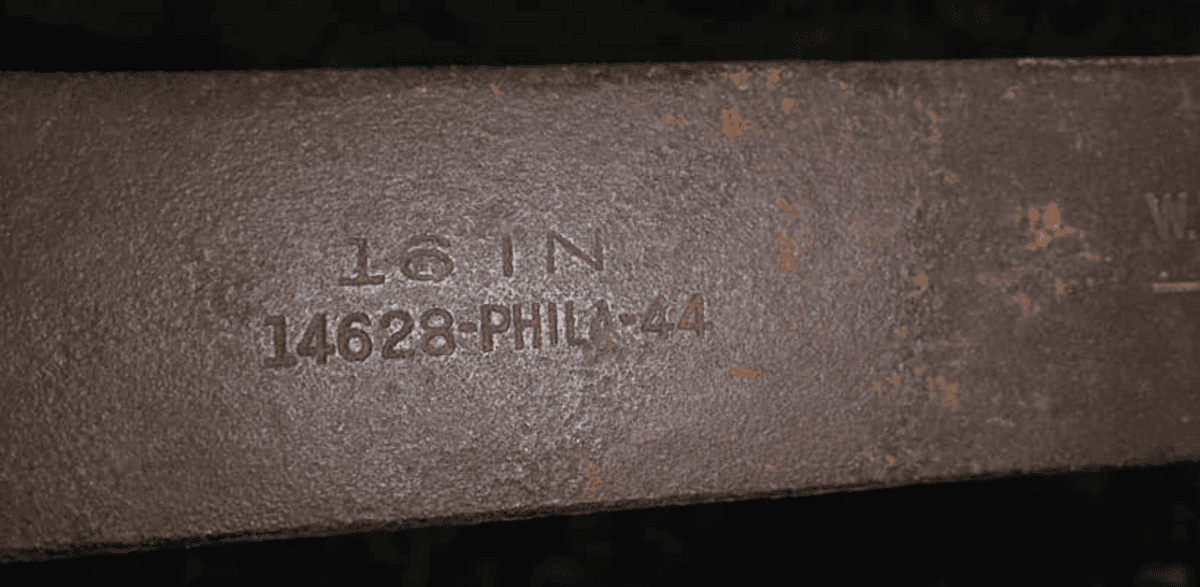
The LC-1 Axe Handle may be around 18 inches in total length. 2 inches inside the axe head, and 16 inches showing. The handle may have been painted green and installed with a few splits inside the head. The green paint might be a field modification as “load out” images that show all the tools on display; the ax is left unpainted, suggesting the paint came in the field. Indeed, the original ones look glossy black and dark blue.
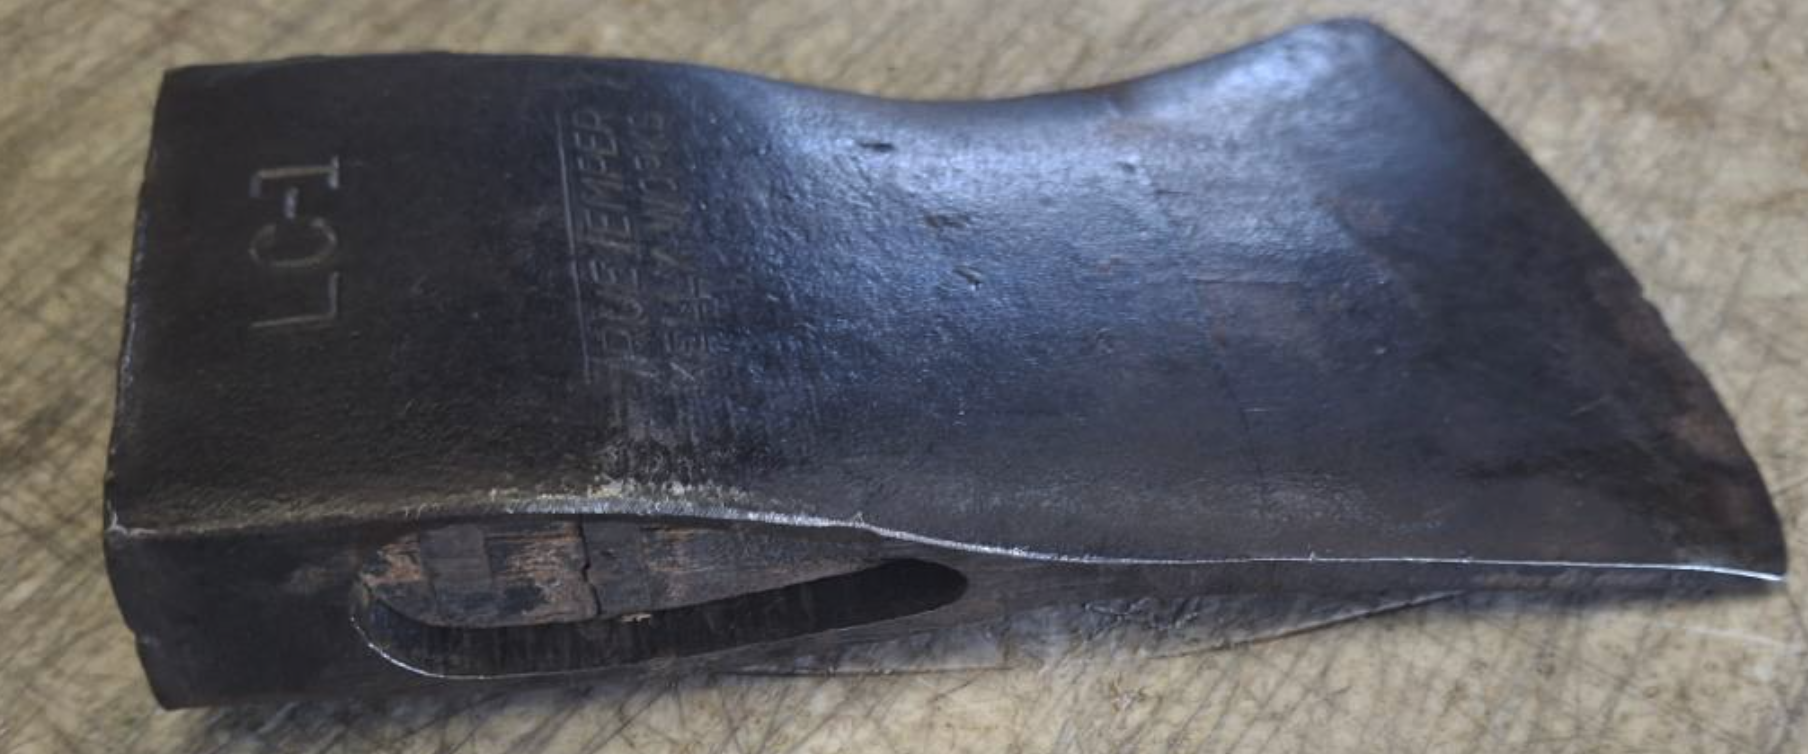
A close-up of the LC-1 Ax head in this image shows that the handle is painted green. If you wanted to paint it green, Krylon 4293 (which seems to be found only at Lowe’s) would be a good color to use. Midwest Military sells a Signal Corps green color, but it’s unclear if it’s the right color green.
The handle likely came in different styles, such as straight. Though images that show items on display show that the handle is slightly curved.
LC-23A and LC-23B belt w/strap [late ’44 date]: Came in two styles. A canvas and a leather version. Also came in multiple sizes. LC-23-A is likely the canvas version. LC-23-B is the leather version. This matches the EEa and EEb phone designs as well.
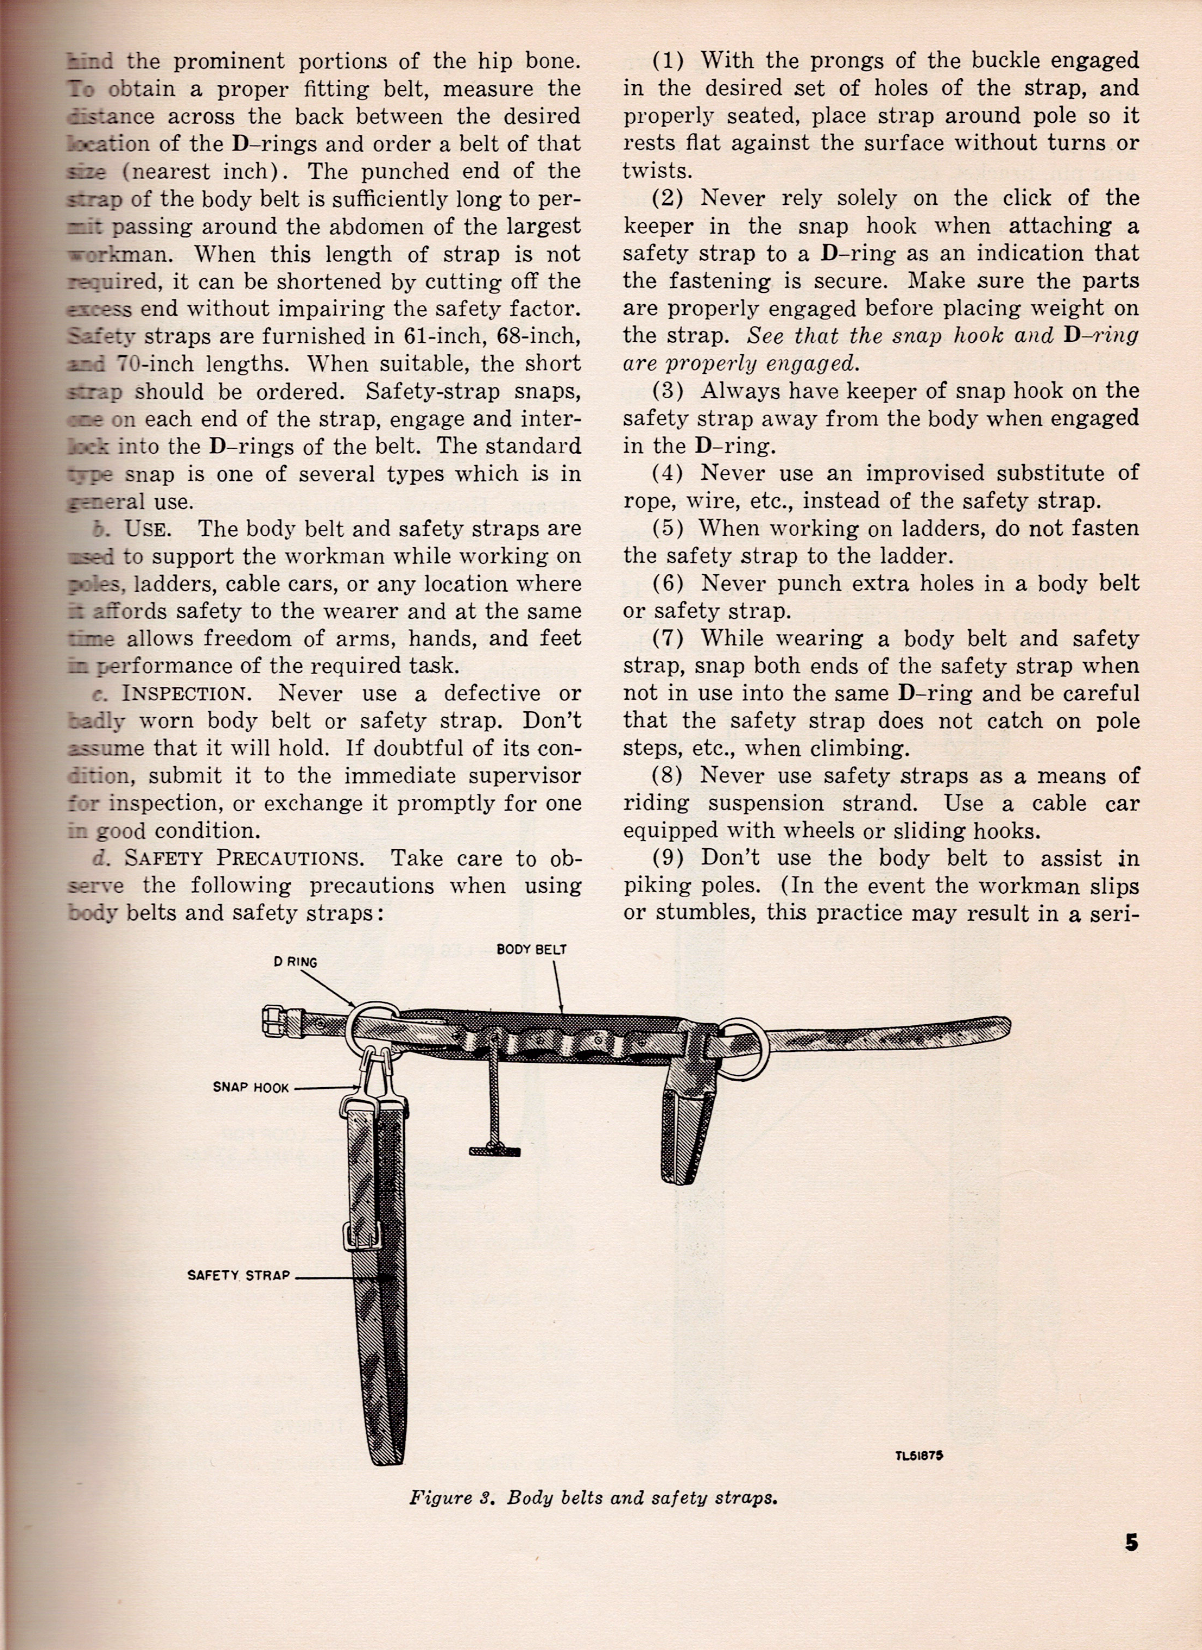
According to the May 1947 TM 11-372 field manual, the belt is sewn with linen thread and locked-stitched with copper rivets. It’s tested up to 1,500 lbs. The belts come in D-ring sizes of 18, 20, 22, 24, 26, 28, and 30. Size is determined in inches between the D-rings. Comfort with the belt is dependent on the right size in proportion to the hip bone. Each belt also had a safety strap, which was used to wrap around the pole.
To obtain a proper fitting belt, measure the distance across the back between the desired location of the D-rings and order a belt of that size (nearest inch). The punched end of the strap of the body belt is sufficiently long to permit passing around the abdomen of the largest workman.
To obtain a proper fitting belt, measure the distance across the back between the desired location of the D-rings and order a belt of that size (nearest inch). The punched end of the strap of the body belt is sufficiently long to permit passing around the abdomen of the largest workman. When this length of strap is not required, it can be shortened by cutting off the excess end without impairing the safety factor. Safety straps are furnished in 61-inch, 68-inch, and 70-inch lengths. When suitable, the short strap should be ordered.
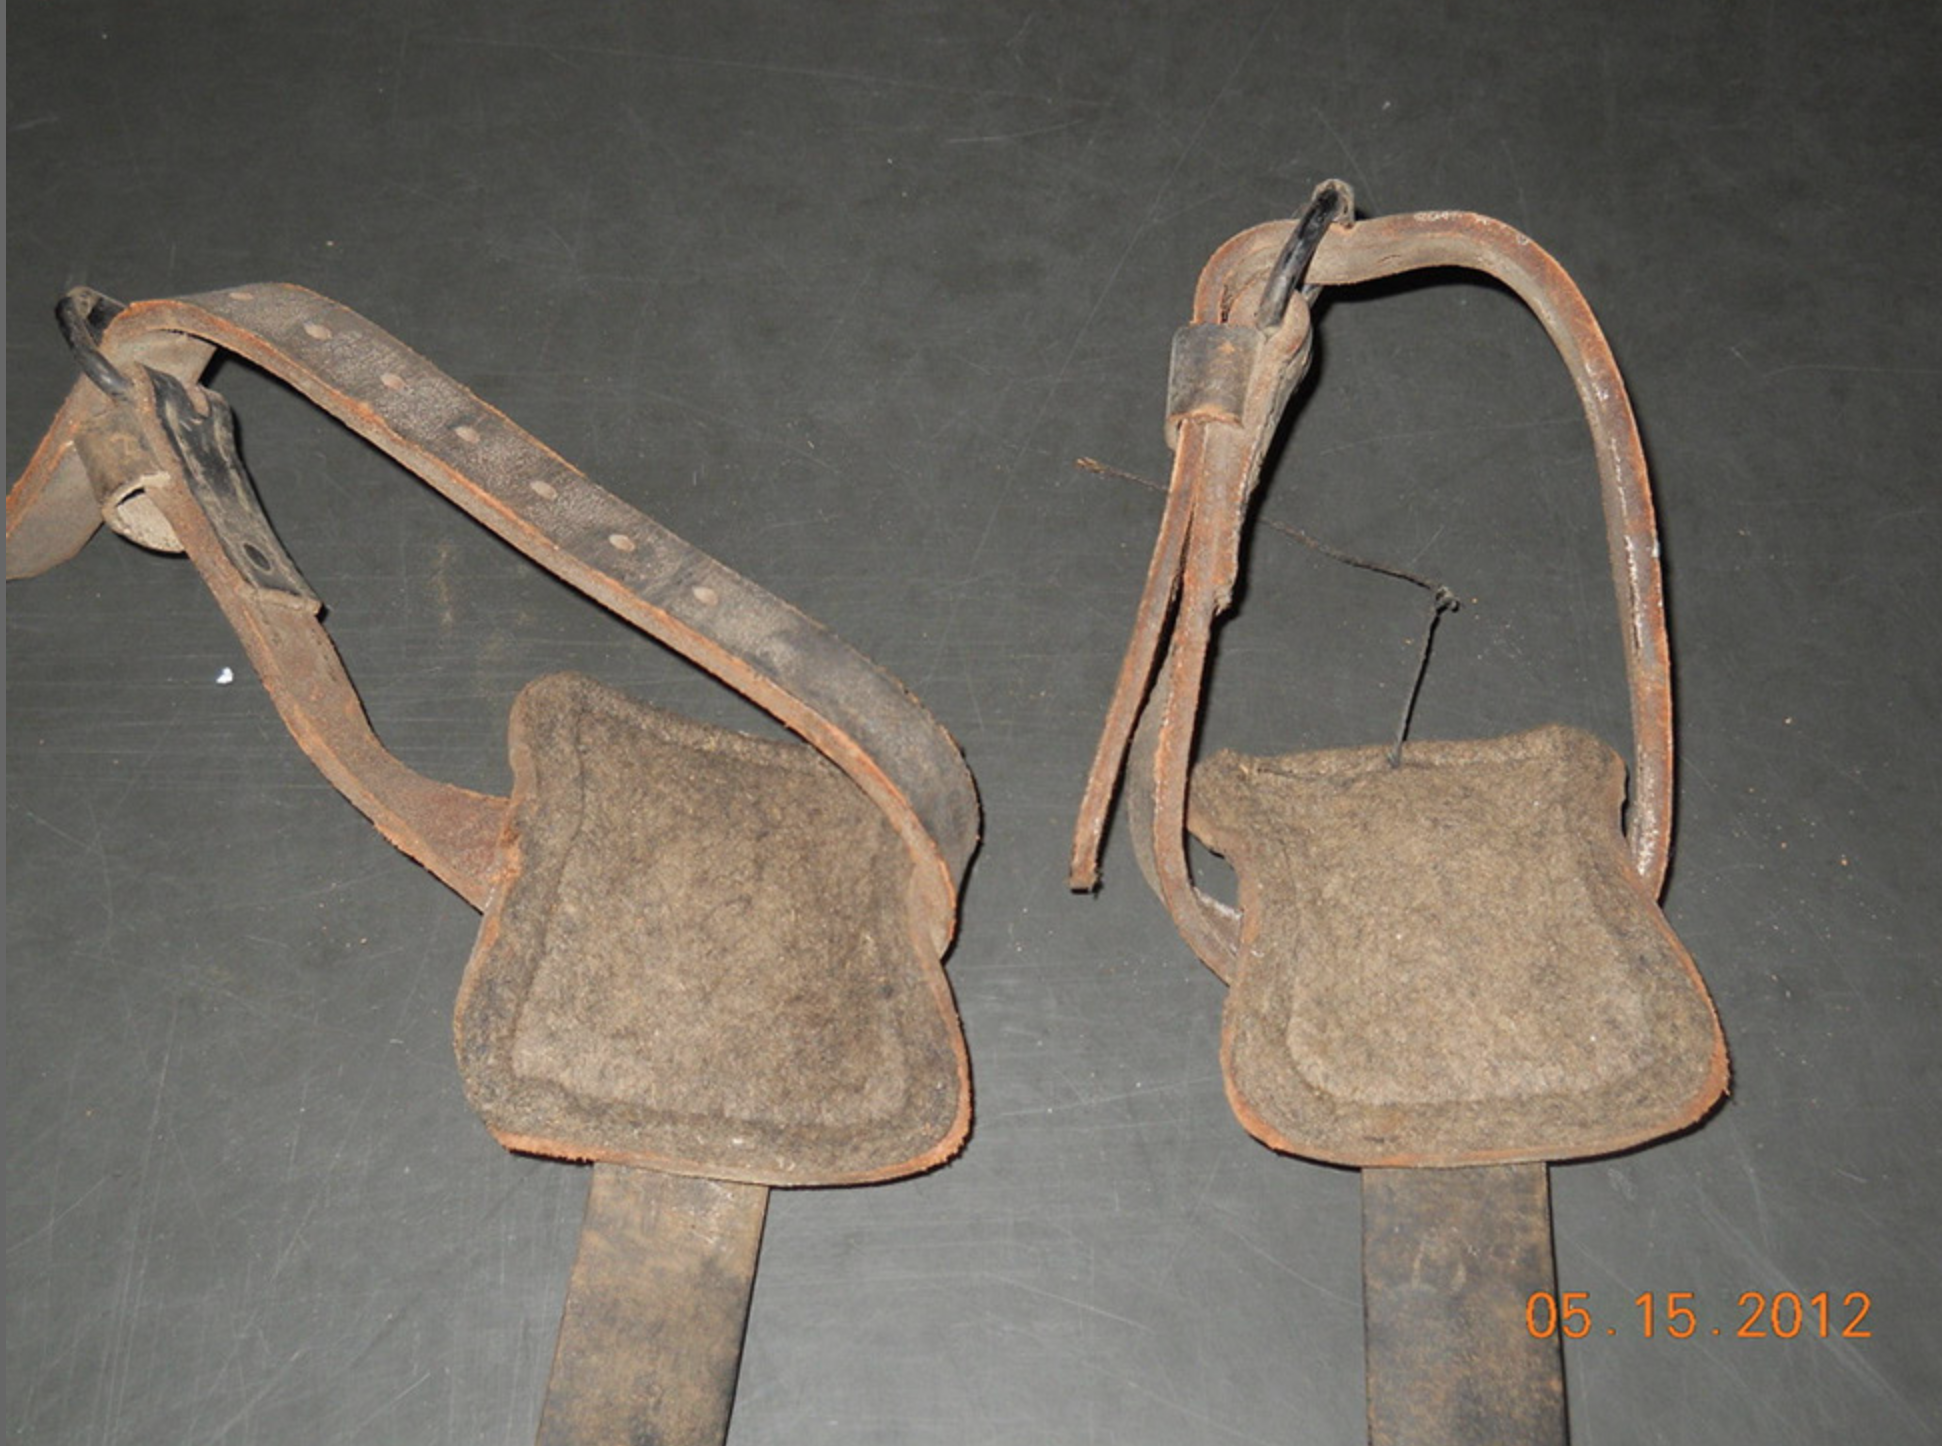
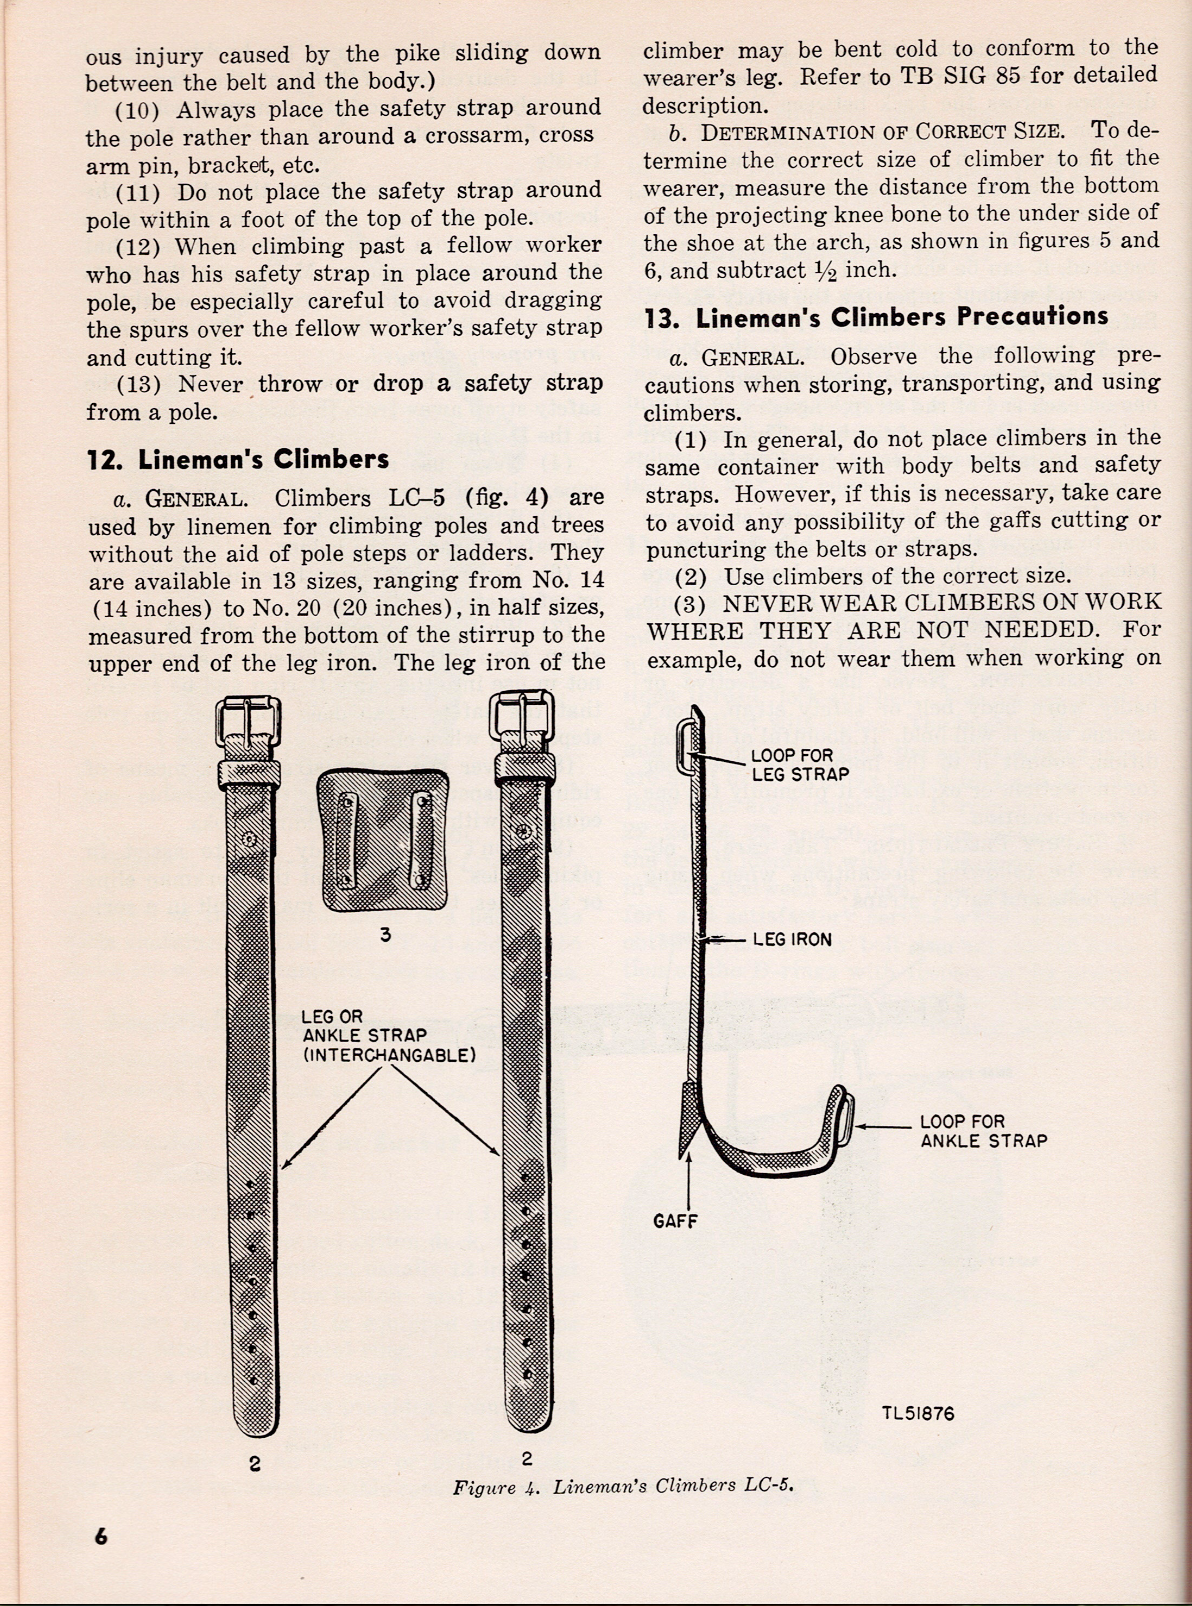
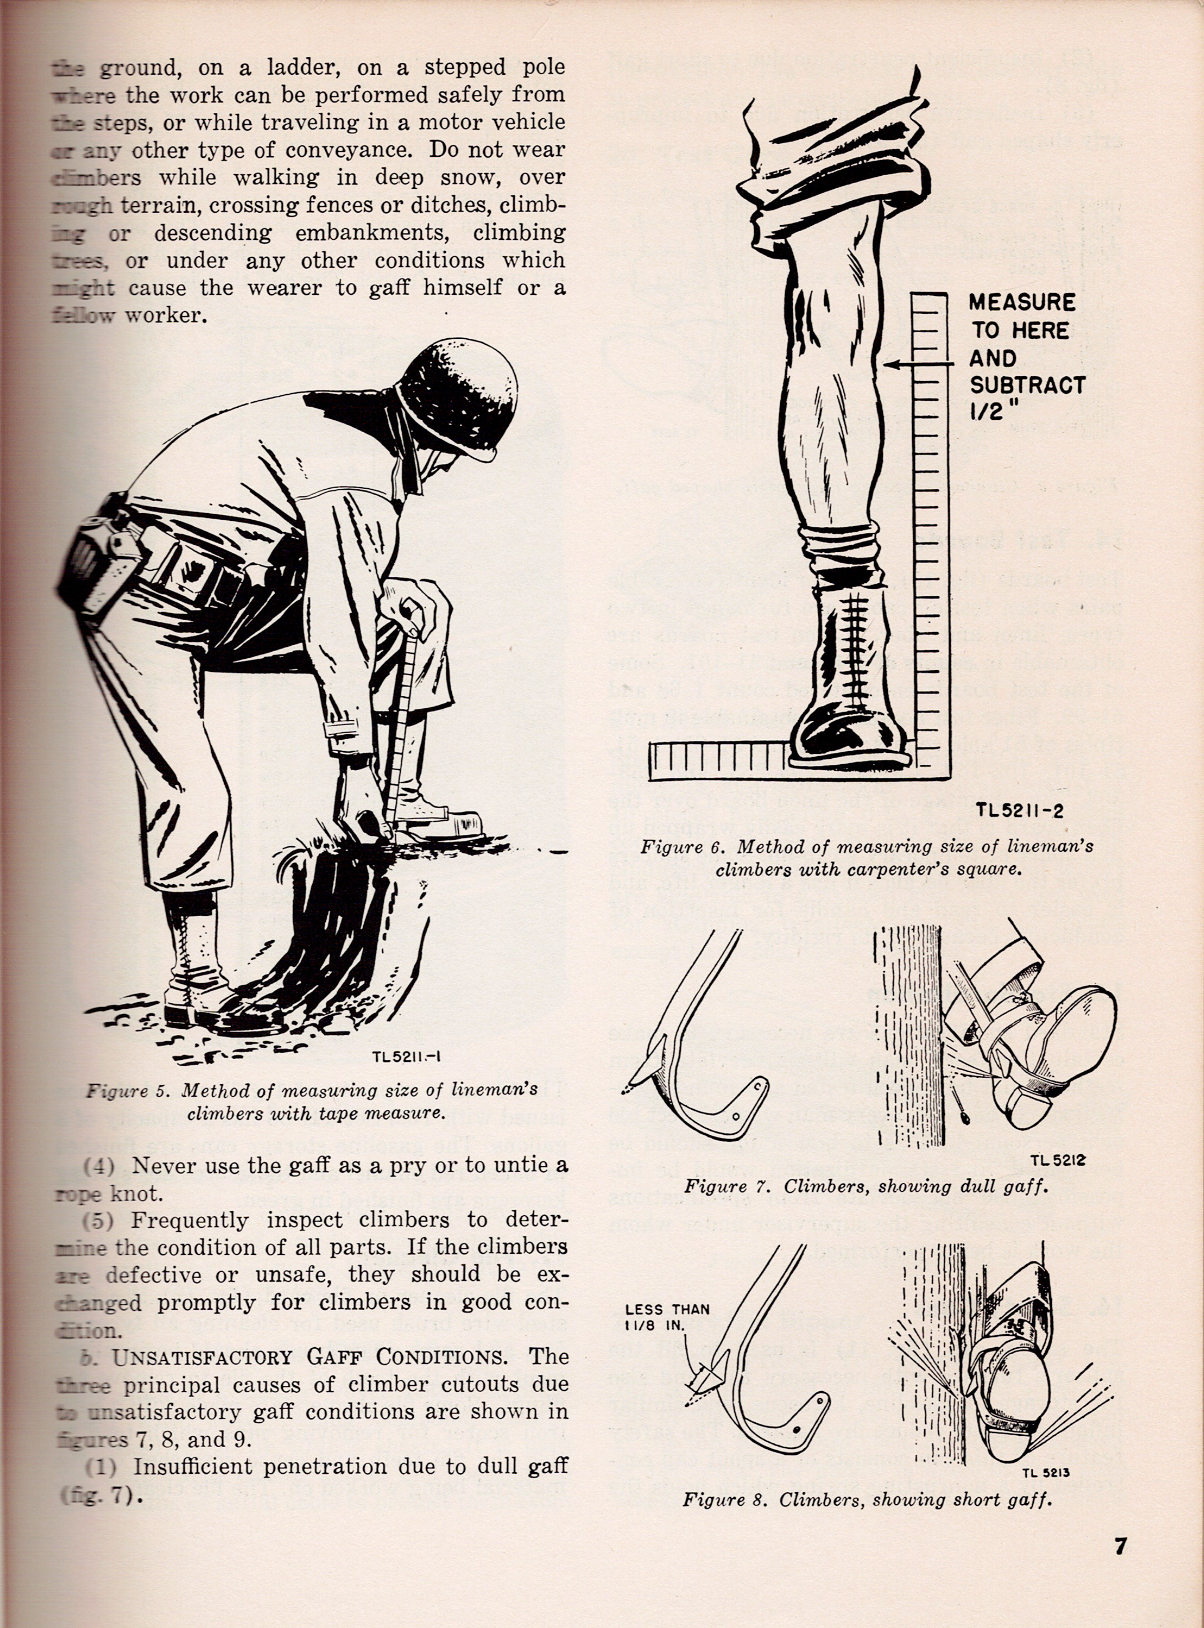
LC-5 Climbers: The spikes are called gaffs. Included with the climbers are a leather strap and a coarse cloth square pad, SAE F3 Felt.
They came in multiple sizes; see the notes section of the image below, which describes the sizes for the LC-23 belt and the LC-5 climbers.
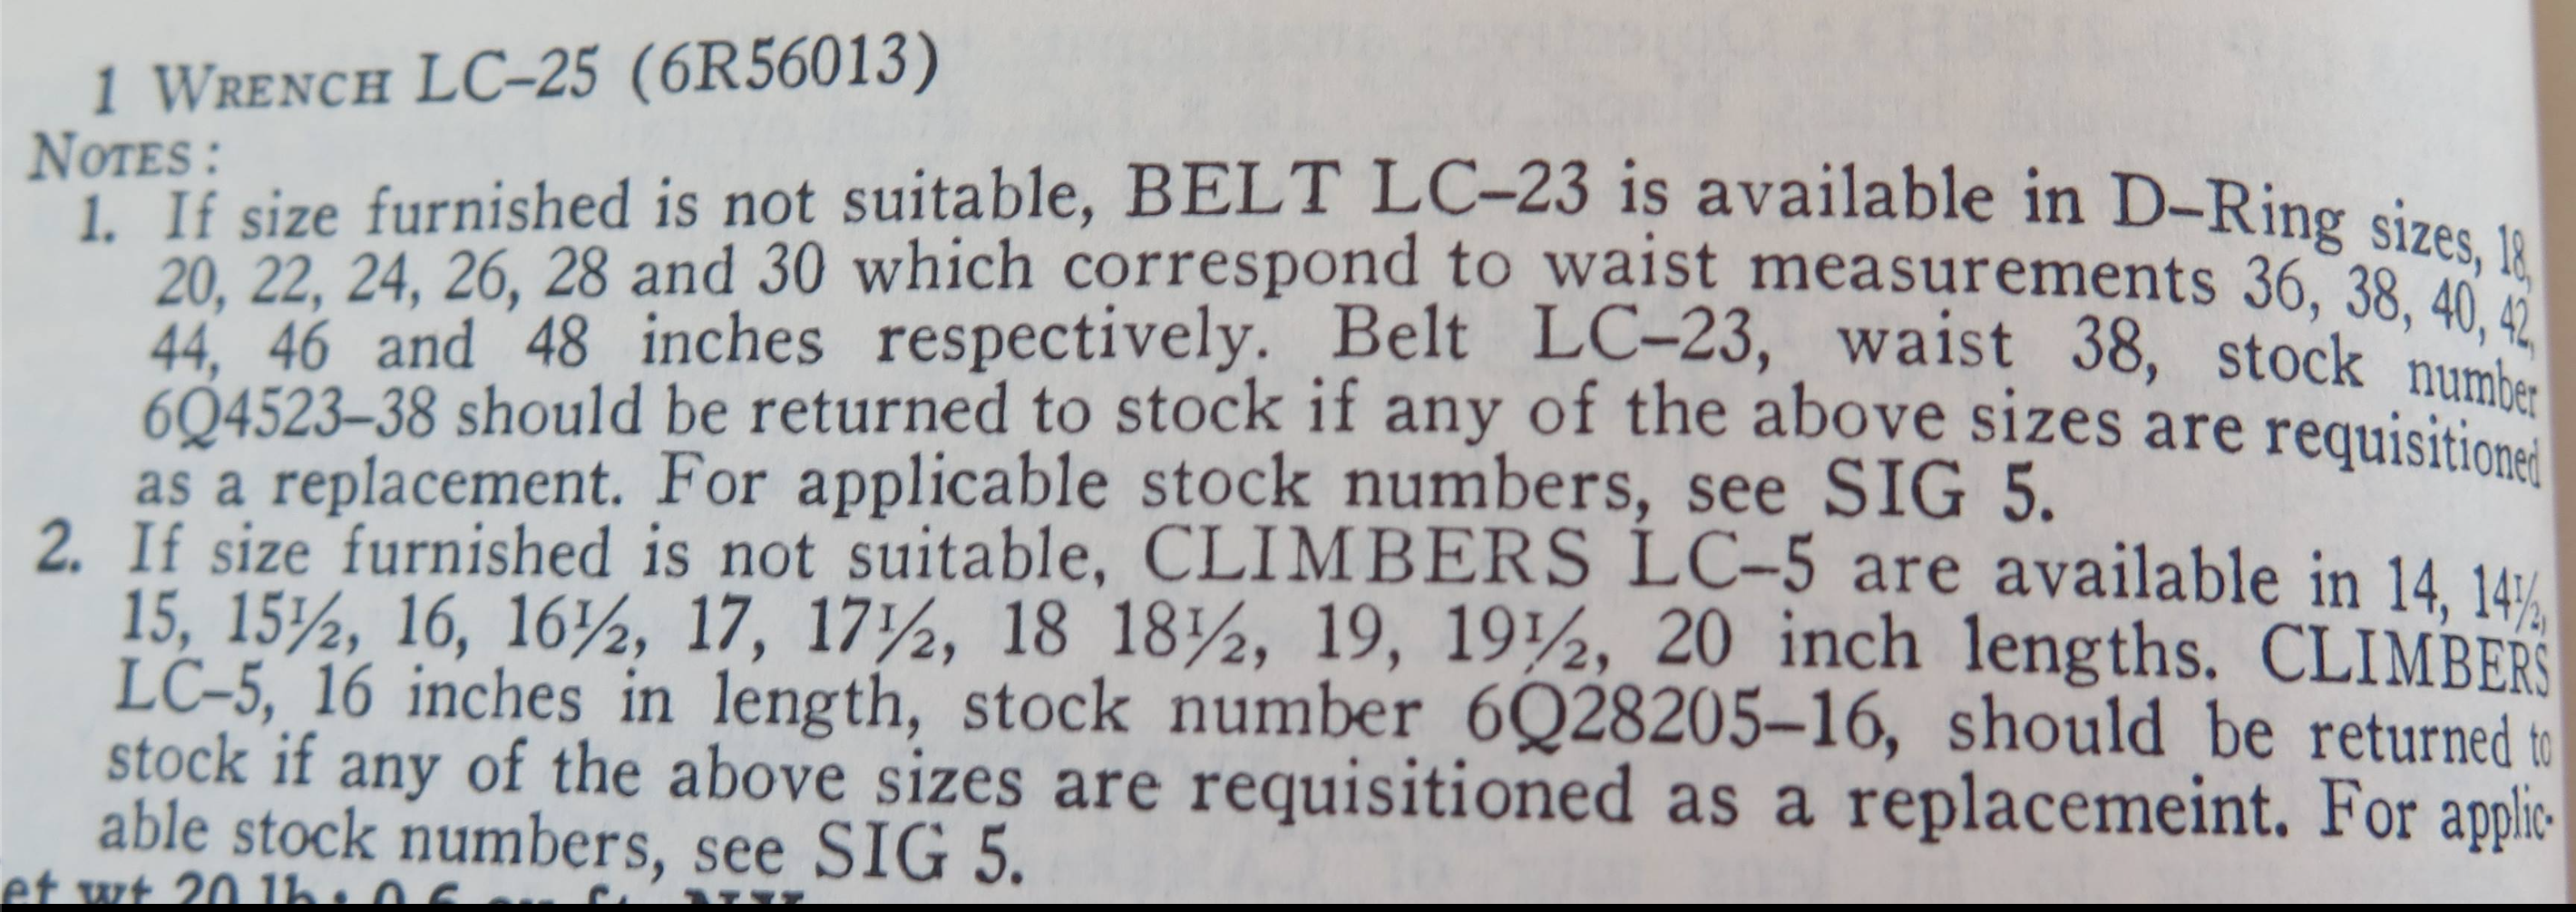
According to the May 1947 TM 11-372 field manual, they are measured from the bottom of the stirrup to the upper end of the leg iron. To determine the correct size of climber to fit the wearer, measure the distance from the bottom of the projecting knee bone to the underside of the shoe at the arch, as shown in the figures below, and subtract .5 inches.
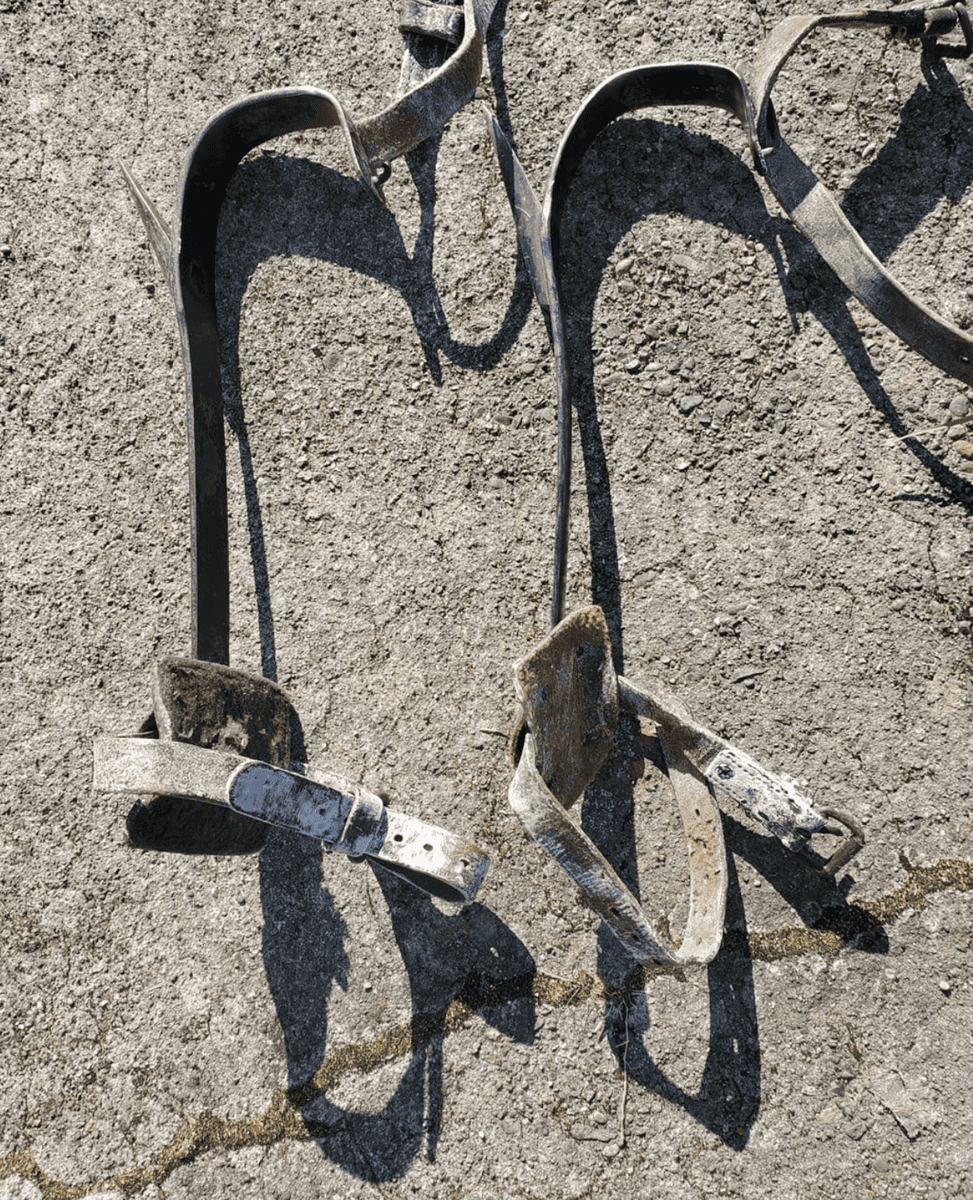
Don’t wear the climbers unless needed, and be sure the gaff (the pointy part of the LC-5 climbers) is maintained well to dig into the wooden pole.
Prior to LC-5, there were two other LC climbers: an LC-6, which was 16″, and the LC-7, which was 17″. When LC-5 came out, it superseded both of these climbers as it came out in various sizes, thus negating the need for a specific size-based model.
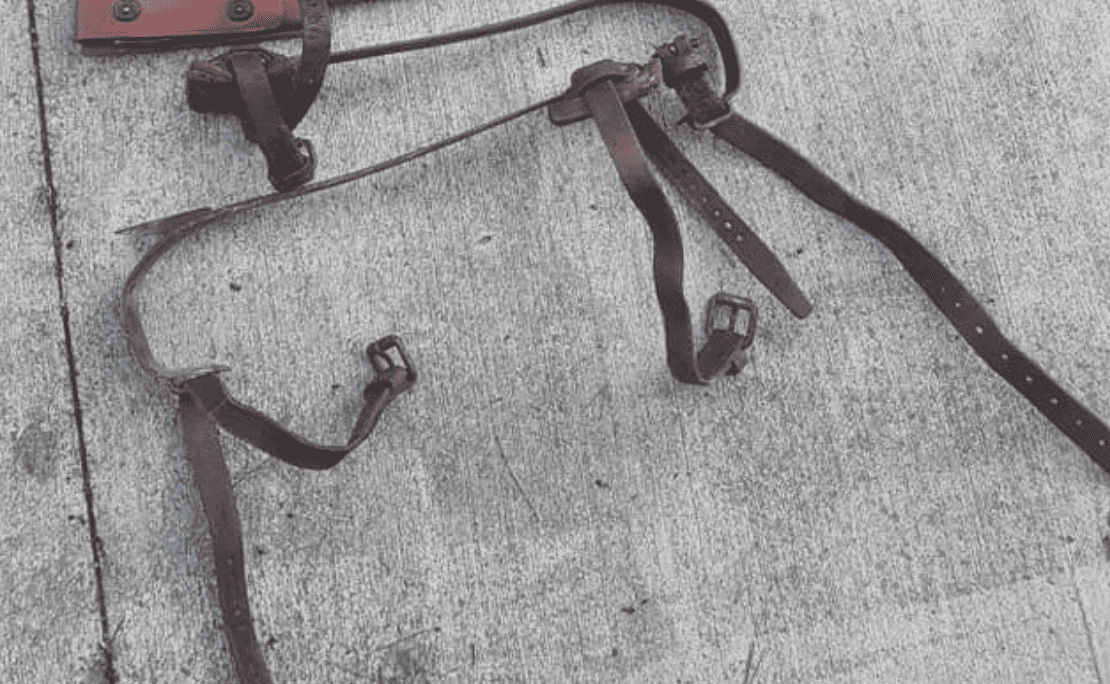
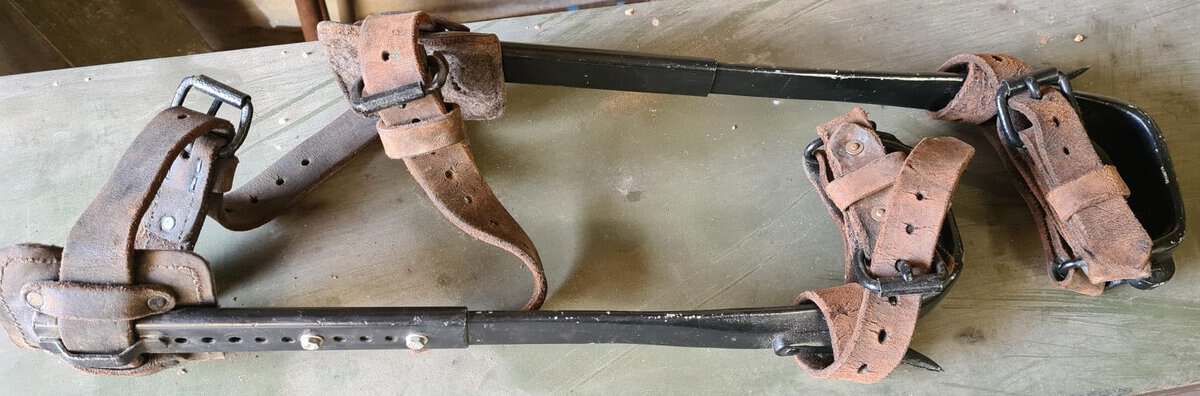
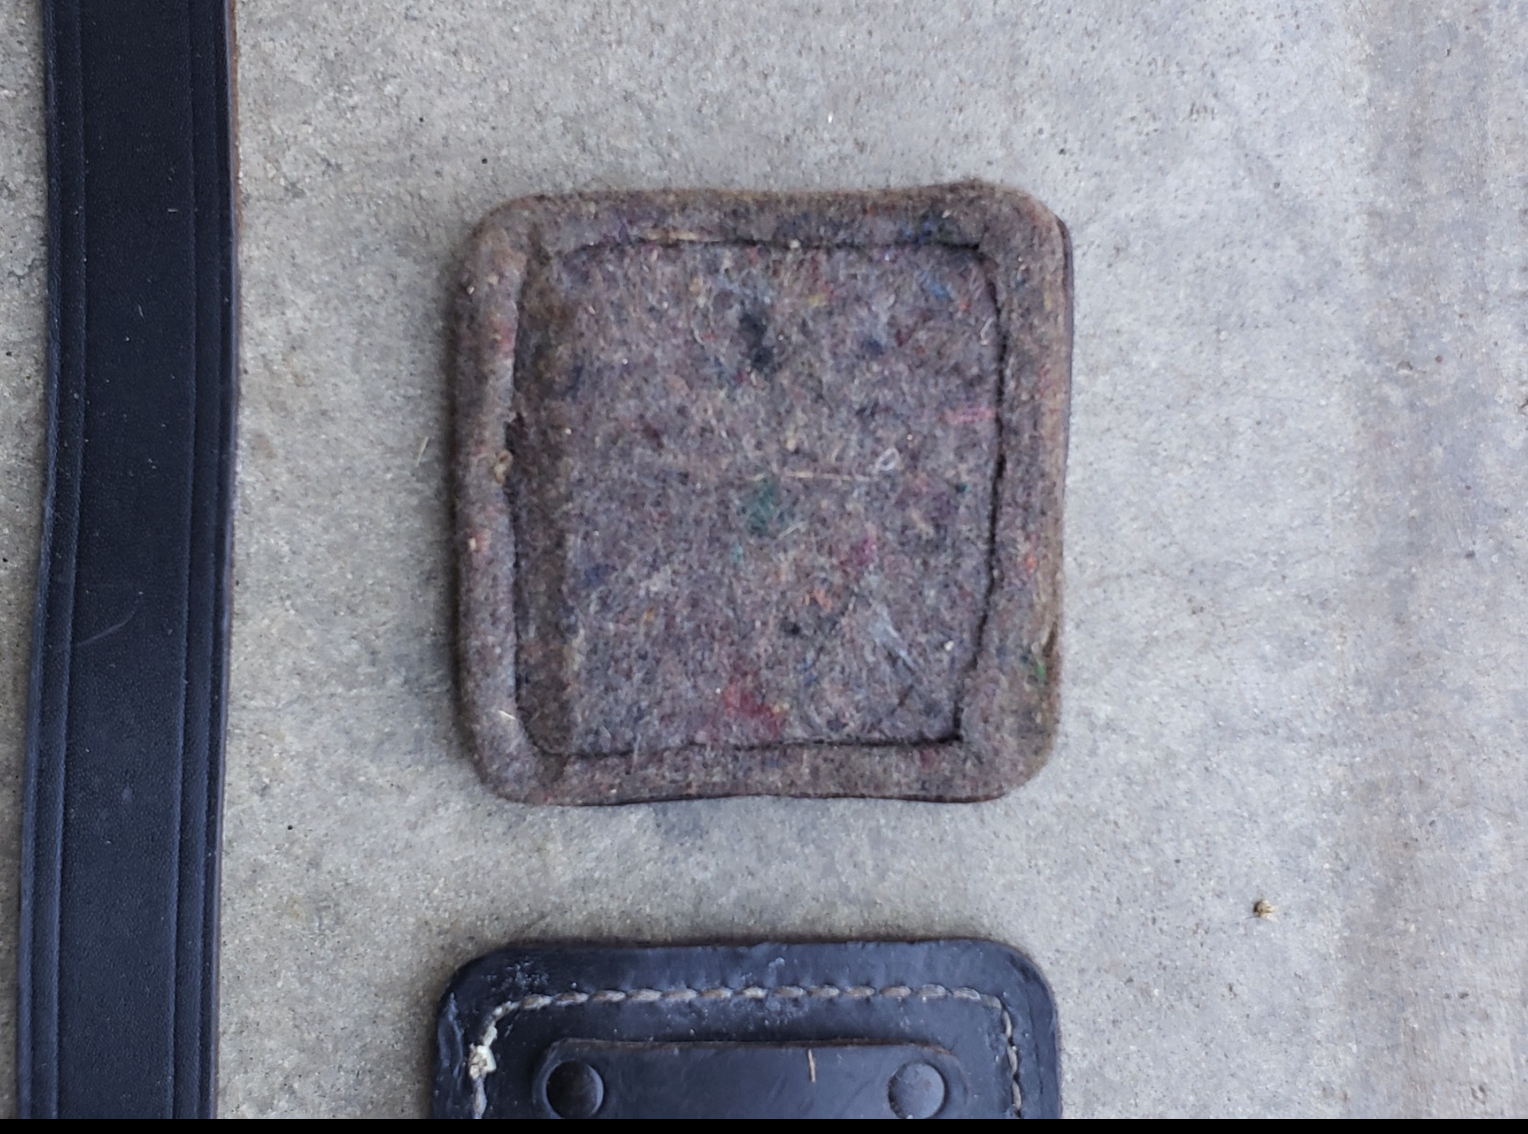
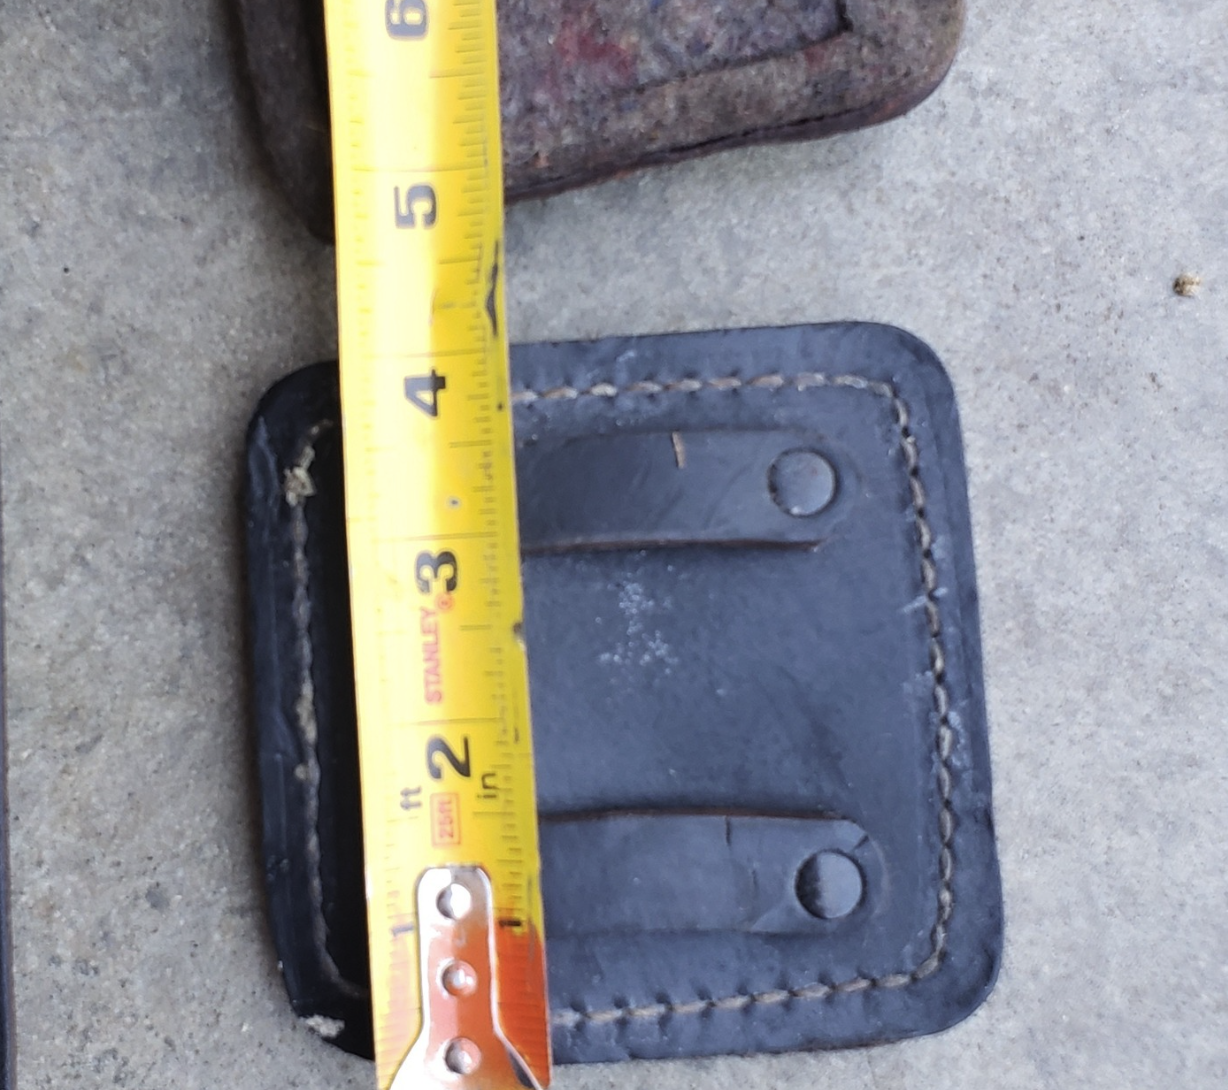
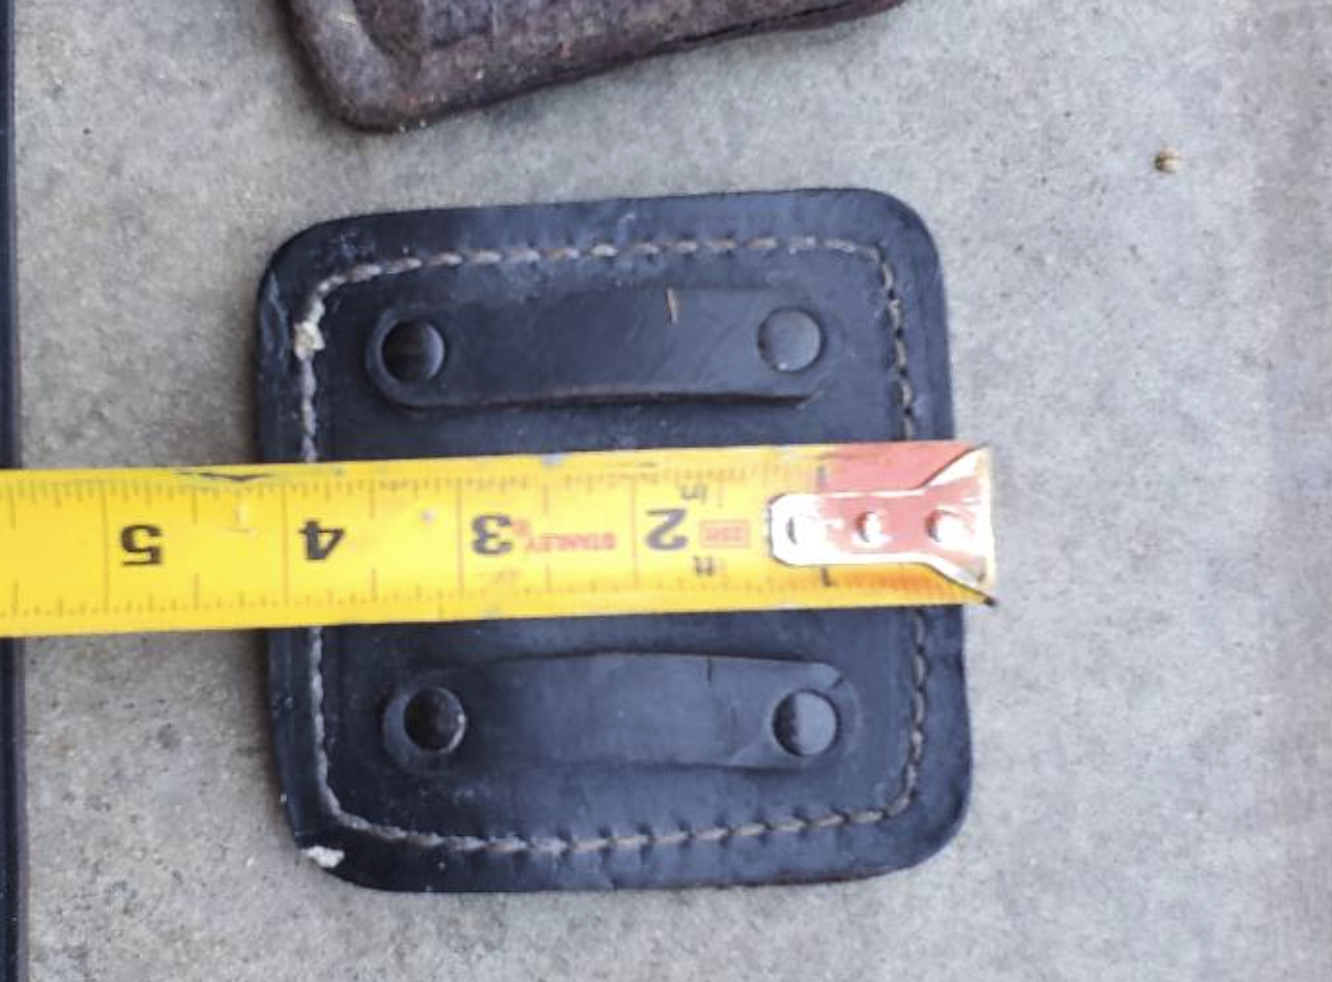
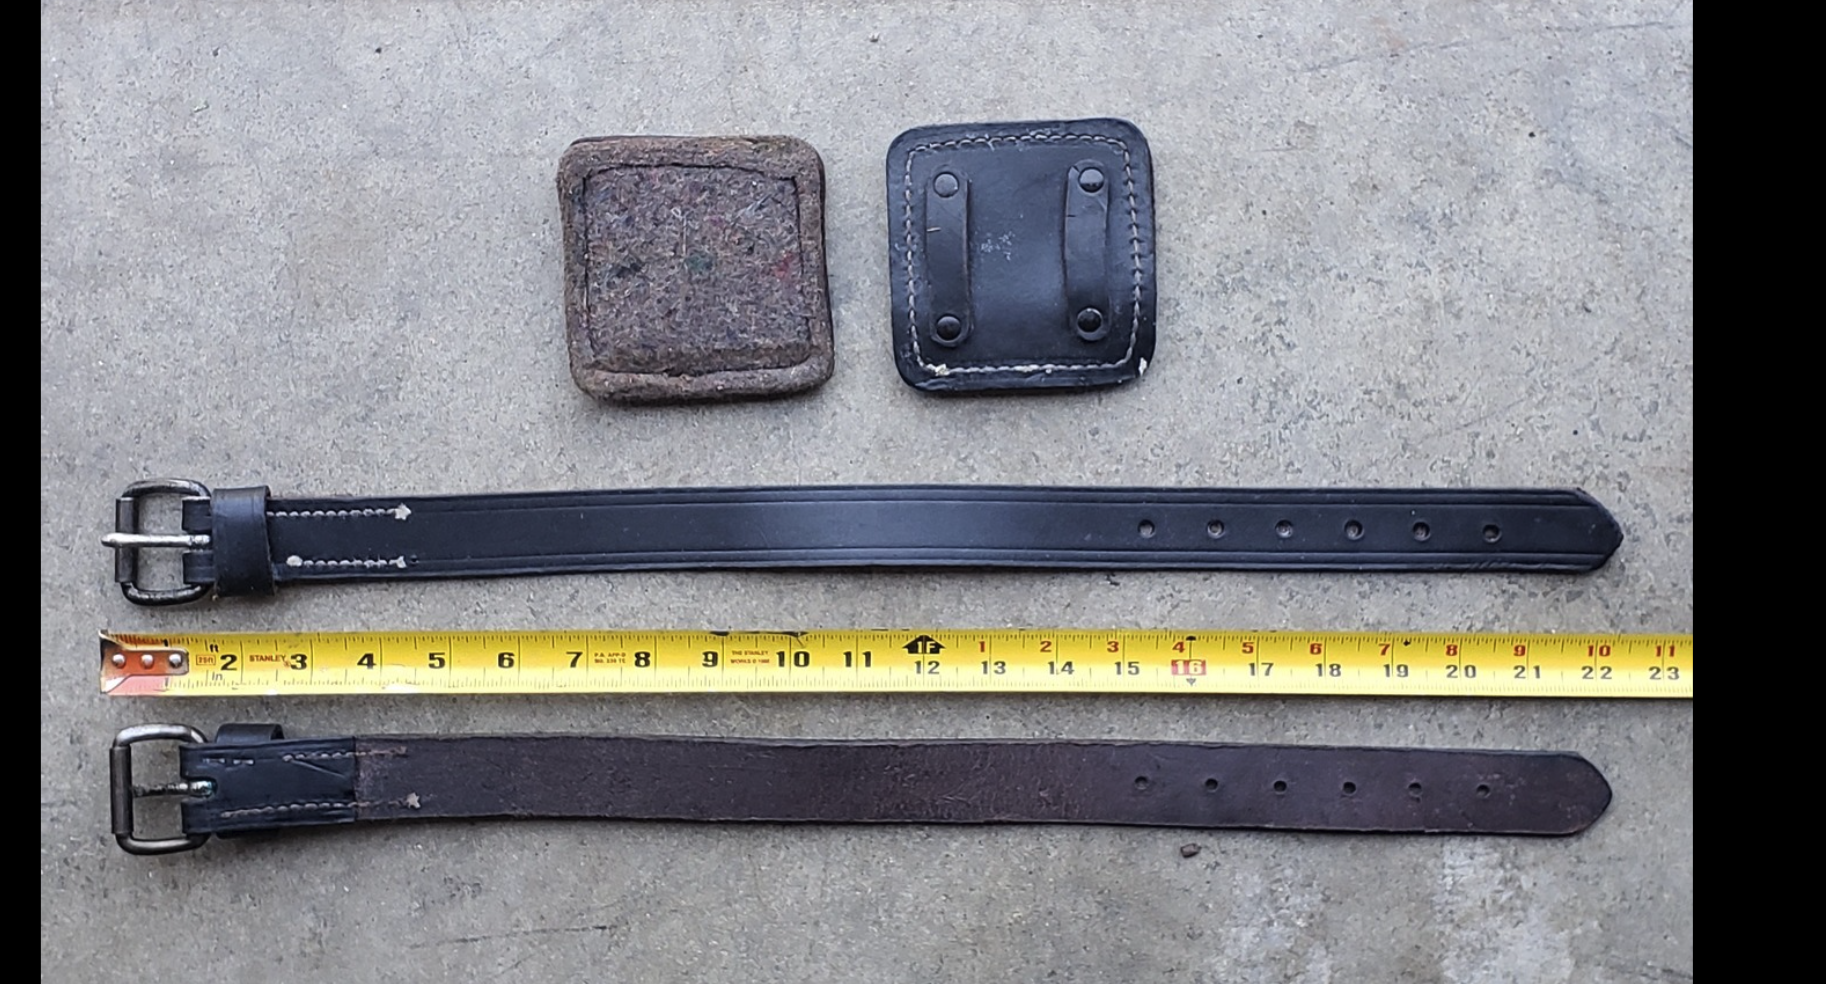
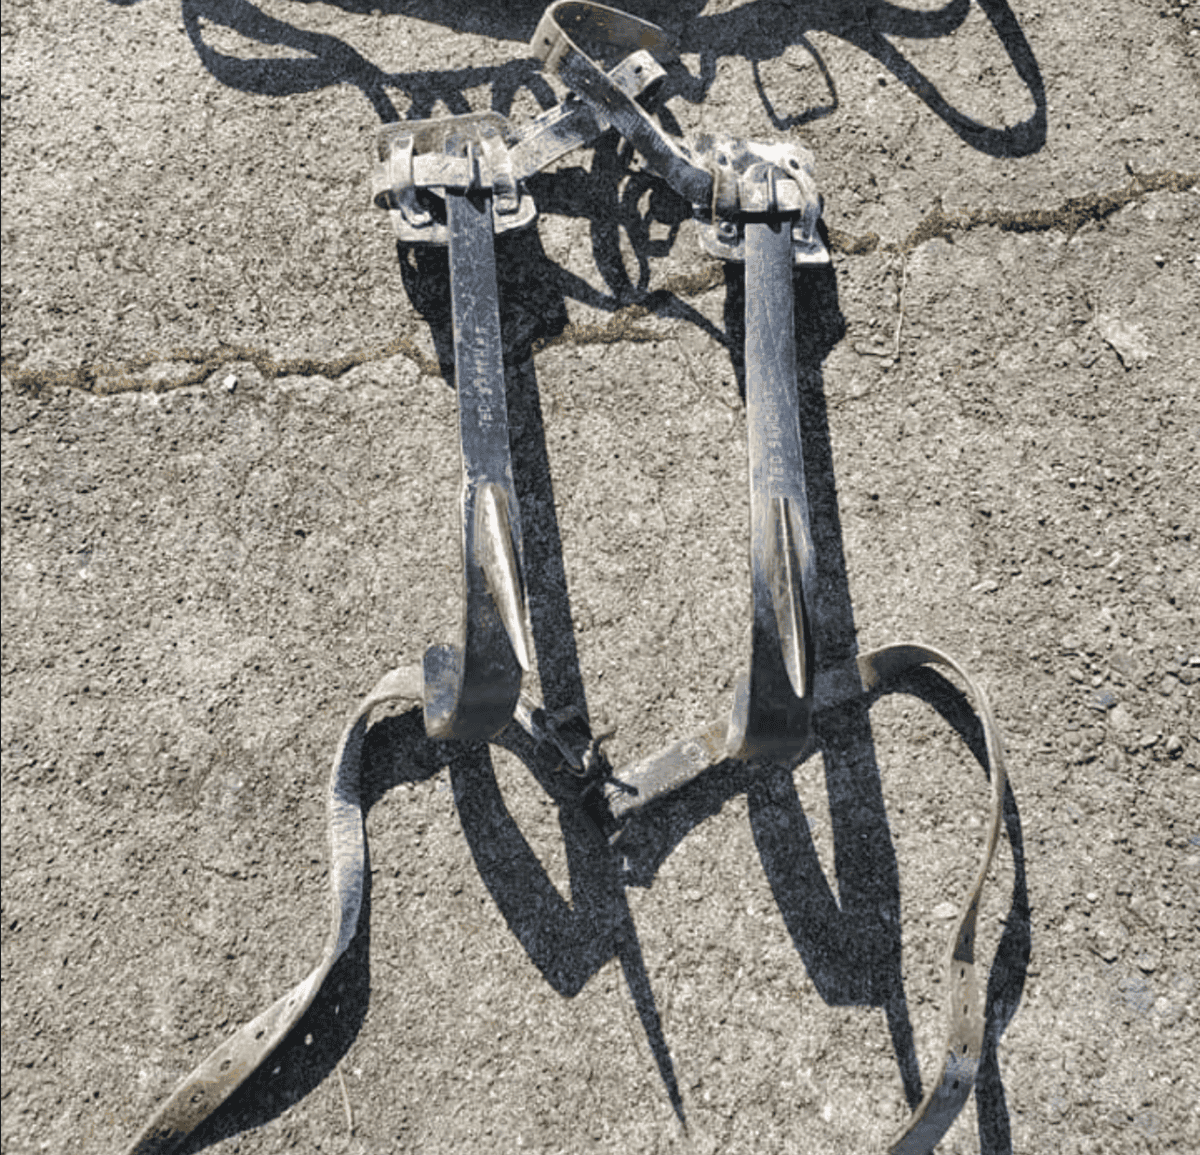
Note that the straps around the LC-5 climbers are made of leather and go through a square pad, which secures them to the upper calf and prevents chaffing. One side of the pad is leather, and the other side is the kind of cloth used to insulate the interior of canteen covers. This cloth is SAE F3, which is still in use today.
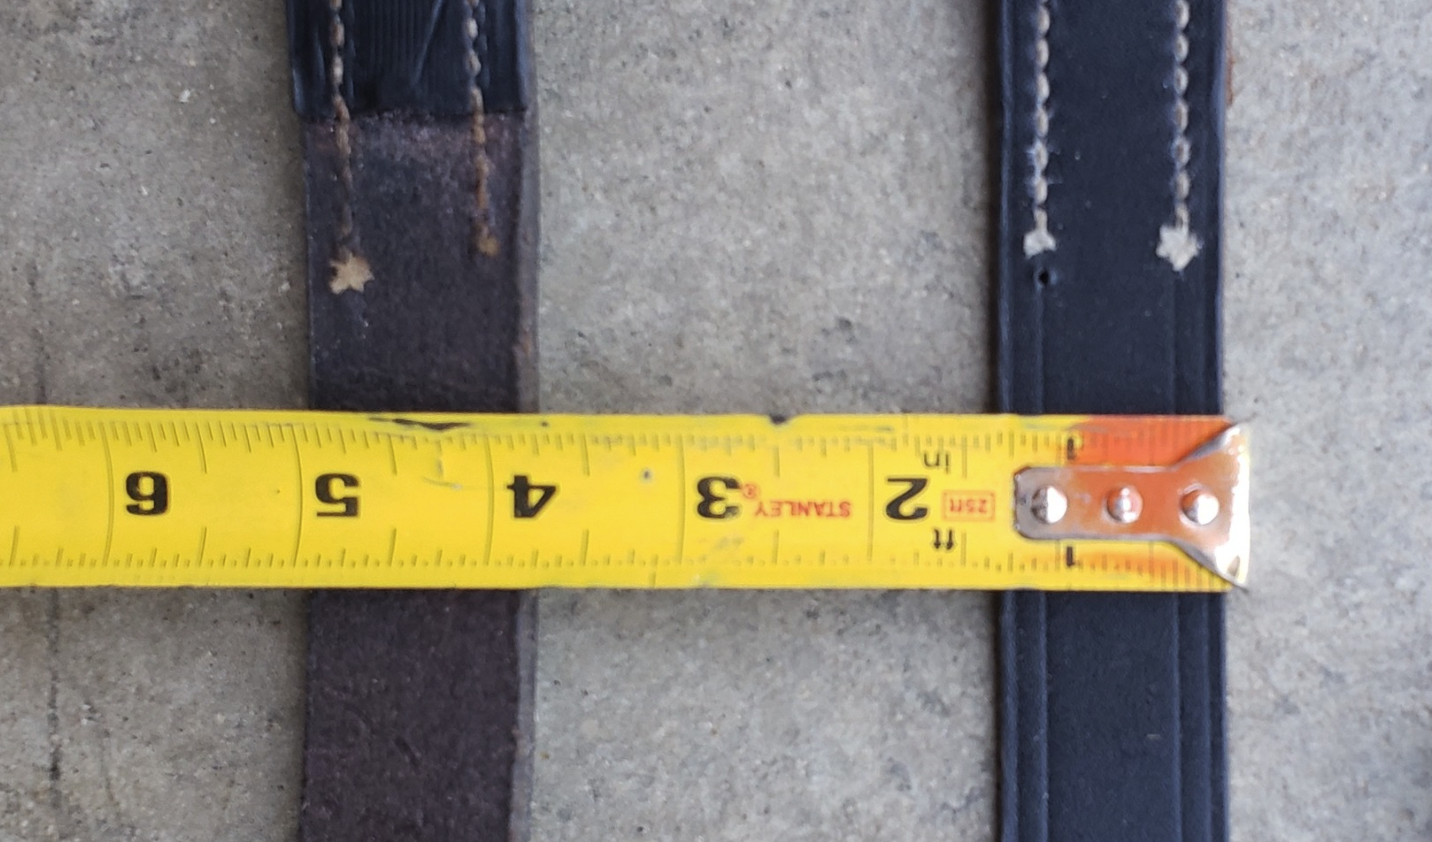
Below are some images showing the straps


The images below show the measurements of the leg strap, leg strap loop, and calf pad. Images are taken from a New Old Stock (NOS) unit. The calf pad is about 4inches in width and length. The calf pad loops on the back are about .5 inches long. The calf leg strap is about 1.25inches wide. The calf strap loop is about an inch wide. The calf leg strap is about 22inches long.

The document below shows how to measure your leg and calf to be fitted for the pole climber size.
One thing to keep in mind when looking at the LC-5 Climbers is that there are two types. One for pole climbing and one for tree climbing. Each crew had a set of tree climbers, which appear to be just some kind of commercial tree spikes. These tree spikes appear to have no designated catalog number. You can tell they are tree spikes because the gaff is much longer for digging into the meat of the tree.

SAFETY: Do not use original LC-23 belts or LC-5 leather straps and calf pads for climbing more than a few feet off the ground. It’s fine to wear to show the public or provide a demonstration where you climb up a wooden pole a few feet off the ground. However, you should not rely on almost 100-year-old equipment to support your weight more than a yard up. For the LC-5 straps and calf pads, you can buy modern versions and use those (or as close as you can get). For the LC-23 belt, nobody that I am aware of reproduces them. So you need to convert a modern one, as best as you can, to a WW2 version, or contract with someone to reproduce them.
LC-24 Twisting Plier, also called a Clamp: Used to crimp, twist, and splice wire.
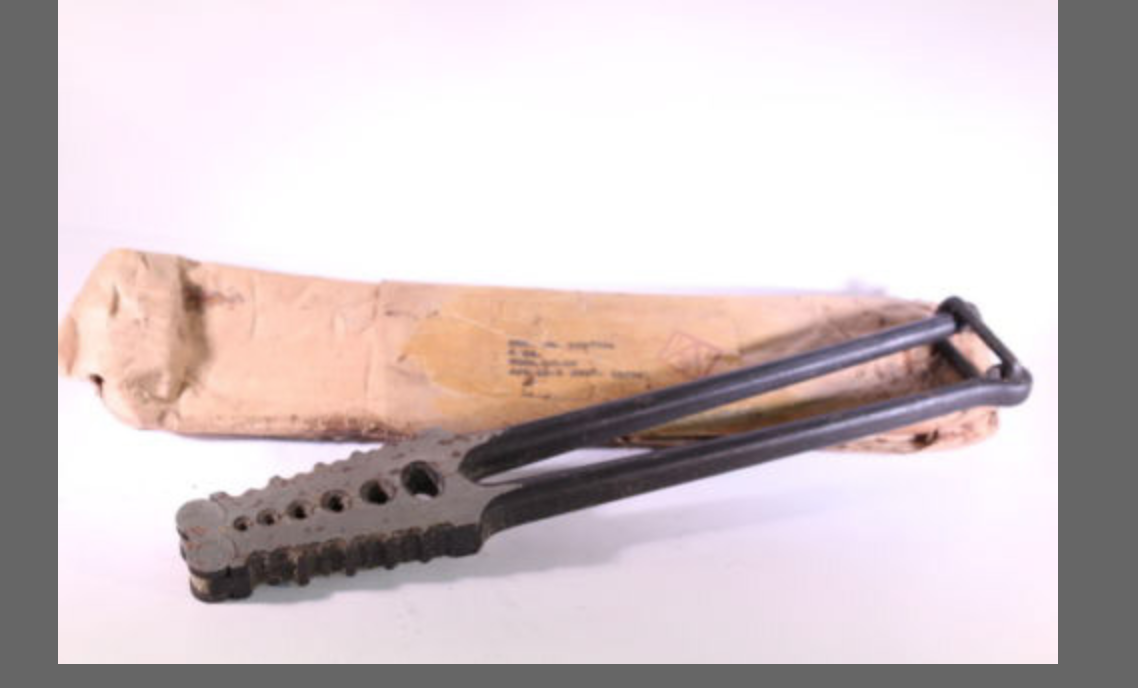
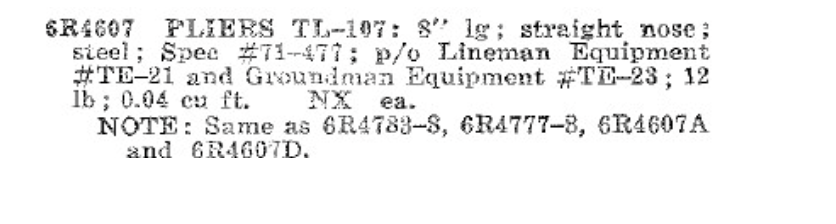
TL-107 Pliers, 8″: 8in in length, straight nose, steel. The US government contracted with various firms like Utica to make them. Indeed, Utica made a set of commercial pliers that are the same, called Utica 1950-8. 1950 being Utica’s catalog number and 8 meaning the pliers are 8 inches long. For a history of these pliers, see Alloy Artificats Utica Tools, Linemans.
This differs from the TL-13 and TL-13-A pliers, which were 6inches in length.
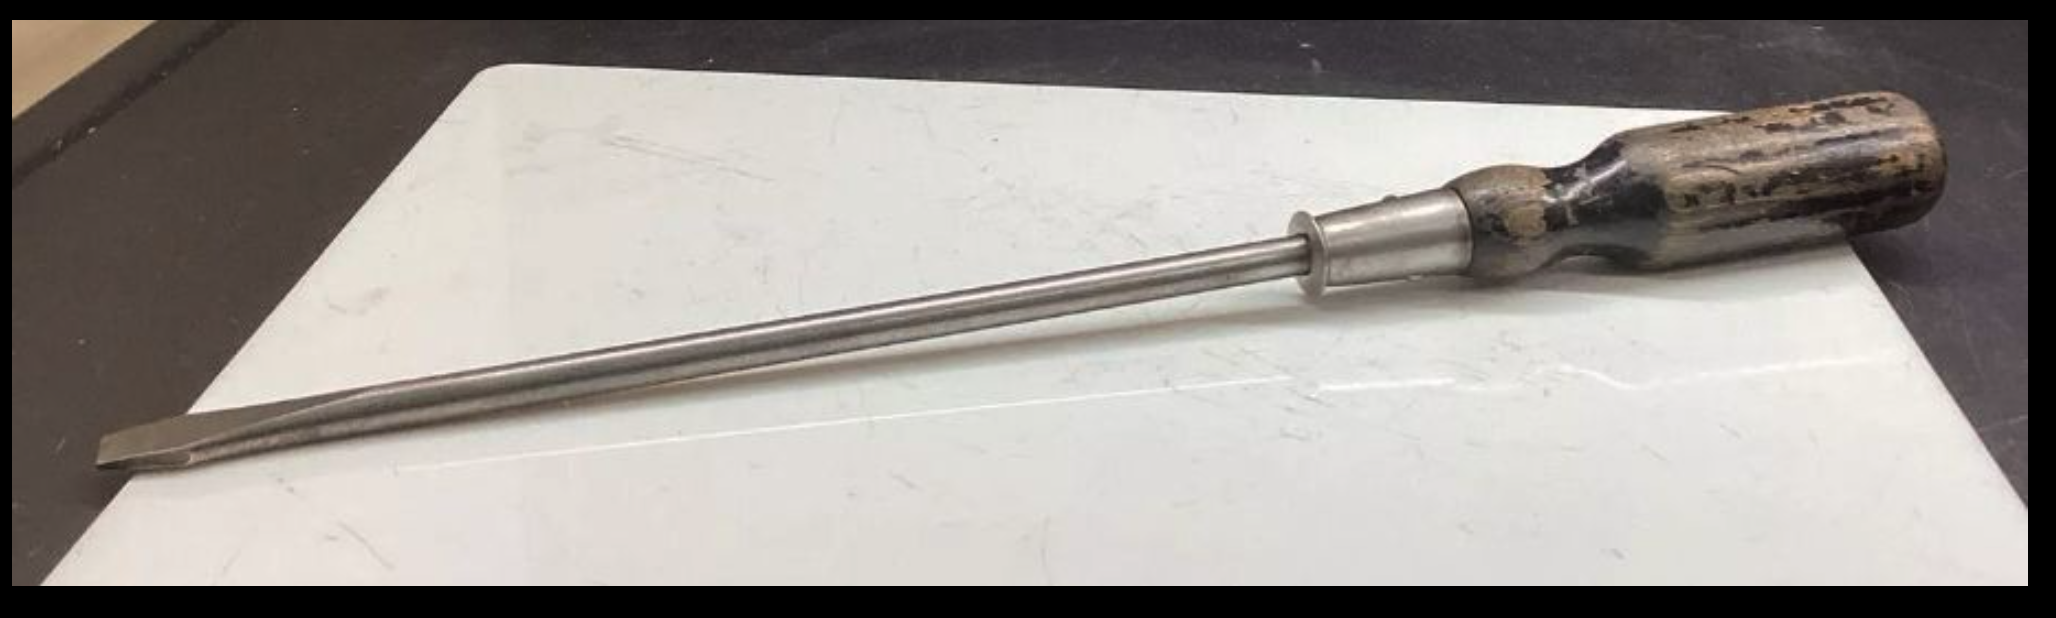
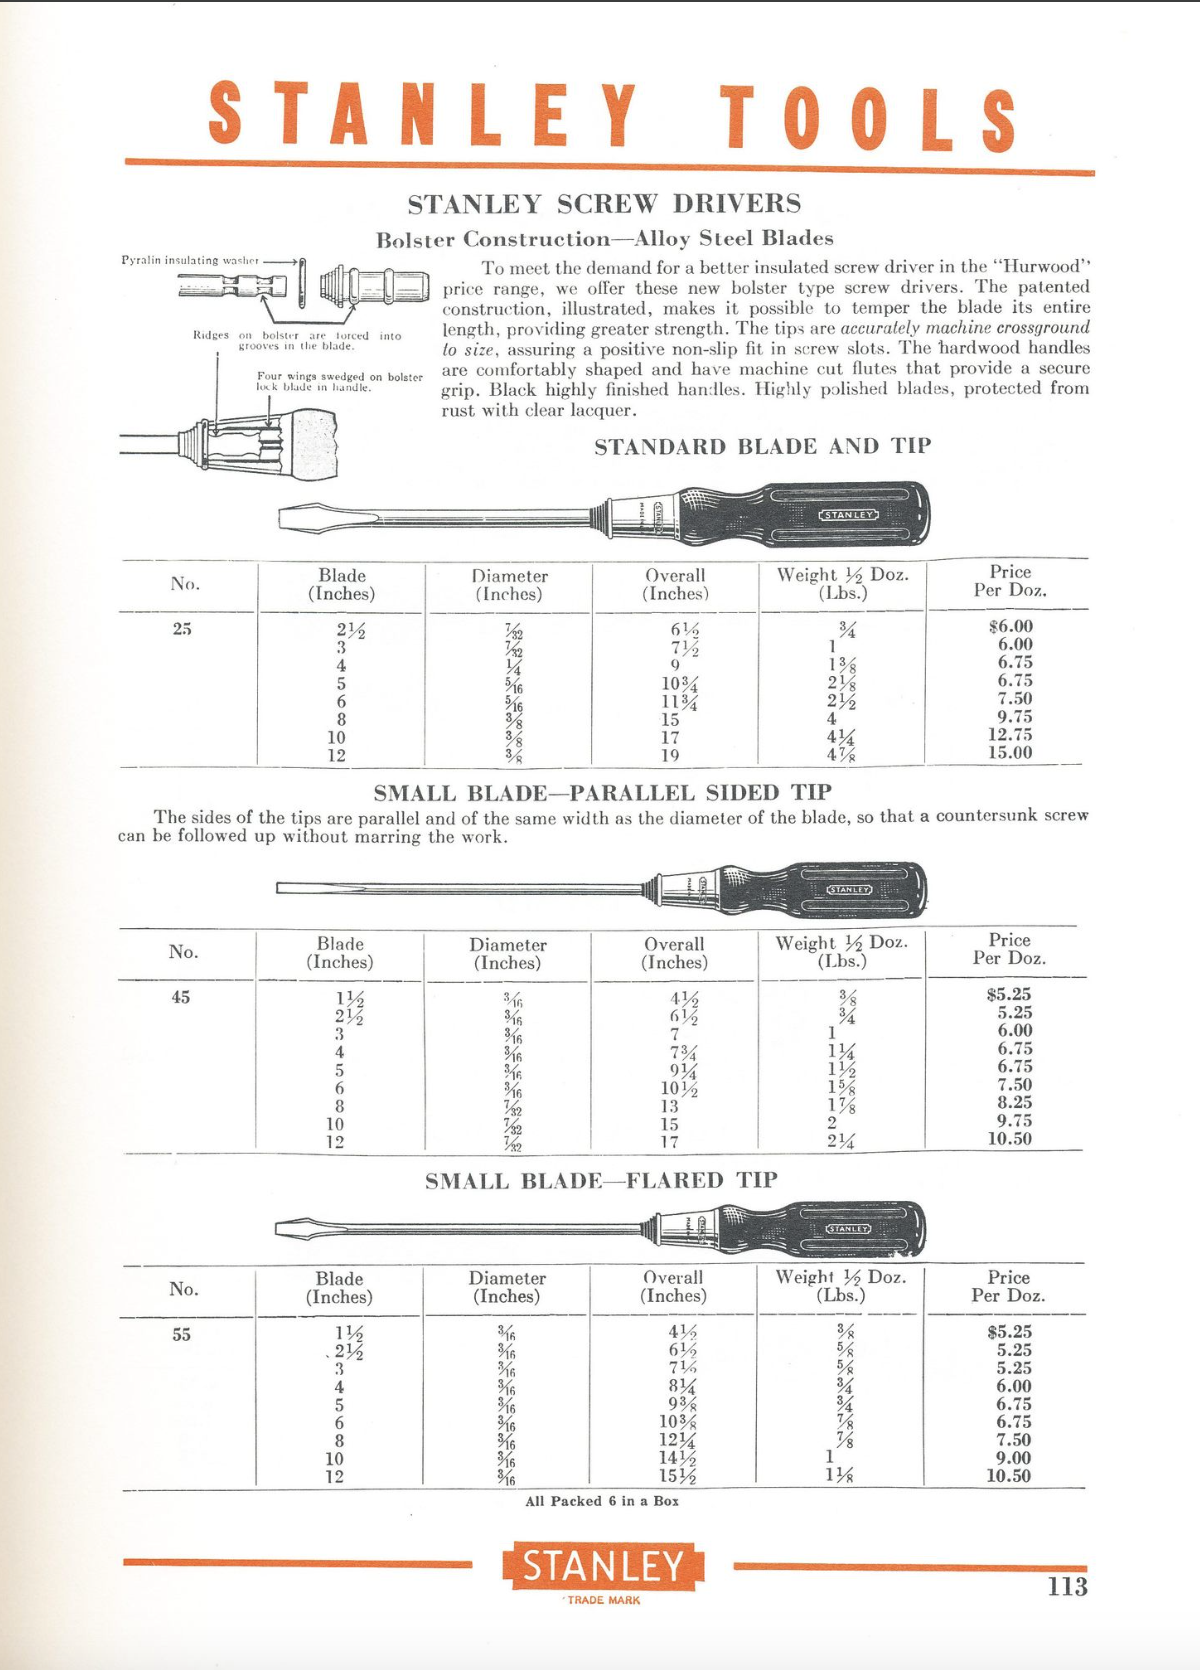
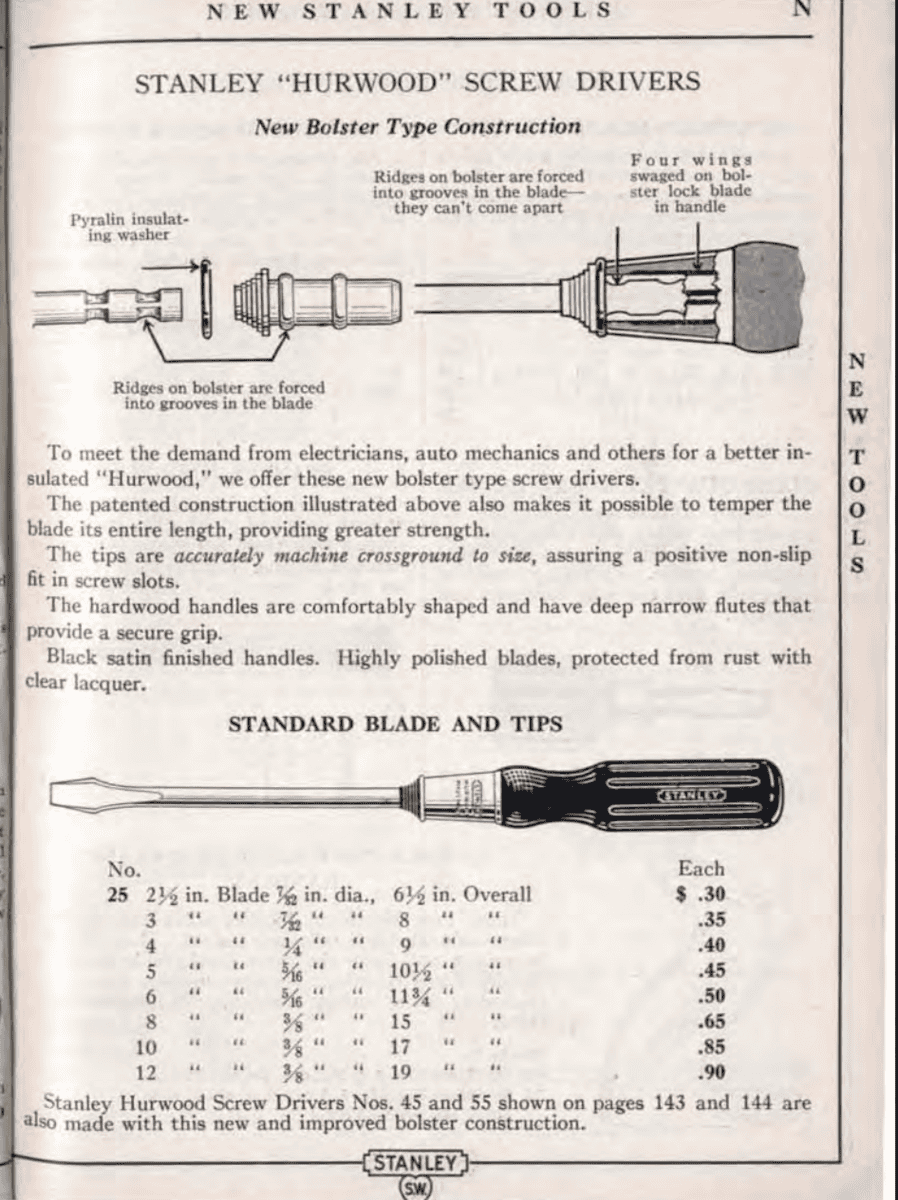
TL-106 Screwdriver: The screwdriver is similar to the Stanley 1934 # 25 driver. It had a 10-inch blade with a 3/8ths tip and 17in overall length. In 1934, it cost .85 cents.
Note that some screwdrivers might say “Forval” on the handle. This appears to be a French-made screwdriver. It’s unclear if this is a post-WW2 production or if the US Govt contracted with French companies after D-Day to produce these, which would make them “wartime dated”.
Now the specs say “or equal,” and there were other tool companies, such as Irwin, making tools during World War II. The IRWIN 800 seems like it would be a close equivalent. It is 14inches overall, the blade is 10 inches, and the blade tip seems to be close to 3/8ths (though depending on how you eye it, it might be 1/4th)
Additional images of the TL-106 Screwdriver can be found on Worthpoint here and here.


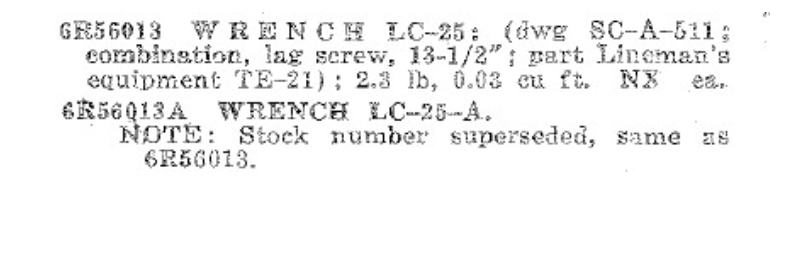
LC-25-A Lineman Wrench: The LC-25-A Wrench was used to secure cross beams to telephone poles. It differs from the LC-25 wrench. See the “load out” images towards the bottom for the differences in appearance.
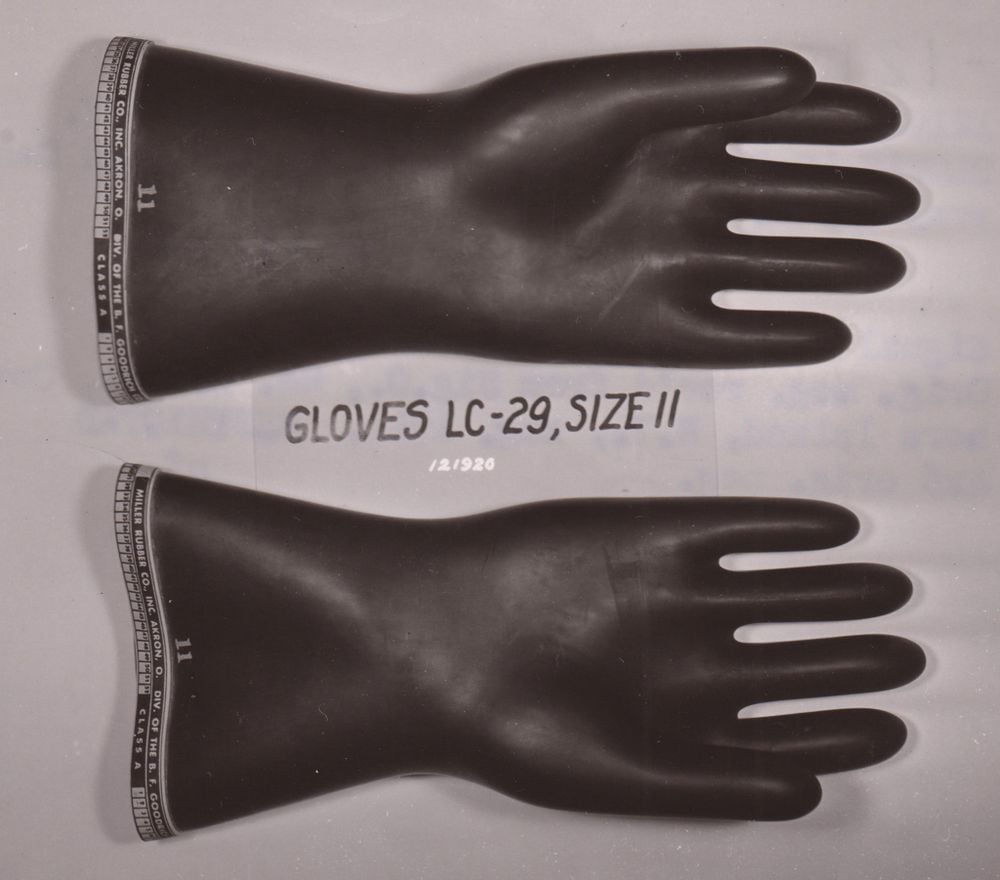
LC-29 Gloves, Rubber: This was not part of TE-21 but something they likely kept on hand. Black in color. Likely worn over the leather gloves for working with exposed lines, as rubber is an electrical insulator. It came in three different sizes, I believe.
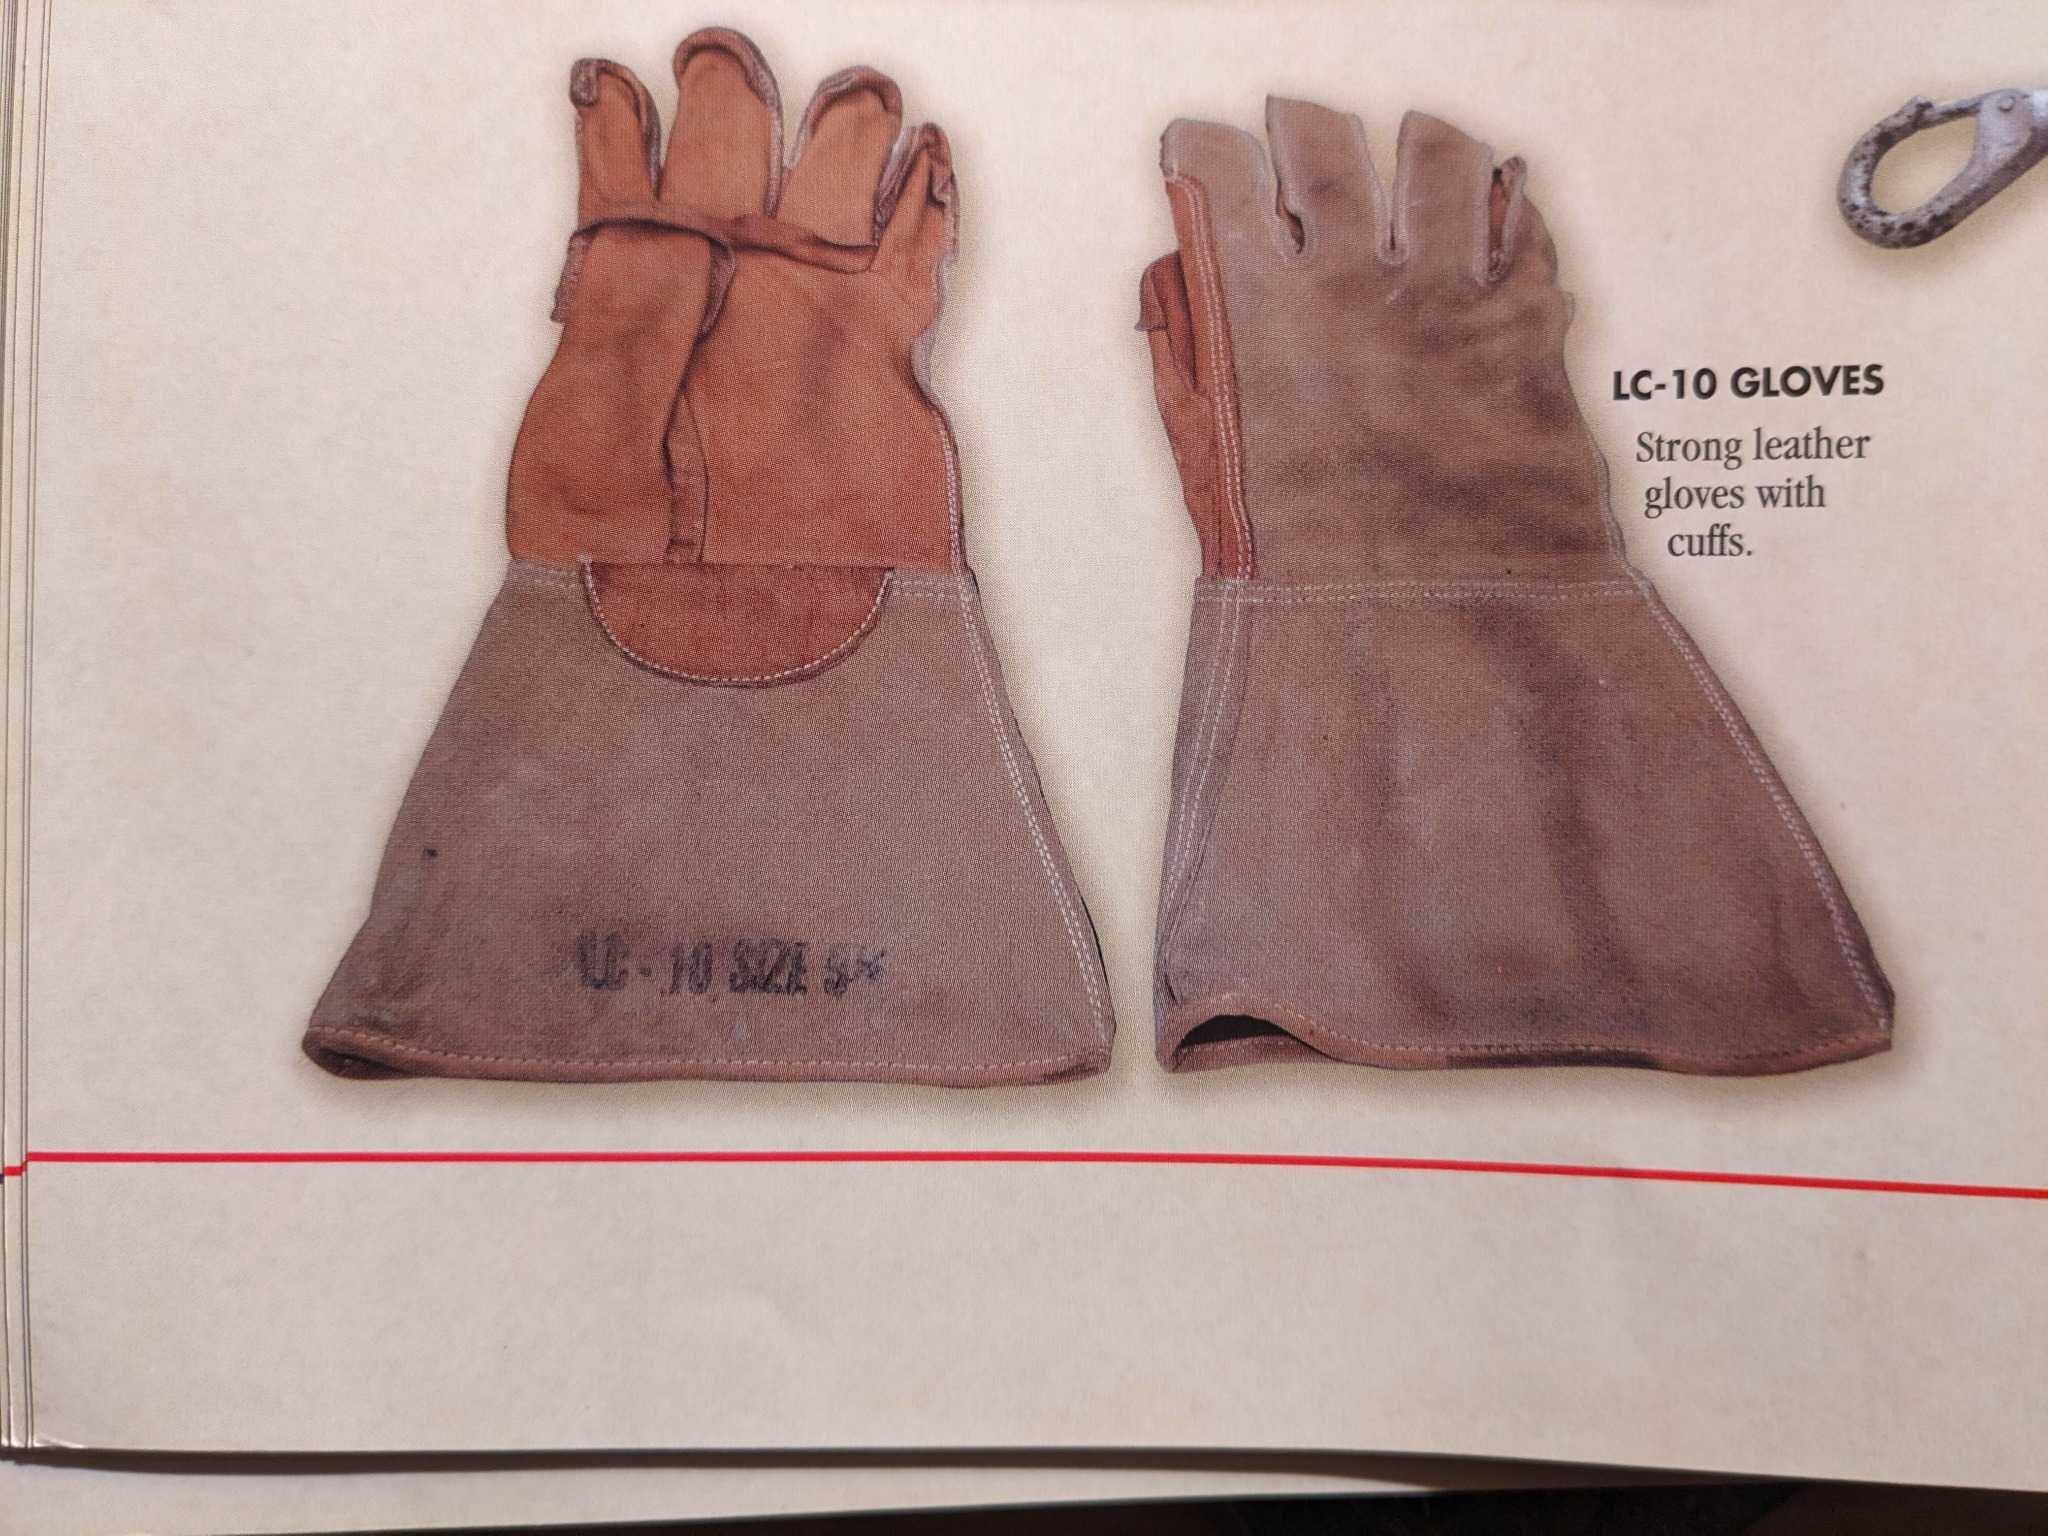
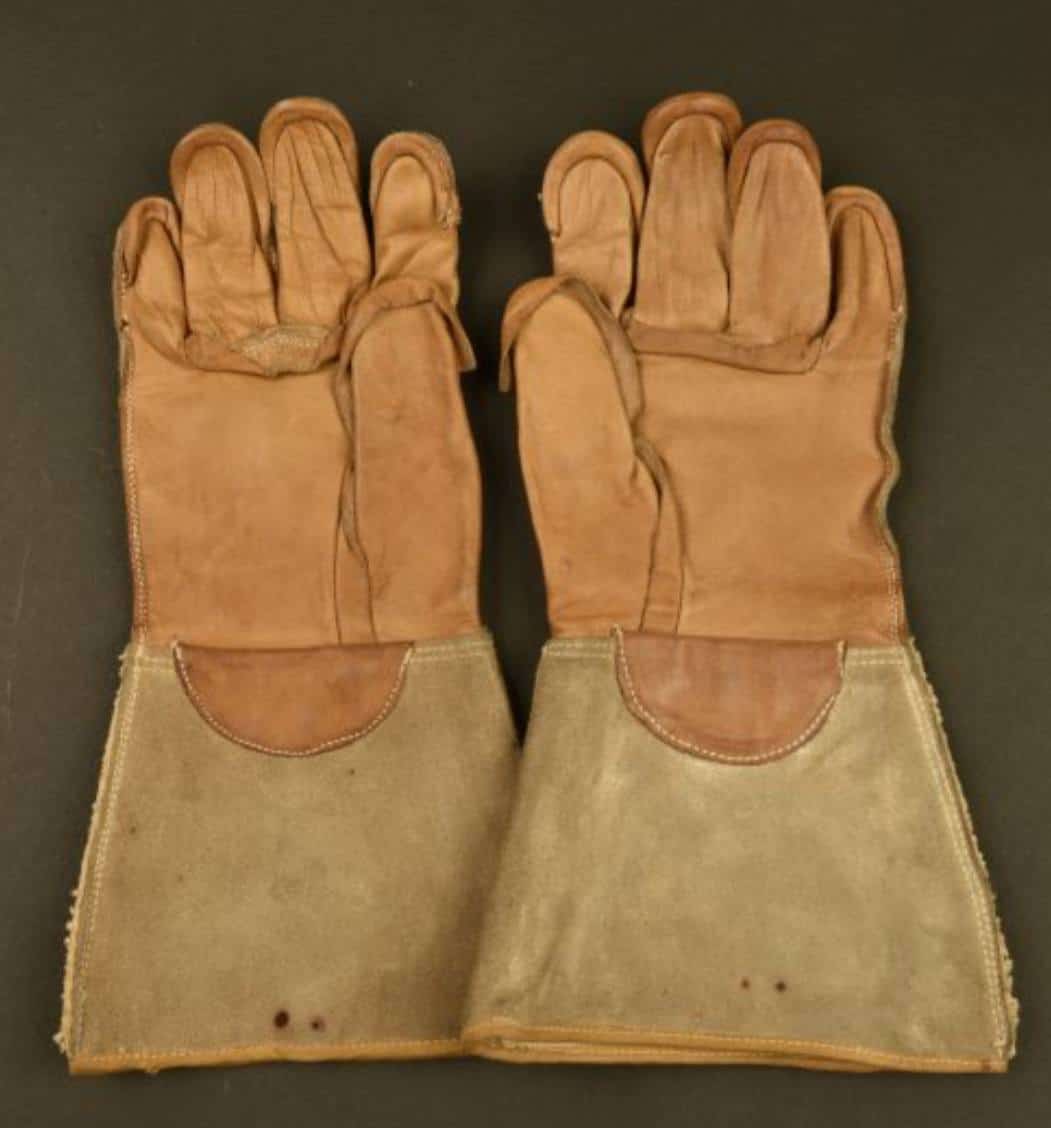
LC-10 Gloves, Leather: These gloves were leather and had cuffs. They came in multiple sizes. Note that AI is saying there’s an LC-29 leather glove. That’s wrong because it scraped the wrong information. Such a glove doesn’t exist!
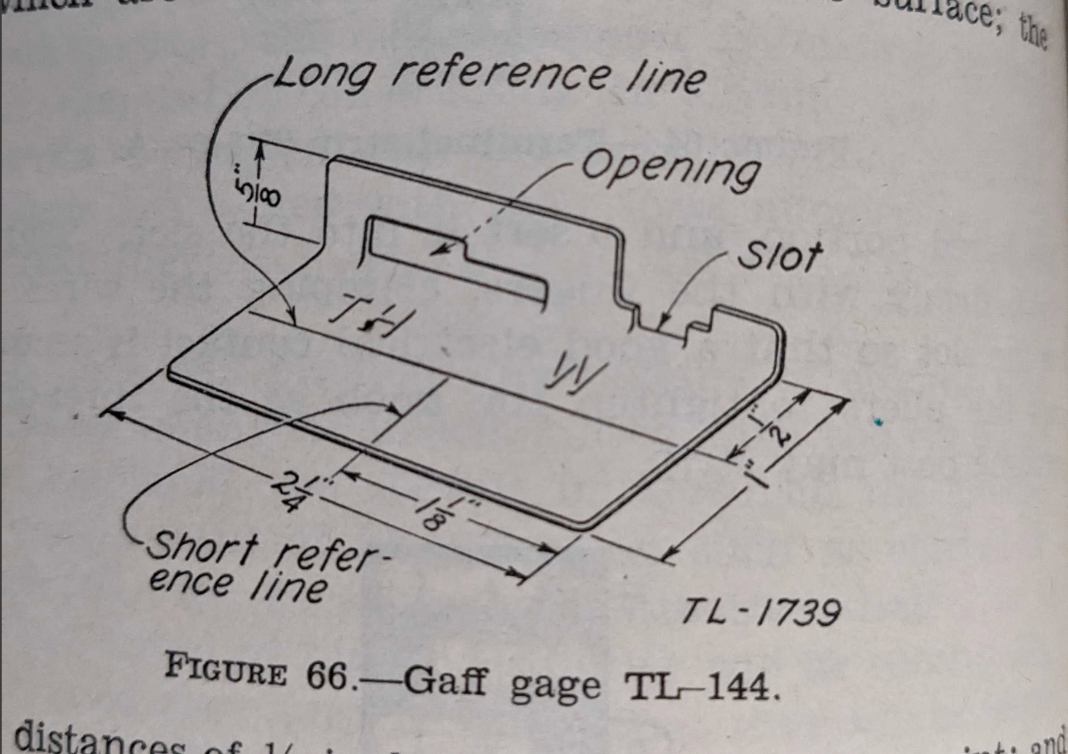
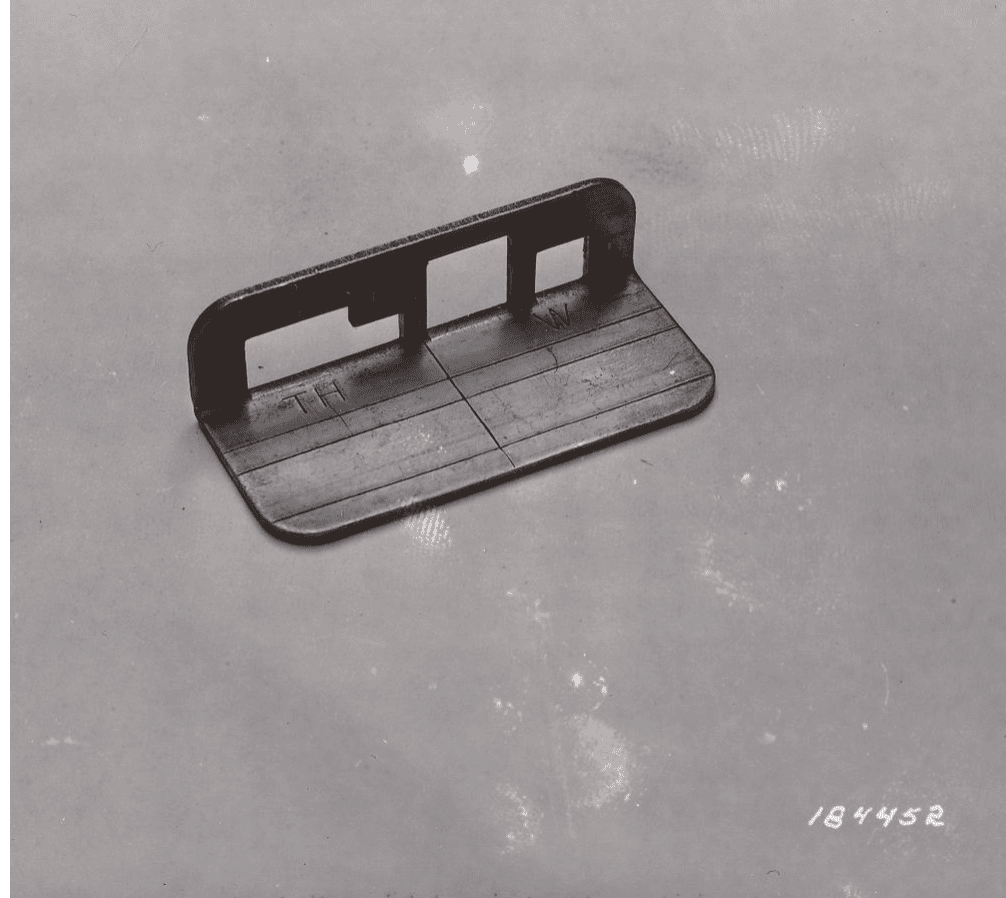
TL-144 Gaff Gauge or Gage: Used to measure the spikes on the climbers. This was not part of TE-21 but something they likely kept on hand. It may have come in a few different designs, as shown below. However, neither design shows any kind of cut in the base/short reference line area.
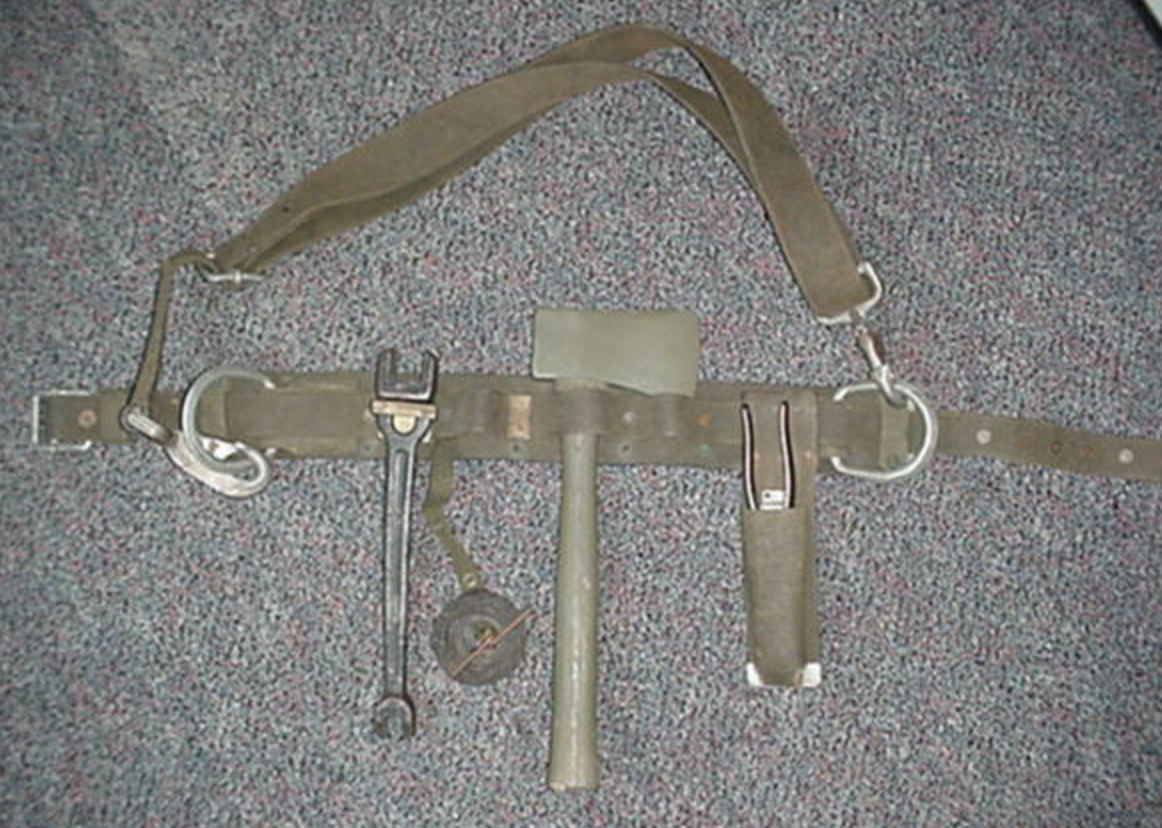
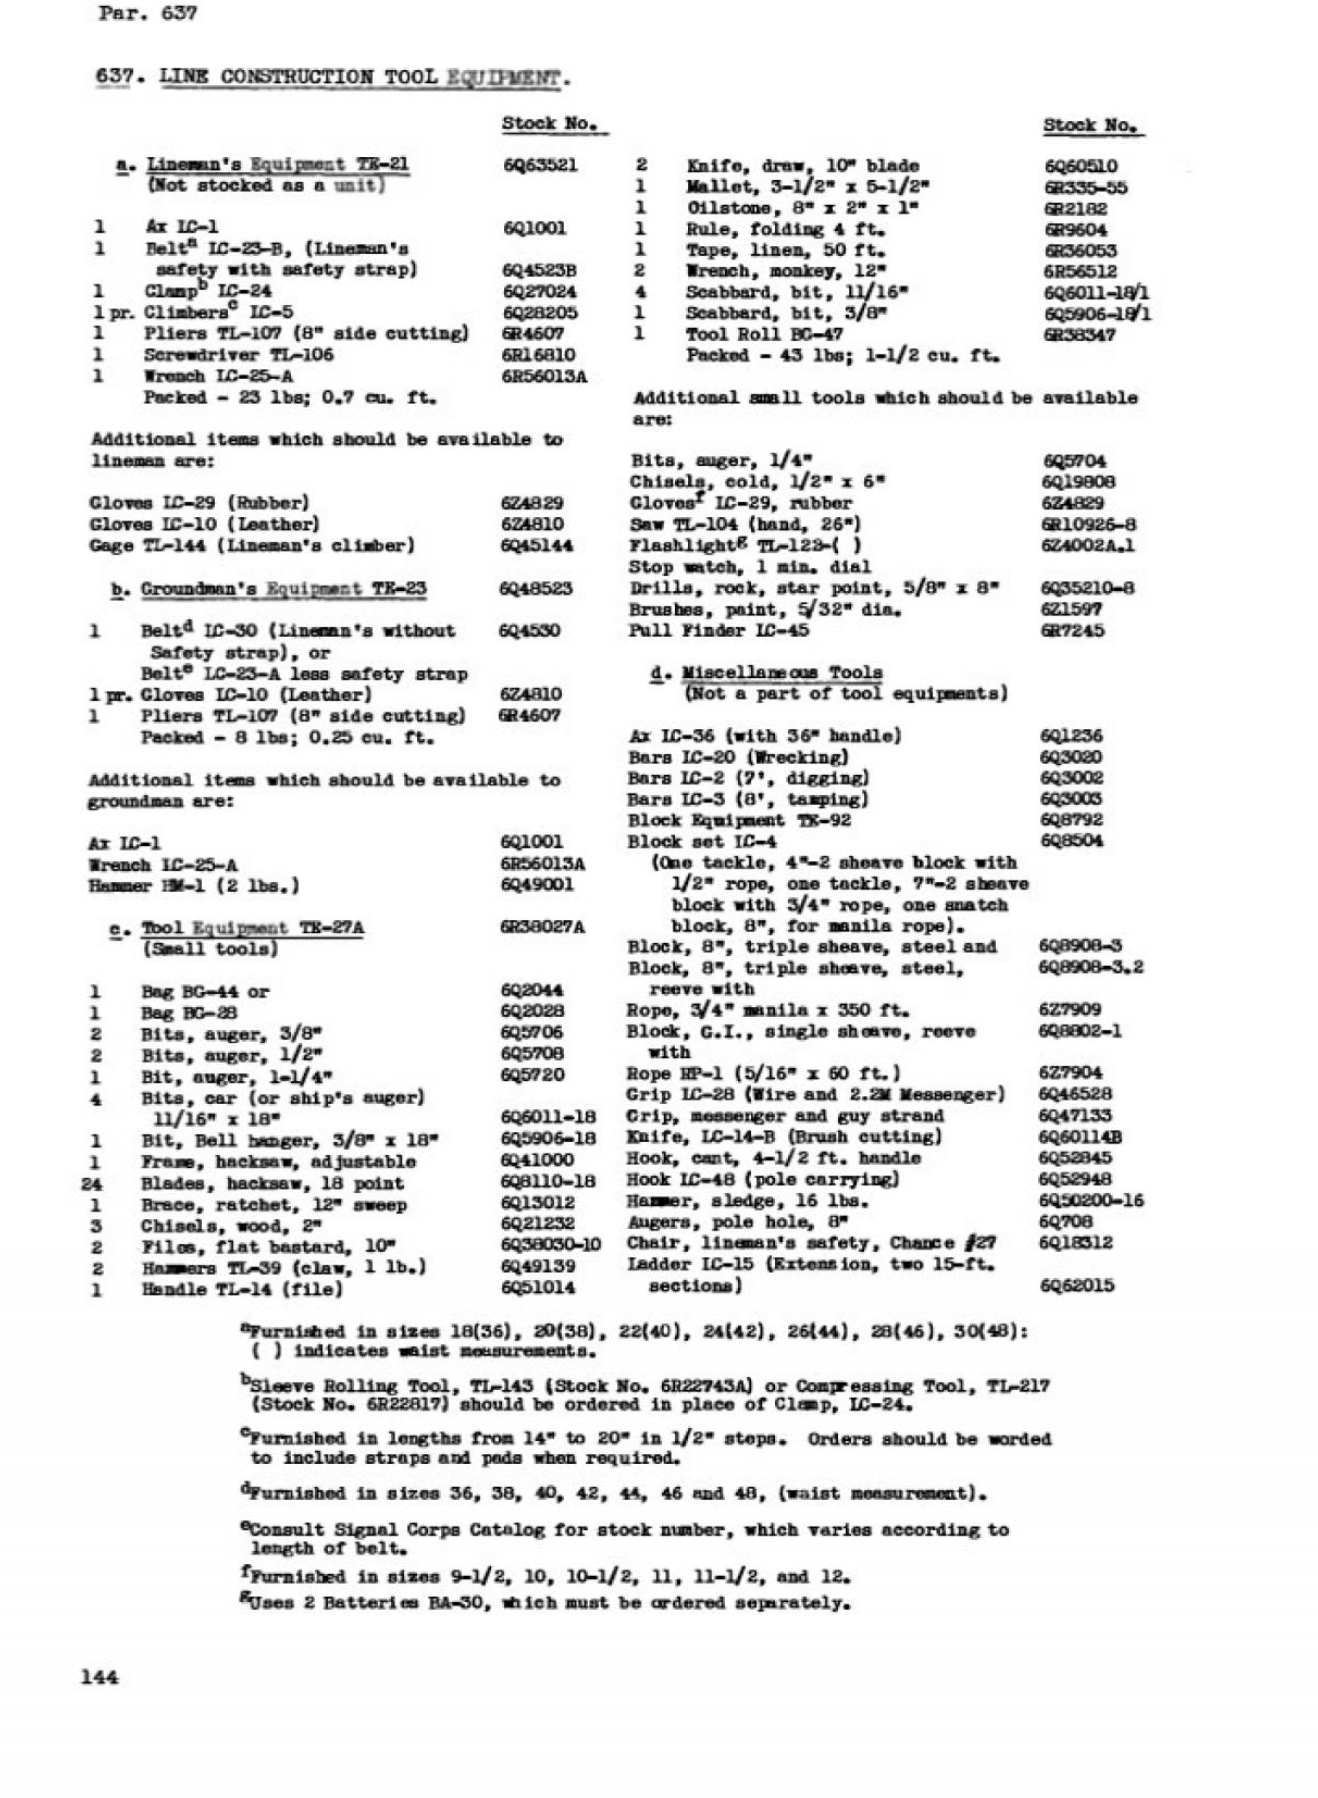
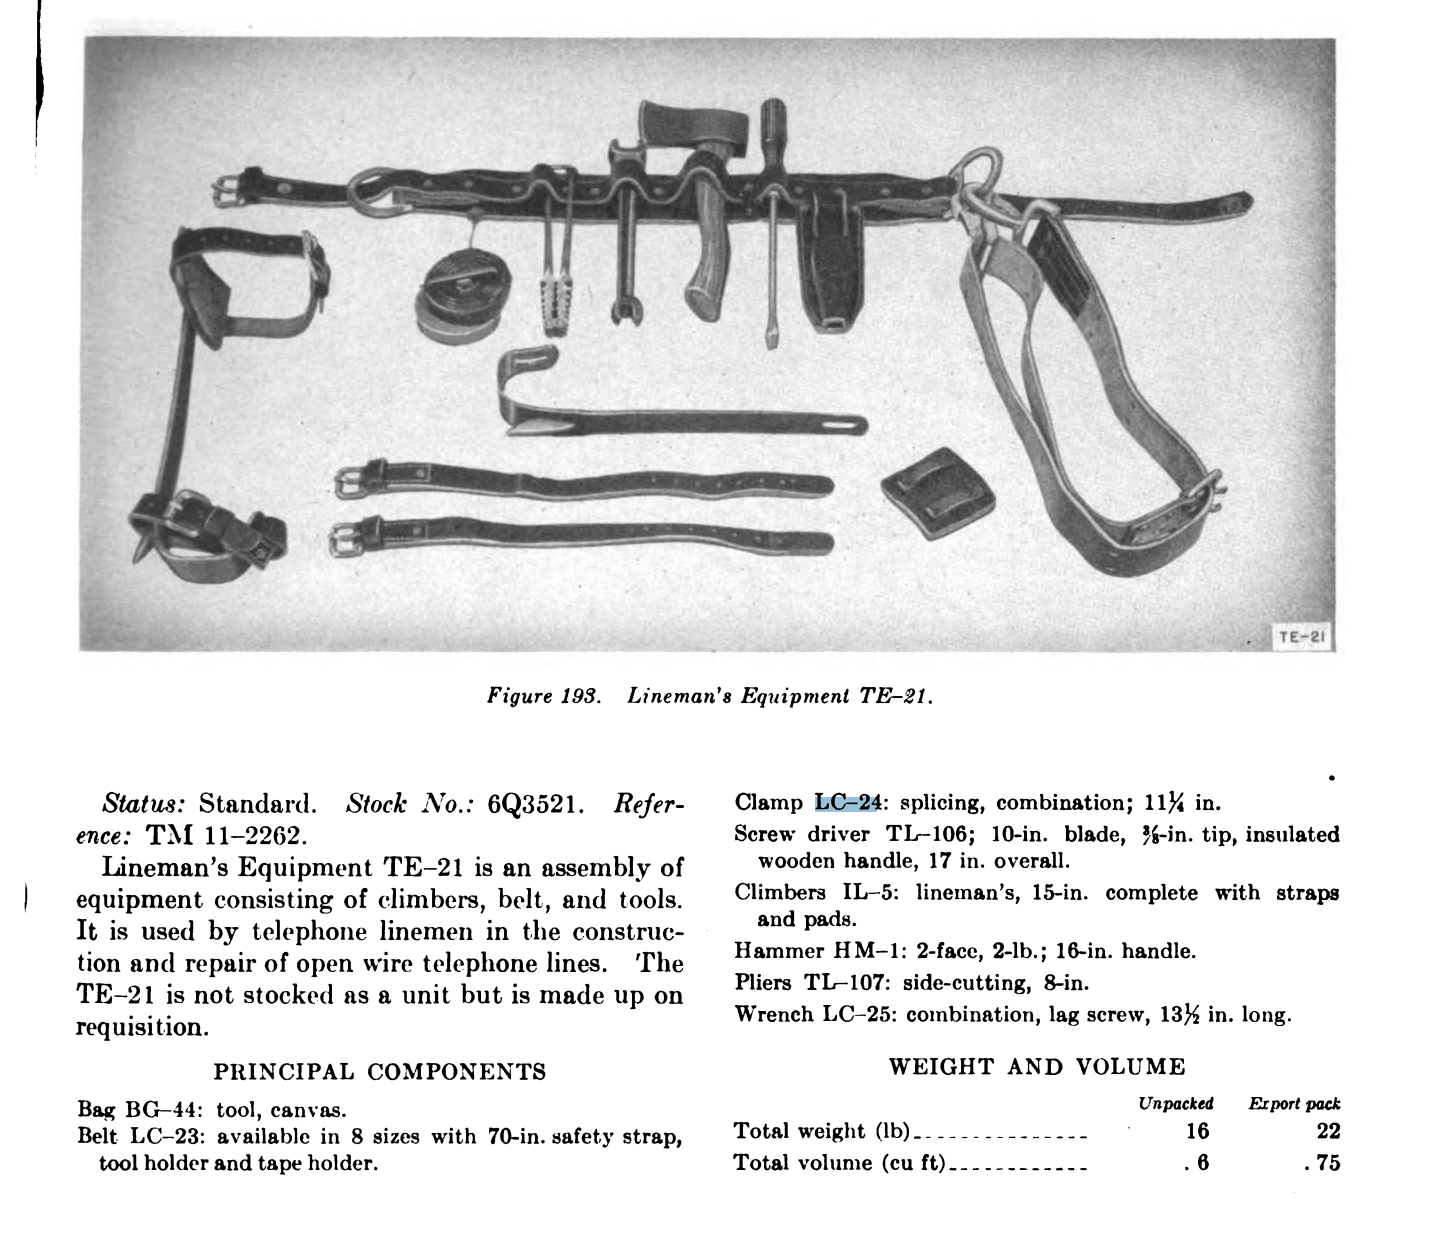
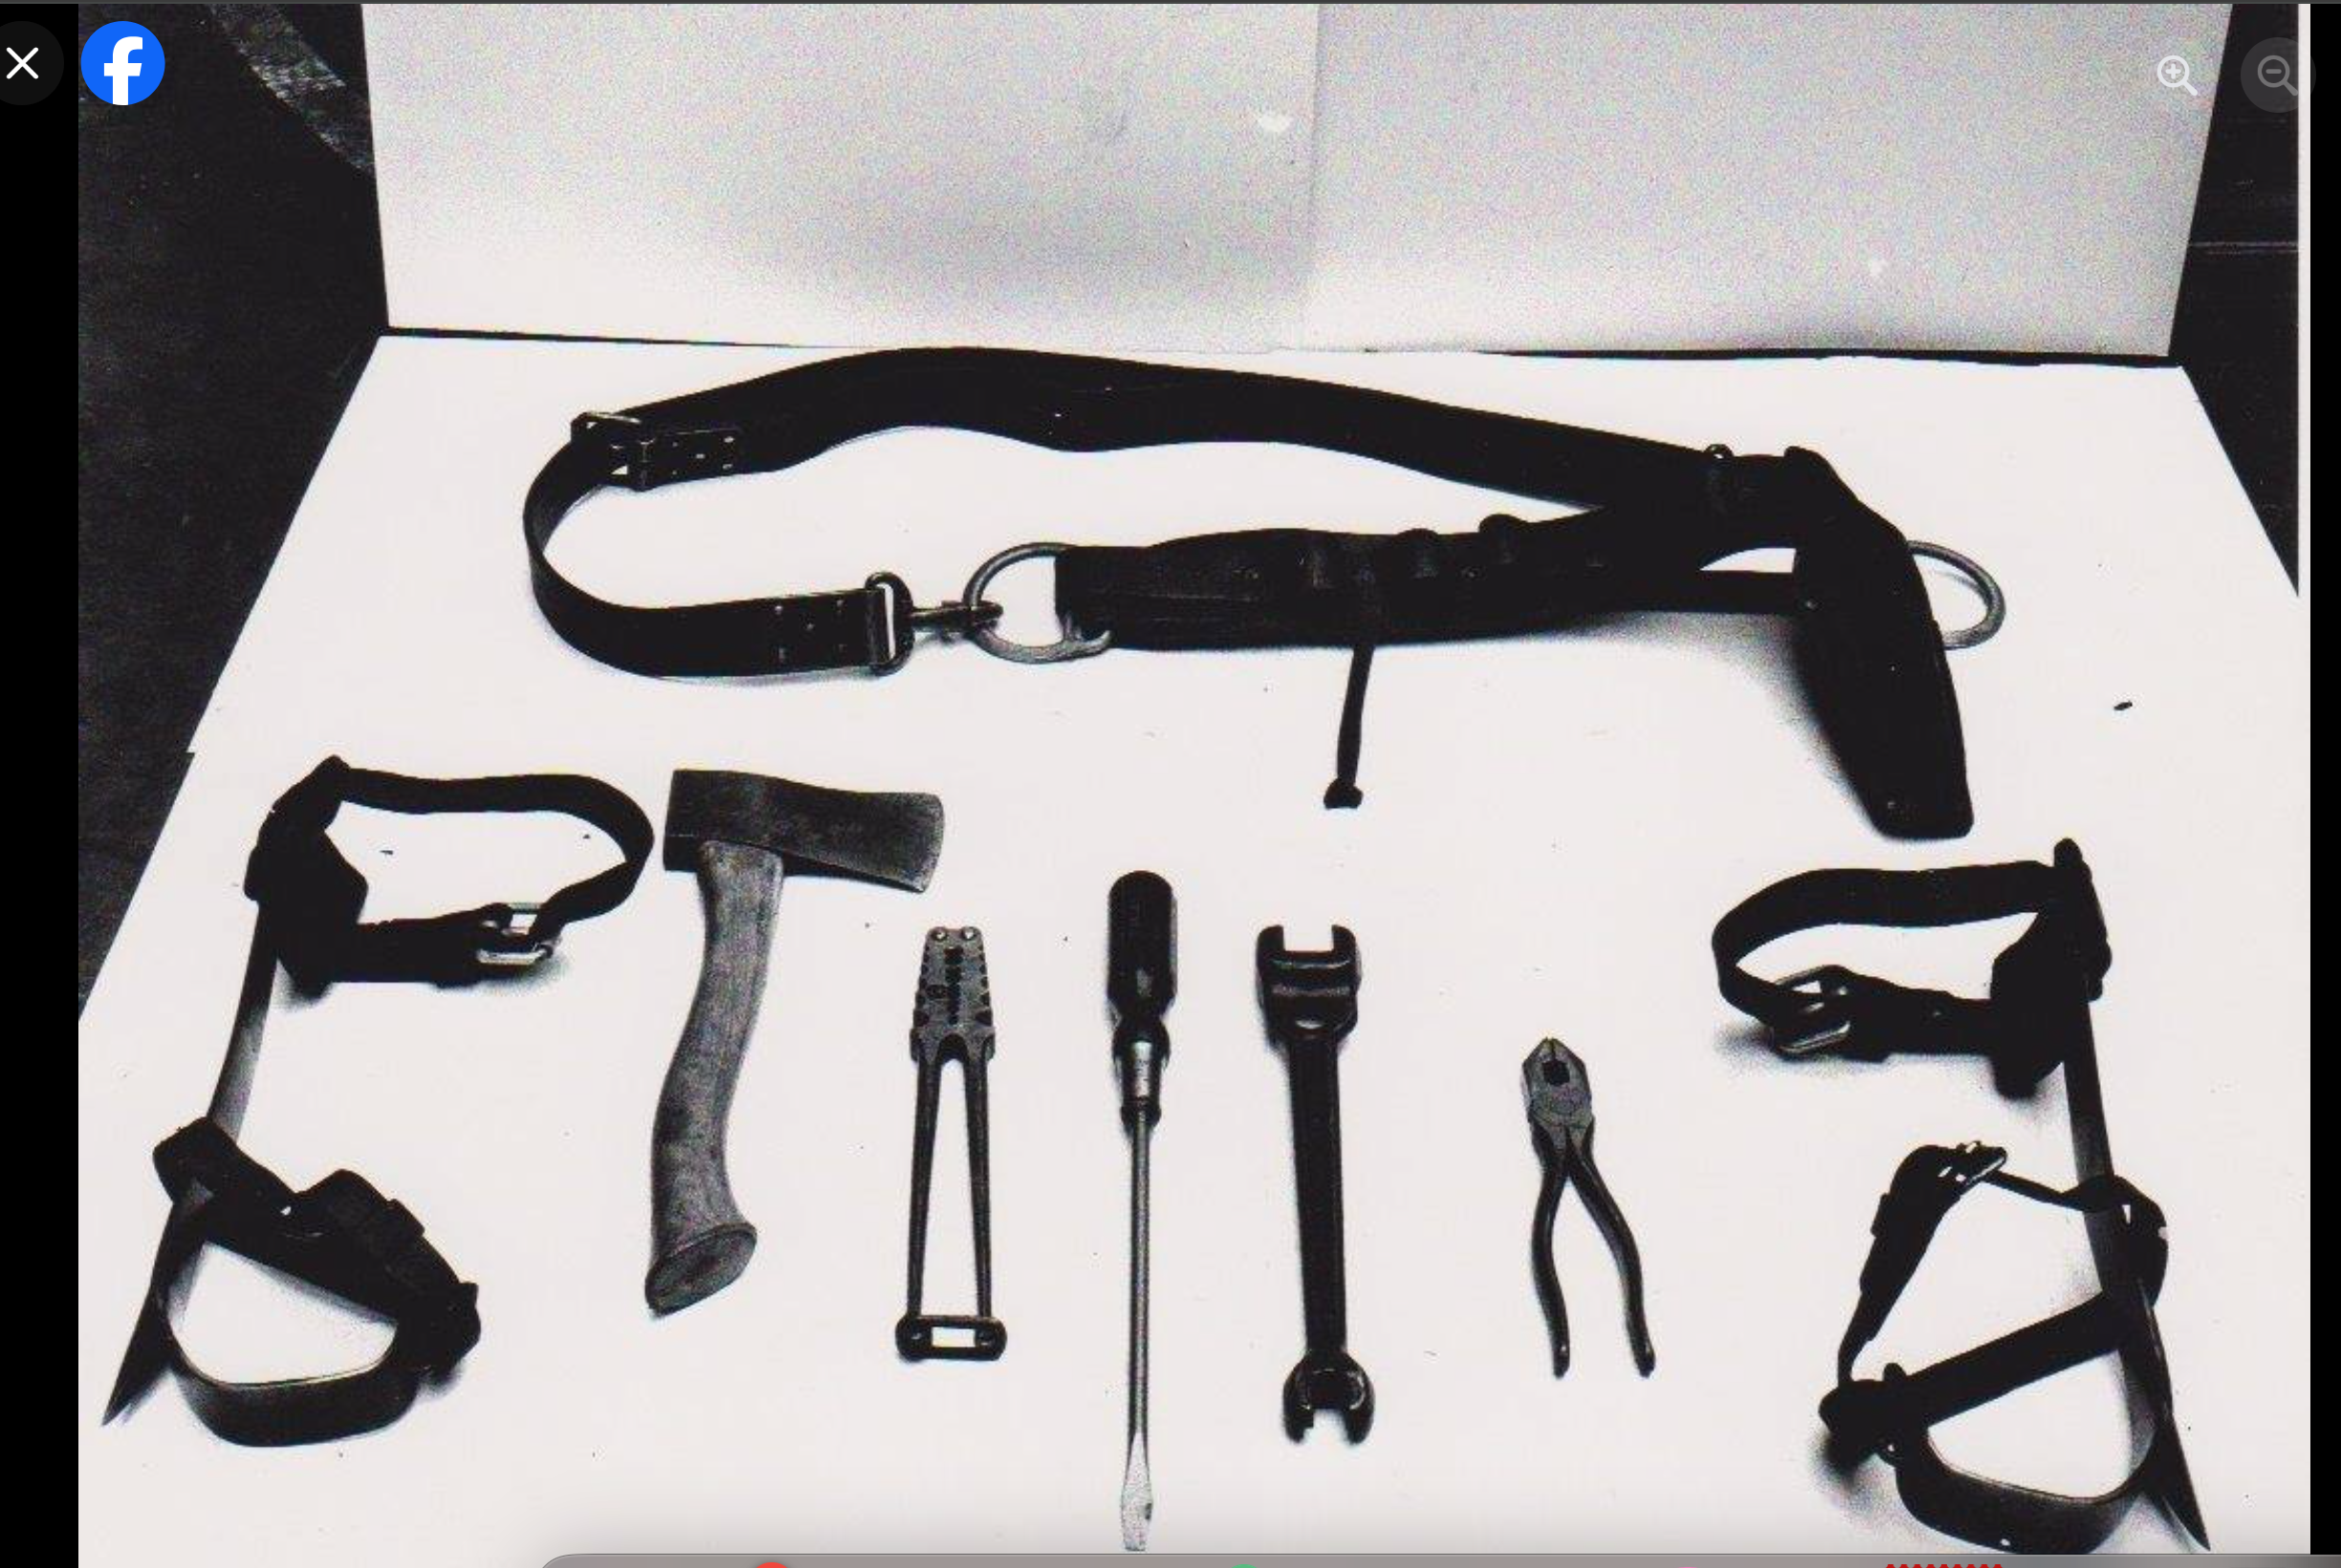
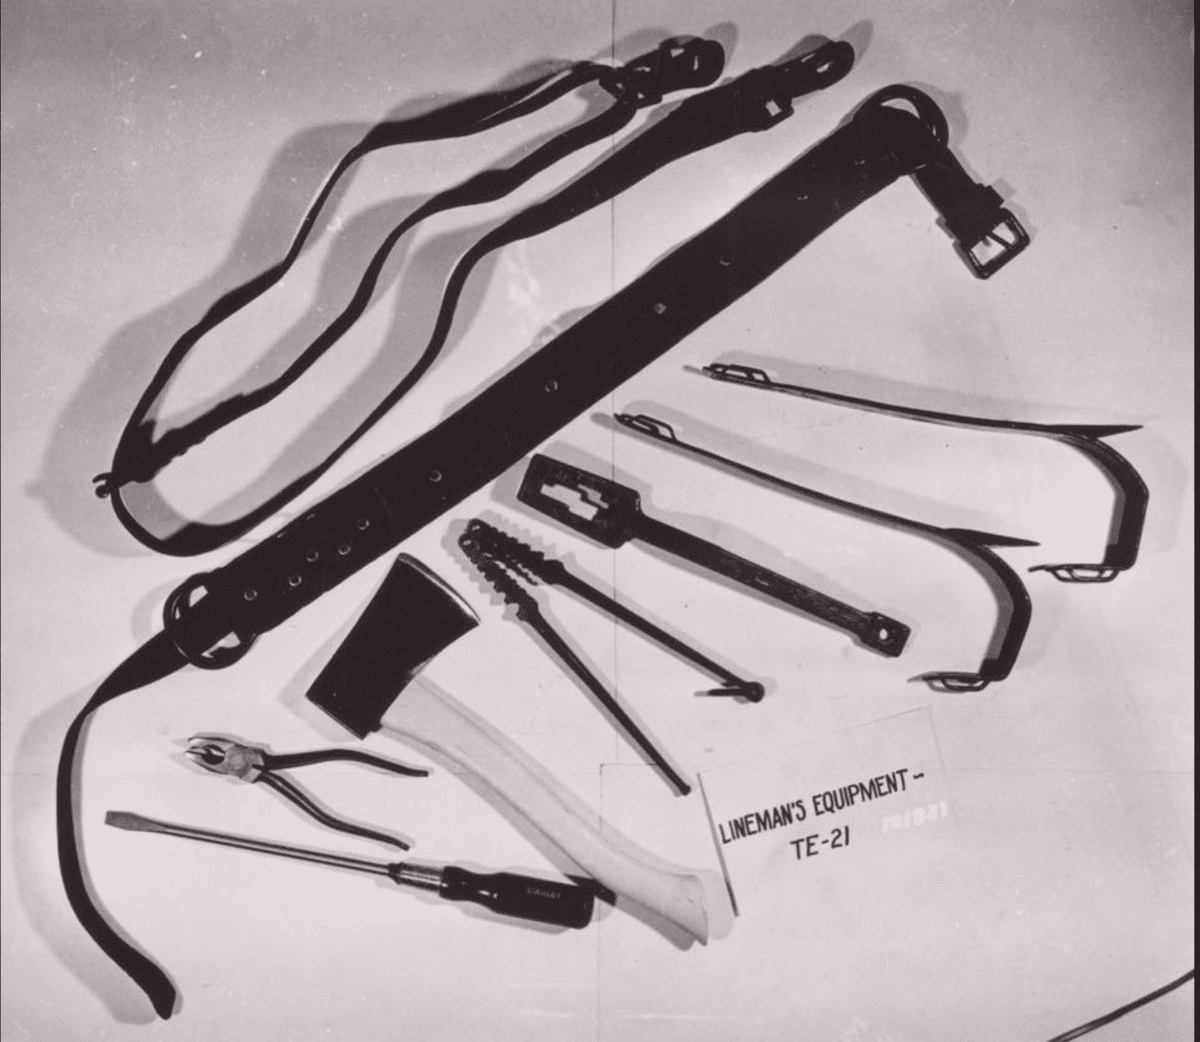
Lineman’s equipment TE-21: TE-21 is the designation for all the equipment put together. When laid out, it looked like this. I suspect some of this stuff was traded off between the guy on the pole and the guy on the ground. Also, the image might be a post-war one, as the Hammer, HM-1, isn’t listed. Instead, a TL-39 Hammer is listed.

Groundman’s Equipment:
LC-23 belt w/o strap [late ’44 date]: Same as the equipment for the lineman.
LC-10 Gloves, Leather: Same as the equipment for the lineman.
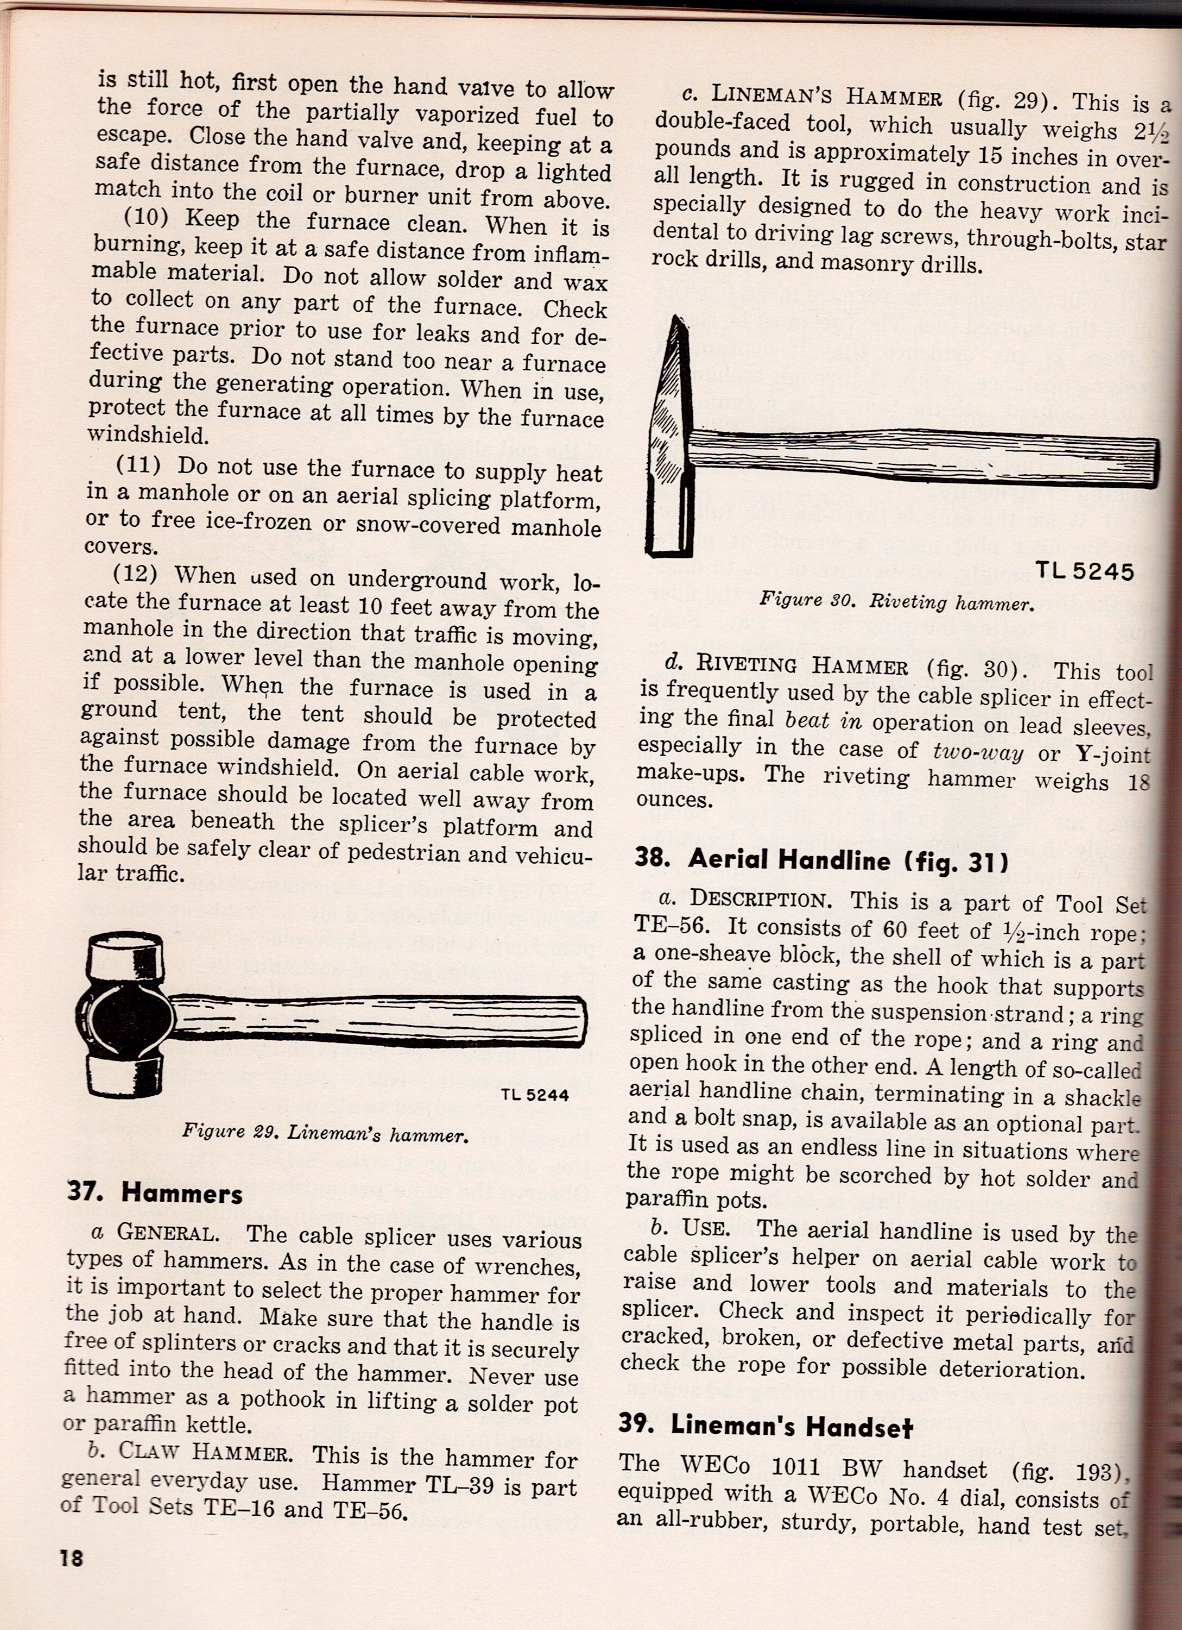
HM-1 Hammer, 2lb: This is a double-faced engineer’s hammer with a 16-inch handle and a weight of 2 pounds.
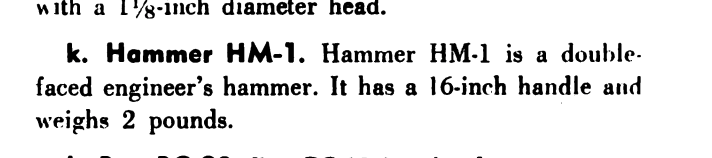
Now, according to the May 1947 TM 11-372 field manual, the HM-1 hammer is also called a Lineman’s Hammer and is 2.5 lbs and 15 inches in overall length. I guess that some “bean counter” must have mis-measured it.. There’s also a TL-39 Hammer, which is the Claw Hammer.
Note that in this manual, the images all start with “TL”; this isn’t meant to be interpreted as a “TL” or “tool” designation for the item depicted but rather a way of numbering images specific to this manual.
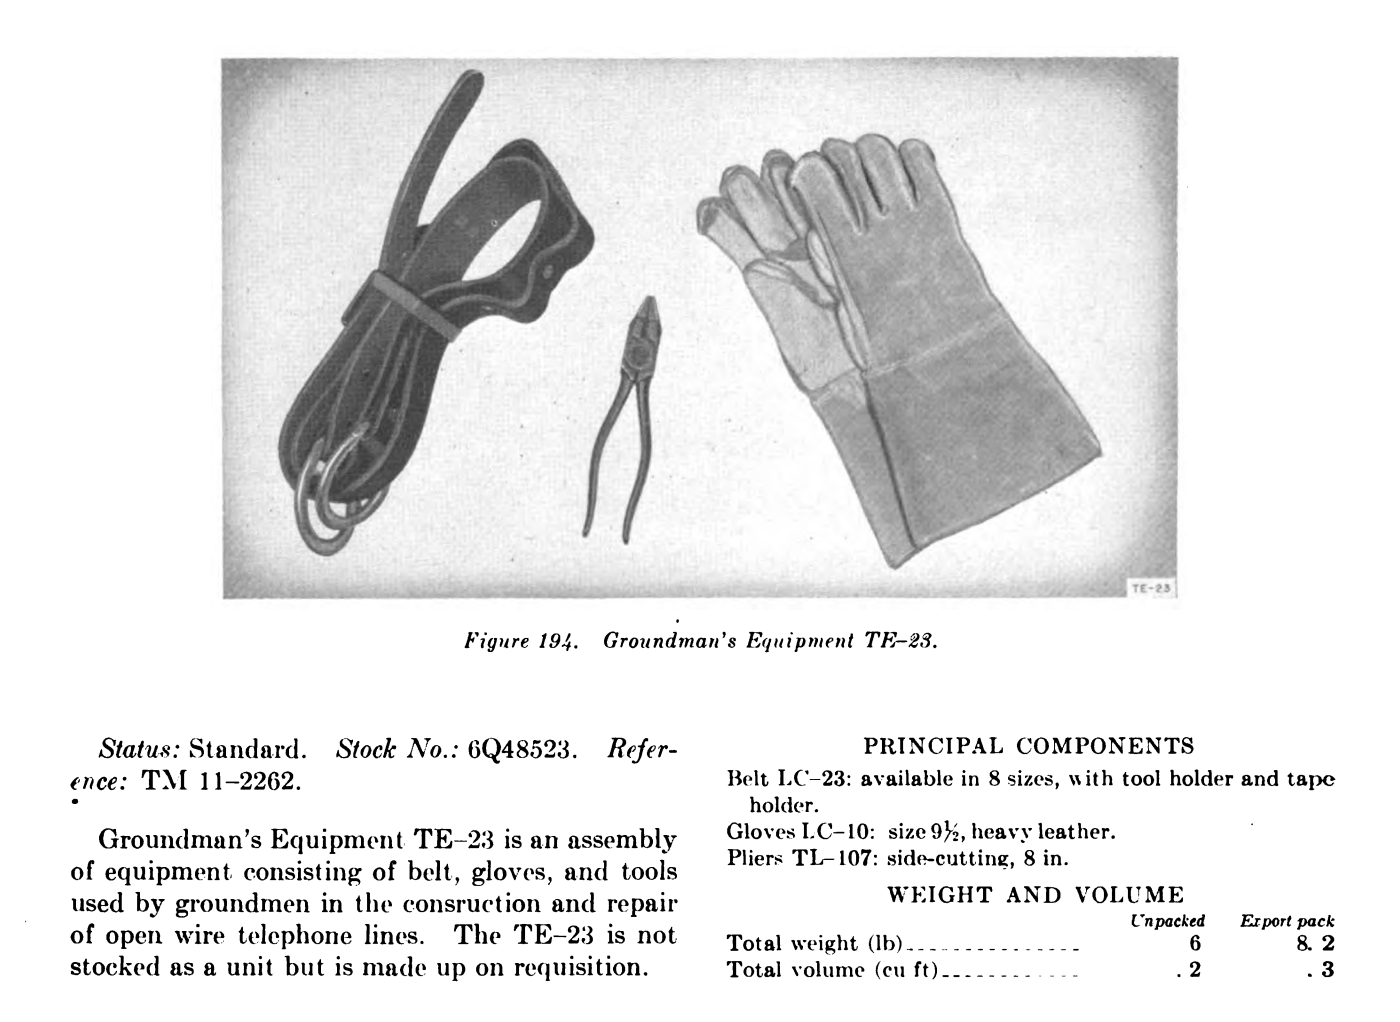
Groundman’s Equipment TE-23: TE-23 is the designation for all the equipment put together. When laid out, it looked like the following:
Other items:
TE-33 tool kit – This kit consisted of a leather case, CS-34. Inside the case went a pocketknife, TL-29, and a small set of 6in pliers called TL-13 or TL-13-A.
Now the TL-13 plier types are a military designation of what is essentially the same set of commercial pliers called Utica 1950-6. 1950 was just the catalog number and not the year, and 6 refers to the pliers being 6 inches. Indeed, some 1950-6 pliers are also stamped TL-13, suggesting that the US military contractors acquired pliers “off the shelf” and just stamped them with their designation. For a history of these pliers, see Alloy Artificats Utica Tools, Linemans.
One thing to know about these pliers is that the US Army Training Videos regarding splicing is that the wire in use, like W-110B on various reels, may have a rubber insulation on the outside.
Newer wire on DR-type reels coming out of the Korean War or Vietnam War seems to have a plastic covering. Using the methods described in the video here to use the plier’s heel to stripe the wire may not actually work.
2 DR-4 reels [no -A suffix]: The drum consists of half a mile of W-110-B wire. May have W-110B wire (as indicated in this 1941 Signal Corps Splicing video), which consists of 3 strands of copper and 4 strands of steel. Covered by a rubber compound. Then a braid is wrapped around the rubber to help protect against crushing. You likely won’t find the original wire.
W-130 Wire – used by infantry for short, temporary lines, such as to an observation post. The wire has 6 steel strands and 1 copper. Covered by a thin rubber insulation. You likely won’t find the original wire.
W-150 Wire – Same specs as W-130, except the rubber is wrapped with a braid. You likely won’t find originals.
WD-1/TT and WD-1A/TT (both abbreviated as WD-1) – These are post-war wires and consist of four tinned-copper strands and three galvanized-steel strands, and an insulation of polyethylene with an outer nylon insulation jacket. Now, the wire on the market today is mainly this stuff, and as such, World War Two era signal corps splicing techniques may not work. So to shave the wire, you may need to use a modern tool.
2 DR-8 handheld reel rigs [no -A suffix]:
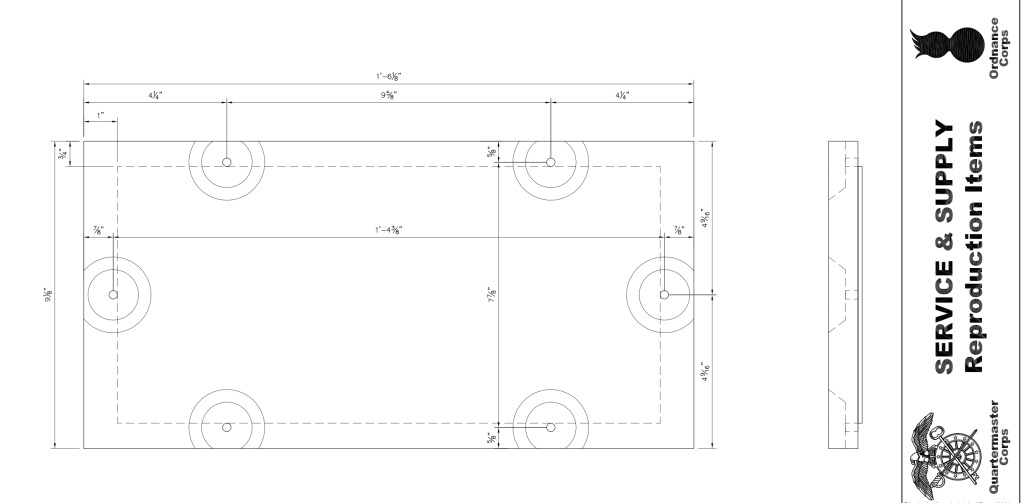
1 Bag, BG-44: This is the tool bag the team would put all their tools into for the job. You can see images of the bag at the US Militaria forum here.
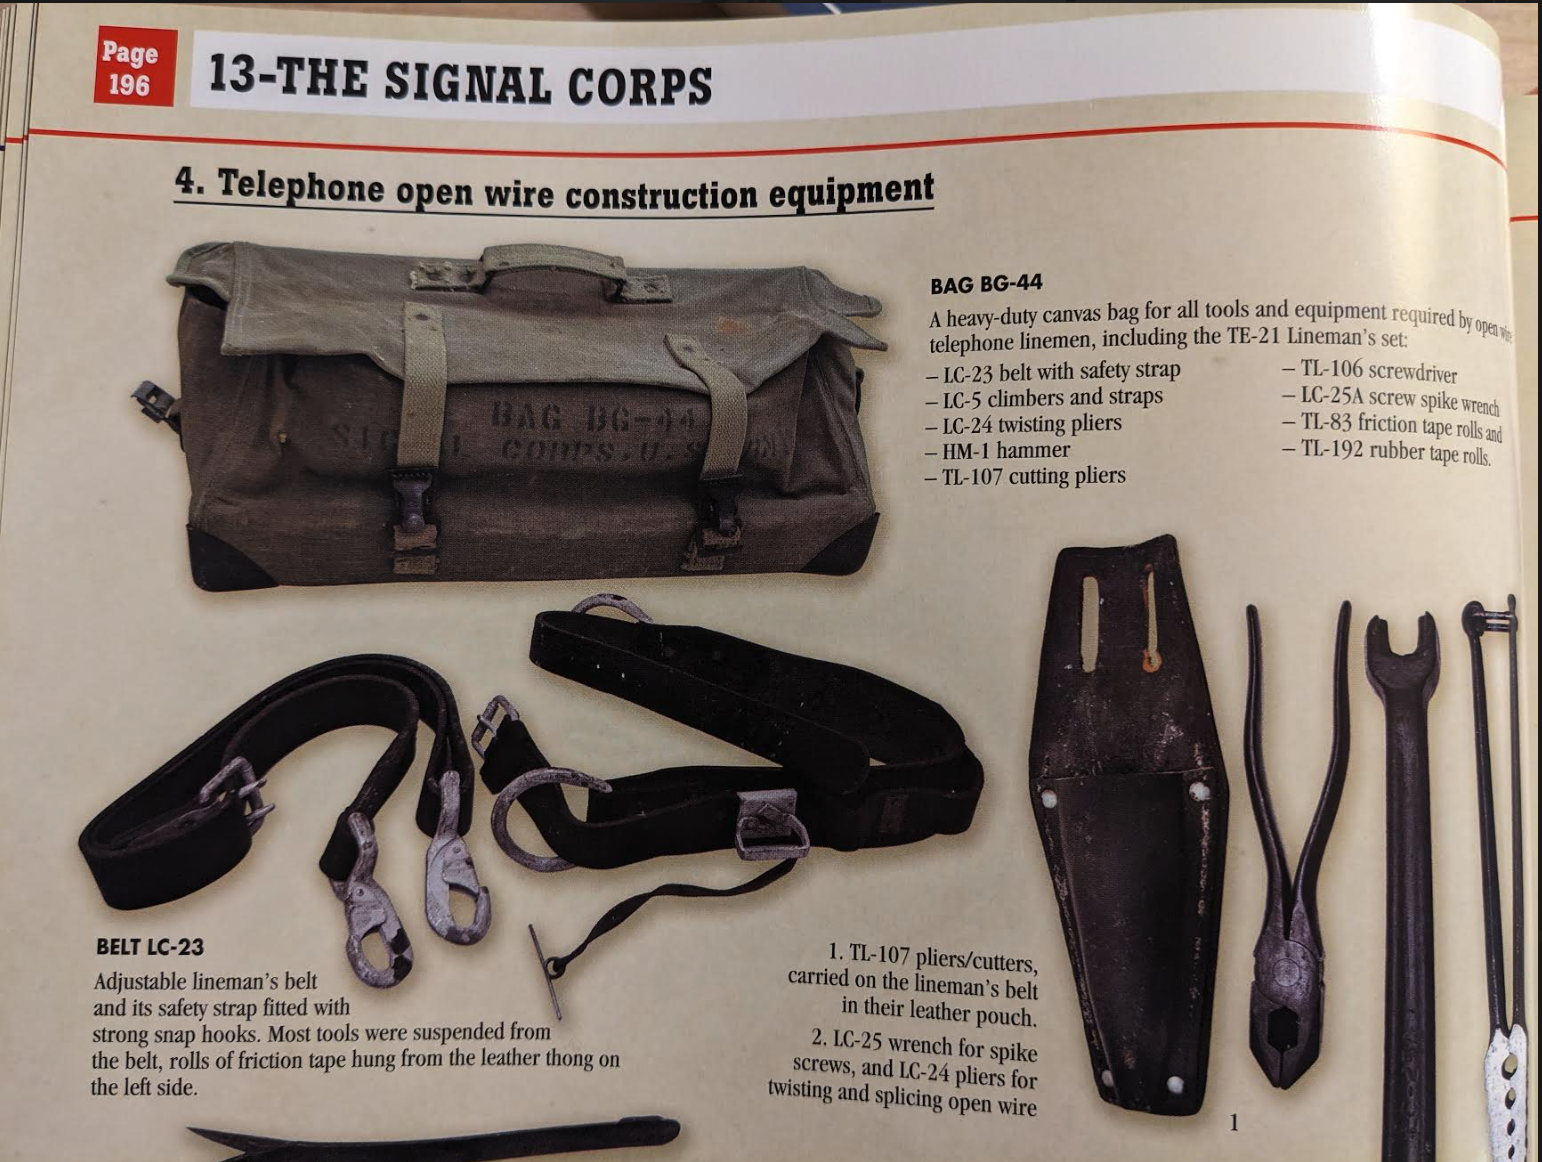
Another set of BG-44 images, including the schematics/blueprints. Note that if there’s an anchor logo on the buckles, it’s Anchor Brand, a trademark (June 3, 1928) of North & Judd Manufacturing in New Britain, CT. Now a part of Buckles International.
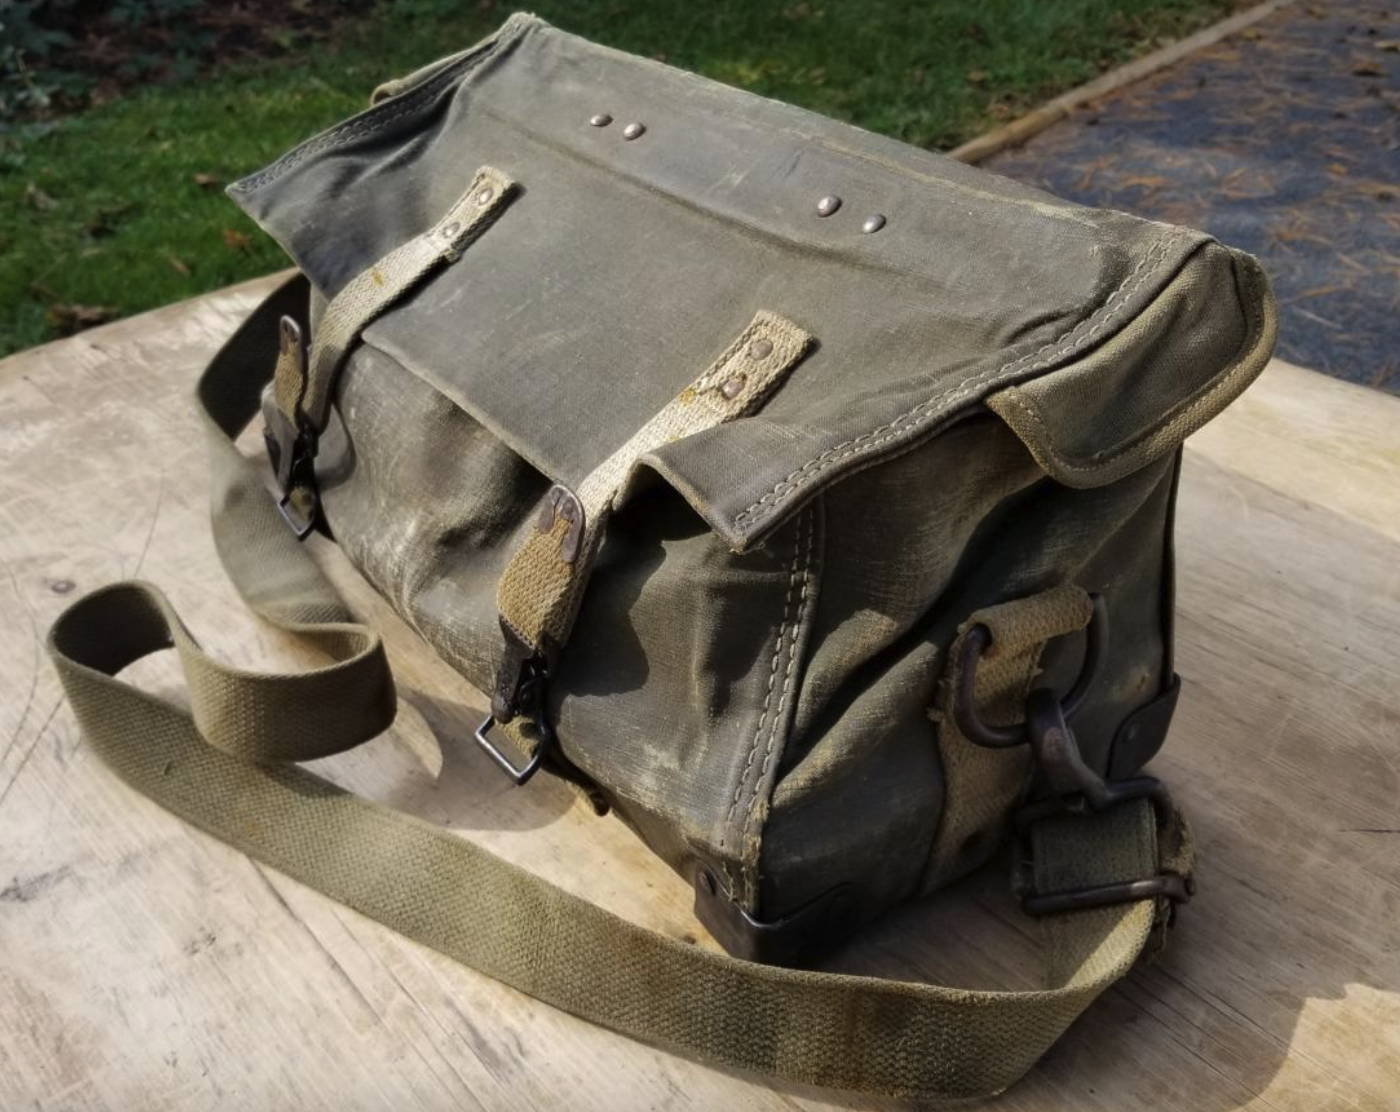
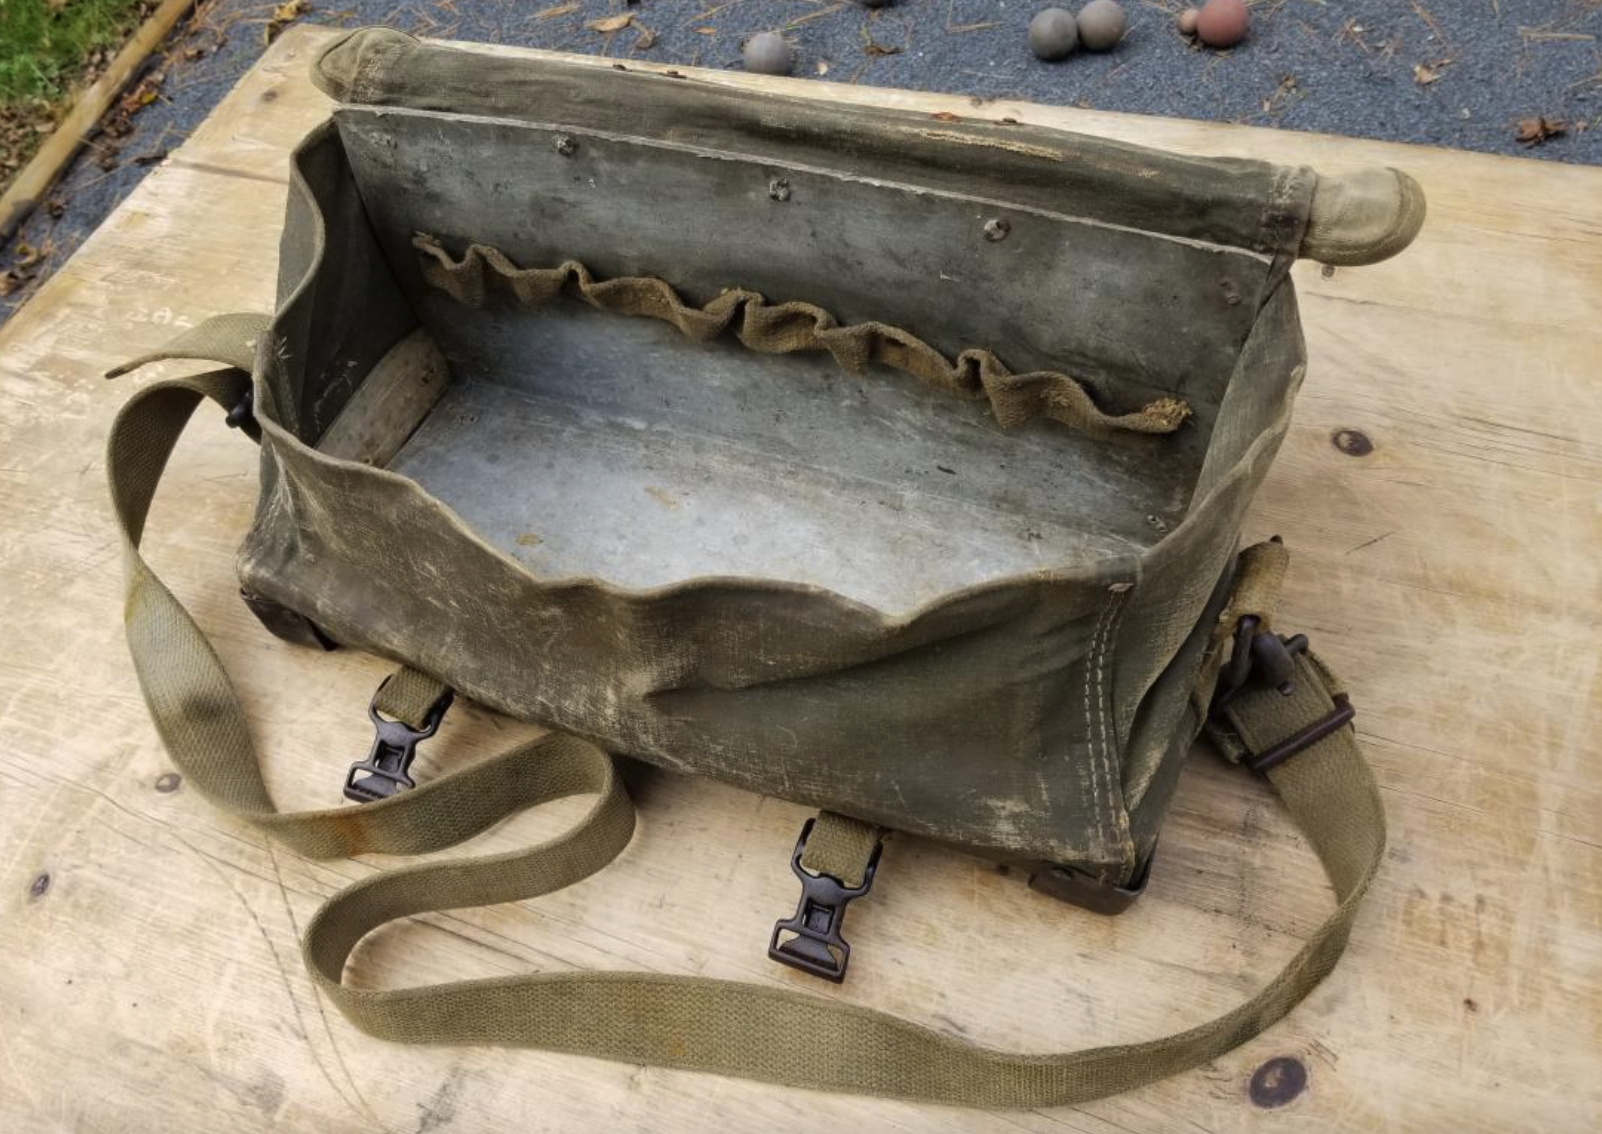
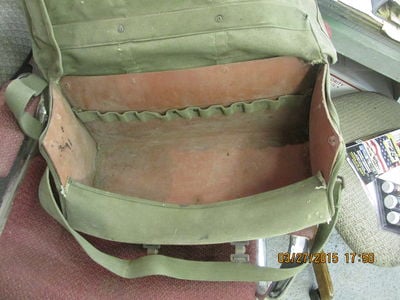
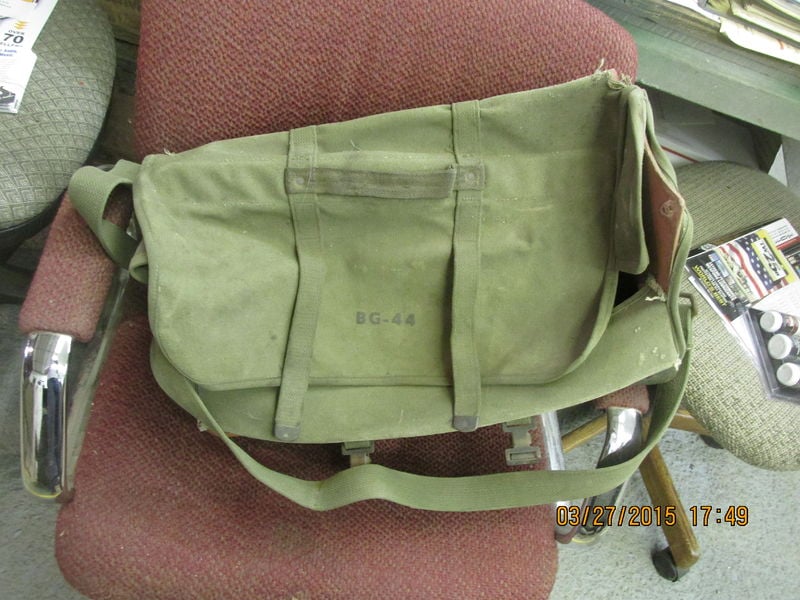

Not all lineman jobs required the BG-44 bag, but it contained a few different tools.
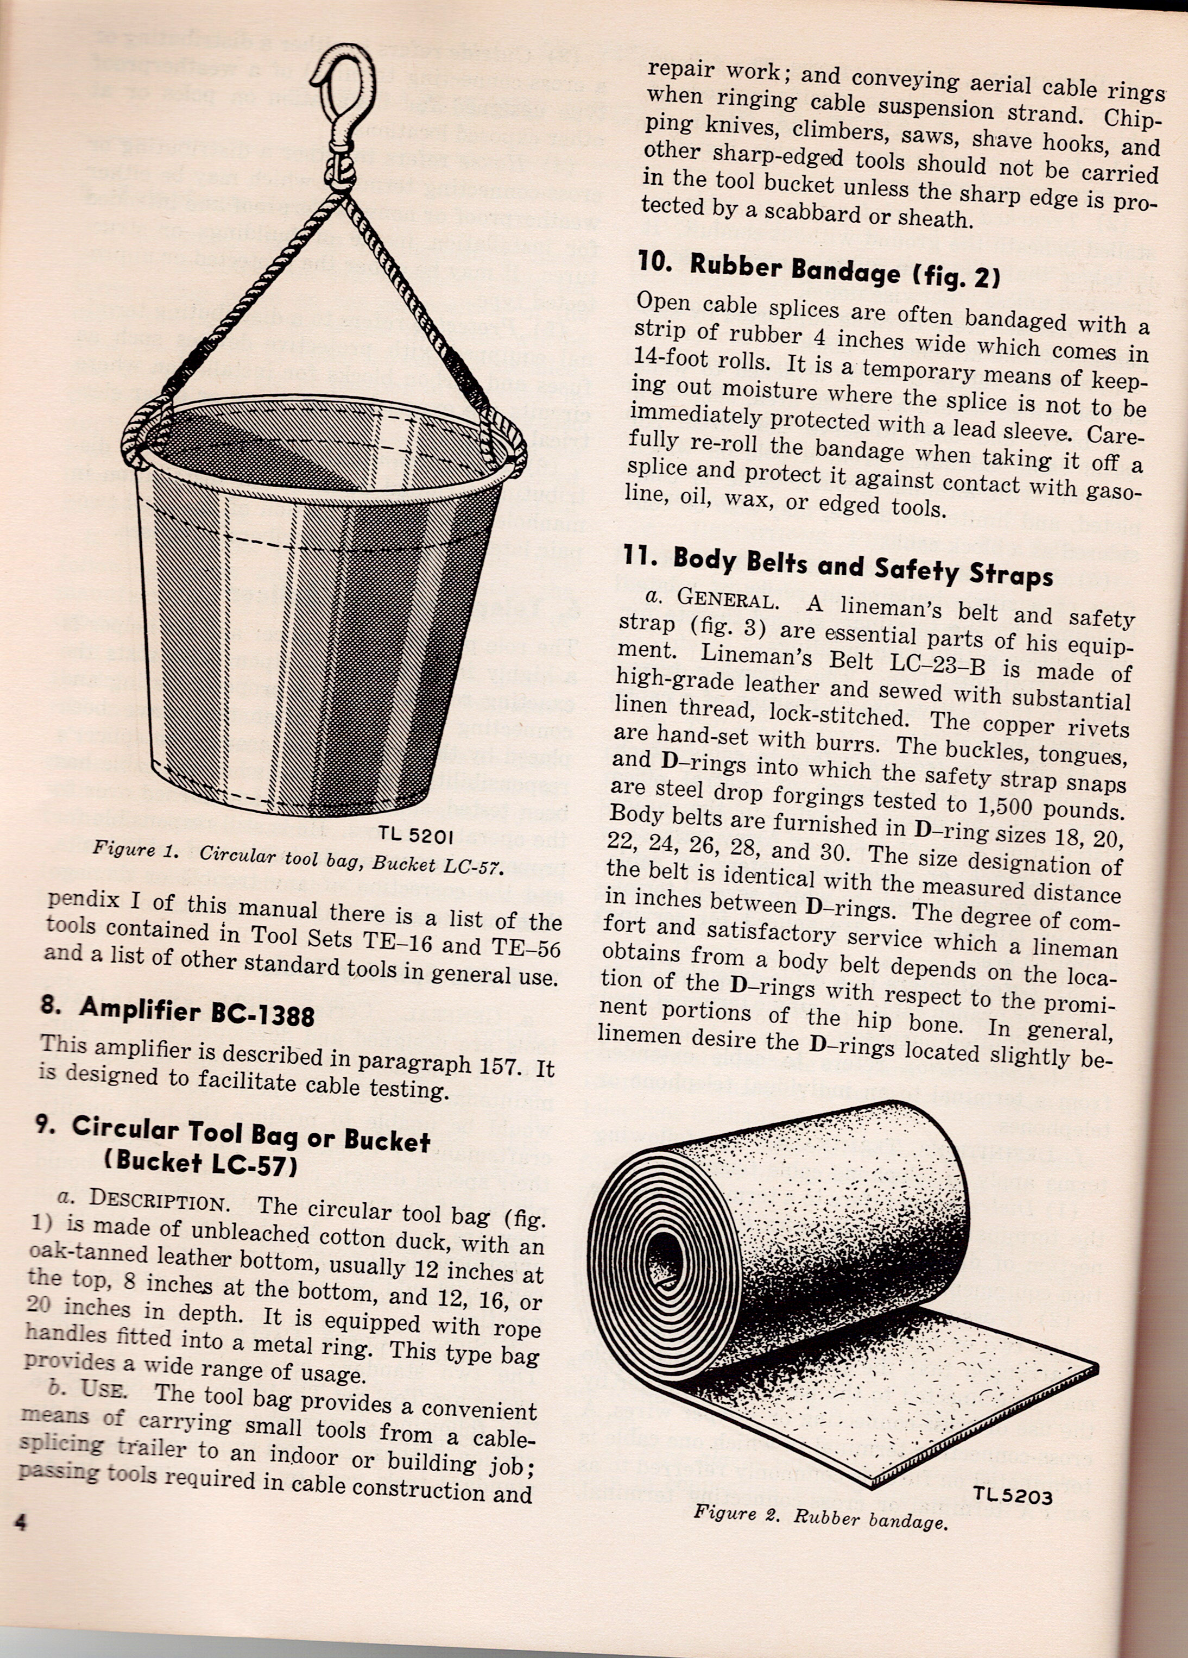
2 LC-57 Buckets, Canvas: A white canvas bucket for hauling tools around and up poles. It had what appears to be a metal ring sewn in around the top to provide support and reinforcement, and a leather bottom.

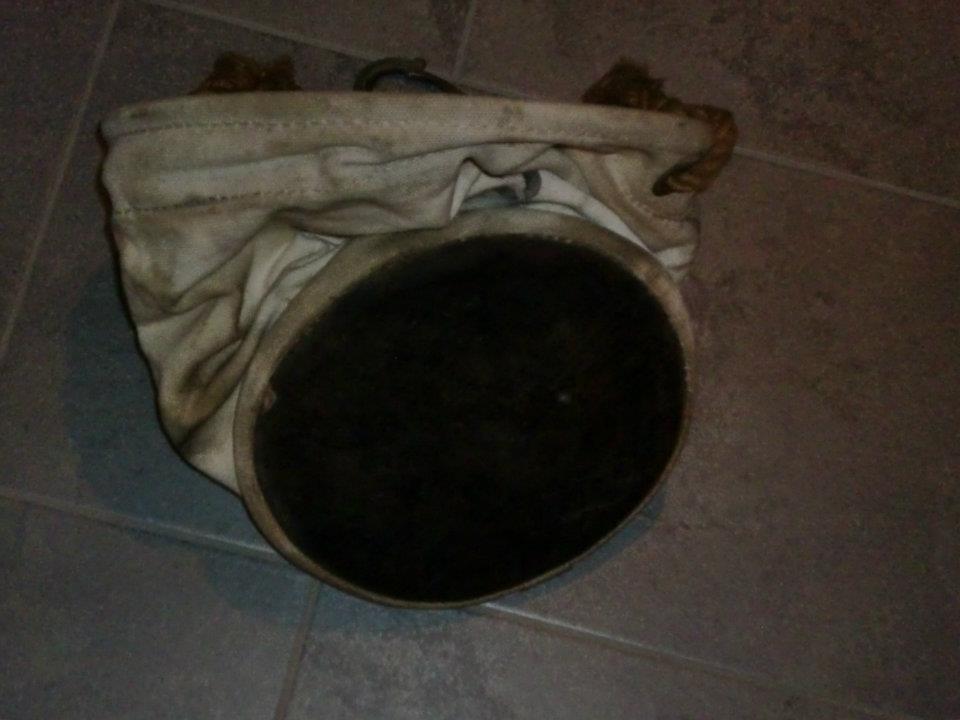
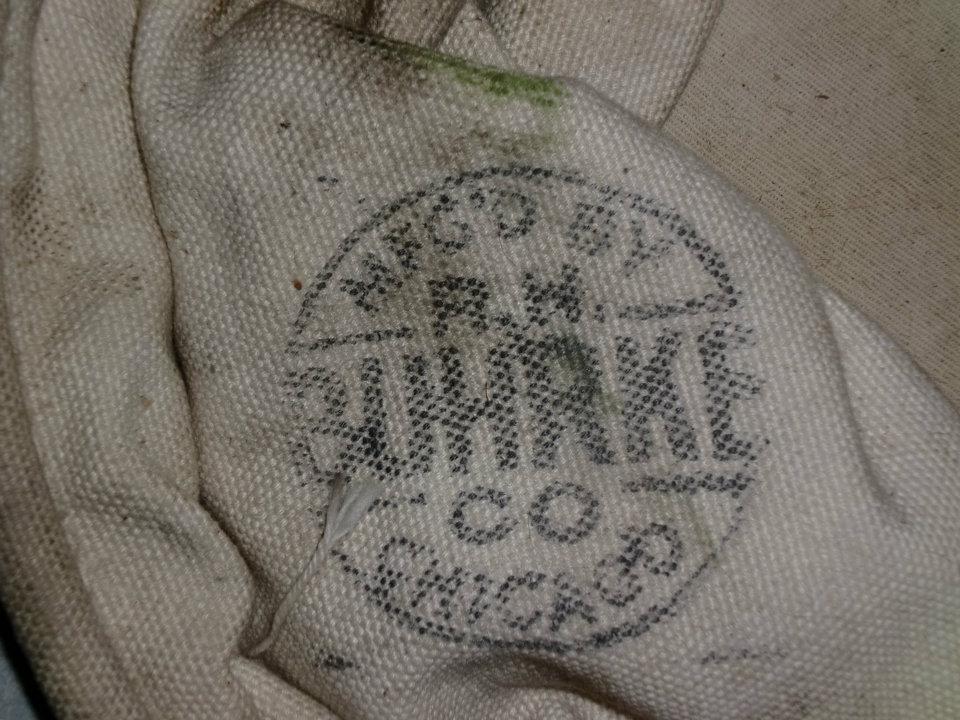
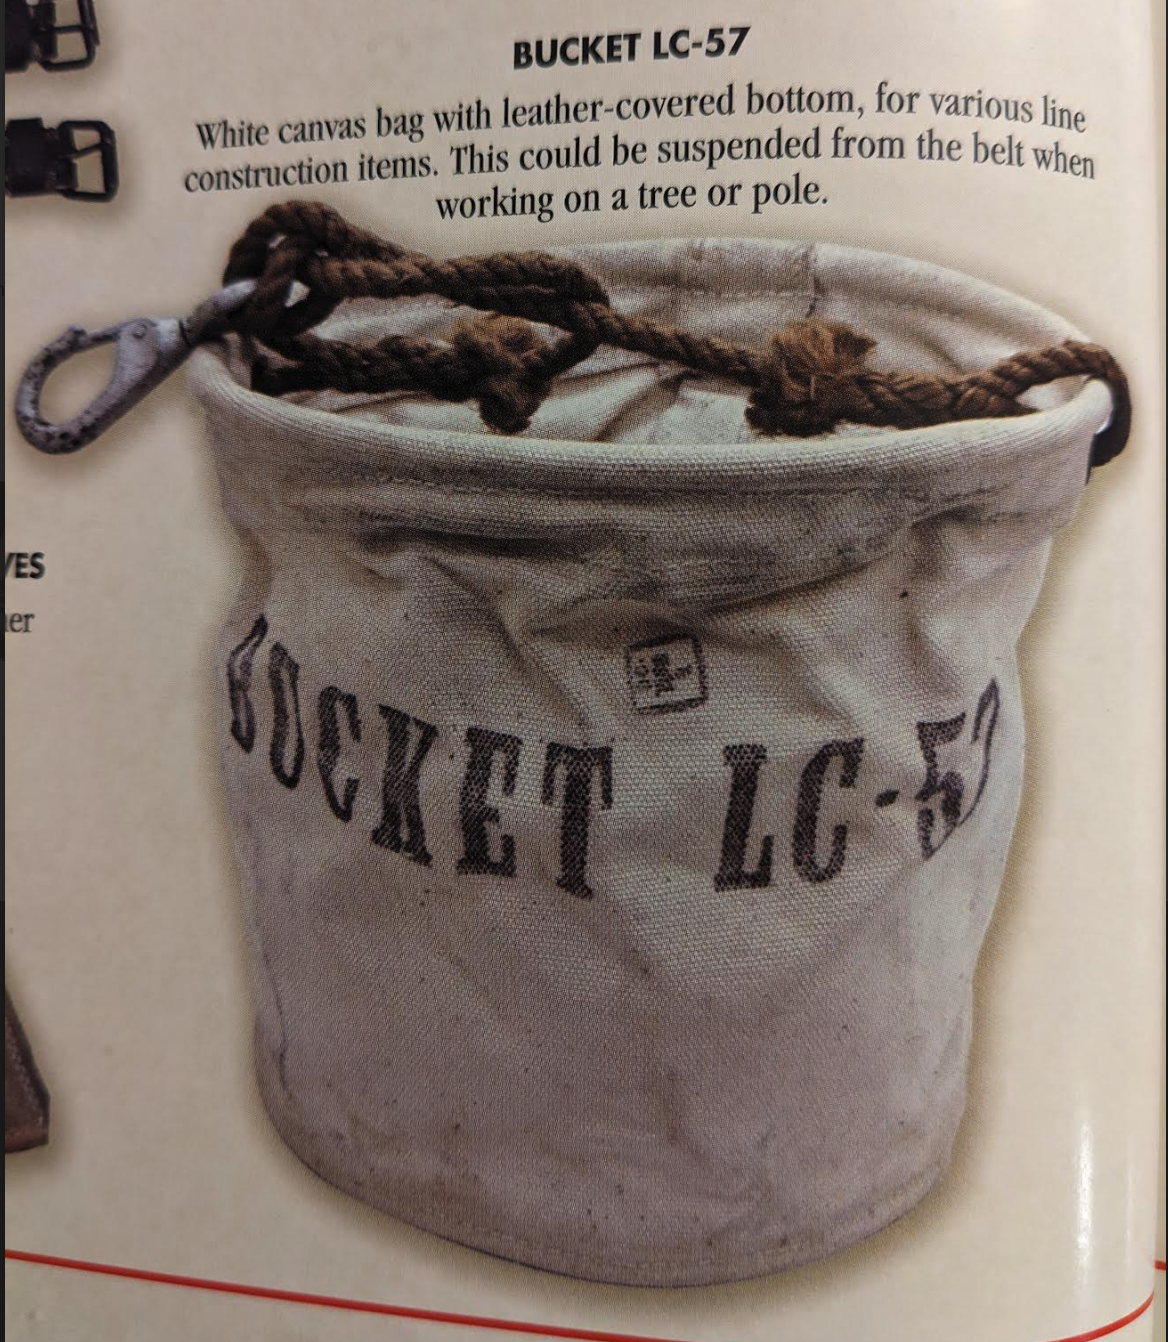
According to the TM 11-372 Telephone Cable Splicing Manual from May 1947, the LC-47 circular tool bag bucket is made of unbleached cotton duck cloth with an oak tanned leather bottom. 12 inches at the top, 8 inches at the bottom, and either 12, 16, or 20 inches in depth. It had rope handles fitted into a metal ring. Now, the fact that the bucket came in different depths presupposes that there are different model variants of the LC-57.

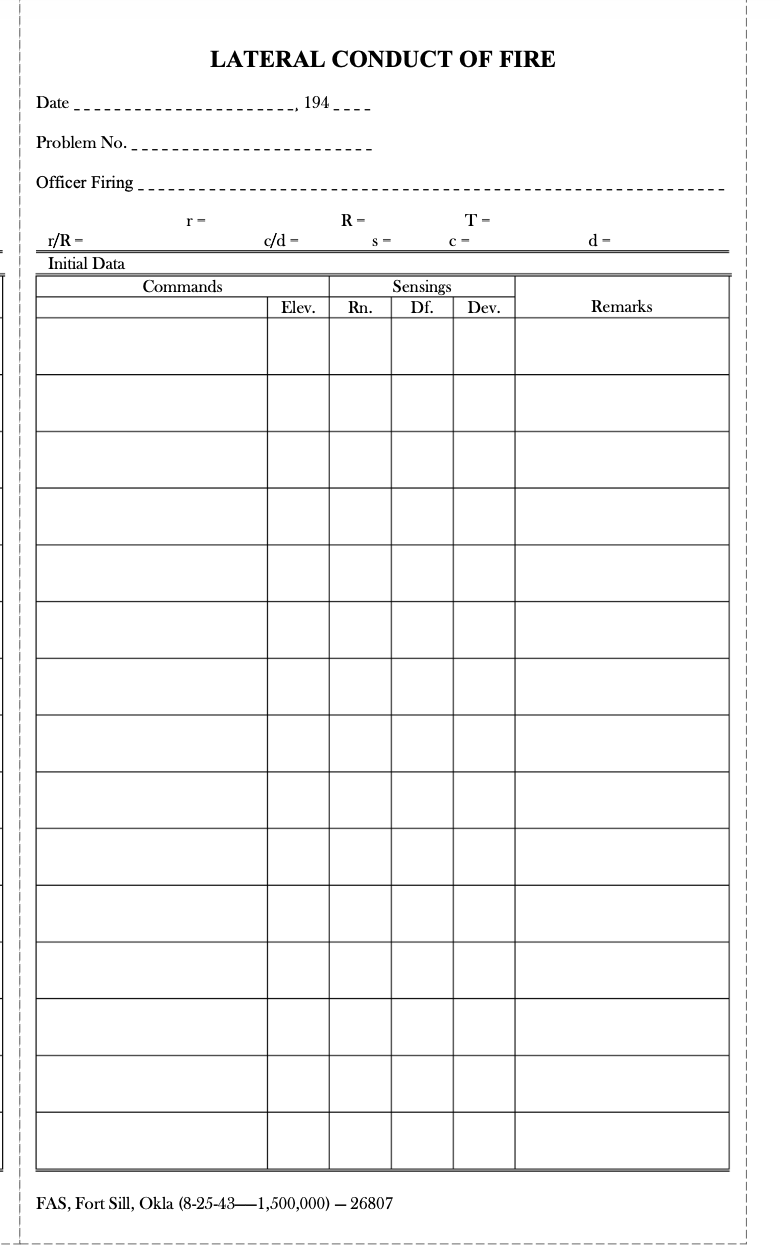
Paperwork and Forms
While not listed, some linemen marked the lines to identify what they are. They likely used a pencil or an ink pen to scribble what the line is. The identification tag may have been a standard ID tag. According to RadioNerds, there was an MC-72 tag that existed in 1927. It has a brass eyelet and a 12-inch tie wire for marking cables.
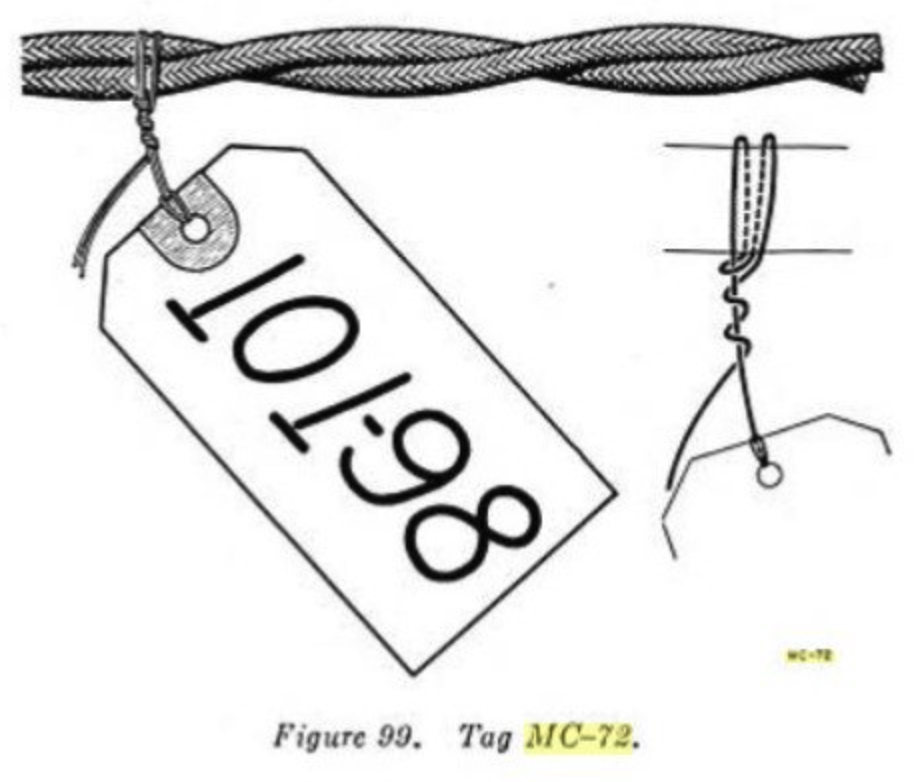
However, the tag below is taken from this site, which lists them as Korean War era repair tags.
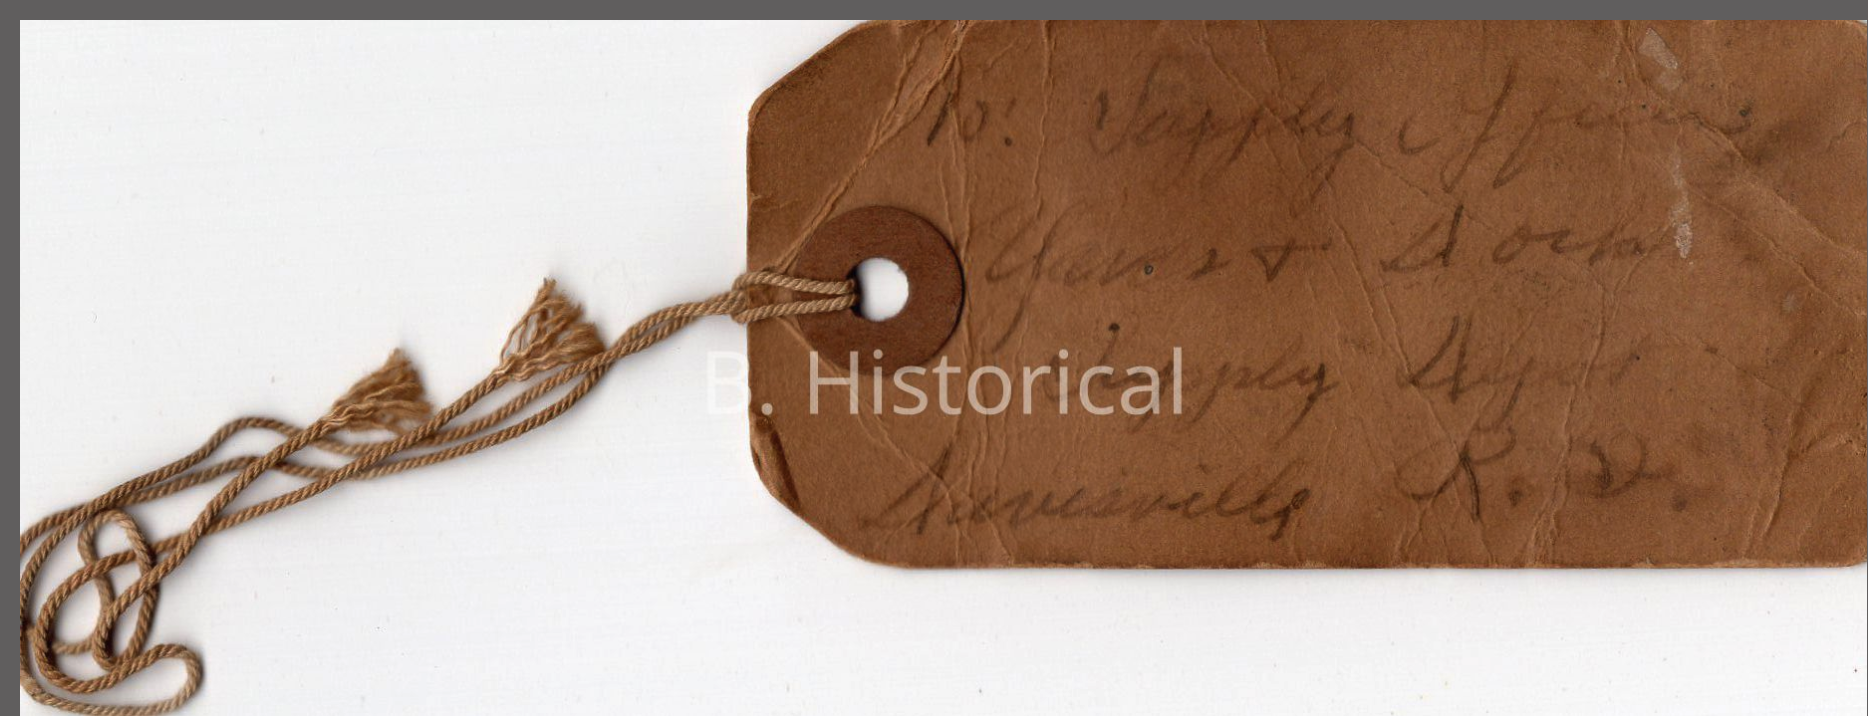
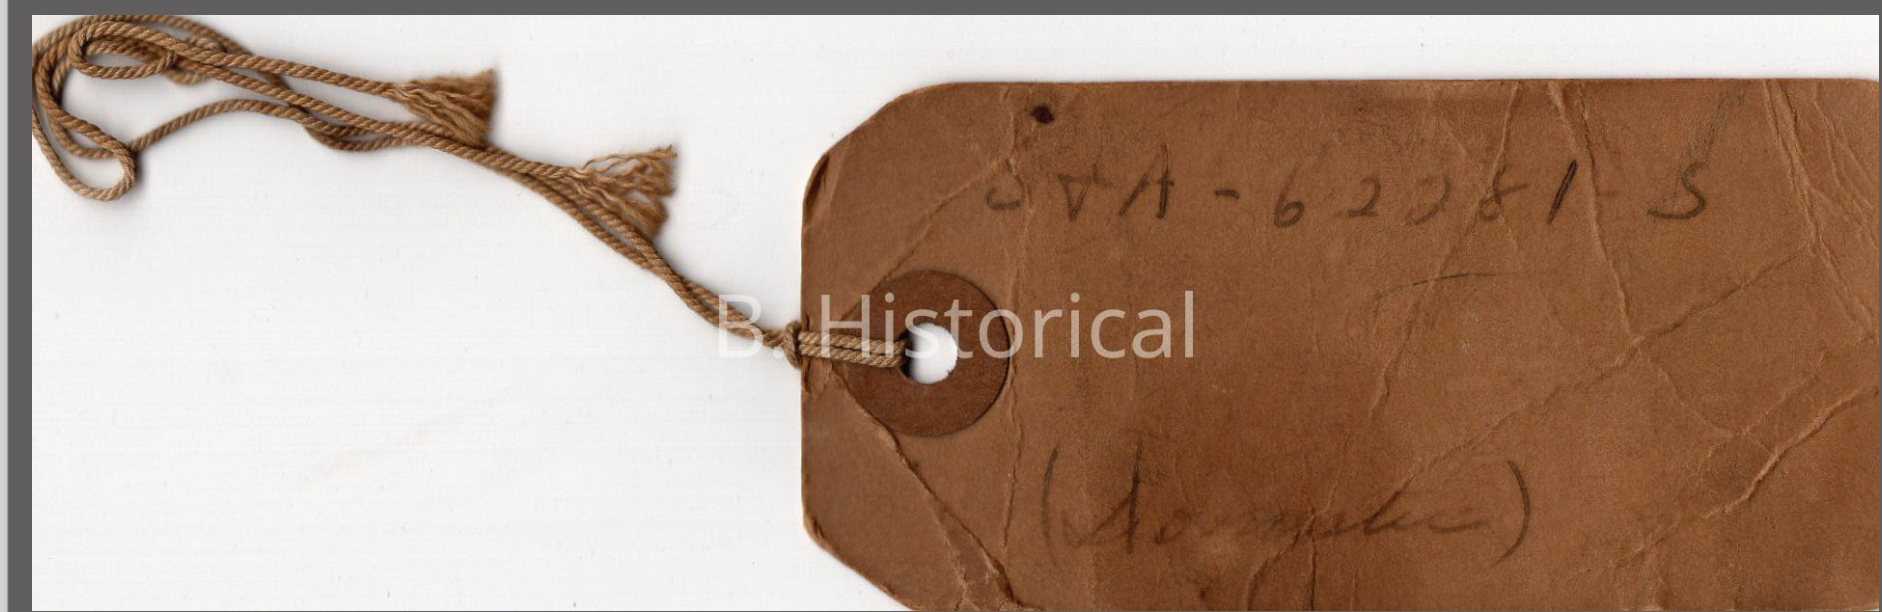
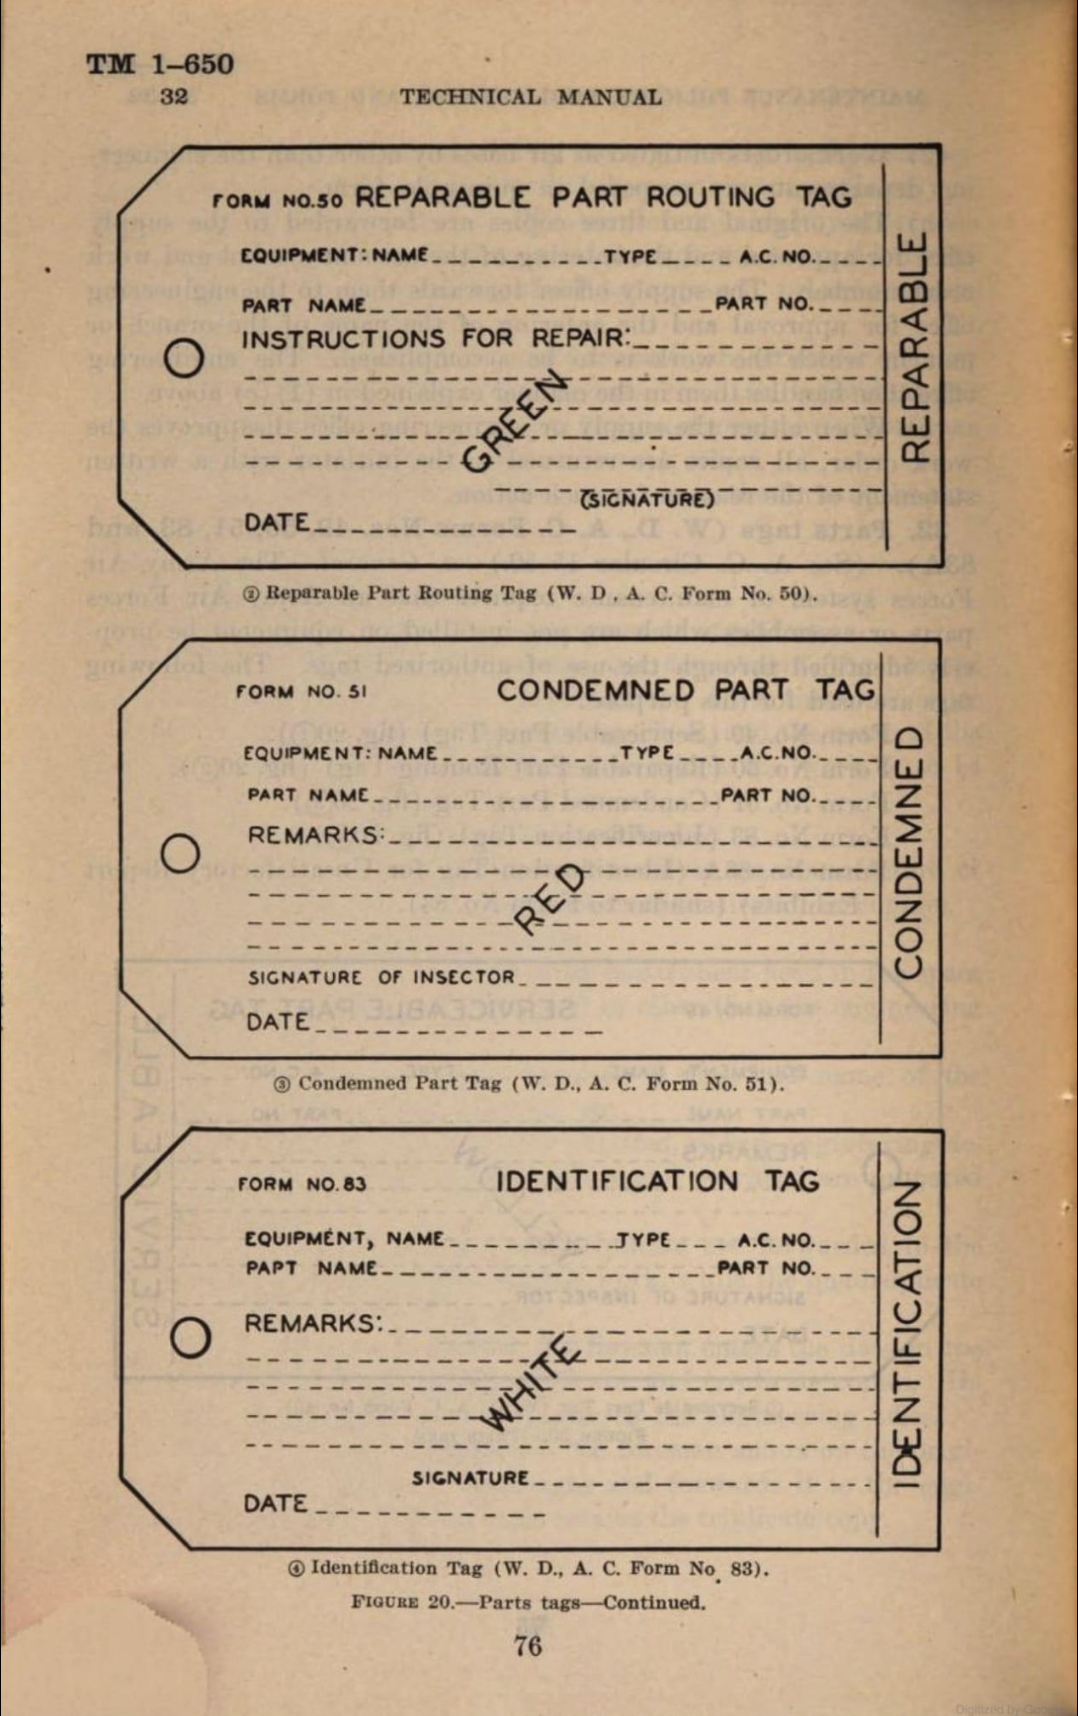
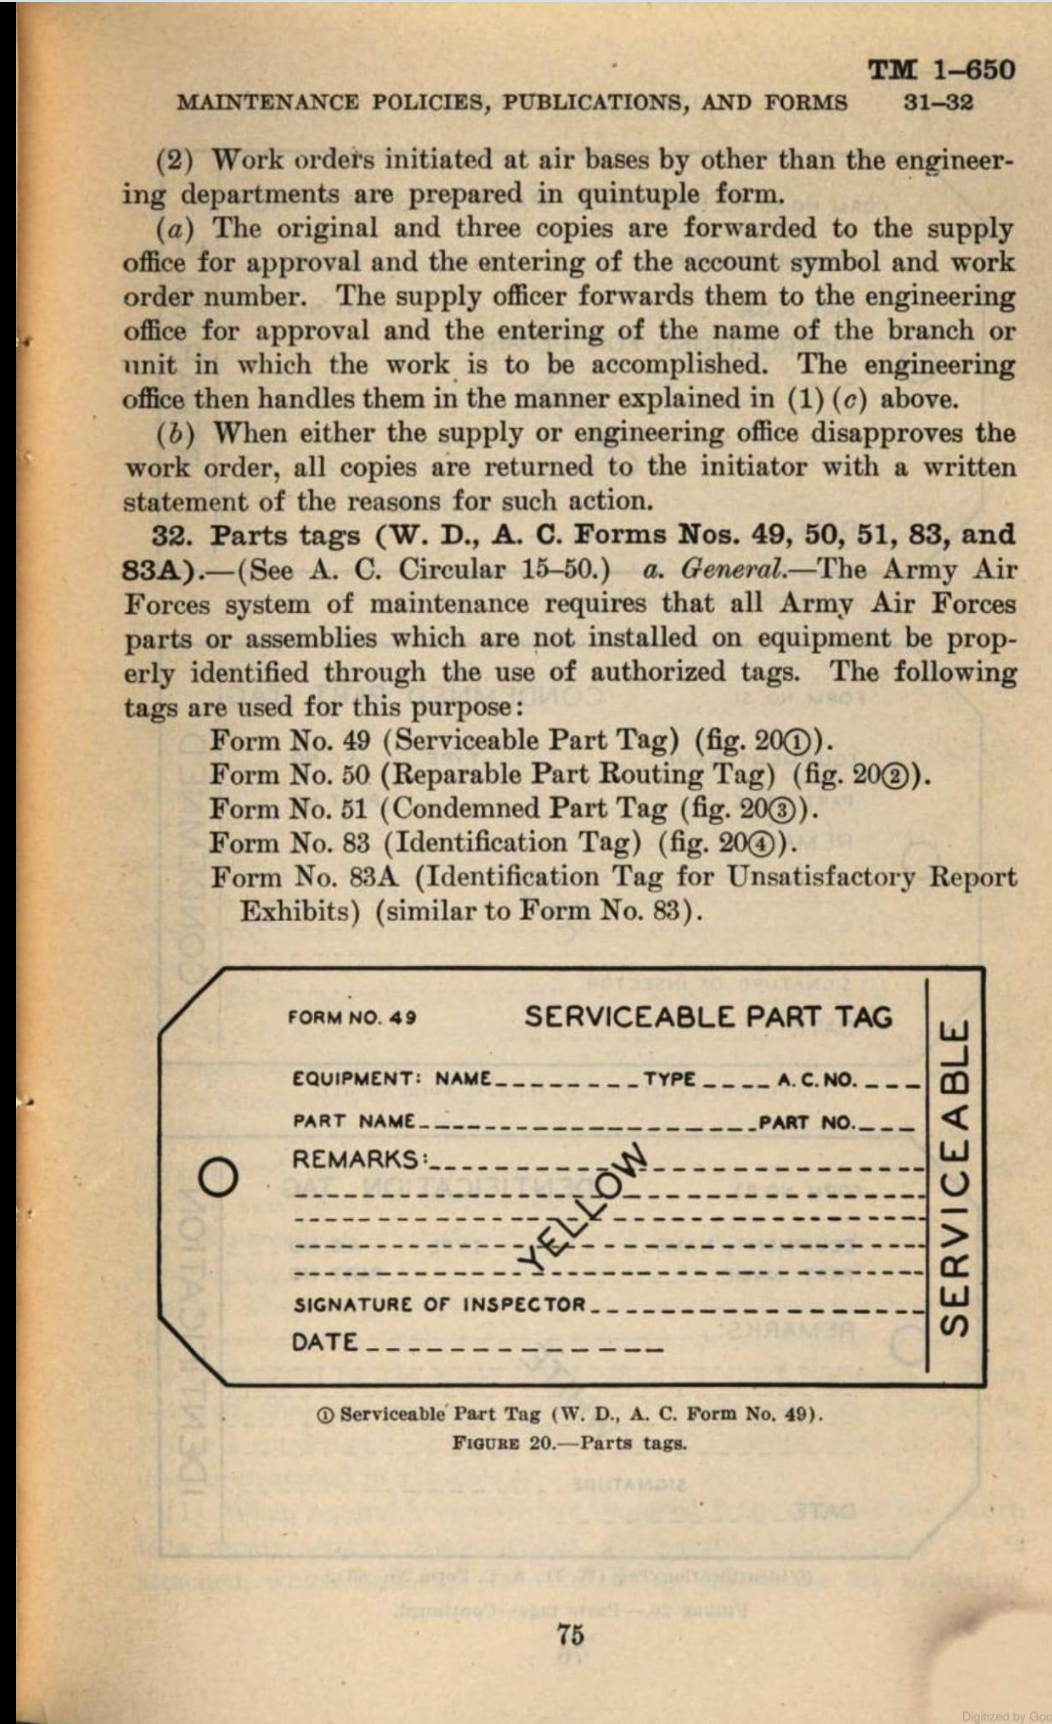
Additionally, in the TM 1-650 Maintenance Policies, Publications, and Forms June 1942, they list some Army Air Force Tags that further show what the WW2 Signal Corps era tags may have looked like –
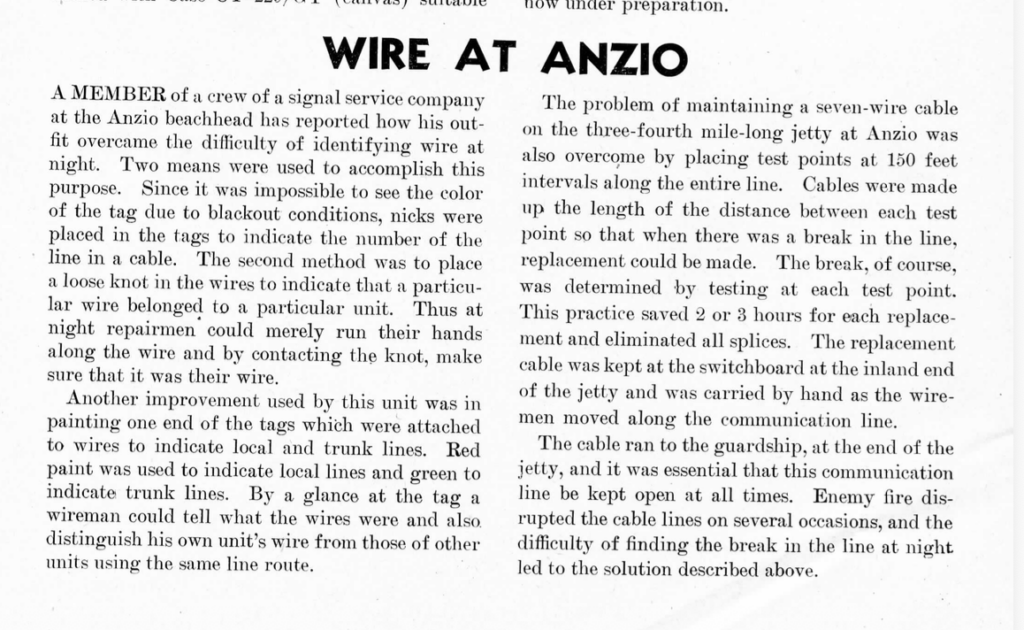
Lastly, in Signal Corps Technical Information Letter Jan 1945 No 38 on page 8, “Wire at Anzio,” it’s reported that they used colored tags to identify lines, but couldn’t see them in the dark, so they added notches to identify the number of the line in the cable. It was also mentioned that they painted them to identify local vs trunk lines with red for local and green for trunk.
If you wanted to be historically accurate, you could get some basic white ones from Amazon and use wire to attach them. According to the 1941 Signal Corps, Pole Construction video, soldiers used white tags with wire to identify lines. Then scribble on it any relevant notes and add a notch if needed to identify the line, and some paint to differentiate the type.
I’m unsure if the wire part of the tag was dropped for a string as the war continued, if the brass was dropped for a cardboard support, and/or if the color of the tag was switched to brown (as shown on that repair tag above) to better camouflage the lines.
If you’re installing wire inside a building, you may need to use the 1W-5 Superior Insulated Staple to affix the wires and lines to walls. You can find more information on that item: https://patcosta.com/ww2-reproduction-office-paperwork-type-printables/.
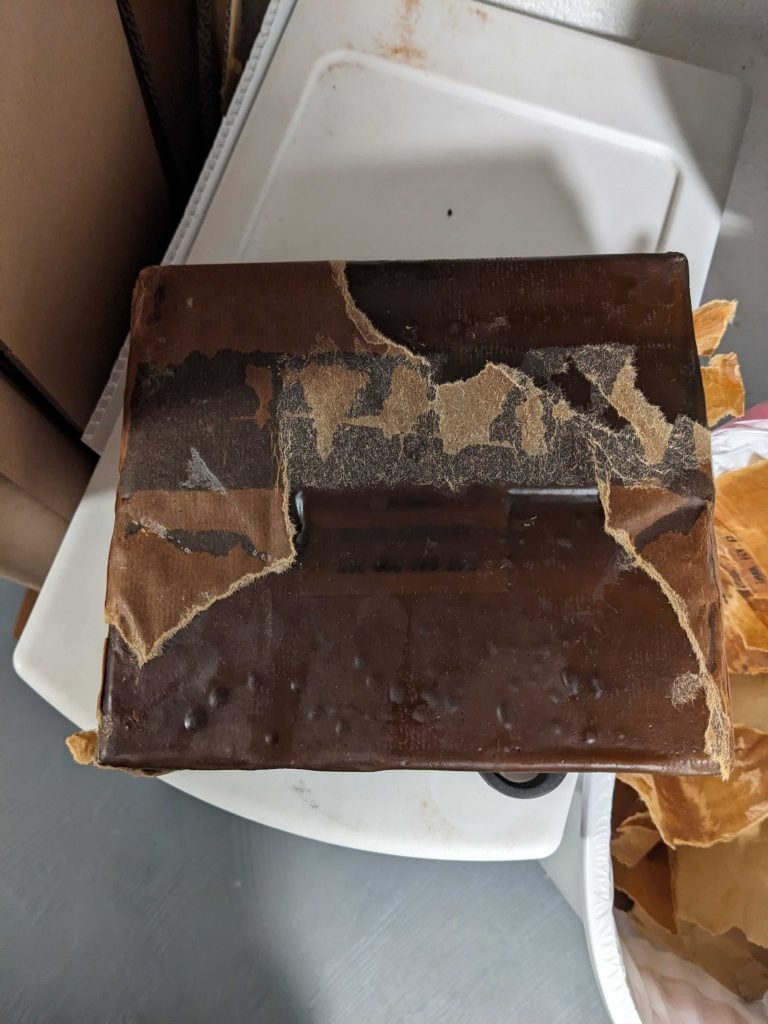
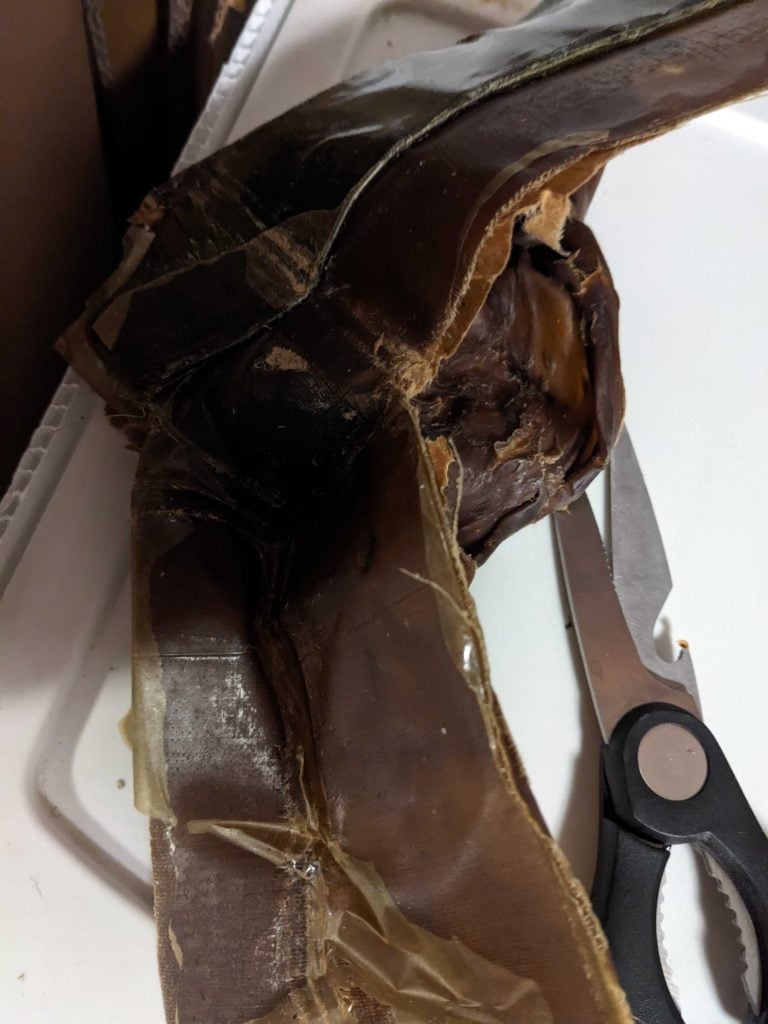
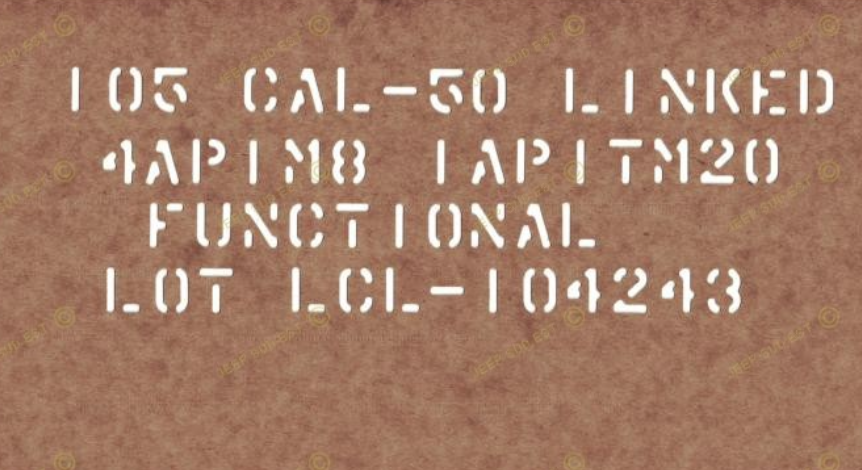
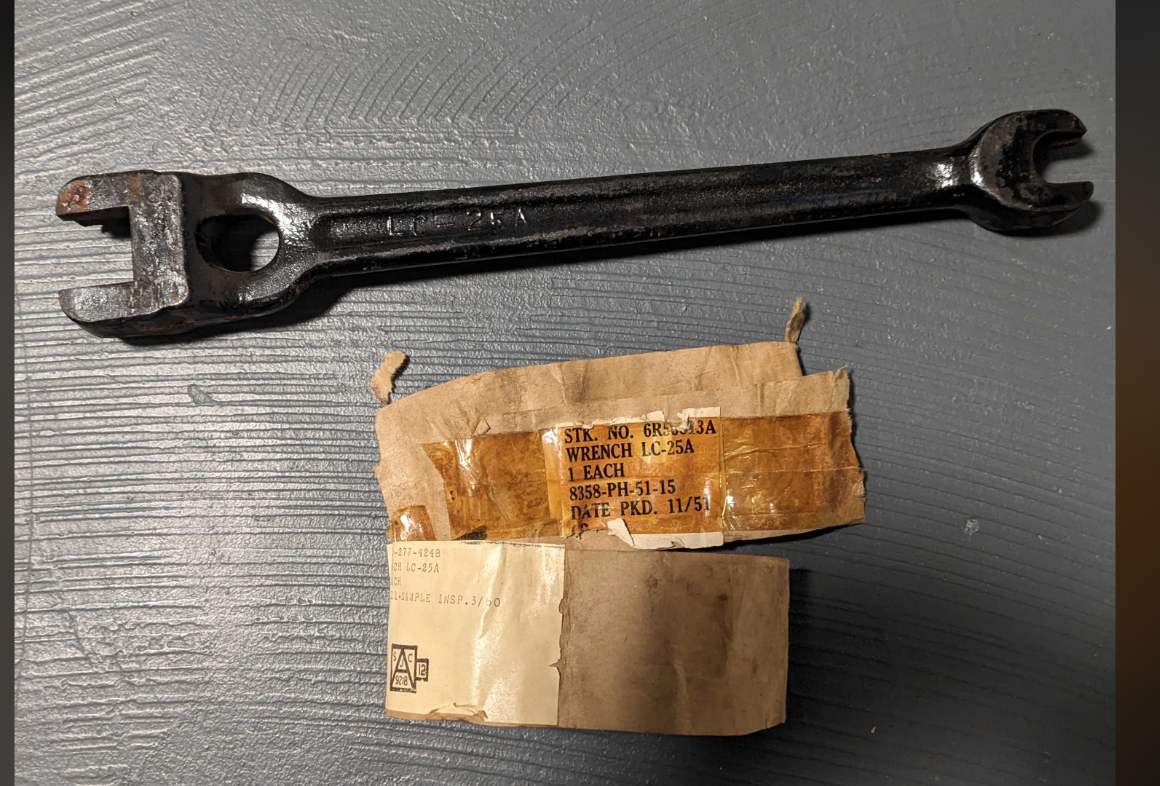
LC-25-A Lineman Wrench Wrapper
The LC-A wrench looked different when compared to the A version.
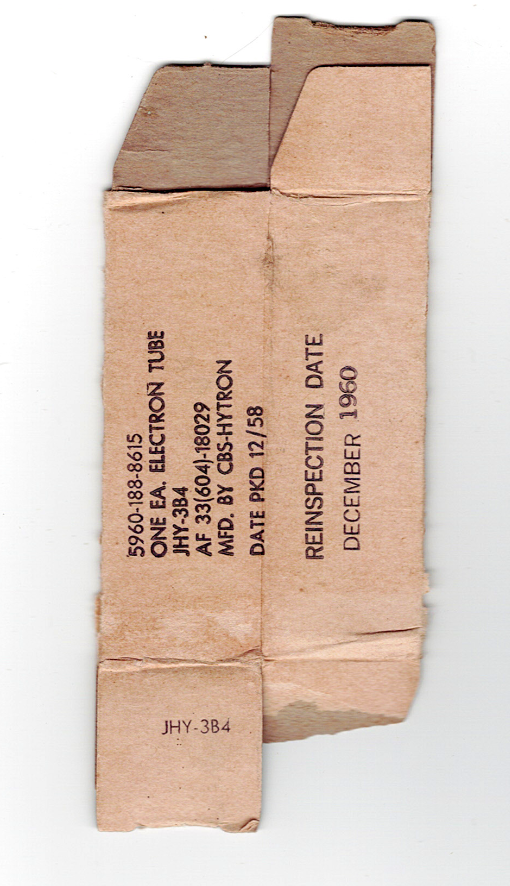
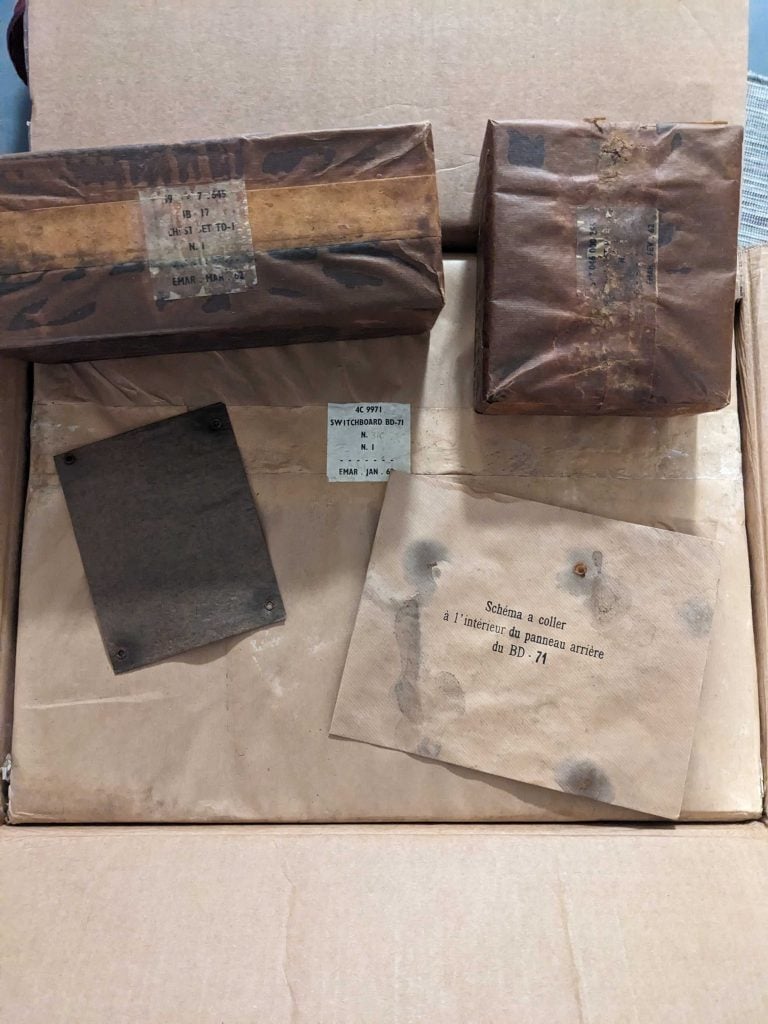
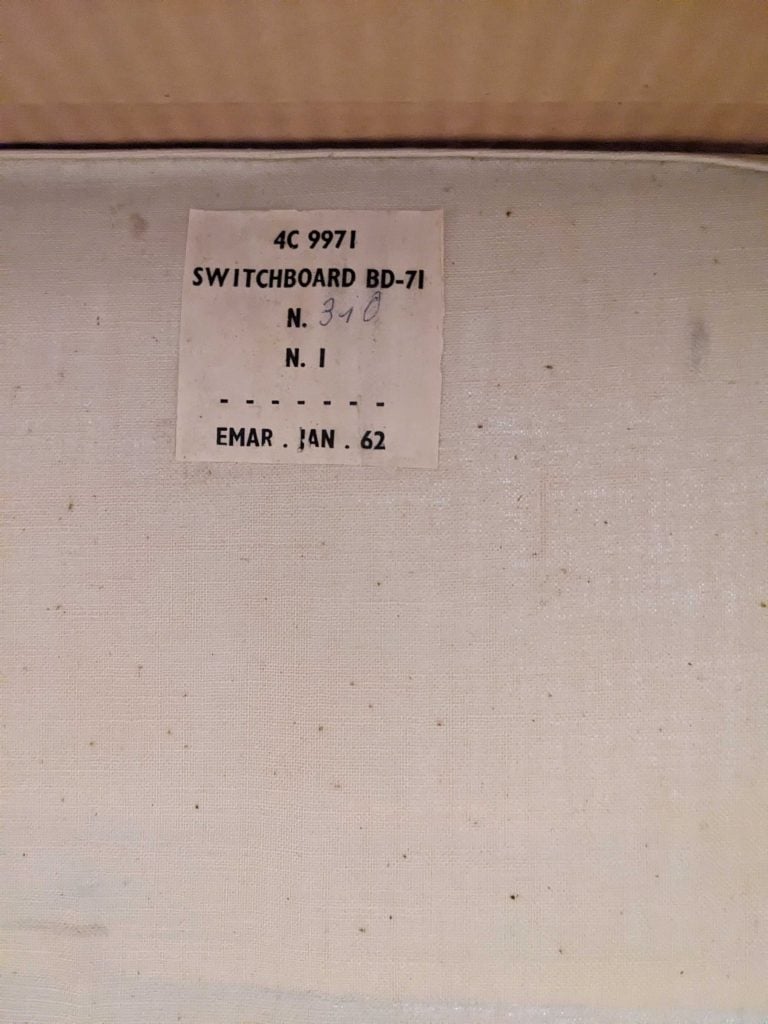
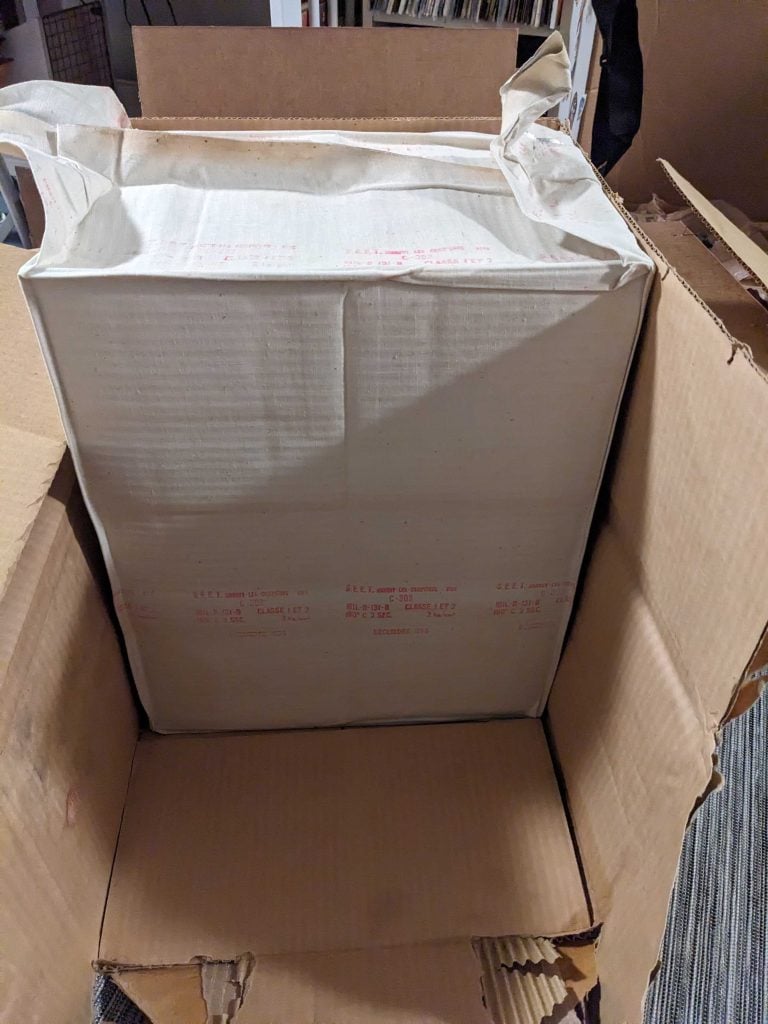
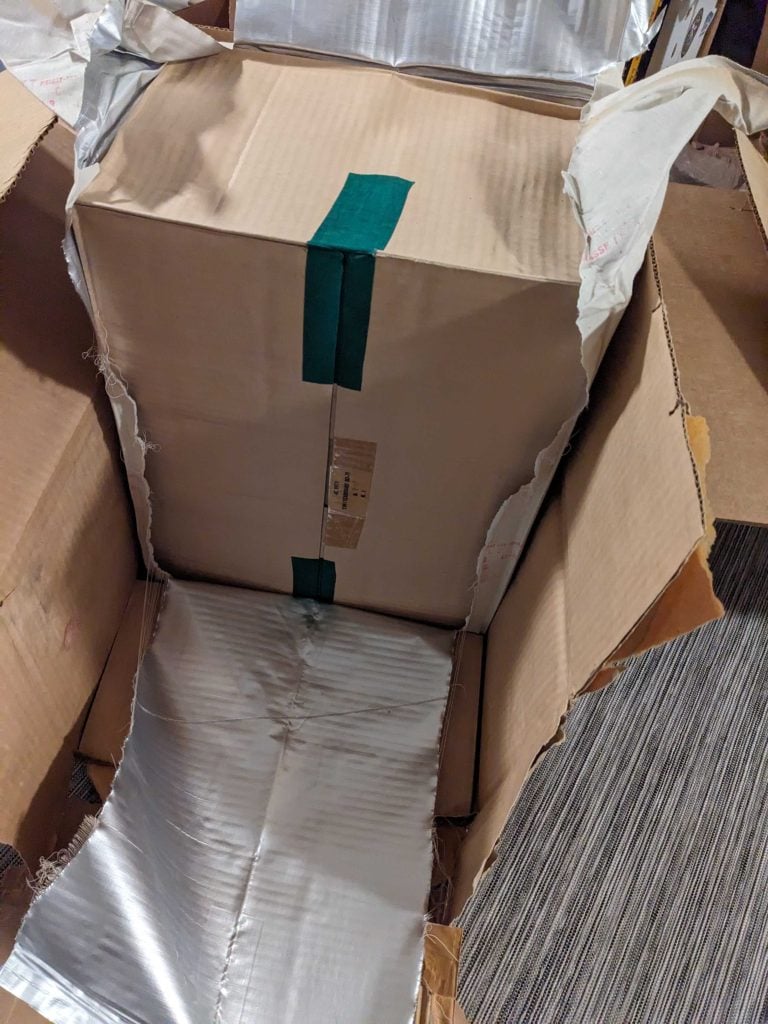
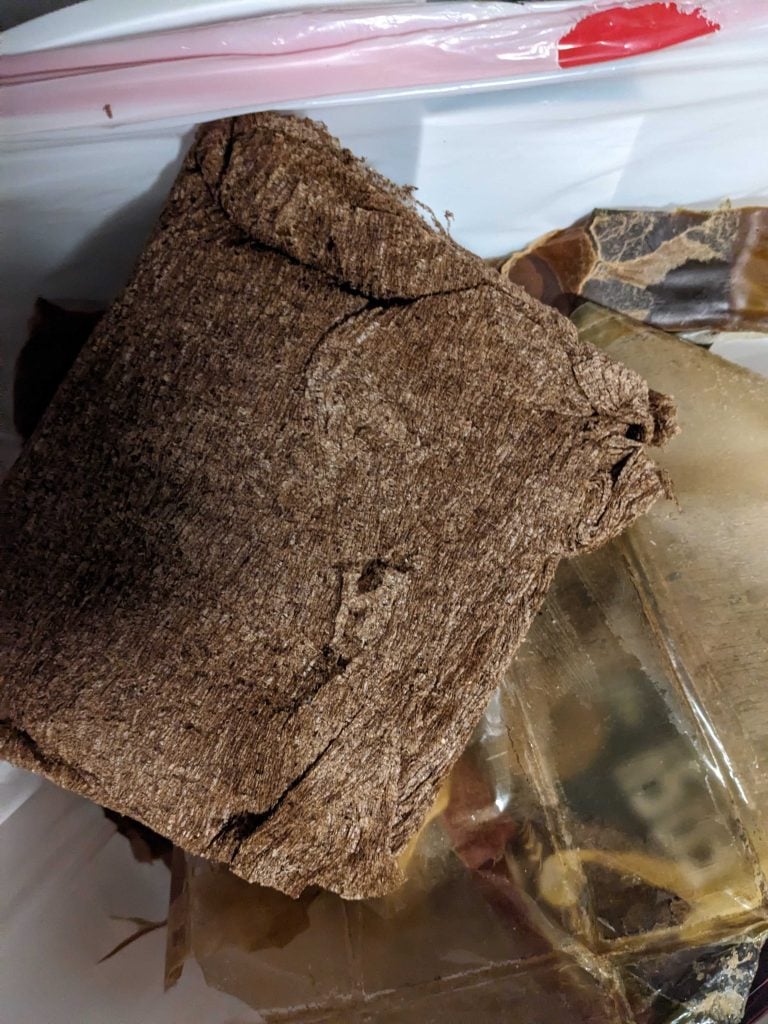
The LC-25-A Wrench was used to secure cross beams to telephone poles. I purchased mine off of eBay for 30 dollars in March 2025, shipped. It came in new, unopened condition. It was wrapped in two brown paperish wrappers with a paper tag attached to it.
The first tag was an inspection wrapper dated 3/1960. The second tag was the initial packing tag. It was dated 11/1951.
Now, to my knowledge, the wrench didn’t change between WW2 and the Korean War. I don’t have the wrappers, but the 11/1951 wrapper is 6in long and 2in wide. The 3/1960 is 7in long and 2in wide. You can download a PDF here if you want to try and recreate it.

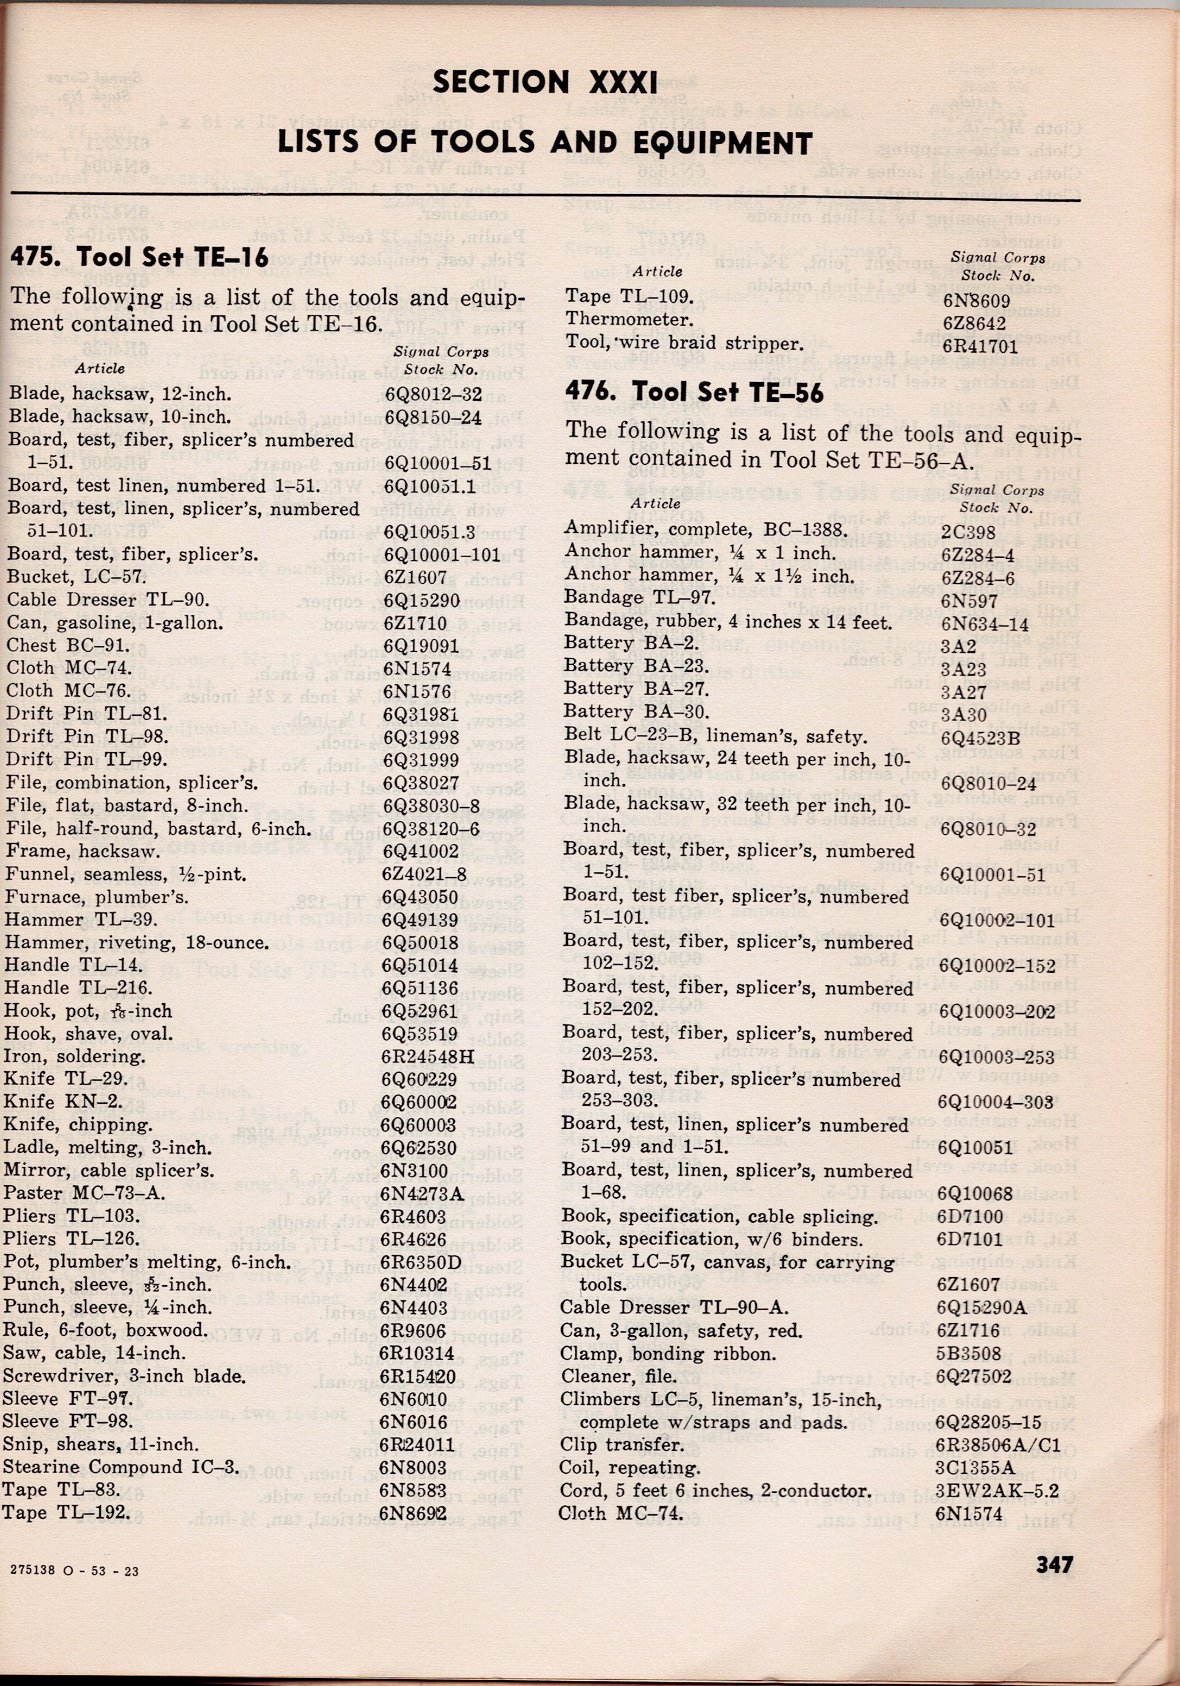
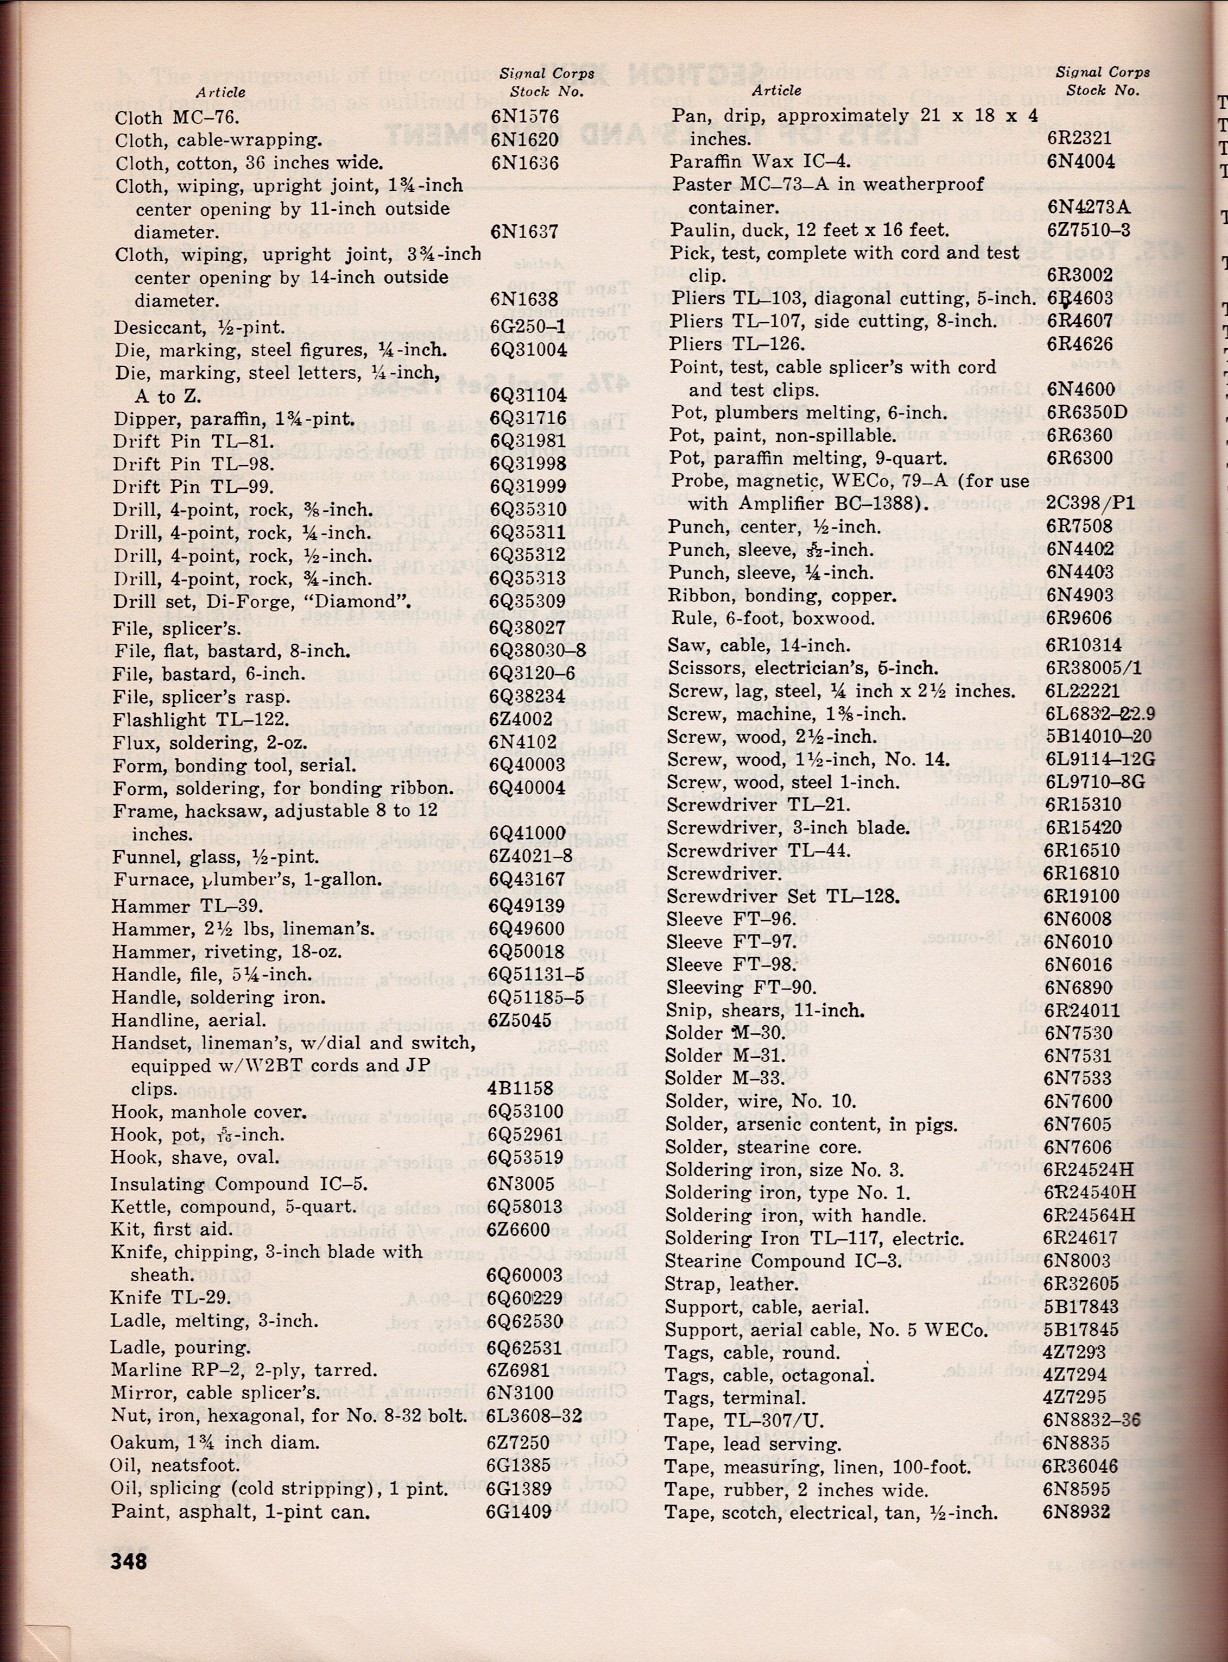
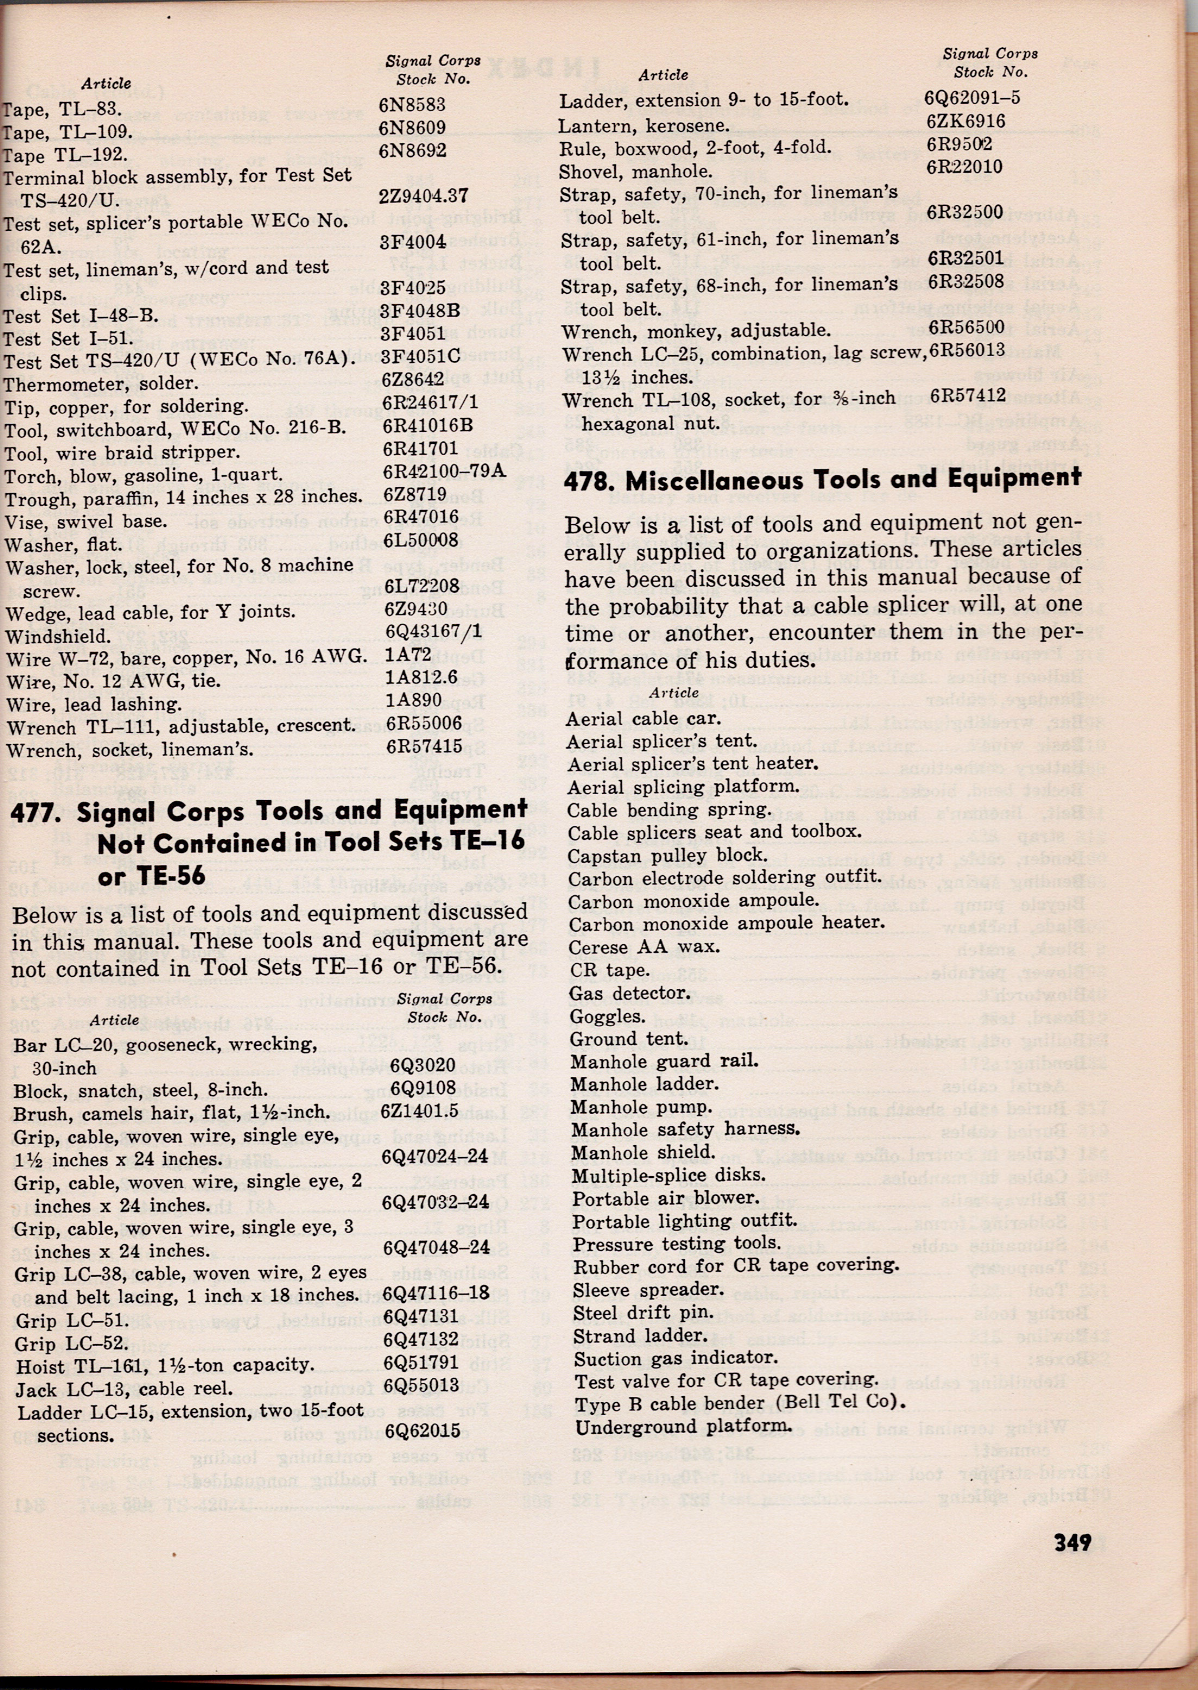
Tool Set TE-16 and Tool Set TE-56
Below is the list of tools and equipment contained in both sets. They come from the TM 11-372 Telephone Cable Splicing Manual from May 1947. While post World War II, it seems the equipment for the sets wouldn’t have varied by much, if at all.