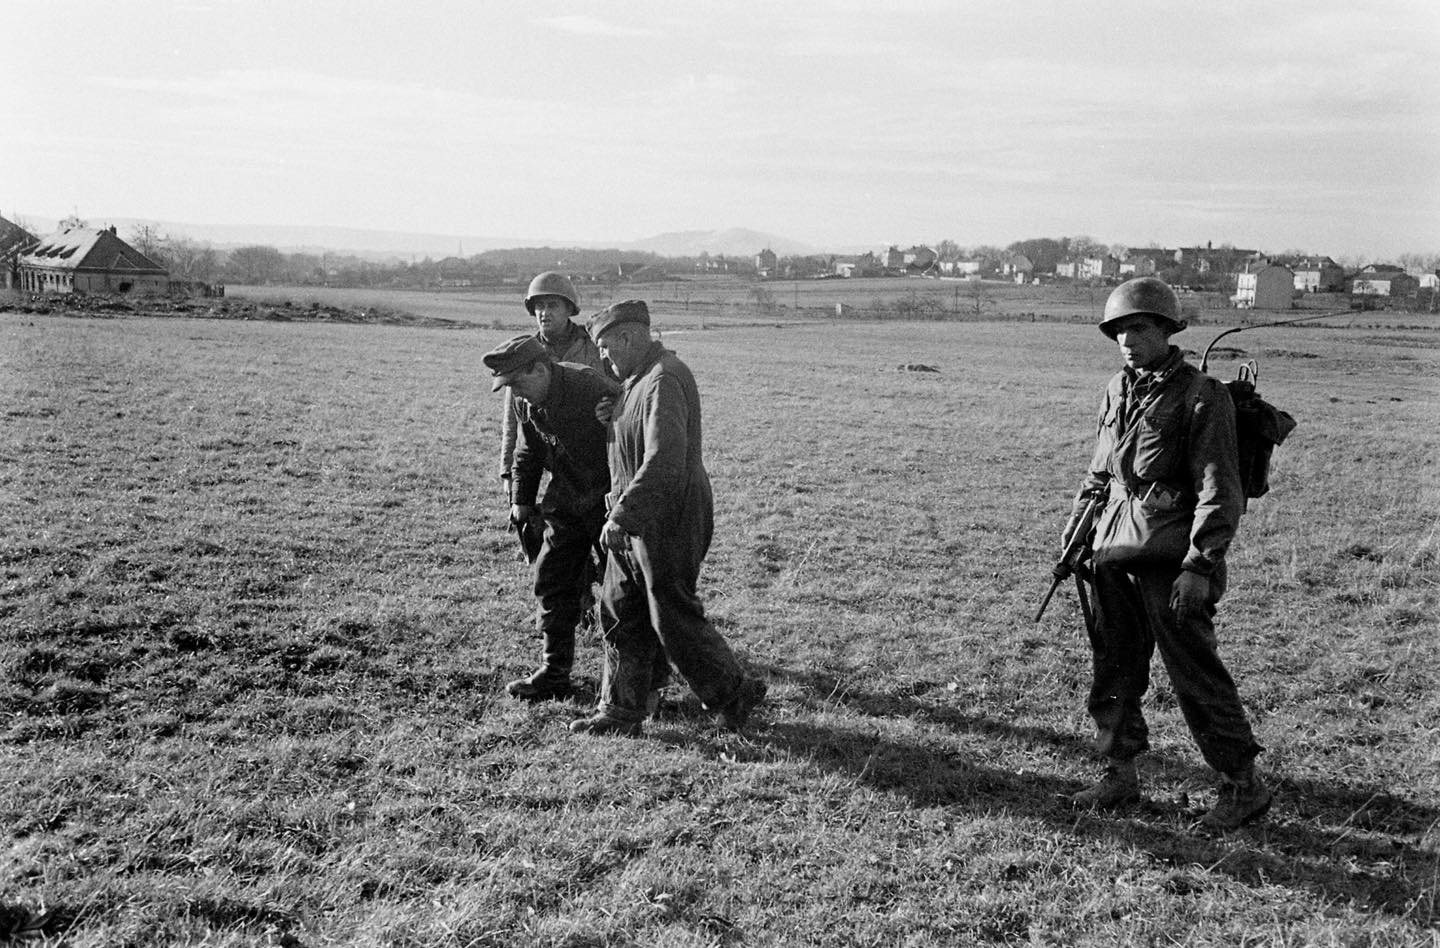
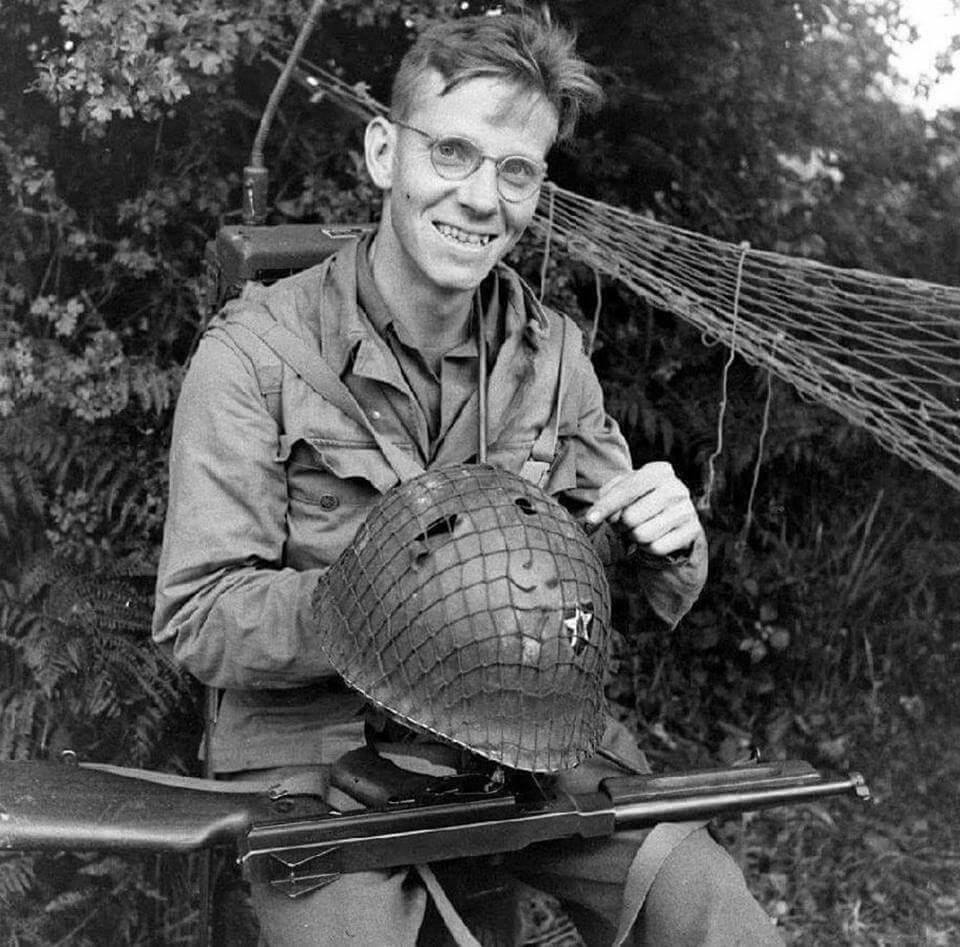
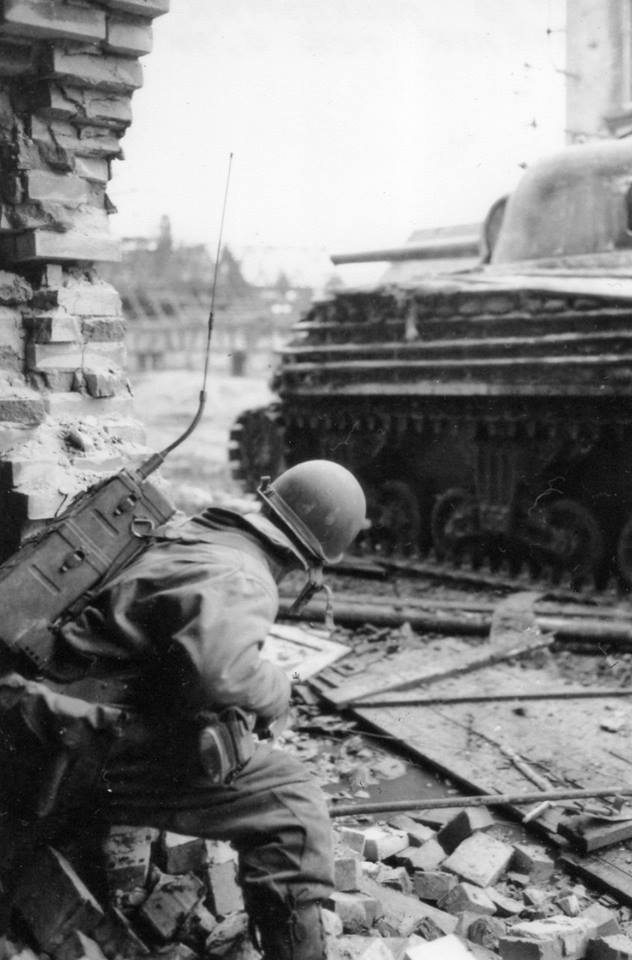
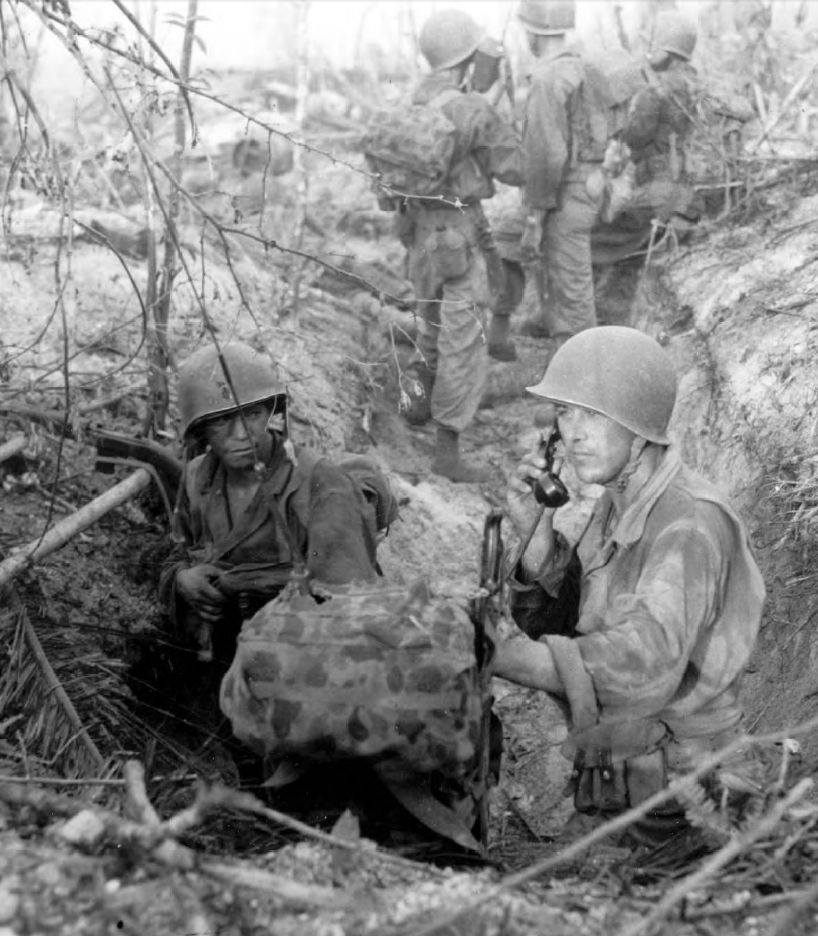
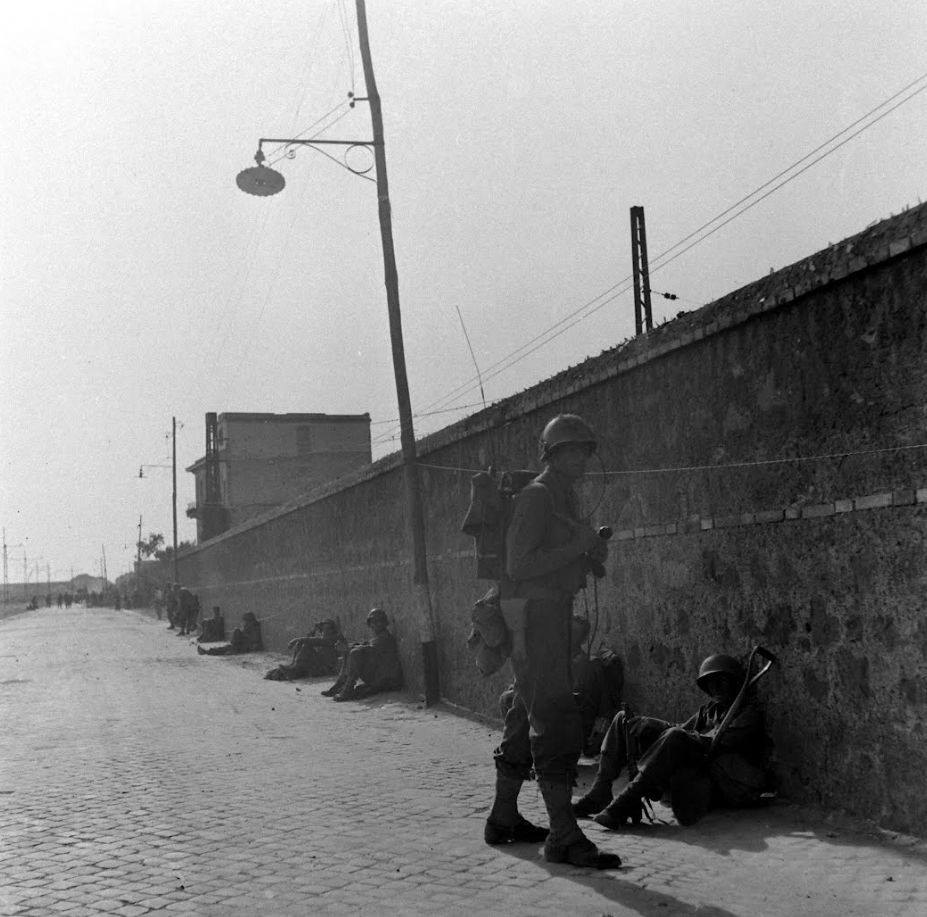
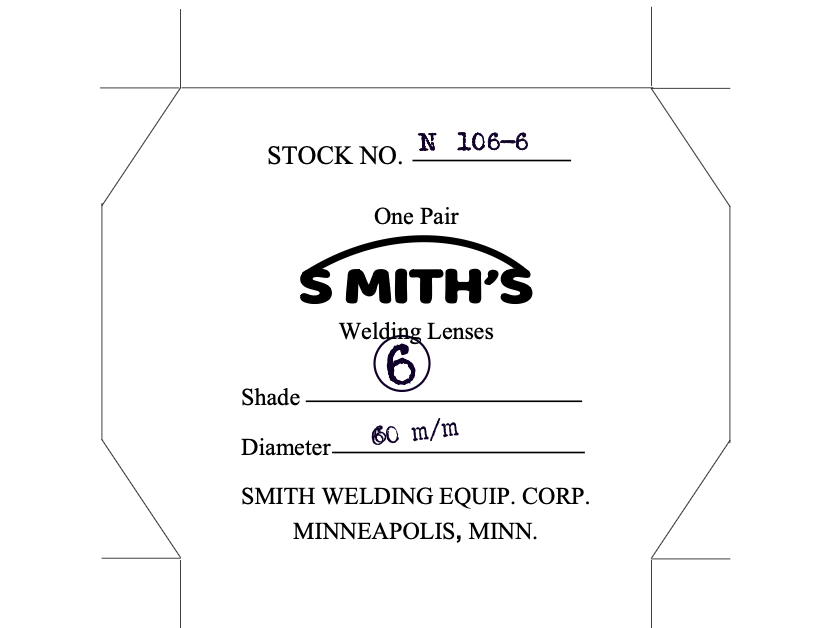
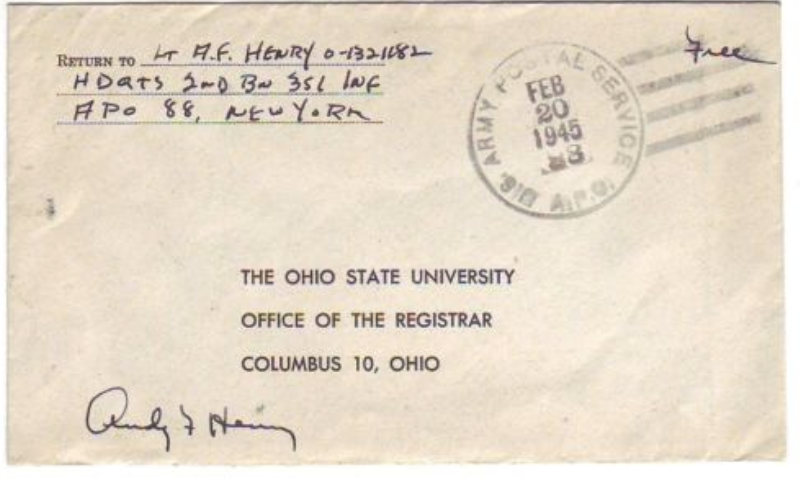
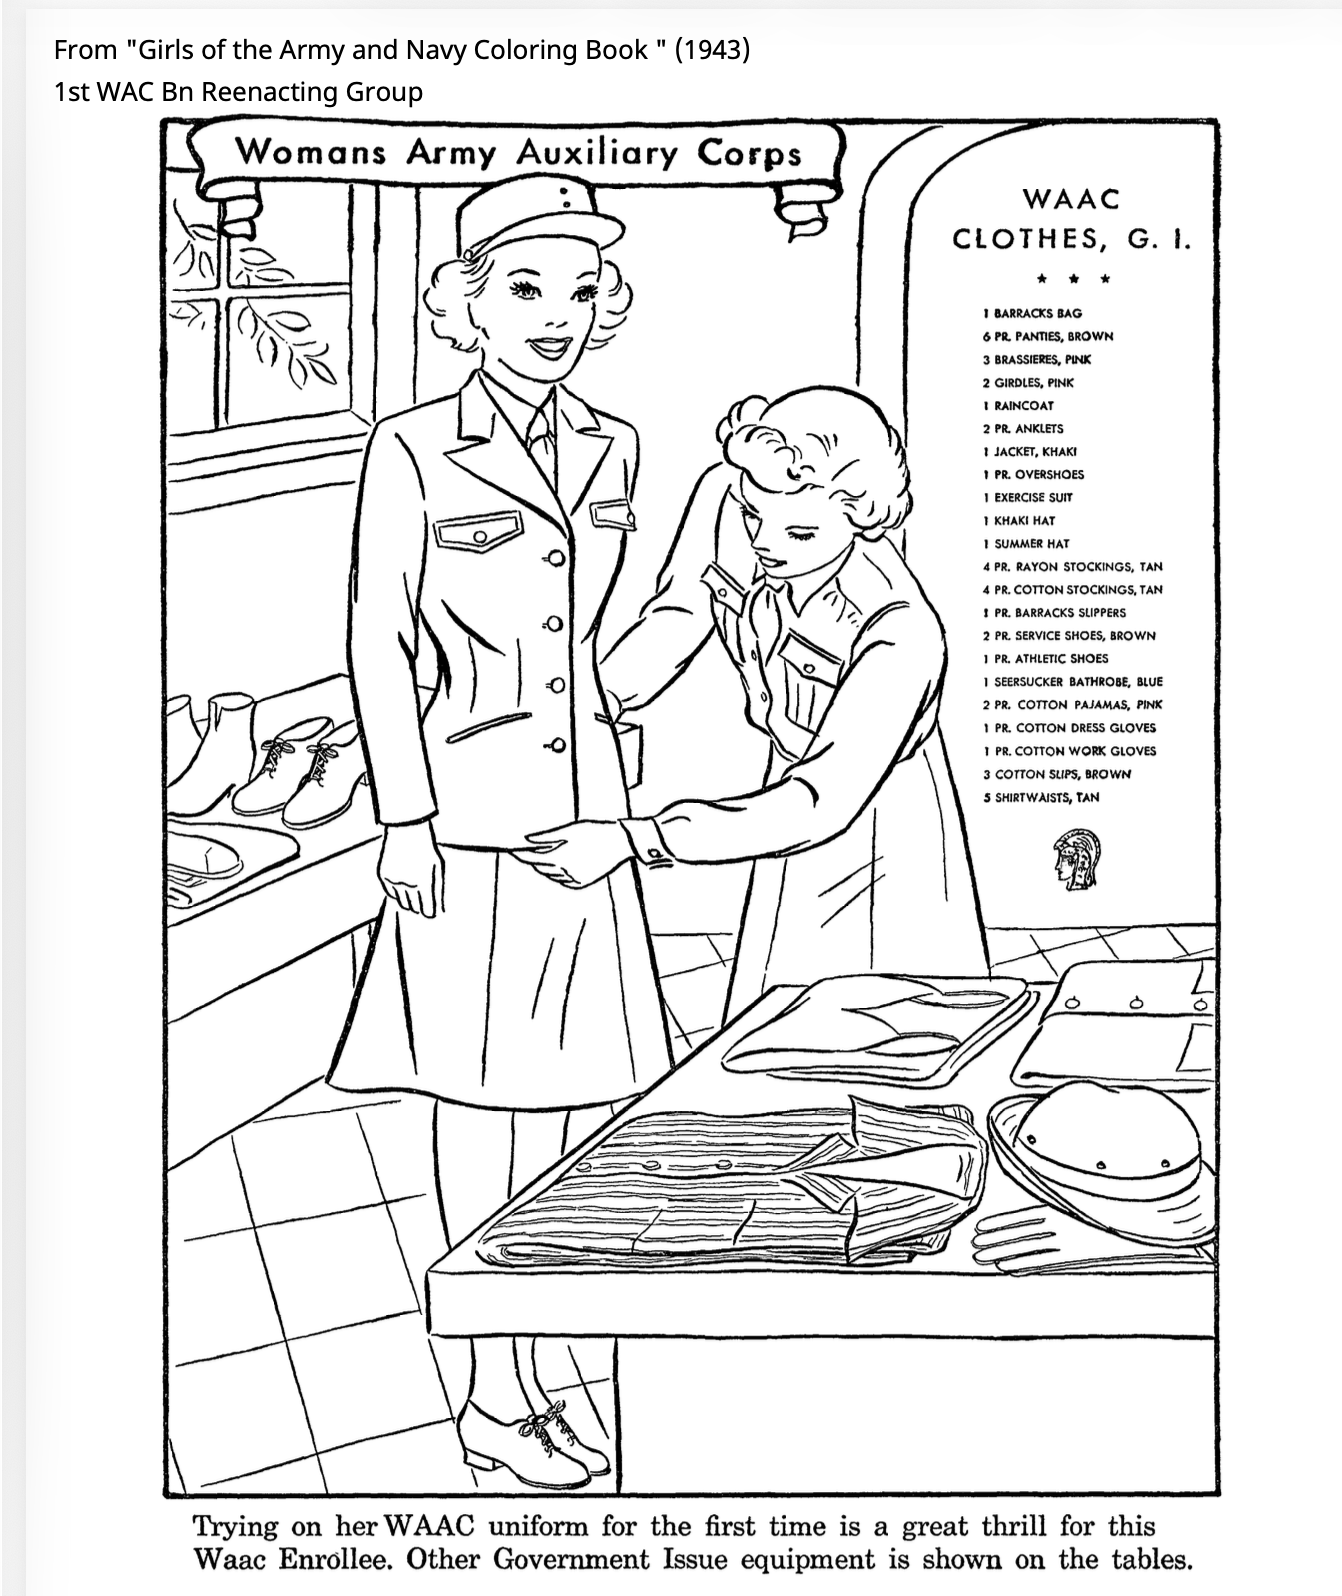
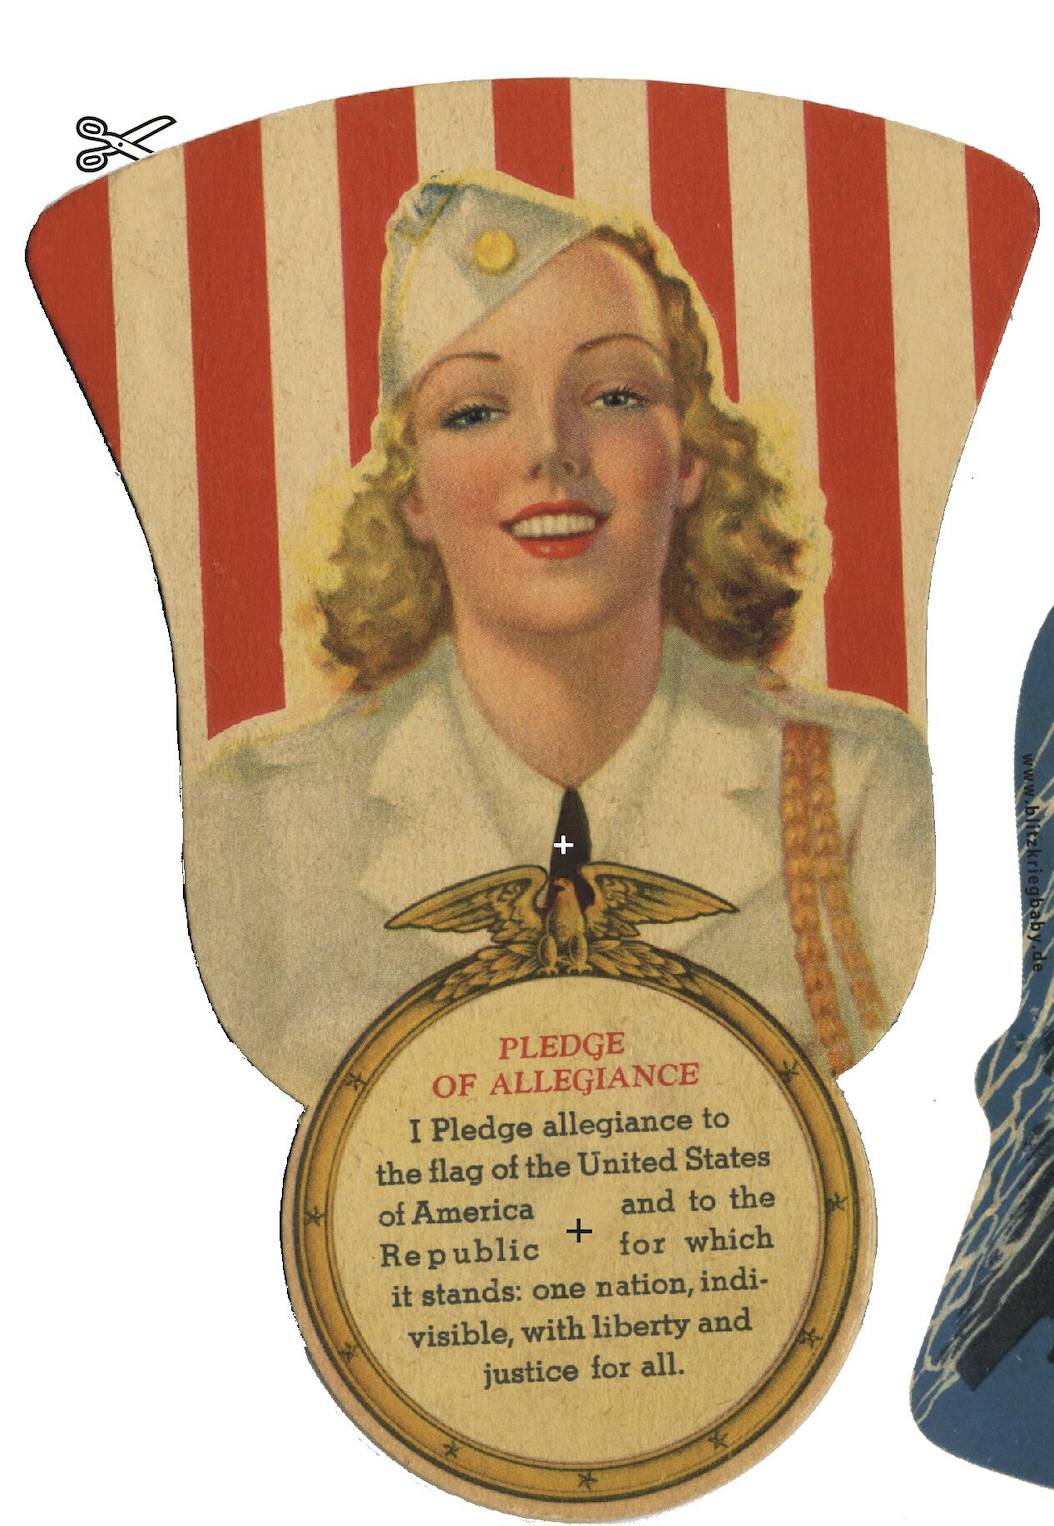
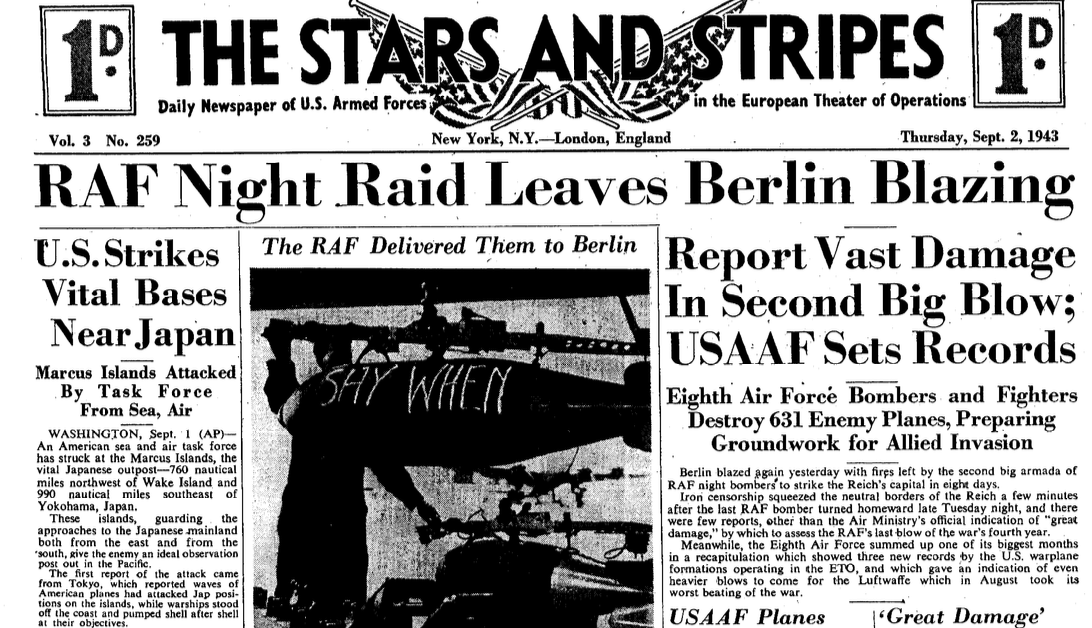
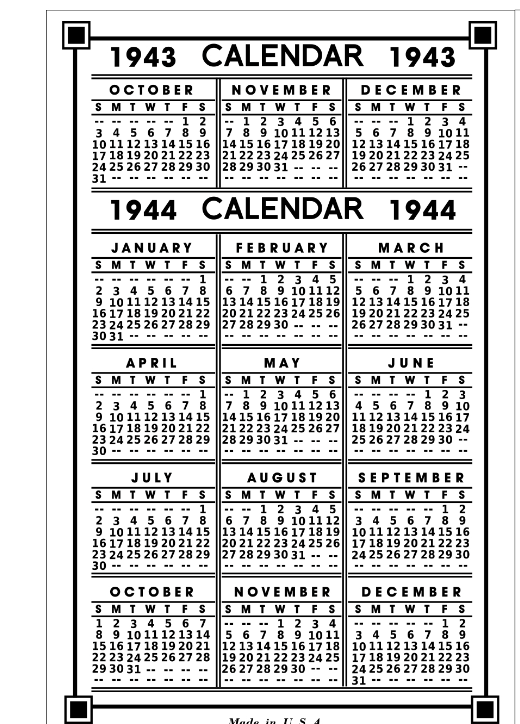
Below is a section of articles related to WW1 and WW2 Reenacting. These are articles that go into detail regarding different aspects of historical reenacting or related topics.
The articles include original resources and research (like my Voting in WW2 or The SCR300 for Reenactments articles), links to primary resources (like field manuals, technical manuals, and other guides) as well as paperwork and “How To” guides for reproducing different field equipment items.
If you want historical research on The War of 1812 you can check out War of 1812 Primary Resources List. Be sure to grab a beer or two before you start reading!
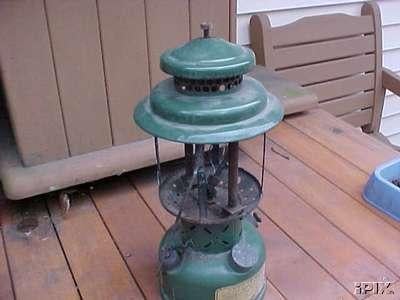
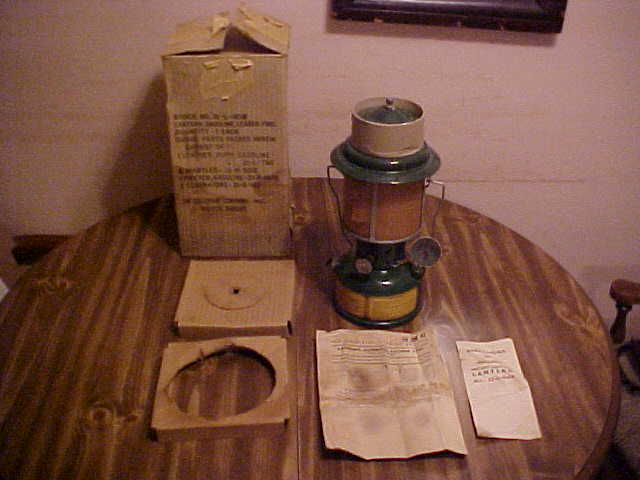
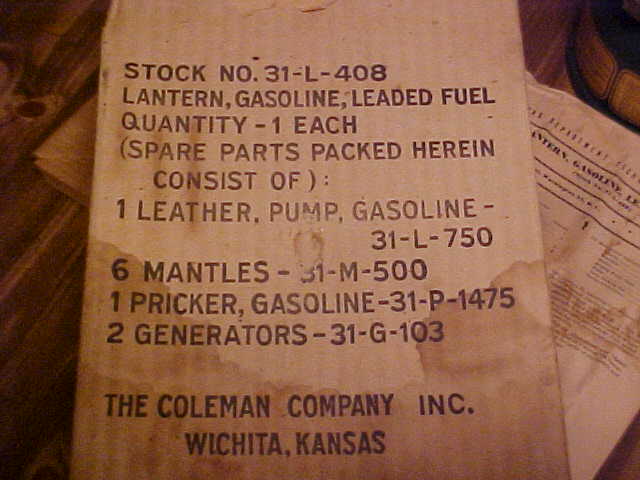
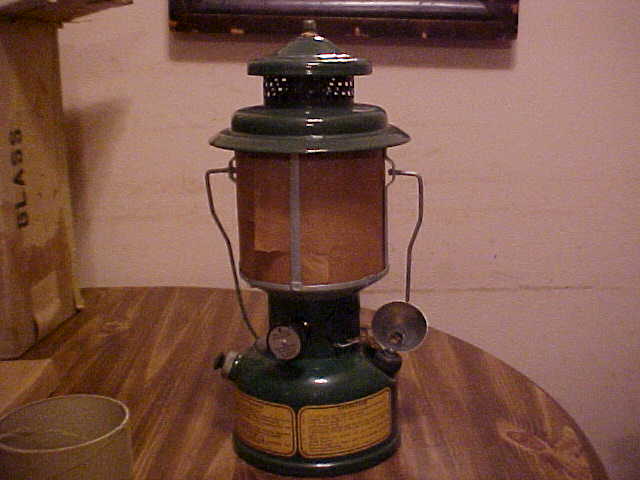
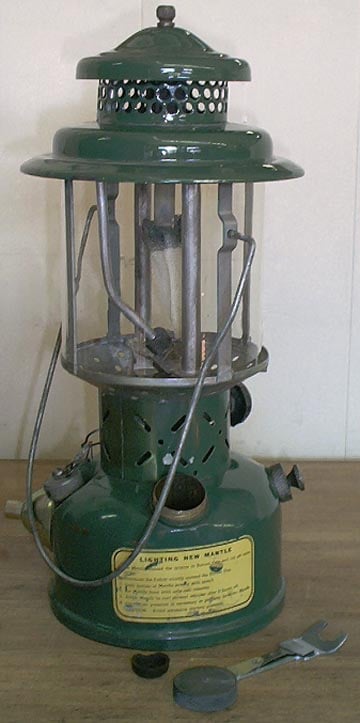
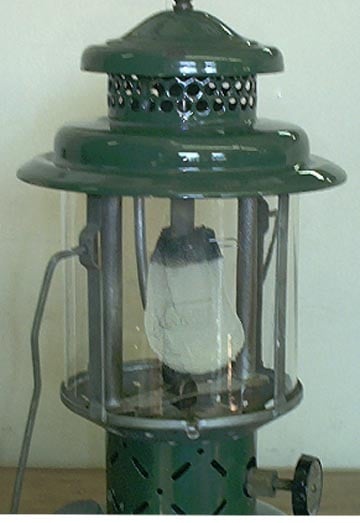
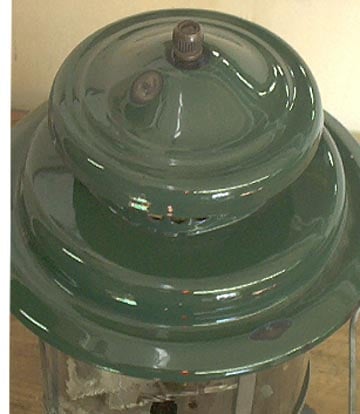
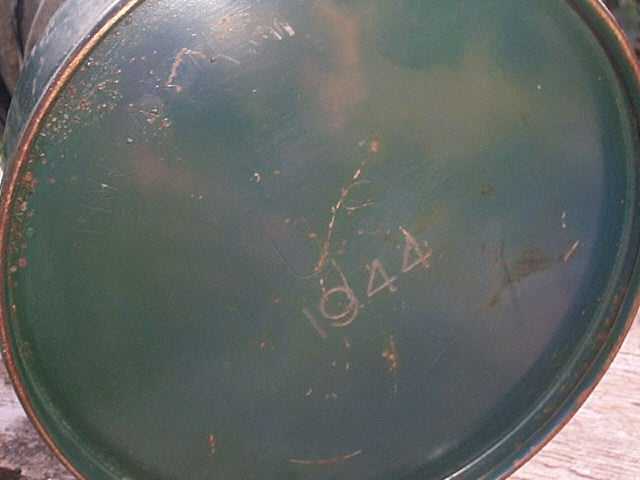
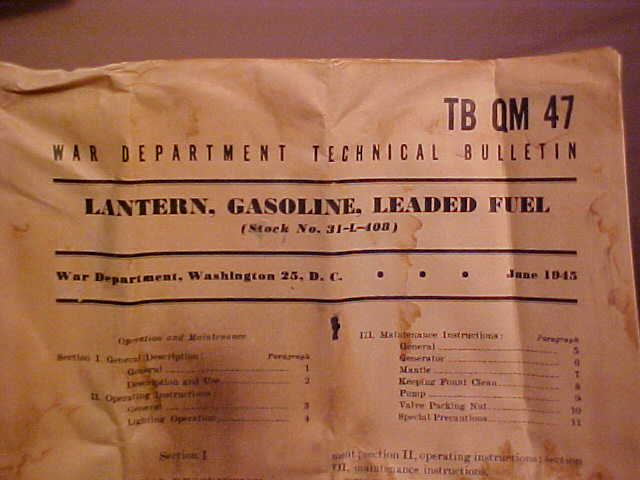
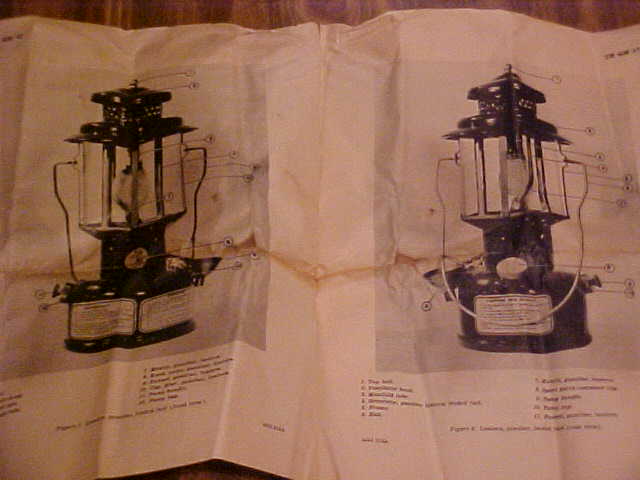
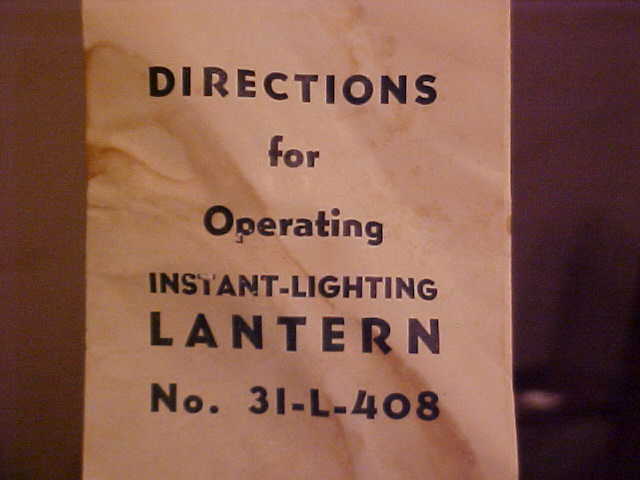
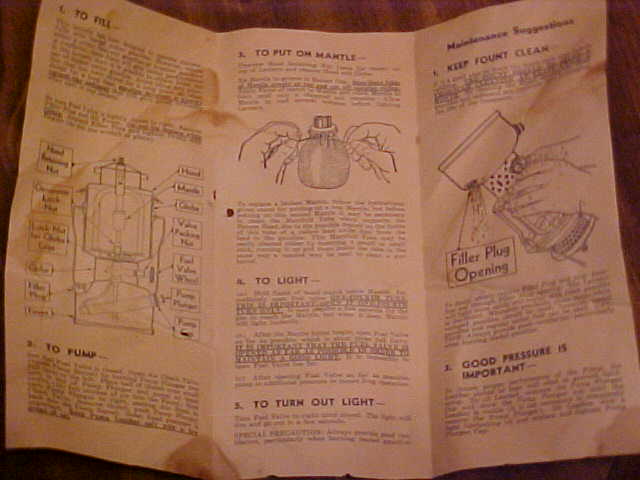
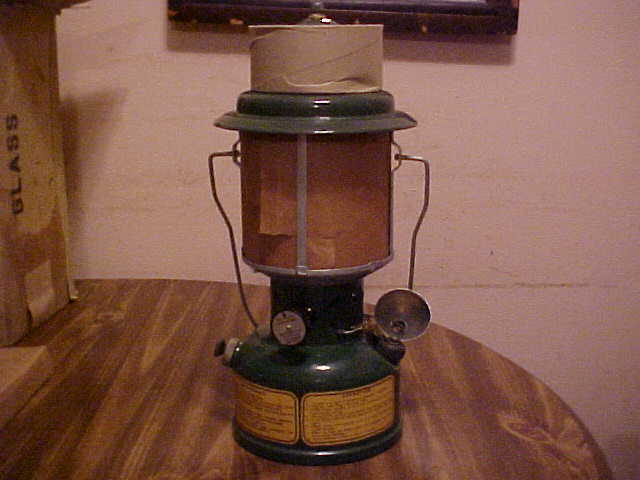
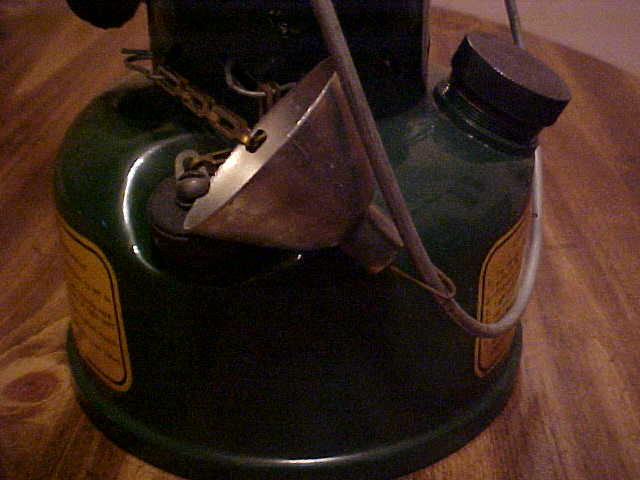
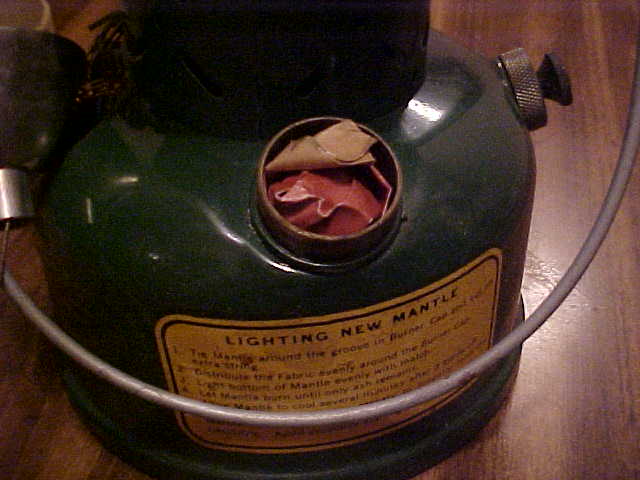
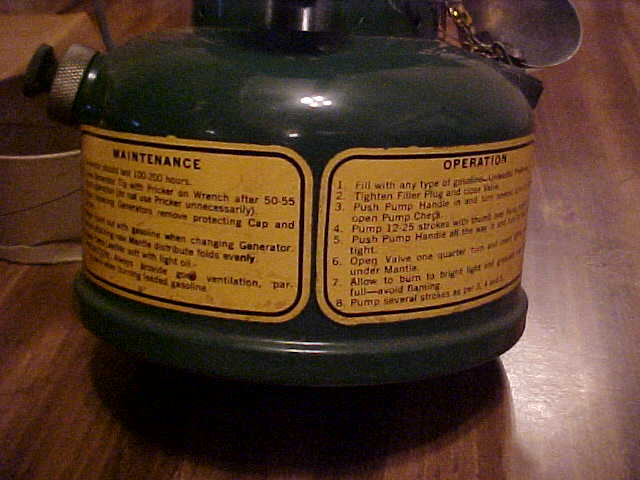
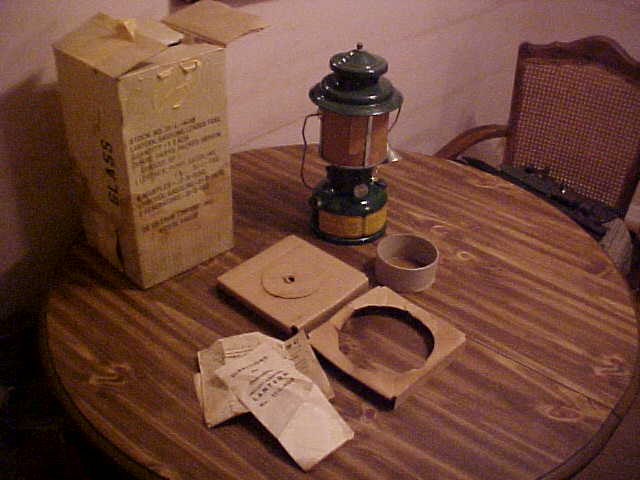
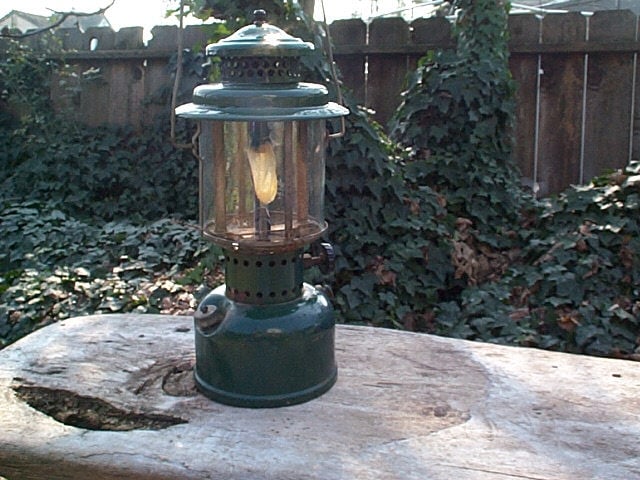
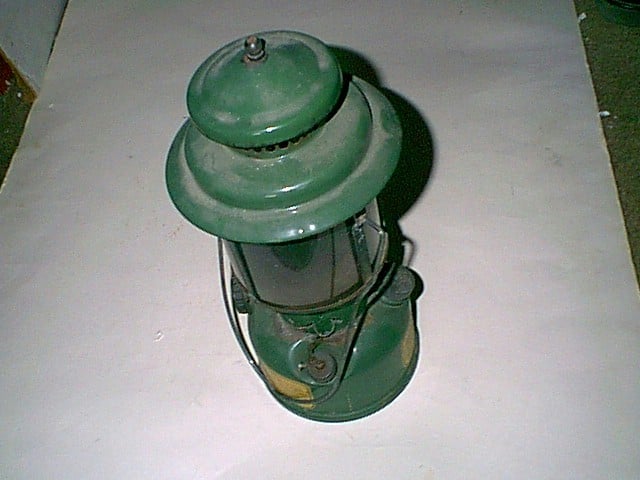
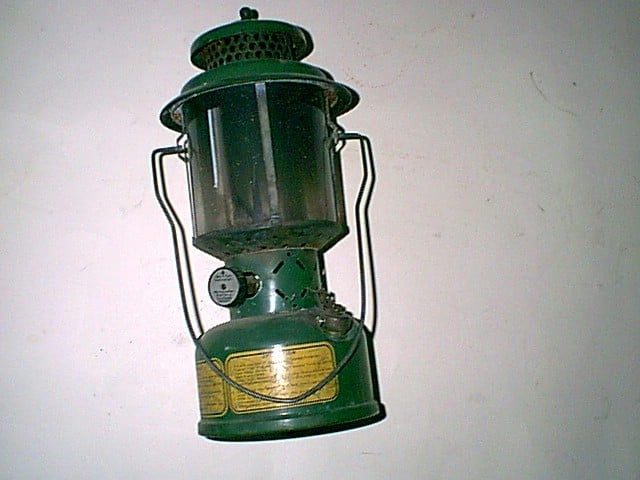
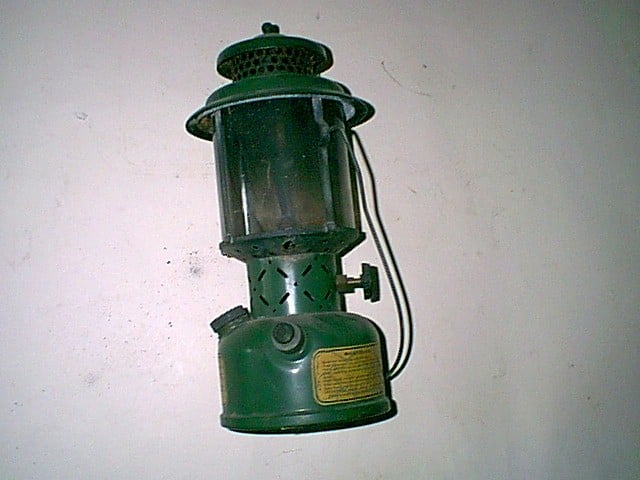
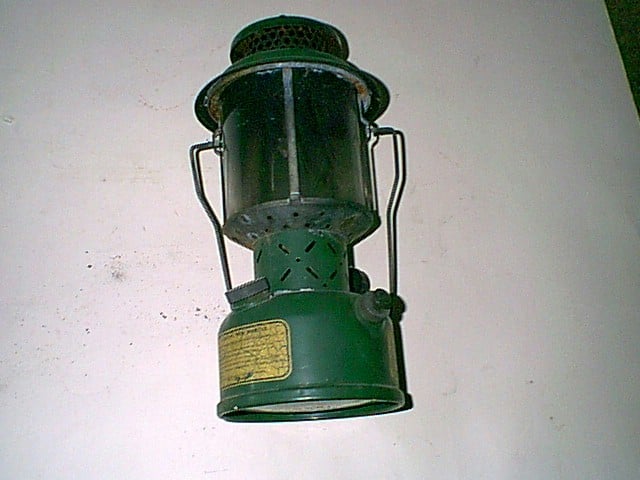
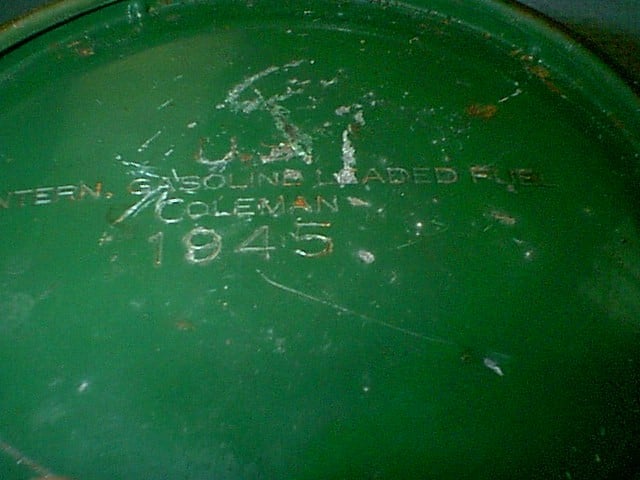
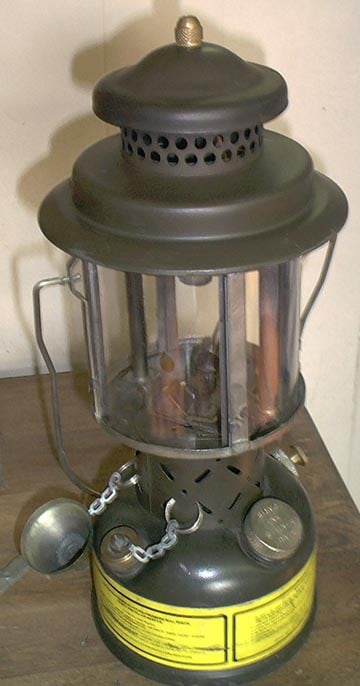
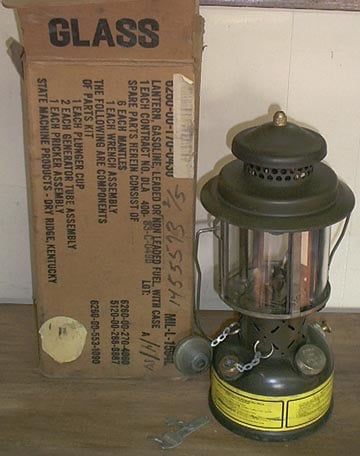
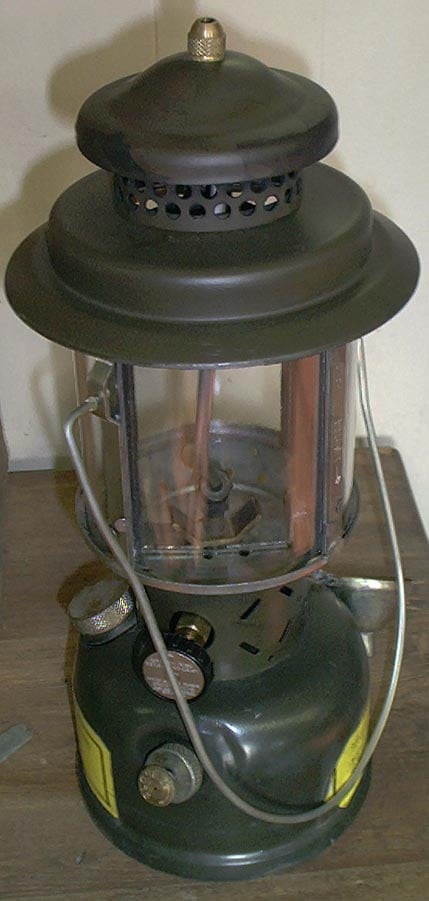
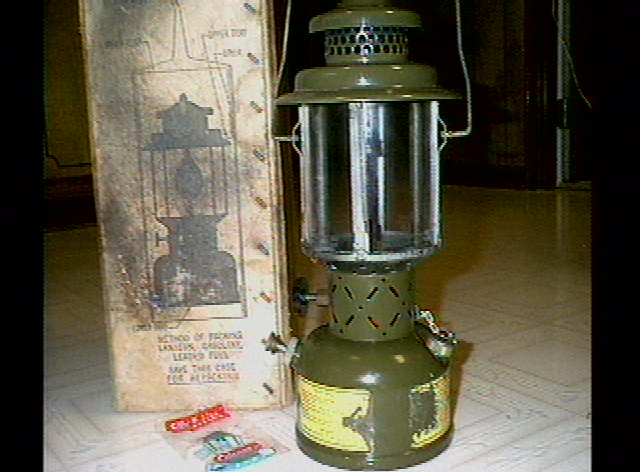
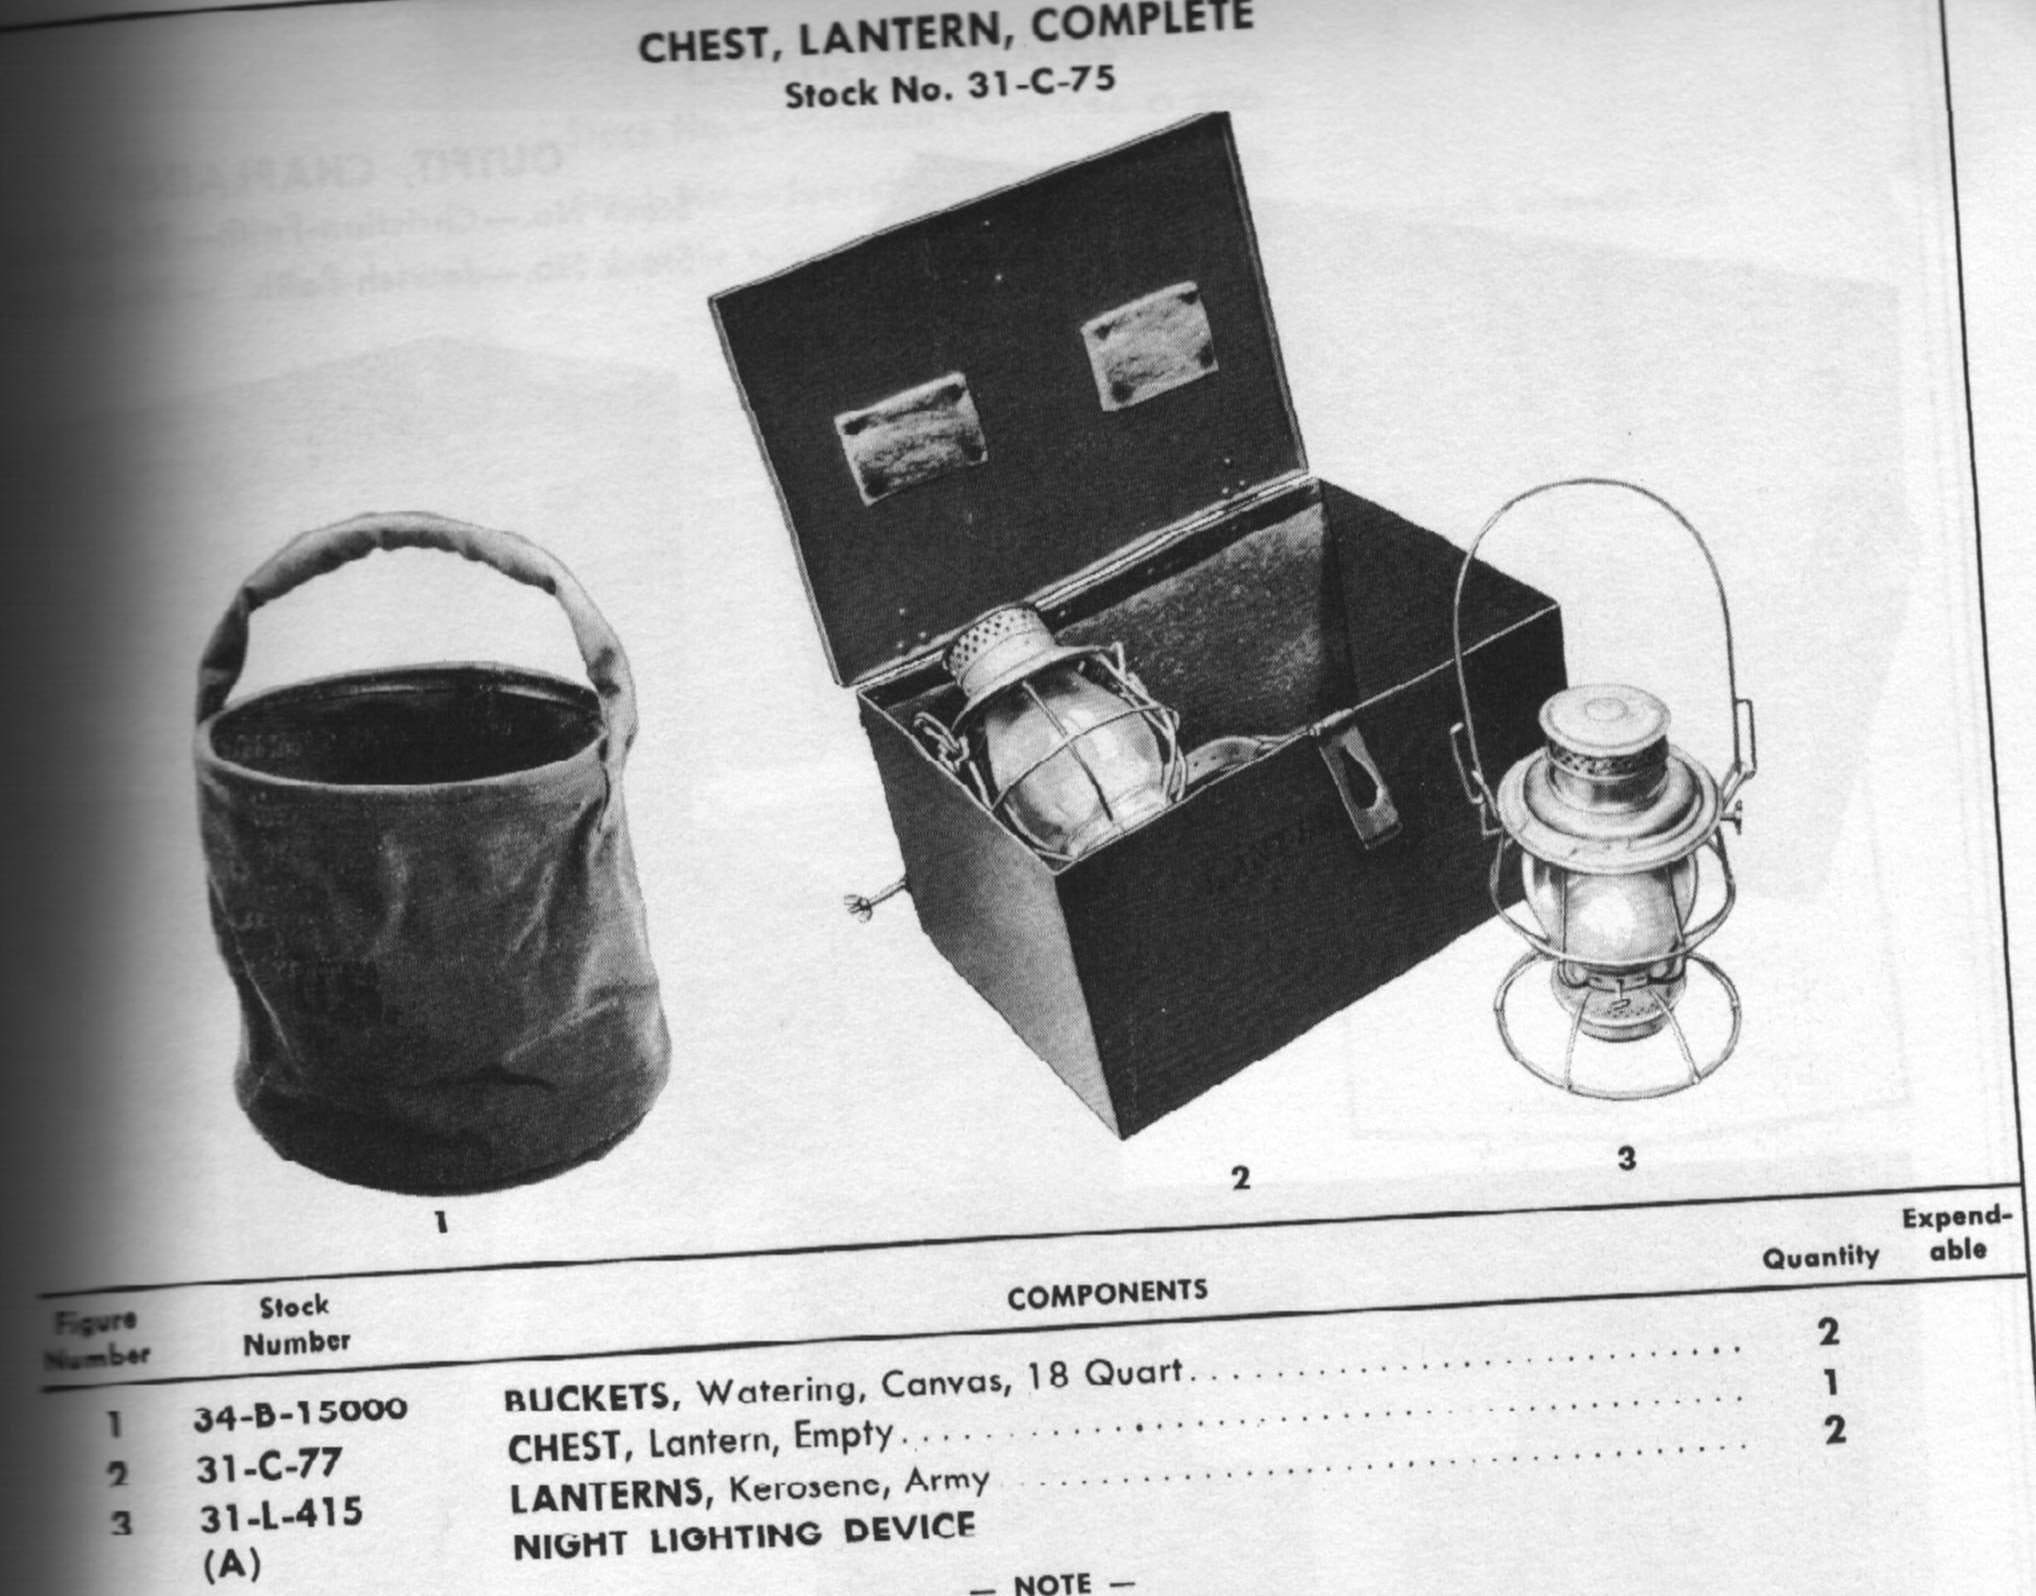
US Army Lanterns in World War Two were produced by Coleman (and probably others) and came in a green color. The images below show a few examples of it, including an unissued one in the original packing material –
There is also a Lantern Gasoline Leaded Fuel, QM 8-Misc 1 quartermaster supply catalog dated Jan 1945 that outlines the spare parts for the unit.
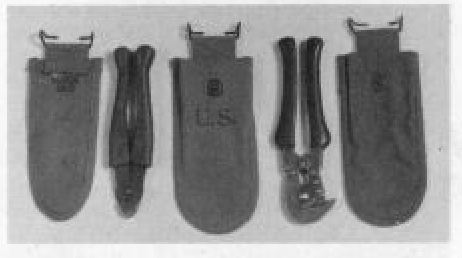
Shown on the left is a pair of Model 1910 wire cutters with a pouch dated 1918. The metal jaws are marked “U.S.”, and “5000-V” is molded into the rubber handle. These cutters were dual-purpose tools, featuring a wire-cutting slot as well as serrated jaws that allowed them to be used as pliers.
On the right is a pair of M-1938 wire cutters, stamped “U.S., HKP, 1944.” Unlike the Model 1910 cutters, the M-1938 functioned solely as wire cutters. Accompanying them are two pouches: a light olive drab pouch dated 1942 on the left and a dark olive drab pouch dated 1944 on the right.
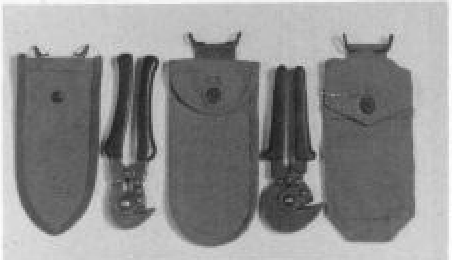
Shown on the left is an undated USM pouch designed for the standard M-1938 wire cutters, used during the early years of World War II.
The cutters on the far right are stamped “USMC 1944.” The purpose of their enlarged head is uncertain, though it may have been intended to provide additional strength. The cutting blade is sharpened along only half of its length, with the remaining portion being serrated.
The pouch to the left of these cutters is dated 1944, while the pouch on the right is British-manufactured and dated 1945
During World War II, US GIs had access to a variety of pin-up style men’s magazines, often referred to as “cheesecake”. The artwork might be drawings of girls or actual photos of models posing in a variety of burlesque, bespoke, and suggestive poses or scenes. These magazines were considered “pulp,” meaning cheap and disposable.
Some producers of Men’s Magazines include Robert Harrison, Brown and Bigelow, and Louis F Dow Co. (which was a calendar company)
Different magazines focused on different things, such as sadomasochism, “photostories” (which conceptually was created by Robert Harrison and consisted of scantilly clad girls doing routine things like moving furniture over 2-4 pages), interviews, violence/crime, gossip, humor, adventure/mystery/western/detective stories, breaking news type stories, celebrity scandal, and expose/investigative journalism, bawdy stories, letters from readers etc, but they all included a hefty dose of girls and content that appeal to the male gaze.
As in every industry, once someone figures out a winning formula, copycats come out. So, many of these magazines appear similar but are produced by different companies.
Suppose you want to think about the progression of “Girlie Mags that appeal to Men” on a timeline. In that case, it starts in the 1870s with dances like burlesque, belly dancing (especially with Fahreda Mazar aka Little Egypt), and striptease acts by the 1900s. As pulp magazines and film come around by the 1920s it’s “good looking girls” and sex-themed stories, to suggestive/implict in the late 1930s/1940s, to explicit but artistic in the 1950s (with the birth of Playboy and Marilyn Monroe posing nude), to explict nudie and sex films (think 1970s New York Times peep shows; and Deep Throat (film; link goes to wiki article), to mass market and commericalized pornography for porn’s sake in the 1980/1990s without any redeming artistic value. Each sort of decade has had US Supreme Court cases that begin to loosen standards, along with social and technological changes leading us to whatever it is we have now.
AUTHOR’S NOTE: Some of the magazines contain stereotypes of women, ethnic/racial stereotypes, implicit violence, non-consensual situations, sexual harassment, and other sexist attitudes that are objectively wrong by today’s standards. The author of this post rejects all of this and offers the information below for historical purposes to exemplify an aspect of World War II material culture.
The Parisienne – Jul-1915 – Aug-1915. Then from Sep 1915 to Feb 1921, as The Parisienne Monthly Magazine. Then from March 1921 to June 1921, as The New Parisienne Monthly Magazine. Then from July 1921 to April 1922, as The Follies. Finally, from May 1922 to July 1922, as Fascinating Fiction.
Originally named to help ride the wave of French propaganda coming ashore in the US amid WW1.
Gheesh, talk about a rebranding problem.
Breezy Stories or Breezy Stories and Young’s Magazine – The twin titles reflect periods where the publishers would oscillate between the two. Produced between Sept 1915 to Sept 1949.
Saucy Stories – Aug 1916 to May 1925. Then renamed Heart to Heart Stories from June 1925 to July 1925. Likely ceased publication in the mid to late 1920s.
1920s and 1930s Men’s Magazines
Spicy Stories – From Dec 1928 (Vol 1 No 1) to Oct 1928.
The magazine company Culture Publications was then pressured to “clean up” and introduced Spicy Detective, Spicy Adventure Stories, Spicy Western Stories, and Spicy Mystery Stories in the mid-1930s. The magazines augmented the sex appeal to include different kinds of stories to tamp down criticism.
Dec-1928 – 1930? The King Publishing Co., Dover, Delaware, produced it. In 1933, Merwil Publishing Co., Inc., 480 Lexington Ave., New York City, produced it. Publication lasted until the late 1930s and likely couldn’t translate into the “pin-up” era.
Allure Magazine – Produced from July 1937 (Vol 1, No 1) to Sept 1937 by Yorkhouse Publications, 404 North Wesley Ave., Mt. Morris, Ill.
High Heel – Produced by Silk Stocking (Ultem Publications) between April 1937 (Vol 1, No 1) to 1939?
Silk Stocking – Probably starts in Sept/Oct/Nov 1936, (Vol 1 No 1). First called Silk Stocking Revue (Dec 1936), then changed to Silk Stocking Stories. Ended in 1939.
World War II Era Men’s Magazines
Beauty Parade: This was produced between October 1941 to February 1956 by Robert Harrison. It was one of the first magazines to capitalize on the “Pin-up” craze. He then went on to create Titter, Wink, Flirt, and Eyeful. See the Vol 7 No 3 1948 edition.
Titter: This was produced from Aug 1943 to April 1955 by Robert Harrison. Made famous due to a Band of Brothers, an HBO series, scene. The magazine is 8.5 wide and 11.5 high.
Eyeful: This was produced between March 1943 to April 1955 by Robert Harrison. Later editions featured Bettie Page. It likely featured all of the popular burlesque, pinup, and stripper models in New York at the time. For a humorous analysis of the April 1949 magazine.
Jessica Rogers (the inspiration for Jessica Rabbit in the film Who Framed Roger Rabbit) was a model/dancer and posed for the magazine?
Giggles: Produced between 1943 to 1946.
Joker: Produced between Spring 1942 to? by Comedy Publications (which had the same Dunellen, NJ business address as Timely/Marvel publishing). Consists of pin-up girls and humorous cartoons. Interestingly, some of Marvel Comics’ illustrators would moonlight under different names for this magazine firm, as it was more adult.
Cutie – May-1944 to Oct-1946. The image is the last edition. A copy of Titter.
The Stocking Parade – Produced from July 1937 (Vol 1, No 1) to June 1943 by Arrow Publications.
Carnival – May 1939 to Jan 1940? It then combined with Show from June 1940 to November 1942 as Carnival Combined with Show (which is just objectively a bad name).
Laff – 1940 to probably the mid to late 1950s by Volitant Publishing. A humorous magazine. For a page-by-page breakdown, see Laff Magazine, Oct 1945. Marilyn Monroe (going by her name, Norma Jean, but misidentified as Jean Norman) was the cover model in the Aug 1946 edition.
Marilyn Monroe as the cover photo for the magazine. However, they misspelled her name as Jean Norman.
Gags – 1941 to 1942 by Triangle Publications. A copycat of Laff. The black dot that appears on the cover appears throughout the magazine and is a running joke.
You can download the full copies below. Size is 10 1/2-in. x 13 1/2-in and printed on cheap newspaper print.
Another example is called What’s Cookin! Which was made by the Comic Corporation of America, probably between 1942 to at least 1943. Same concept as Laff. You can view the Vol 1 No 7 Nov 1943 version here.
Post World War II Men’s Magazines
Flirt: This was produced between 1947 to 1955 by Robert Harrison. A pin-up style magazine with “photostories”, jokes, and men’s humor. You can review the Aug 1953 version here.
Confidential: This was produced between November/Dec 1952 to Aug 1958 by Robert Harrison. It was Robert Harrison’s best publication and focused on a lot of scandals, and is kind of a tabloid magazine. The decline of his WW2 “pin-up” magazines and his refusal to do full frontal nudity spreads led him to create this one. Though, he was eventually sued and forced to sell it. It continued publication until 1978.
Whisper: This was produced between April 1946 to probably 1958 by Robert Harrison. It consists of recycled stories from Confidential.
Cover Girl Models – 1949-1955 by Models Publishing Co
Vue – 1950s to ? The image shows Marilyn Monroe in the August 1952, January 1955, and August 1955 editions.
The Korean War
G-Eyefuls: A Manual of Arms and Legs – By Bill Boltin 1951. A pin-up style book marketed towards soldiers in the Korean War. Burlesque queen Lili St. Cyr appears twice.
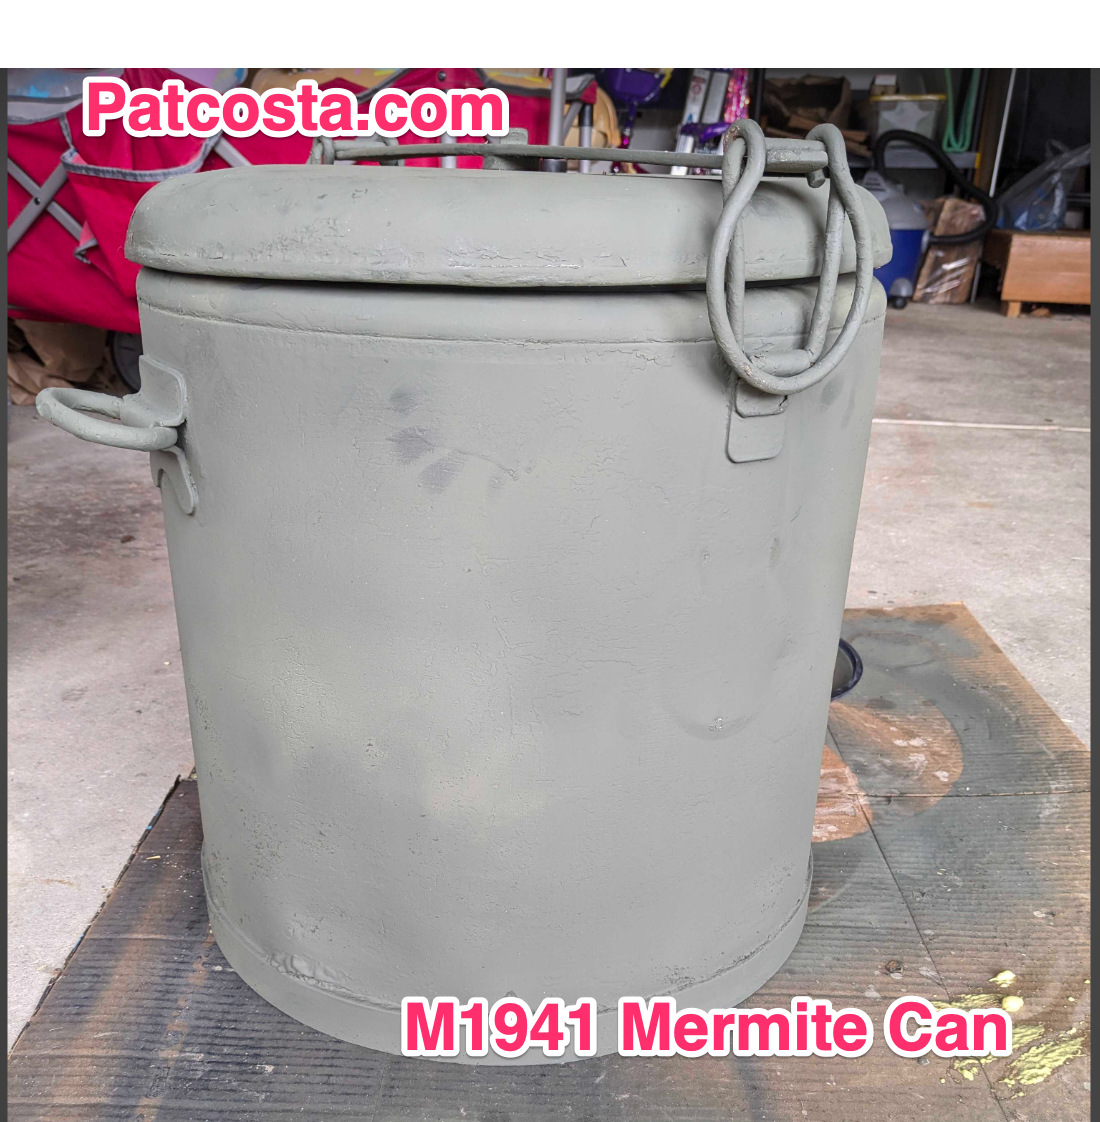
At the start of World War II, the US Army created what is essentially a cooler, the M1941 Mermite Can. Sometimes called Container, Round, Insulated, M-1941, with Inserts.
I won’t go into too much historical discussion of it, as the guys at the 90th covered it with their article: Keeping it Cool. However, the model I picked up for $175 in May of 2025 off of Facebook Marketplace has a few unique characteristics.
First off, the cover has a single bar used for closing as opposed to a wired bar on most models. Secondly, the underside says “US JQMD 1940”, which stands for United States Jefferson Quartermaster Depot. Along with a cut in the underside seam, though, I’m unclear if that’s part of the design or if it was damaged. Thirdly, the cover feels like it’s made of tin.
Which, yes, makes it very odd that the model is technically an M1941 but with a date made before.
Note the green color coming through the white and the cut in the lid in the bottom right of the image
While this isn’t mine, I did come across some old images taken around 2000 that show an M1941 Mermite can dated 1935 with the bar lid design that appears to be modified into having a wired bar.
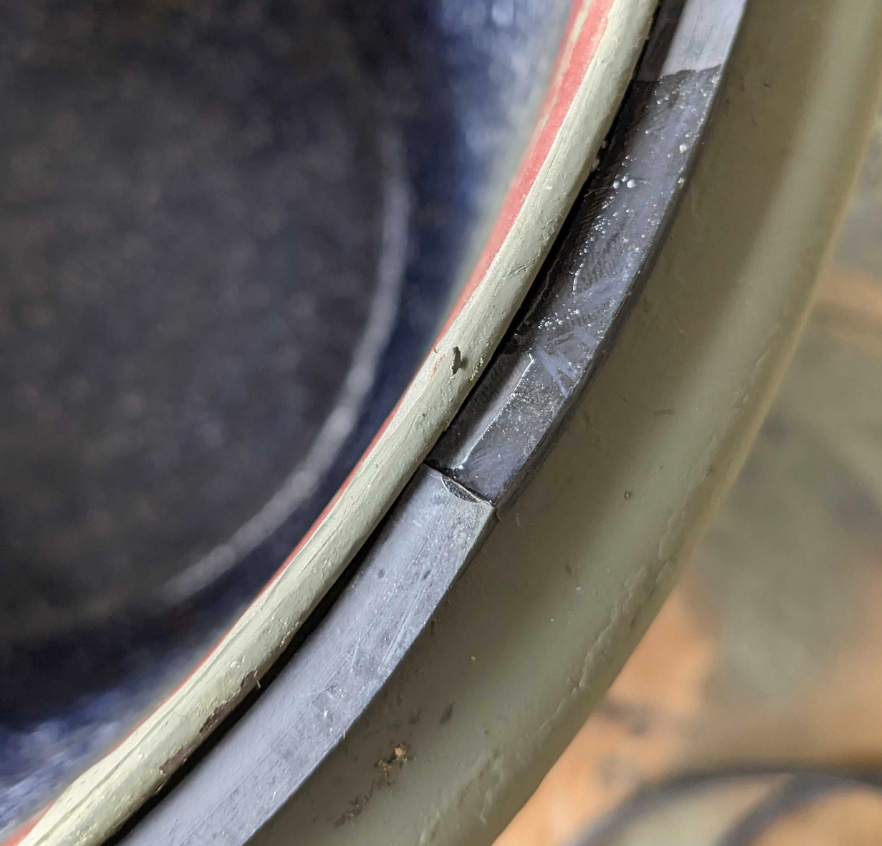
In another example, courtesy of the US Medical History Group, it shows a 1939-dated model. However, on the inside, it lacks the granite wear, with the sides appearing to be smooth tin. Additionally, the can does come with a gasket, but it’s painted red (that’s the red ring around the lip of the can).
All this supposes my copy is some kind of early variant or prototype?
My hunch is that there was some kind of M1935 Mermite can design that then got updated into the M1941.
Or the United States Jefferson Quartermaster Depot just internally made a few of these cans for various reasons and purposes (it would explain why the lid is stamped “US JQMD 1940”, rather than a specific contracted firm). Both with tinned internals and with graniteware.
When the war started, they made a few tweaks to the design and sent the M1941 contract for the cans out to companies. Then modified the existing ones to fit the new design.
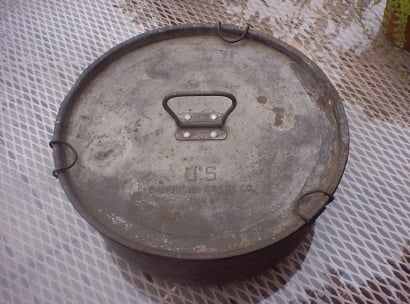
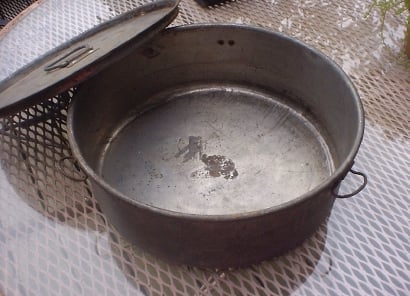
I say this as most models look like this –
Courtesy of http://www.90thidpg.us/
When I picked mine up, it didn’t dawn on me that the huge hole in the side had asbestos poking through (along with a spider that eventually died for history)
I first sprayed some water so the particles would get inside the can. This can be used to help tamp down any asbestos that breaks loose and could float out of the hole and into the air.
Next, I used Great Stuff to spray into the hole. It made it look very ugly and not professional, but it did resolve the immediate health concern. I made sure to use gloves, wear a mask and goggles, and junk clothes (for the whole process) that I washed right away (as well as taking a shower when I was done). For such a small task, I didn’t think a full-blown suit was required, as I wasn’t doing asbestos abatement.
Next, I took some paper towels and a 50:50 vinegar and water solution via a spray bottle and gave the can a wipe down on the outside and inside, and underneath, including the lid.
I then used a green scrub pad and scrubbed the underside of the lid to remove the rust. I also scrubbed the rusted areas on the side and underneath to kind of sand it down, in preparation for being spray-painted.
Next, I turned my attention to the inside. I saw rust spots, and knowing I wanted to use this as a cooler, I bought some food-safe silicone and applied it using my fingers over the rust spots. I gave each rust spot a good coating. This helps ensure that any water that ends up in it won’t further damage the graniteware.
Before applying the siliconeafter applying the silicone
Finally, it was time to paint.
It seems many reenactors and restorers have used a variety of colors to paint the M1941 can. As mine is an older version, I honestly have no clue what color to use and just went with generic olive drab. I don’t think it looks too bad, and if future historians unearth the exact color specs, I’d change it.
I spray-painted the top lid (all sides and underneath) and the can (all sides and underneath). I did leave the inside lip of the can untouched as I wanted to preserve the history of the paint applications over time, which I think there were four.
An original green as shown in the lid (see the above previous picture), a red, a grey, and a white (which is what it looked like when I bought it)
I assure you this is a green olive drab colorDifferent paint applications over the years. An original white on the outside, a navy grey?, and a red, which might indicate the can was used for blood transport? Plus the green, which was peeking through the white on the underside of the lid.
I suppose I could have sand-blasted the paint off and primed it, and then painted it, but I didn’t want to take the time to figure out how to do that, and then figure out how to properly dispose of what is likely lead paint particulates/chips. When in fact, this will likely need a new paint job down the road once we figure out what the right color is.
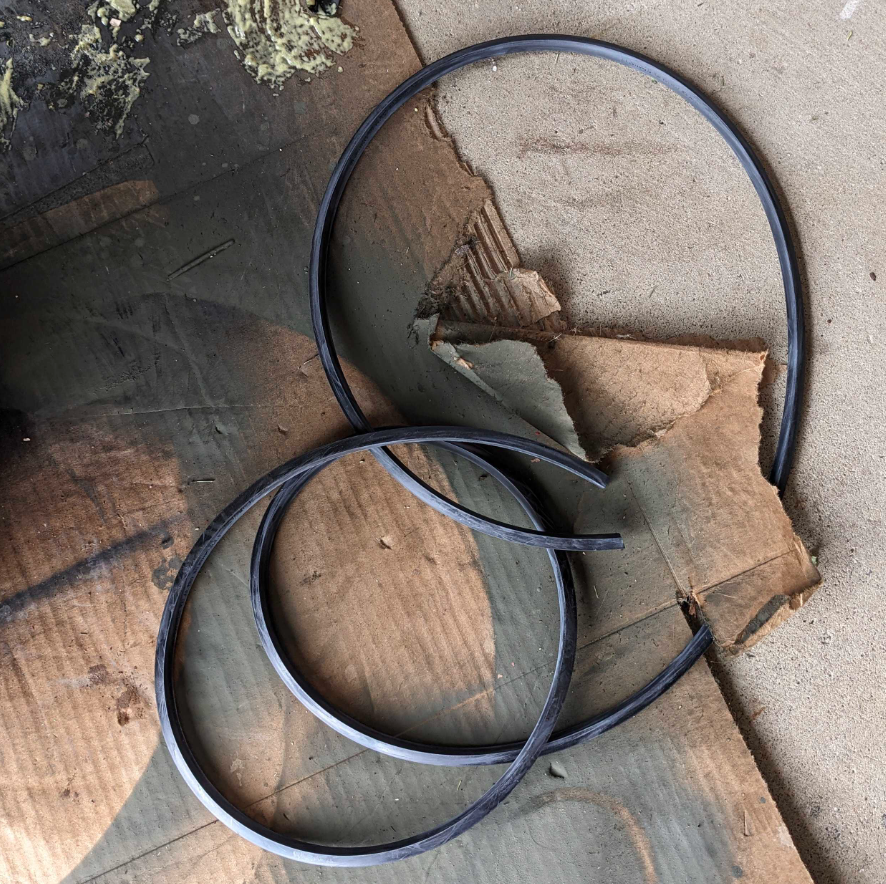
An extra step was adding a rubber gasket. Now, truth be told, I’m not sure if this version had one. However, wartime-dated models did. I followed some advice in the G503 forum and bought a rubber gasket, cut it to fit, and then super-glued the ends. The gasket should be 1/4″ wide 3/16″ high, square.
Gasket trimmed to fitEnds super glued togetherLeftover gasket
On a whim, I sprayed WD-40 into the various hinges and movable parts to help loosen them up.
After about 3 hours and an extra 50 dollars for supplies, I was done.
Not too thrilled about this, but it’s better than having asbestos peek through.
Would I do this again? Considering the rarity of the item, yes. But I would have tried to get it closer to $100 and come prepared to store the can (maybe wrap it in a heavy-duty black garbage bag) until I can figure out a more historical solution to patch the holes (maybe some kind of JB Weld?) than scrambling to use Great Stuff.
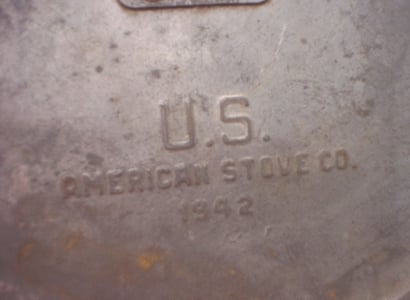
I don’t have the round inserts for these cans, but I wanted to share an example of what they looked like. The one below is the circular type, and 3 of these would fit inside the can. It’s made by The American Stove Co
This will document my World War II US Army Signal Corps Impression. Now, per Chad Phillips, who is an expert in World War II Signal Corps impressions, research, and documentation in the WW2 Signal Corps Facebook group, indicated that for a basic Lineman and Groundsman Impression, you should have the following –
Lineman
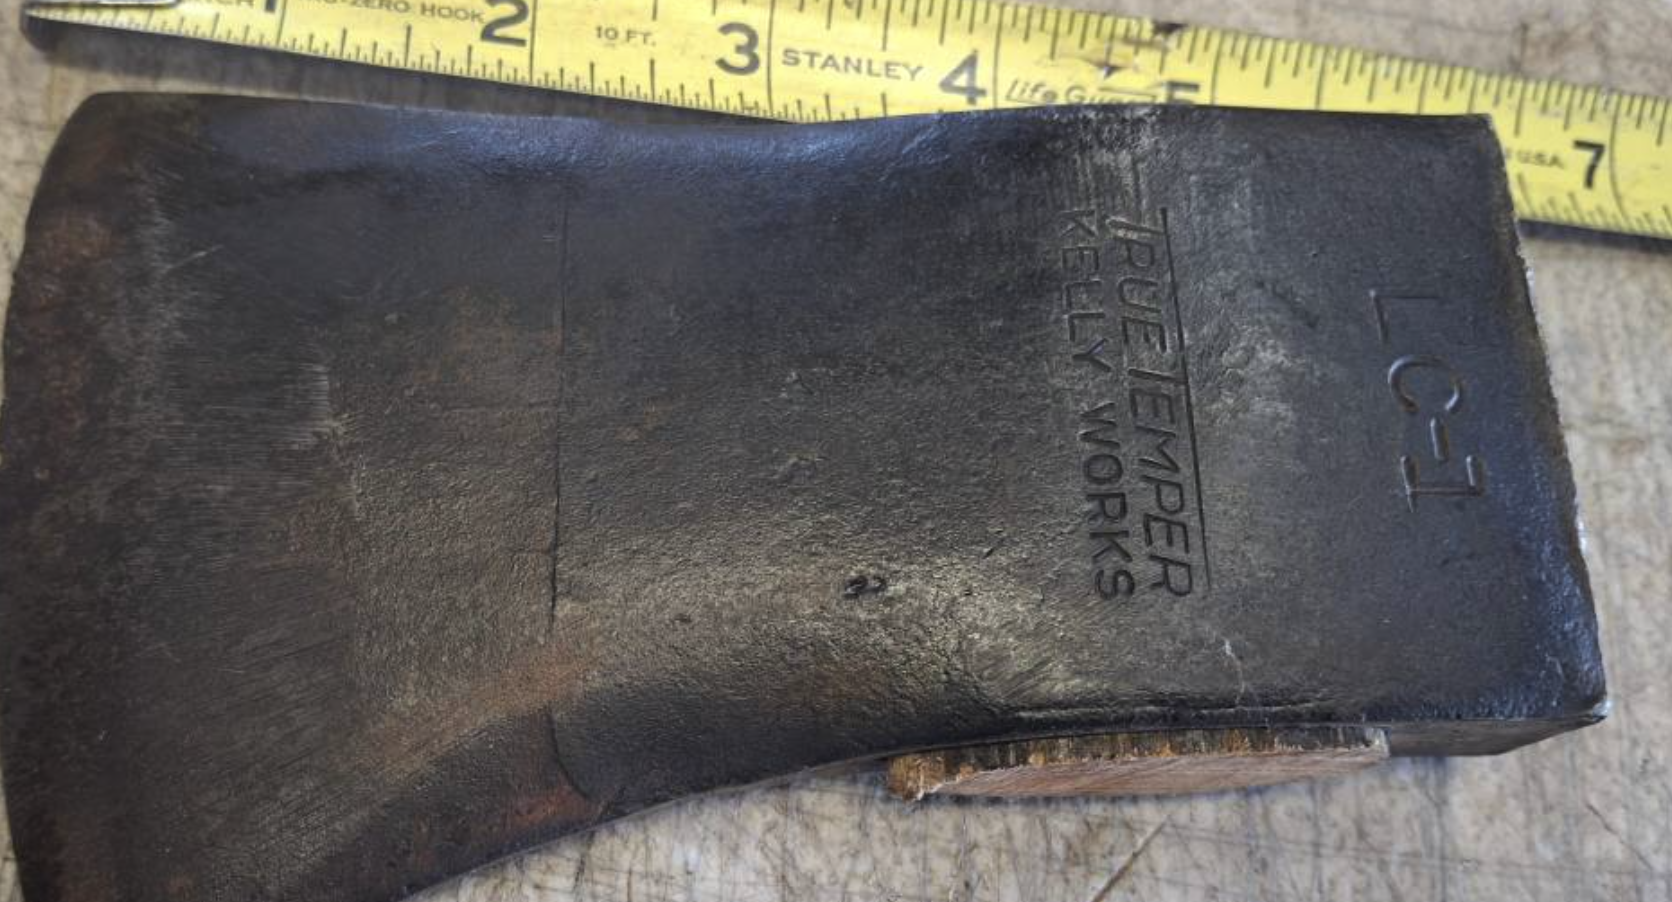
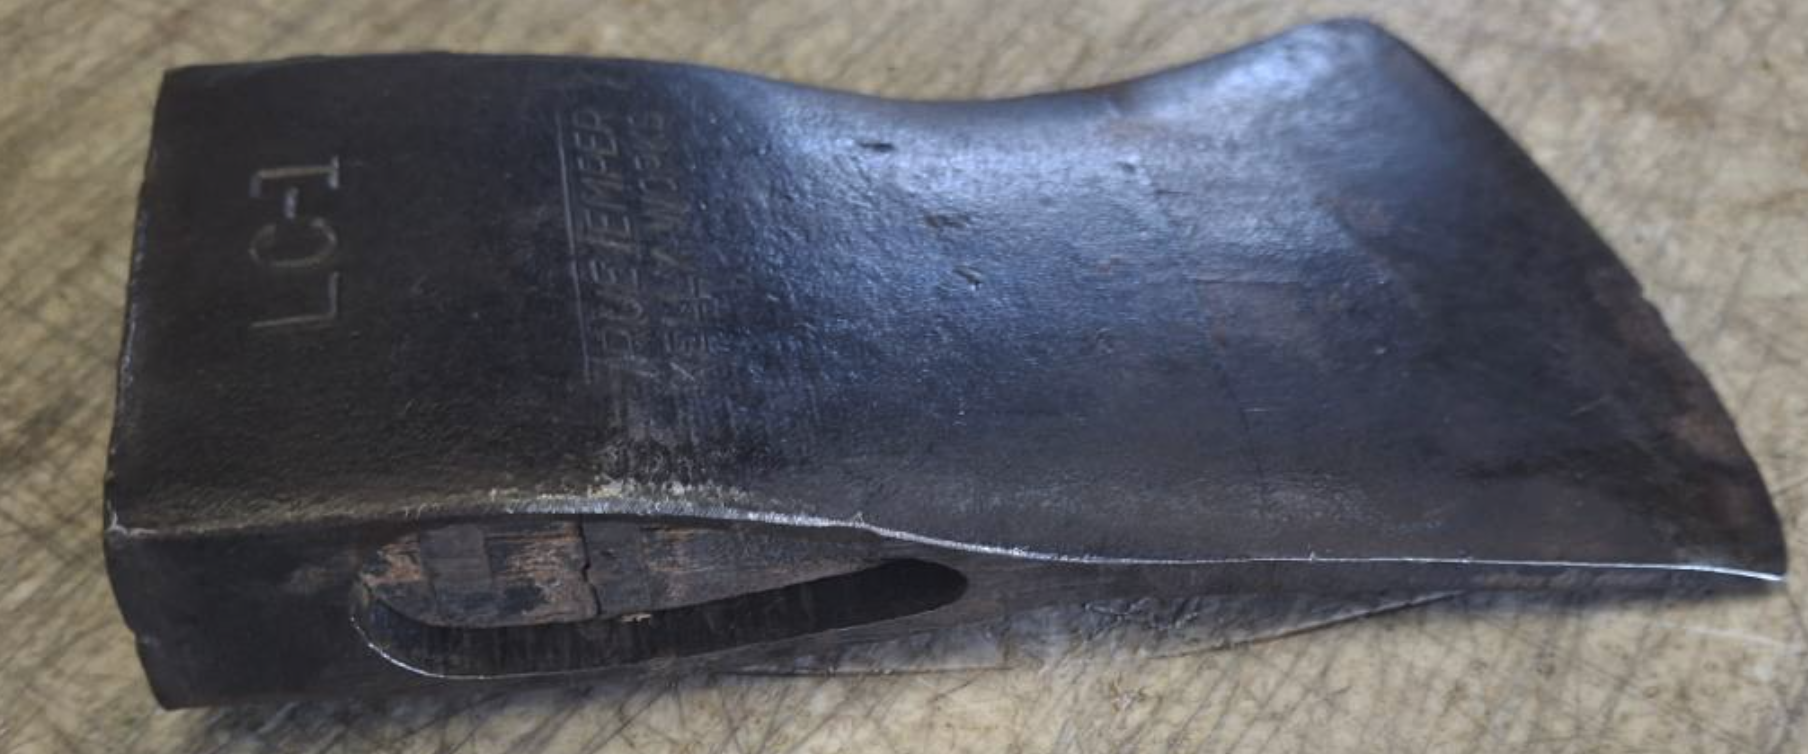
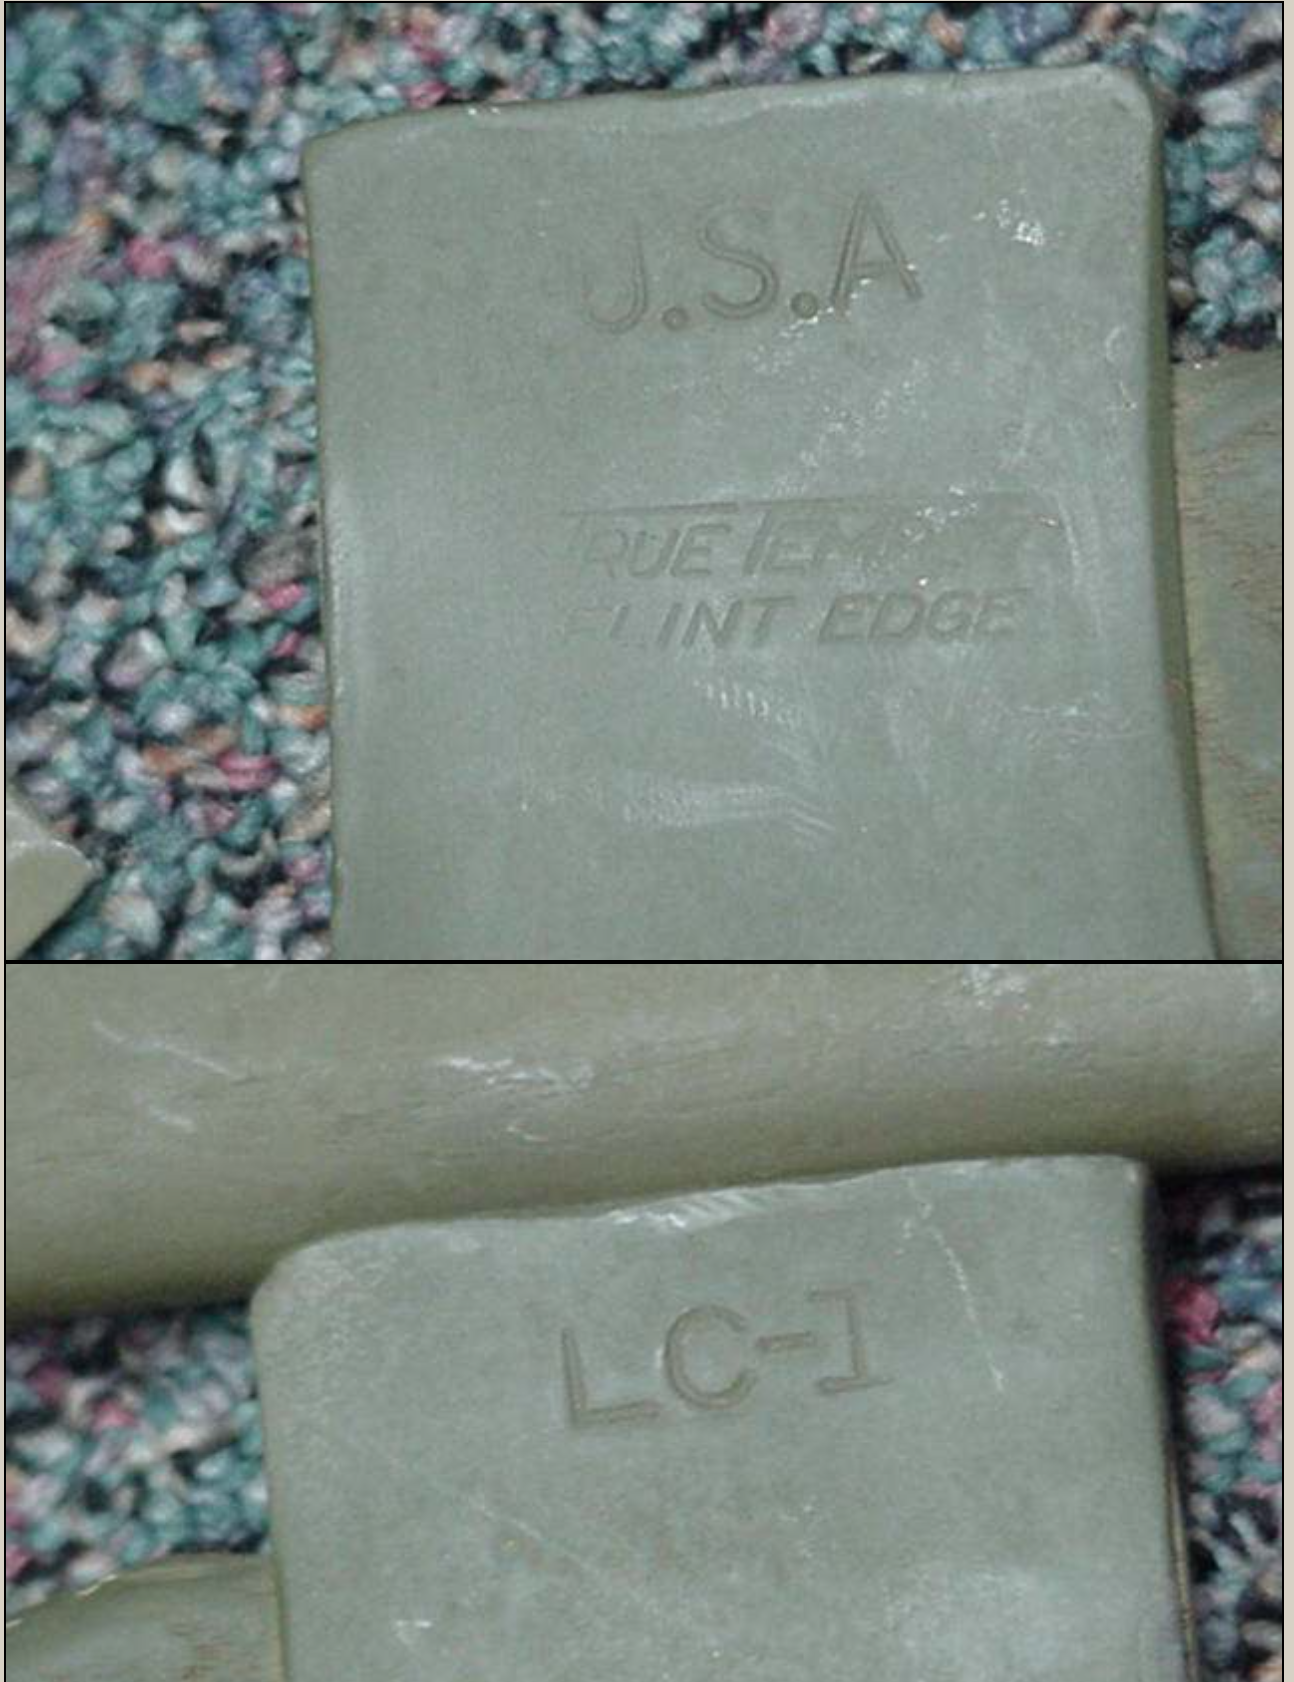
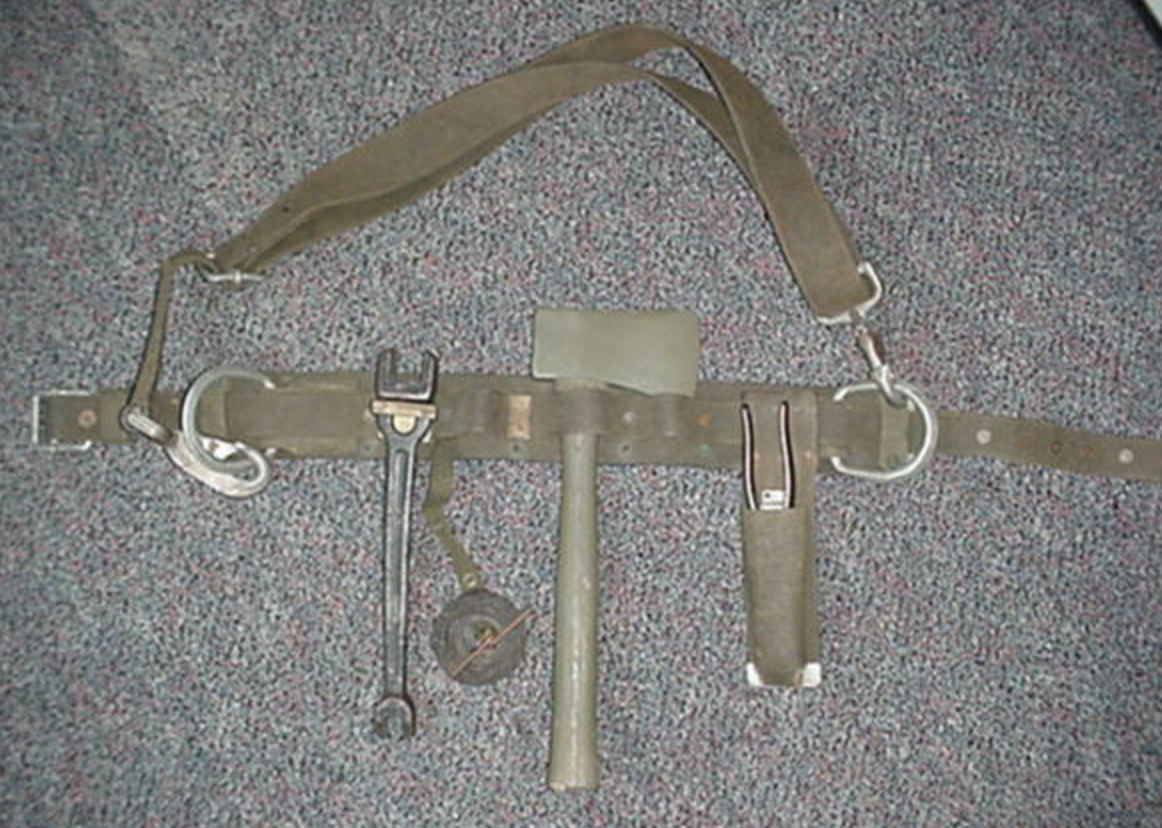
LC-1 Axe: LC stands for Line Construction, and would say LC-1 on it, and might say “True Temper Kelly Works” or “True Temper Flint Edge”.
Kelly Axe Manufacturing Company produced axes but was bought by American Fork and Hoe in 1930. They then began the True Temper brand of axes. AFH likely kept the name “Kelly Works” on some of the “True Temper” brand of axes. For a look at the 1938 American Fork and Co. catalog, see: True Temper Tools General Catalog 1R.
The LC-1 Axe Handle may be around 18 inches in total length. 2 inches inside the axe head, and 16 inches showing. The handle may have been painted green and installed with a few splits inside the head. The green paint might be a field modification as “load out” images that show all the tools on display; the ax is left unpainted, suggesting the paint came in the field. Indeed, the original ones look glossy black and dark blue.
A close-up of the LC-1 Ax head in this image shows that the handle is painted green. If you wanted to paint it green, Krylon 4293 (which seems to be found only at Lowe’s) would be a good color to use. Midwest Military sells a Signal Corps green color, but it’s unclear if it’s the right color green.
The handle likely came in different styles, such as straight. Though images that show items on display show that the handle is slightly curved.
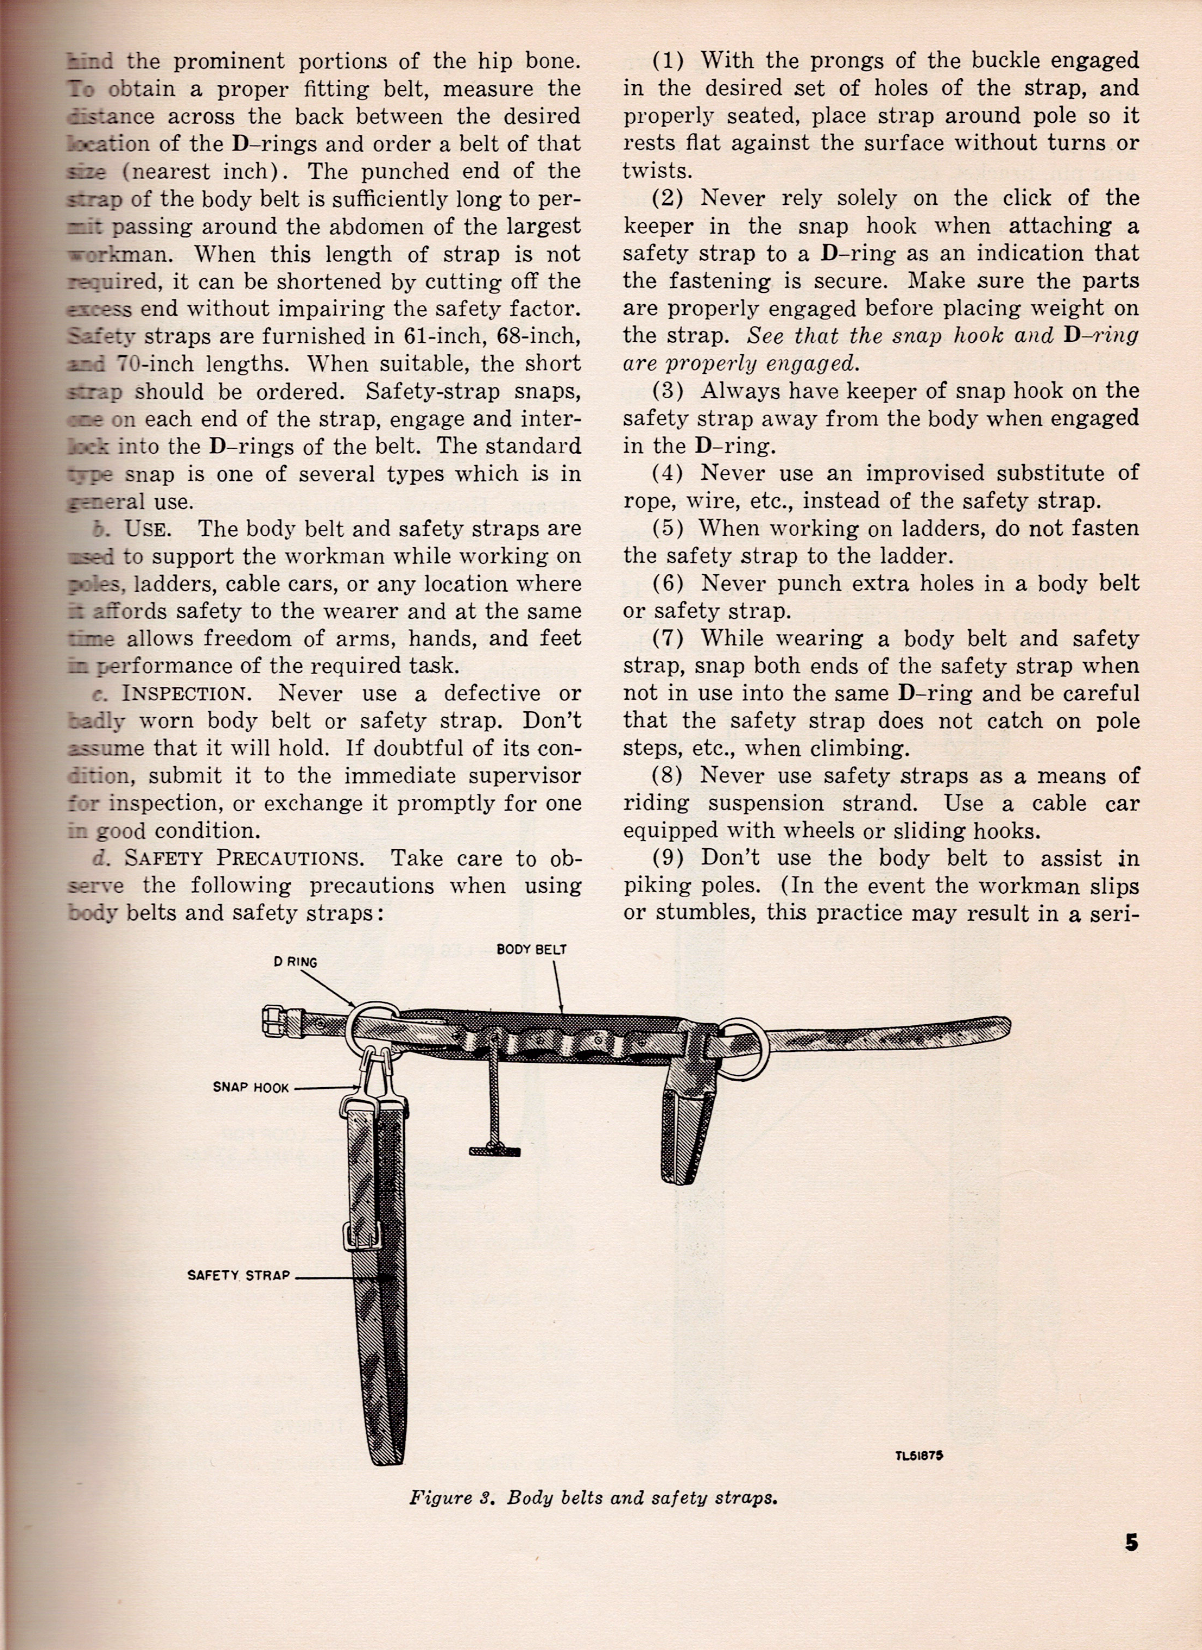
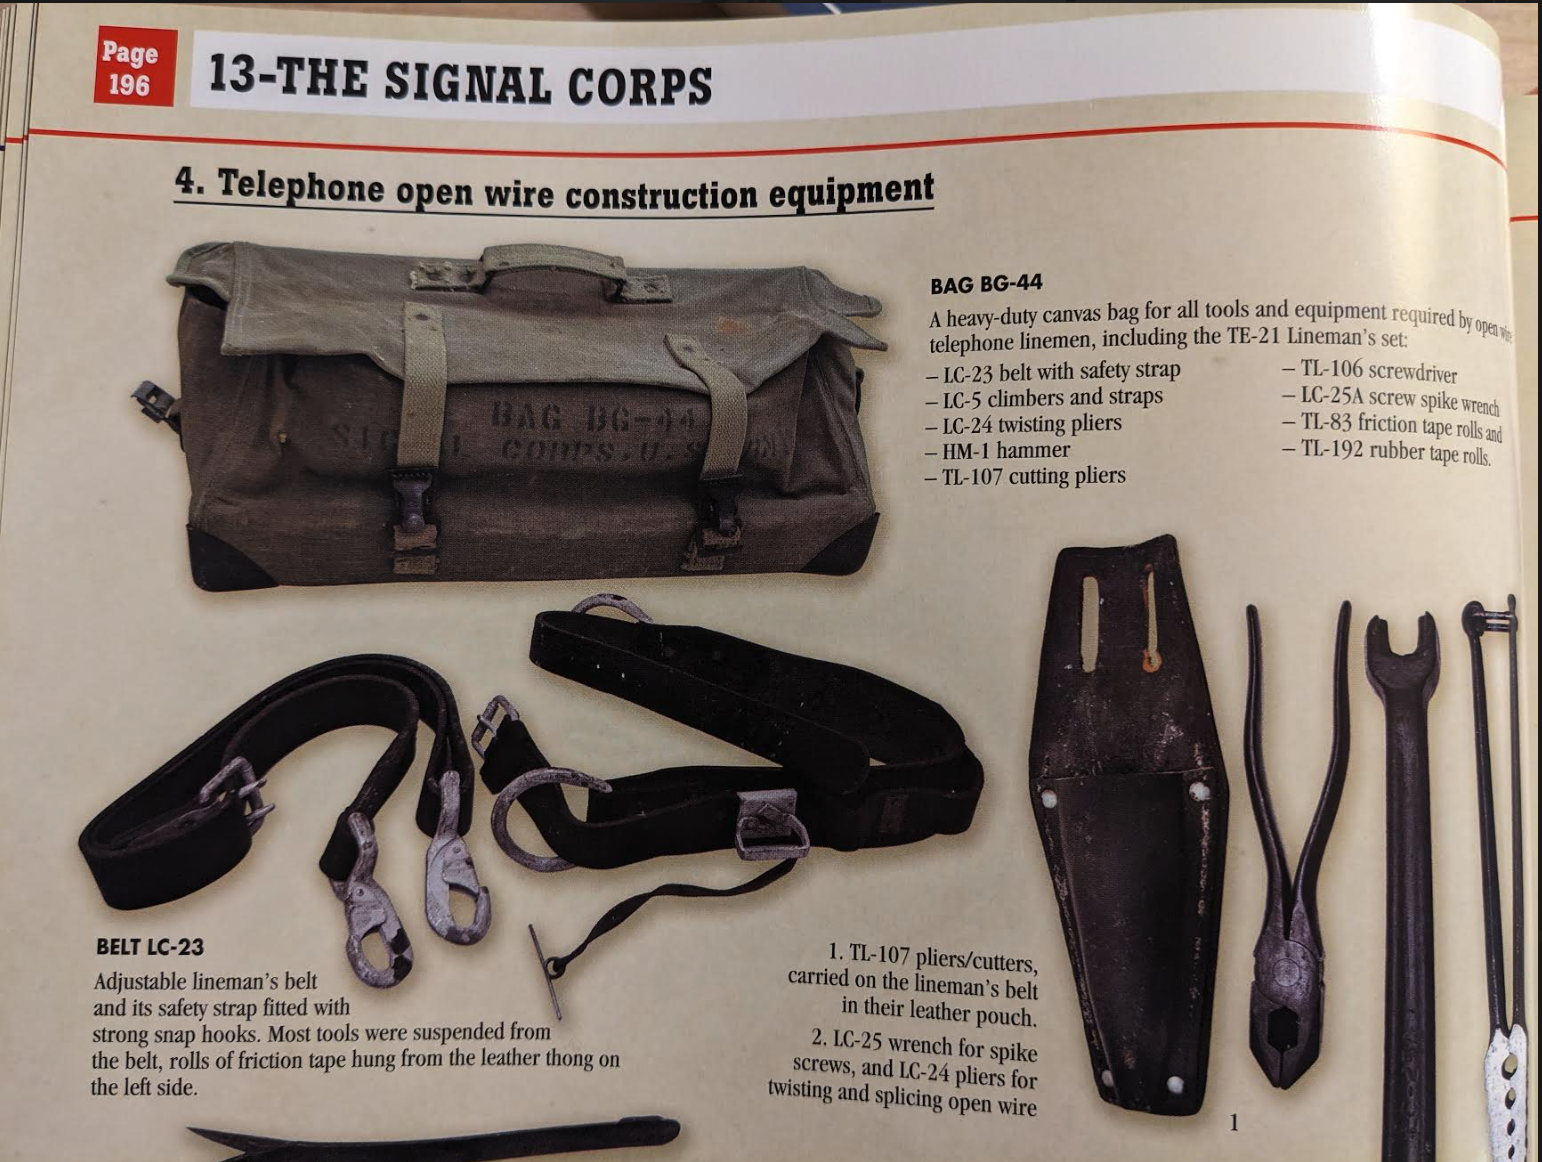
LC-23A and LC-23B belt w/strap [late ’44 date]: Came in two styles. A canvas and a leather version. Also came in multiple sizes. LC-23-A is likely the canvas version. LC-23-B is the leather version. This matches the EEa and EEb phone designs as well.
According to the May 1947 TM 11-372 field manual, the belt is sewn with linen thread and locked-stitched with copper rivets. It’s tested up to 1,500 lbs. The belts come in D-ring sizes of 18, 20, 22, 24, 26, 28, and 30. Size is determined in inches between the D-rings. Comfort with the belt is dependent on the right size in proportion to the hip bone. Each belt also had a safety strap, which was used to wrap around the pole.
To obtain a proper fitting belt, measure the distance across the back between the desired location of the D-rings and order a belt of that size (nearest inch). The punched end of the strap of the body belt is sufficiently long to permit passing around the abdomen of the largest workman.
To obtain a proper fitting belt, measure the distance across the back between the desired location of the D-rings and order a belt of that size (nearest inch). The punched end of the strap of the body belt is sufficiently long to permit passing around the abdomen of the largest workman. When this length of strap is not required, it can be shortened by cutting off the excess end without impairing the safety factor. Safety straps are furnished in 61-inch, 68-inch, and 70-inch lengths. When suitable, the short strap should be ordered.
Body Belts and Safety Straps for the LC-23 A and B
Measuring LC-23 A and B
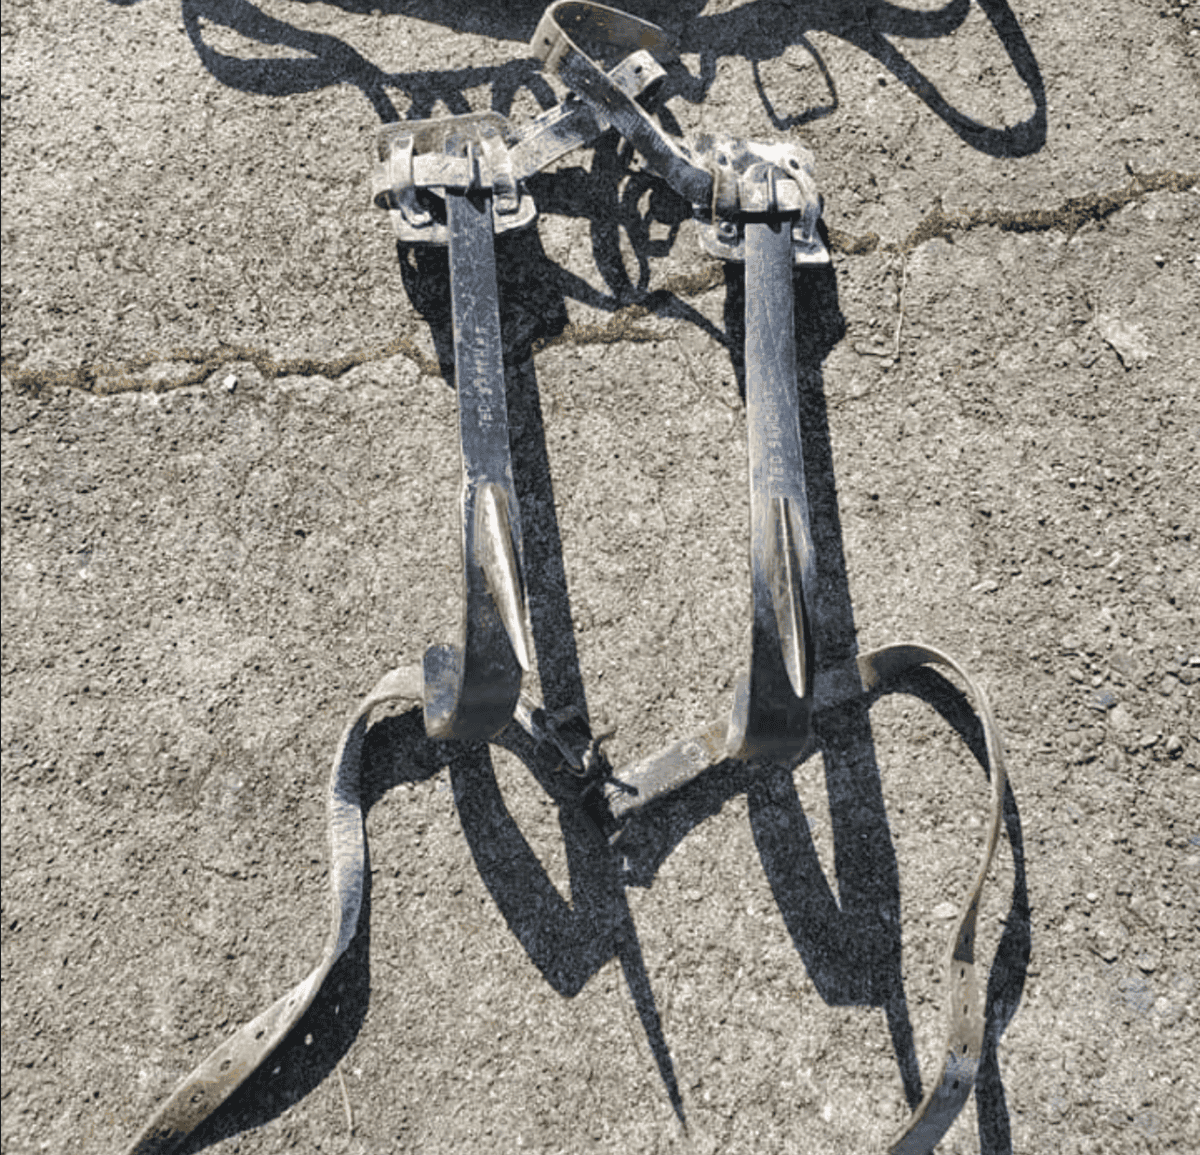
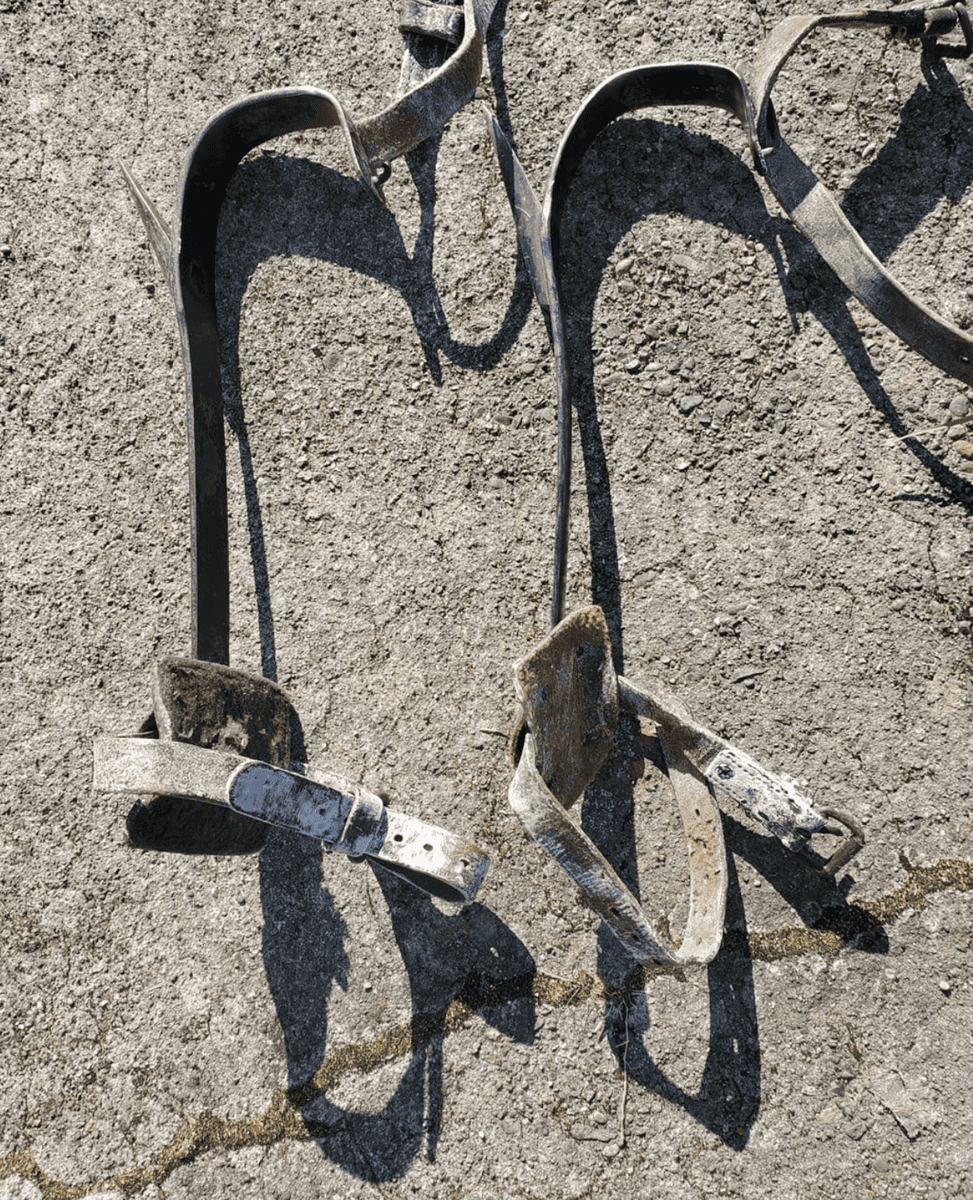
LC-5 Climbers: The spikes are called gaffs. Included with the climbers are a leather strap and a coarse cloth square pad, SAE F3 Felt.
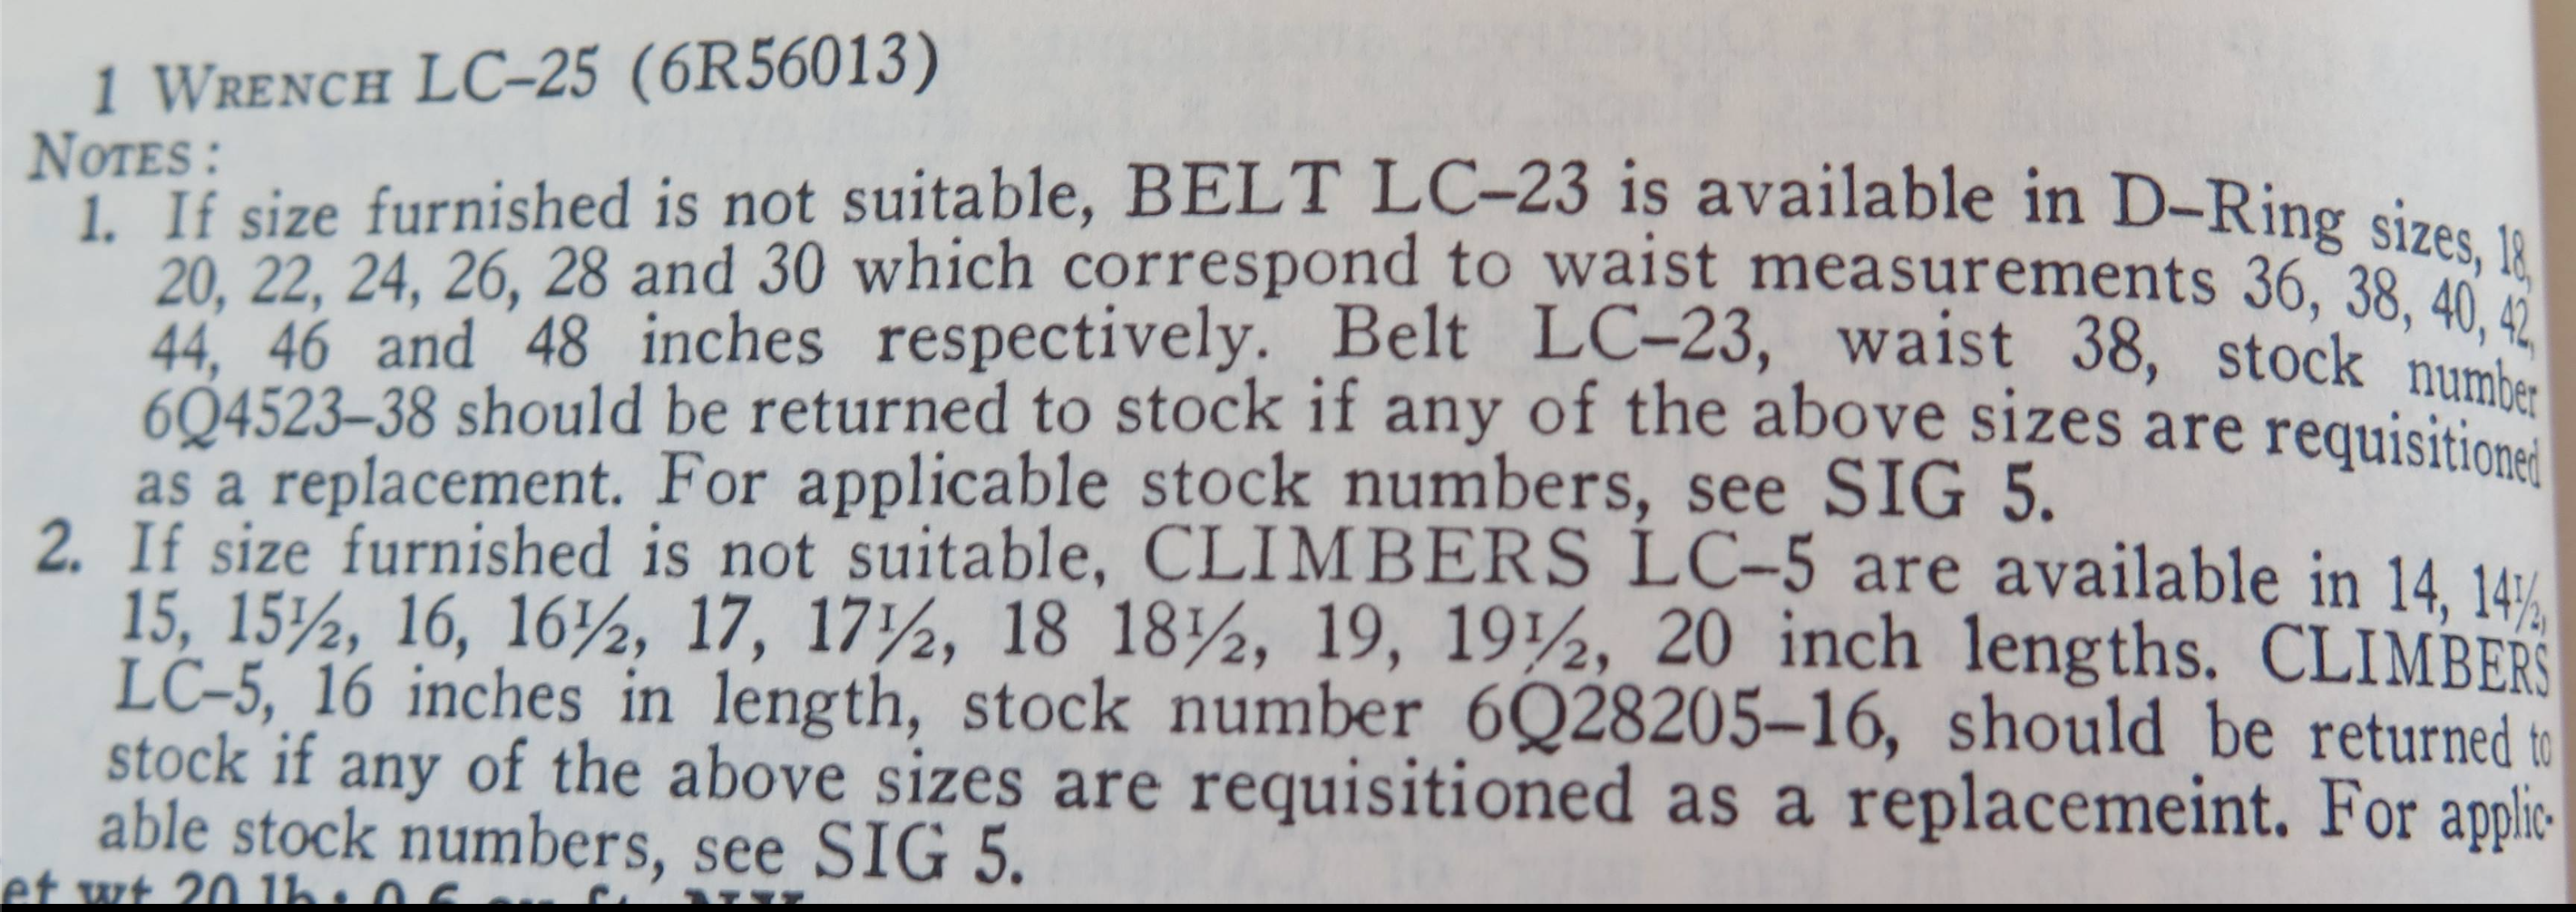
They came in multiple sizes; see the notes section of the image below, which describes the sizes for the LC-23 belt and the LC-5 climbers.
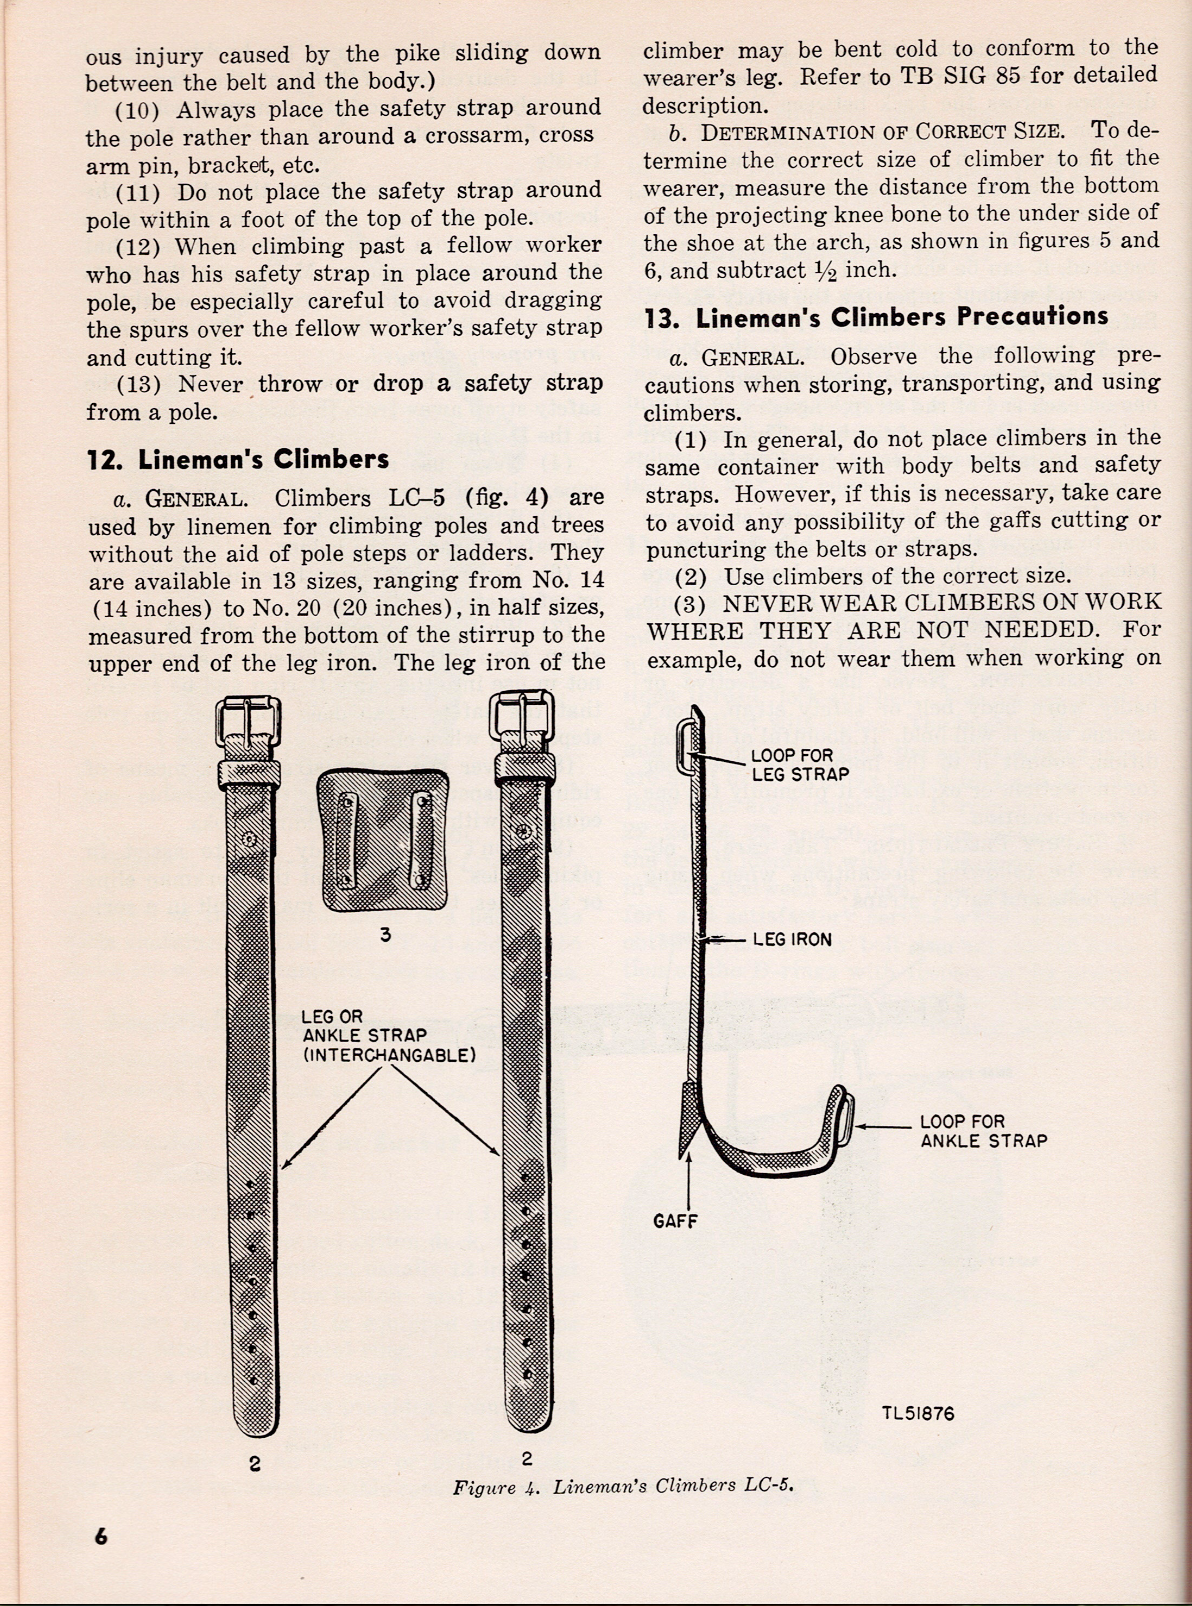
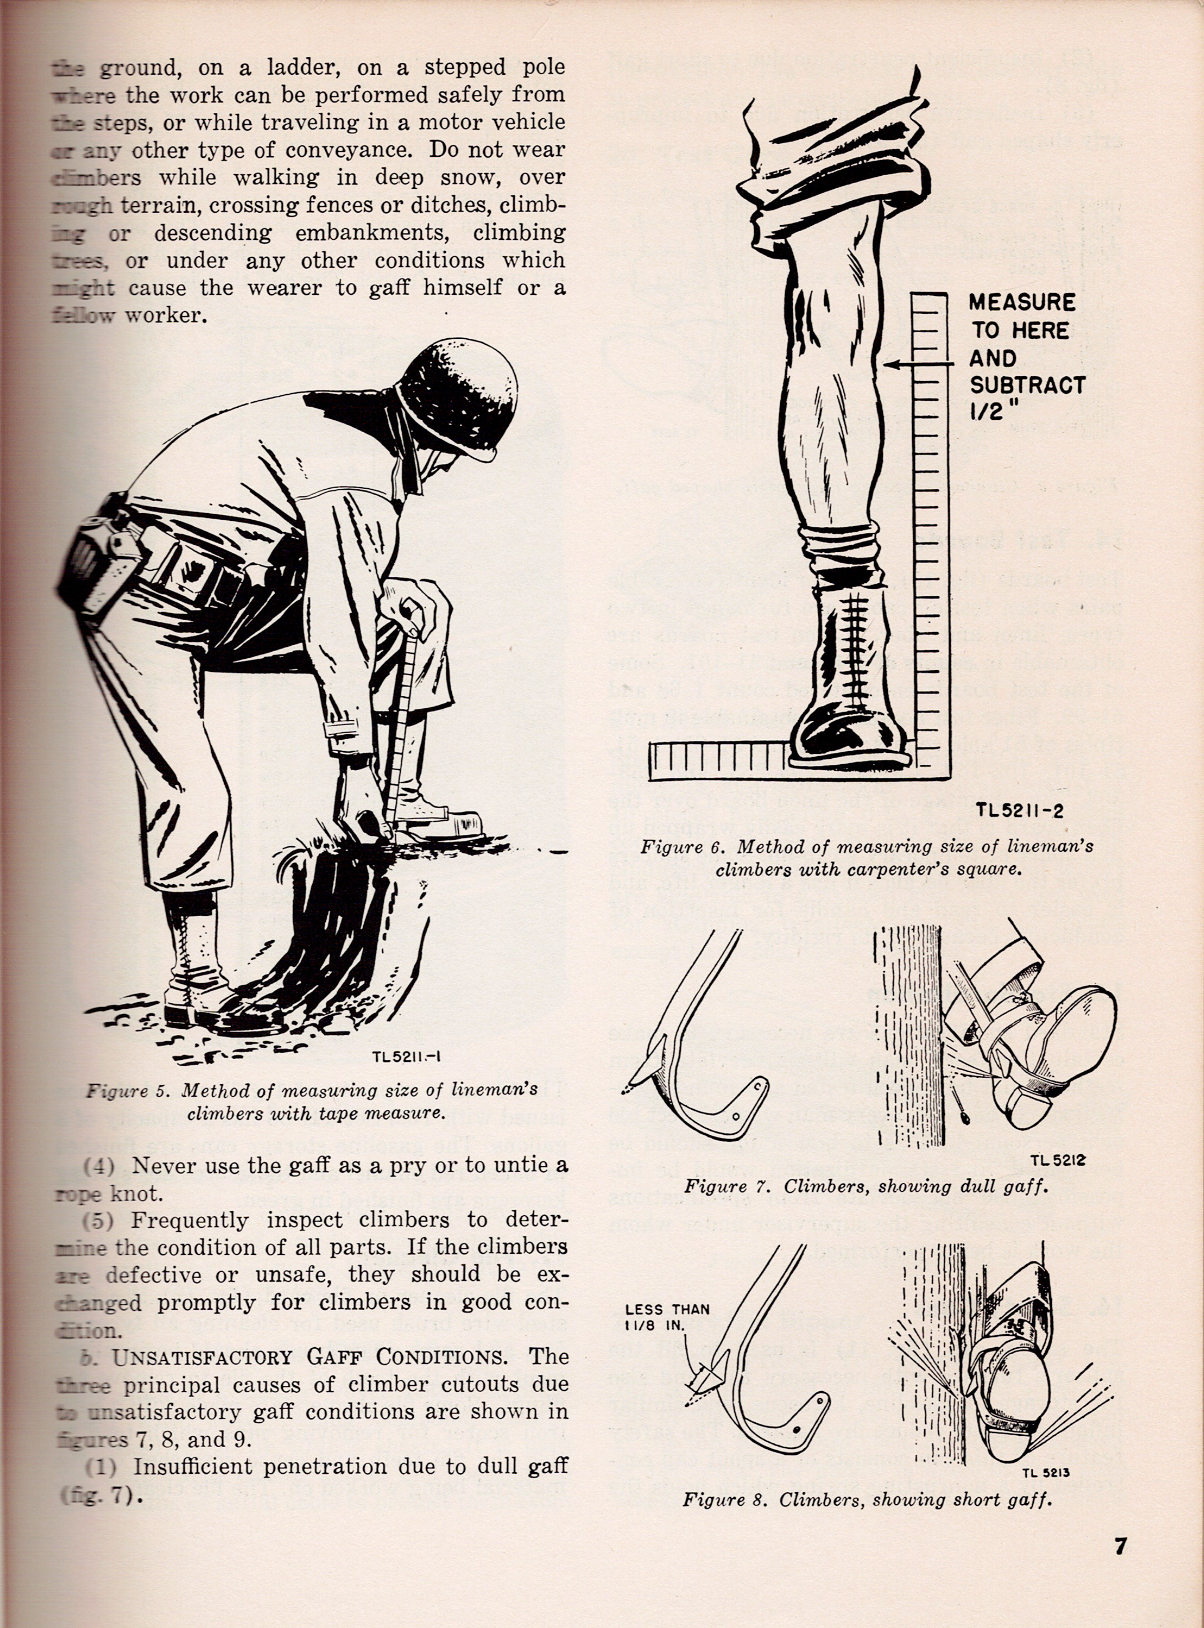
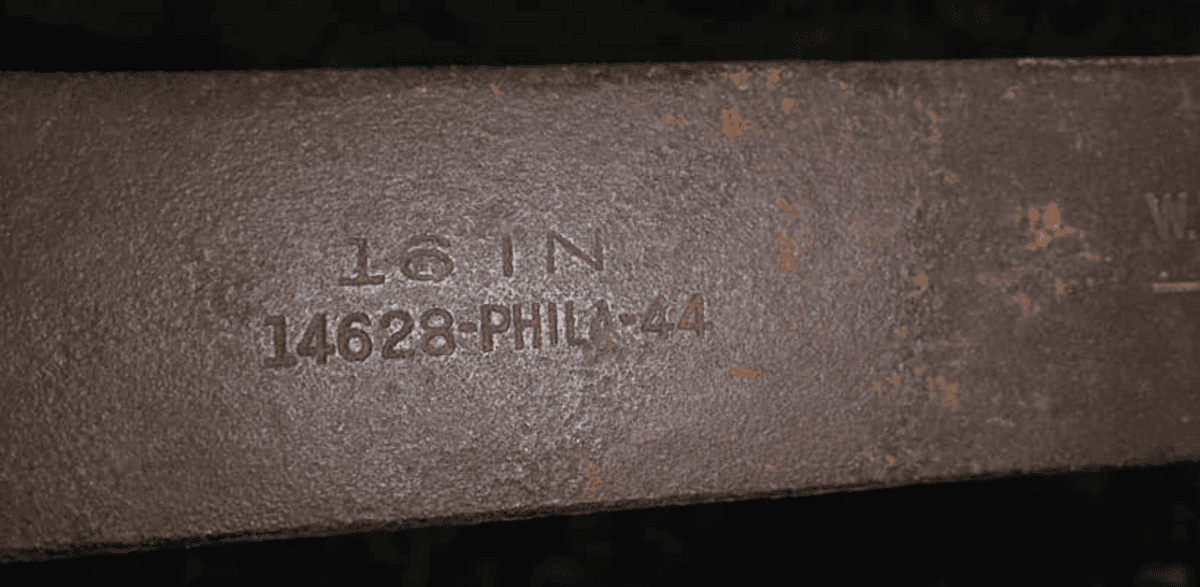
According to the May 1947 TM 11-372 field manual, they are measured from the bottom of the stirrup to the upper end of the leg iron. To determine the correct size of climber to fit the wearer, measure the distance from the bottom of the projecting knee bone to the underside of the shoe at the arch, as shown in the figures below, and subtract .5 inches.
Don’t wear the climbers unless needed, and be sure the gaff (the pointy part of the LC-5 climbers) is maintained well to dig into the wooden pole.
Prior to LC-5, there were two other LC climbers: an LC-6, which was 16″, and the LC-7, which was 17″. When LC-5 came out, it superseded both of these climbers as it came out in various sizes, thus negating the need for a specific size-based model.
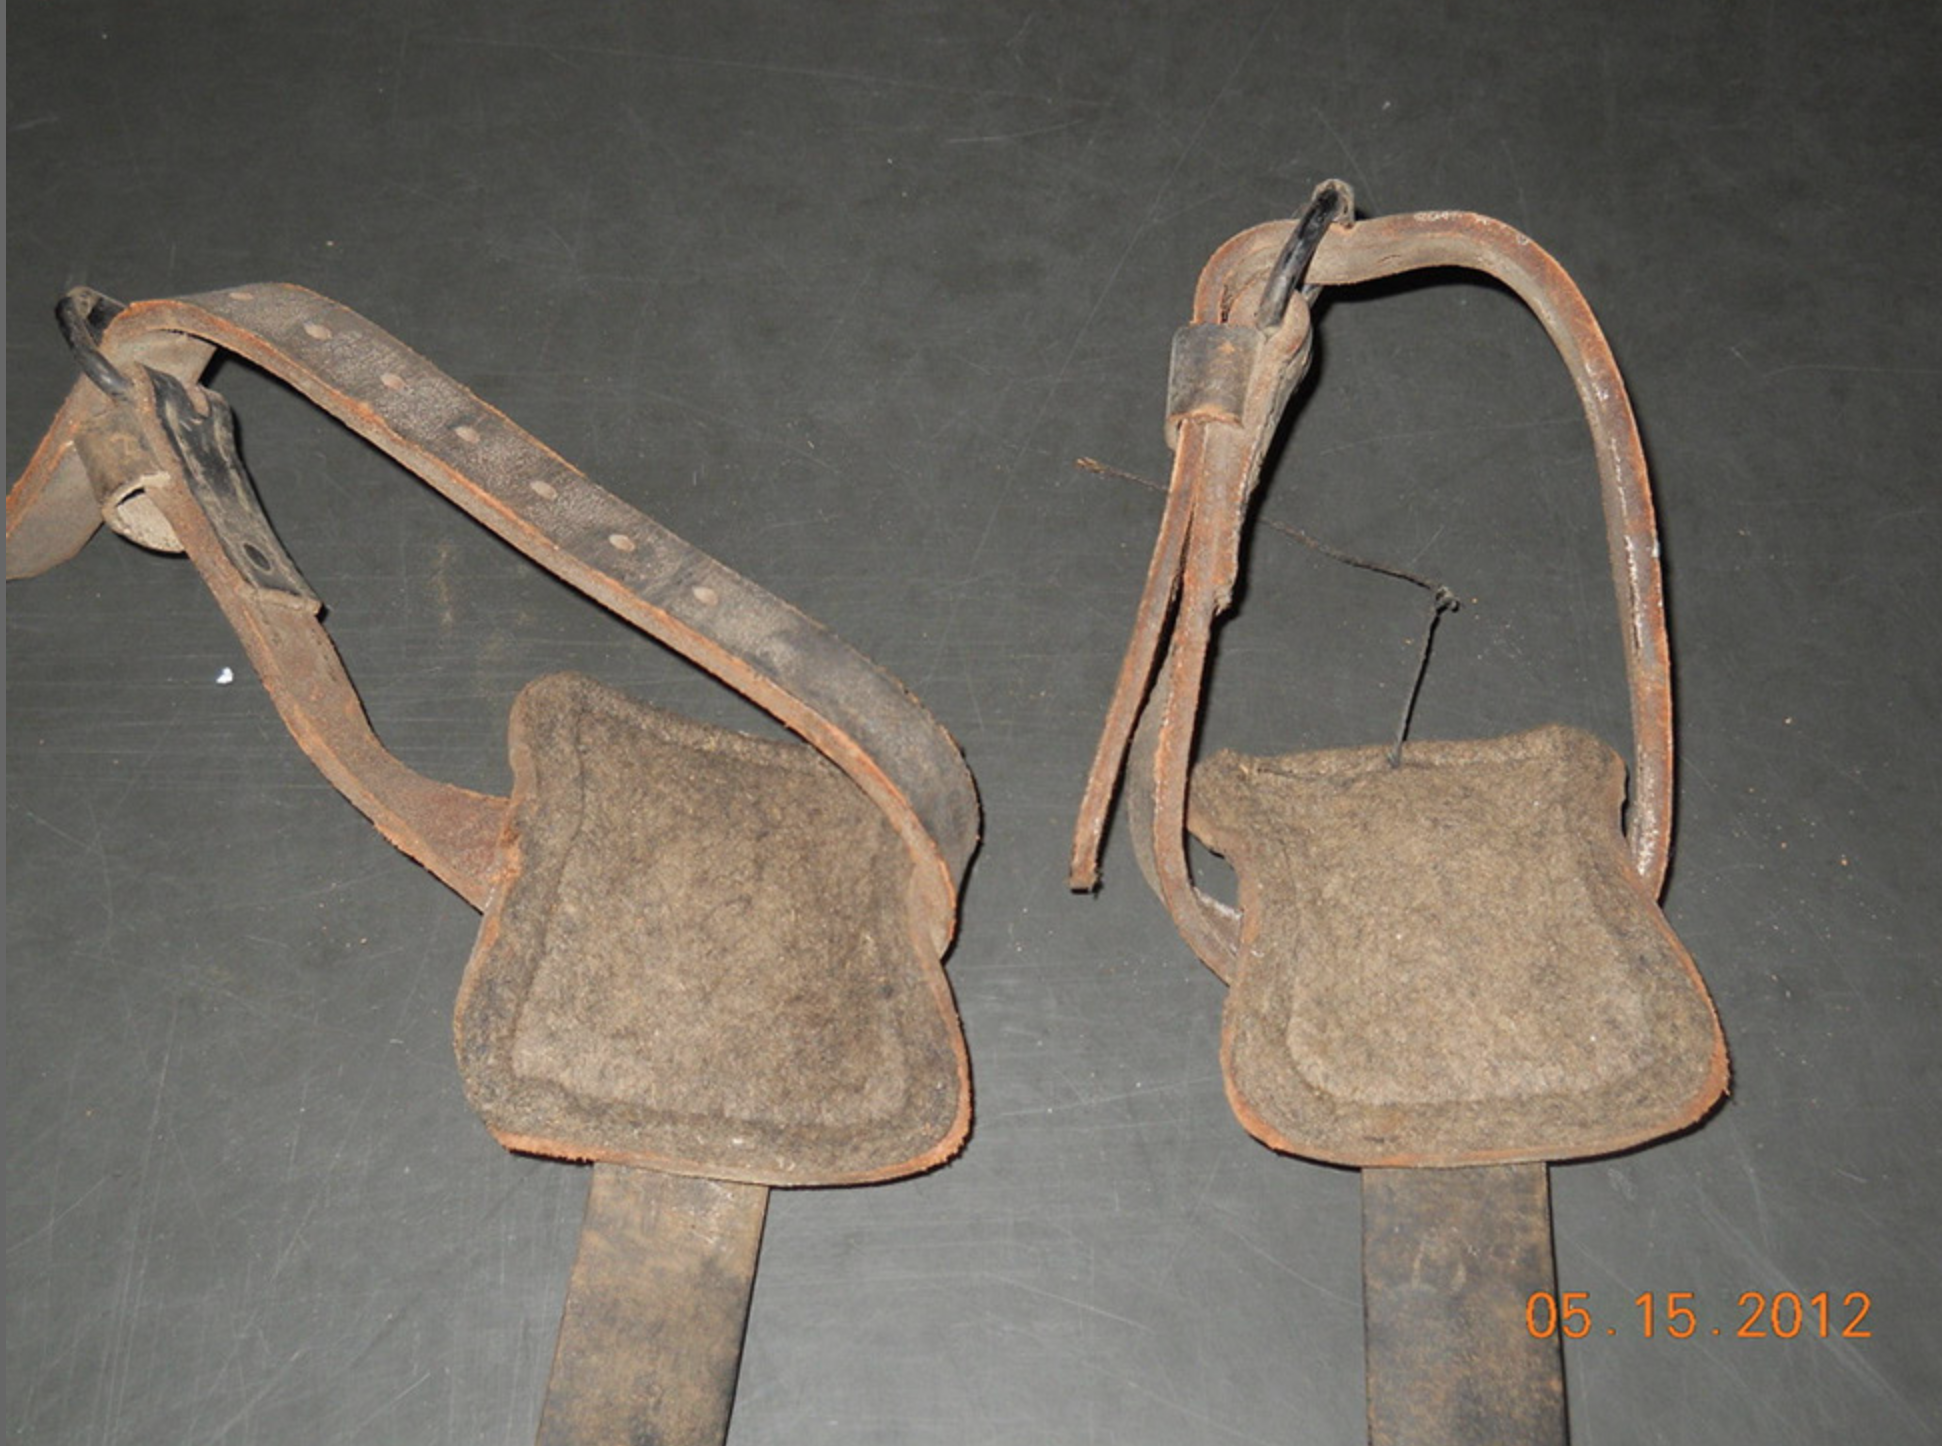
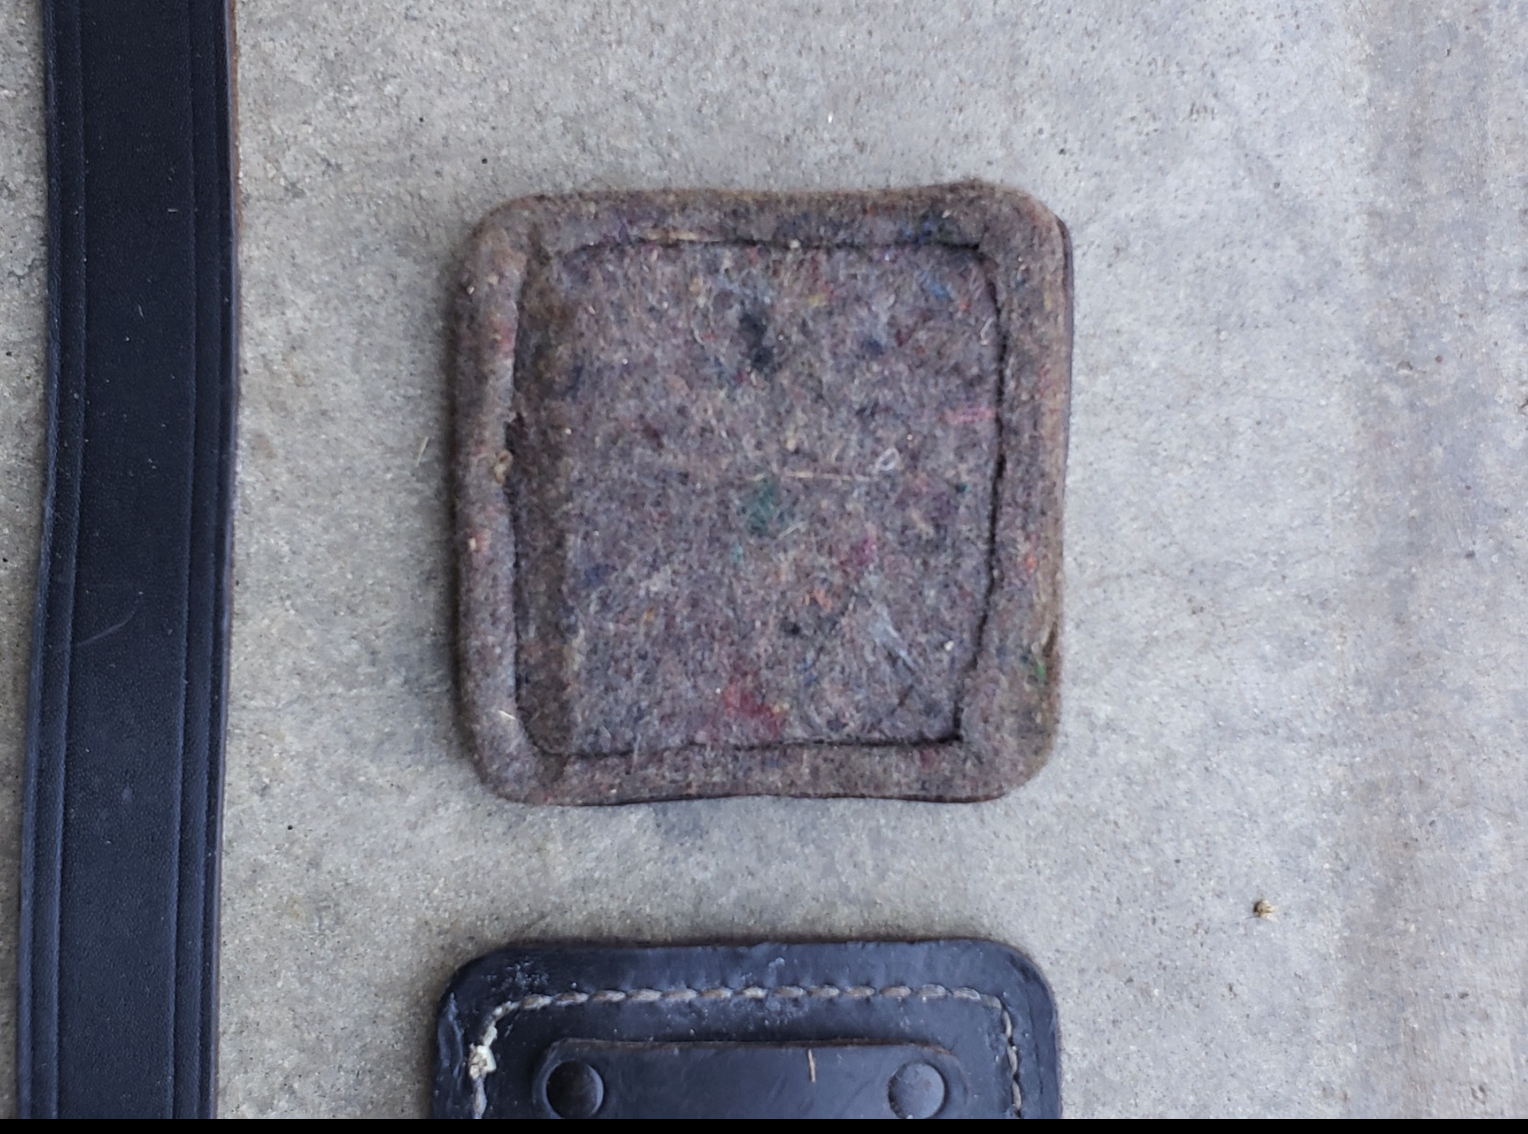
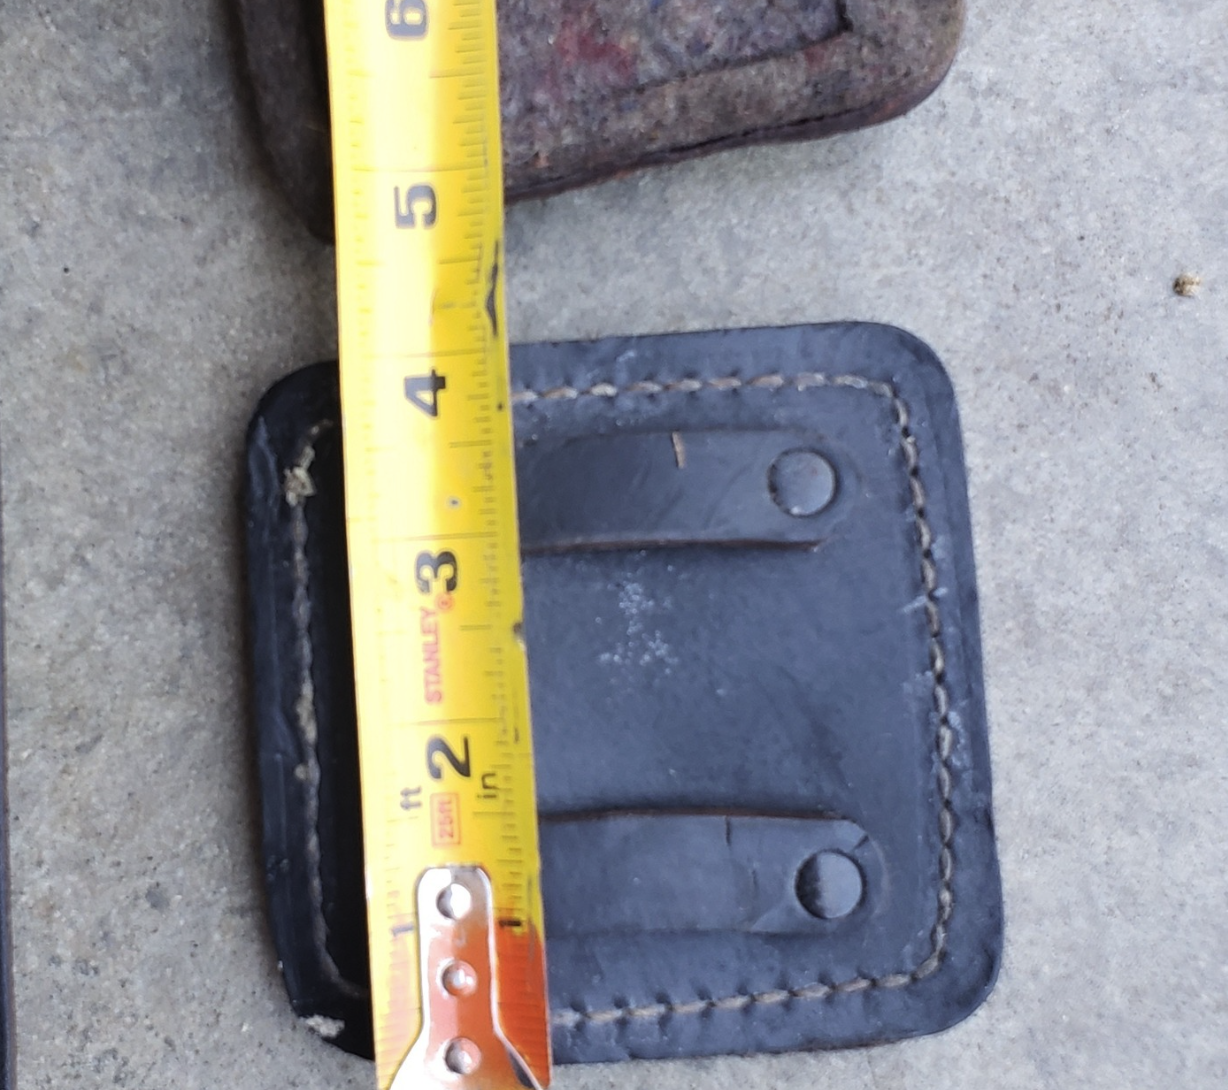
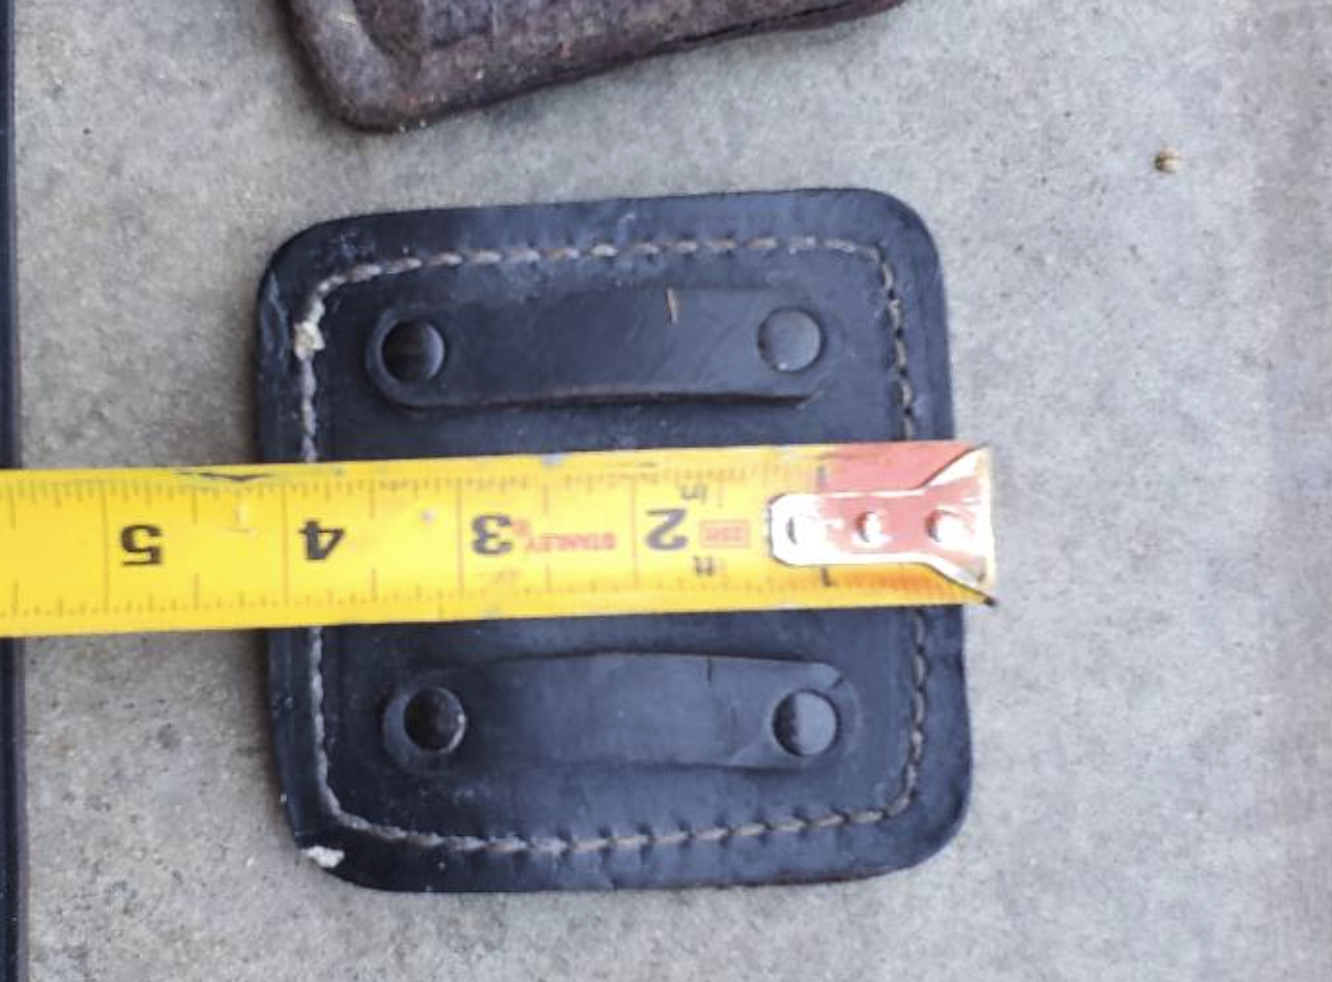
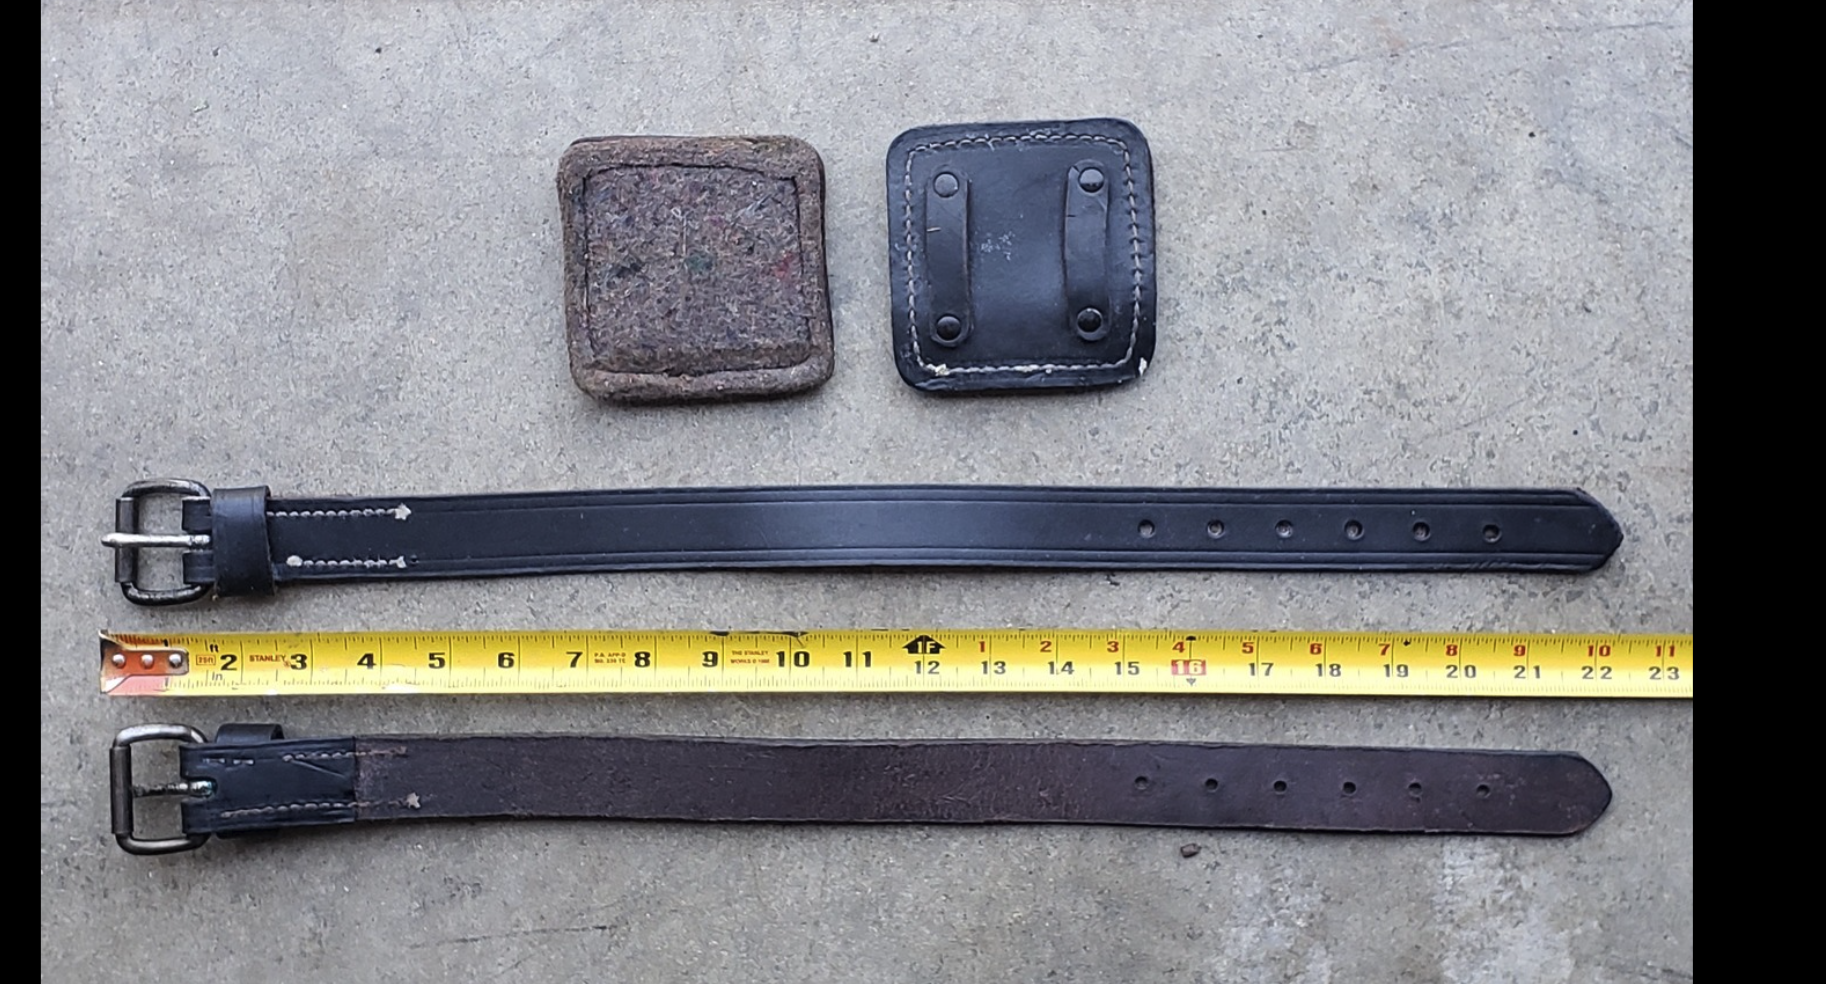
Note that the straps around the LC-5 climbers are made of leather and go through a square pad, which secures them to the upper calf and prevents chaffing. One side of the pad is leather, and the other side is the kind of cloth used to insulate the interior of canteen covers. This cloth is SAE F3, which is still in use today.
Lineman’s Climbers LC-5
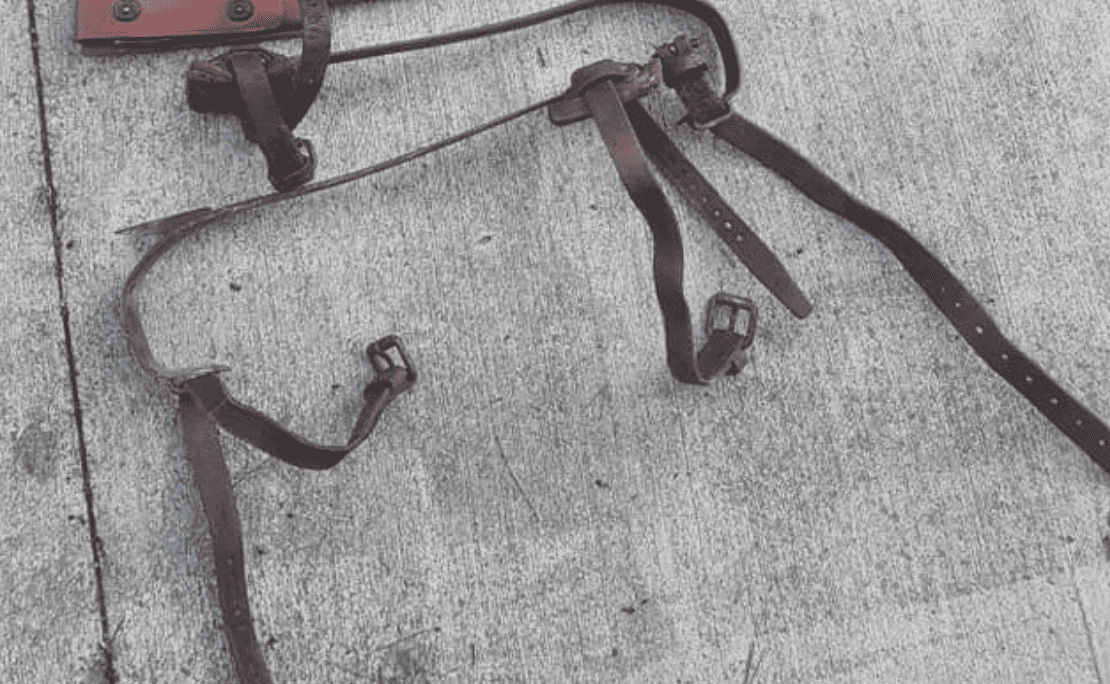
Below are some images showing the straps
LC-5 Climber Calf StrapLC-5 Climber Calf Strap showing Buckingham labelPulled from WW2 Signal Group on FacebookPulled from WW2 Signal Group on Facebook
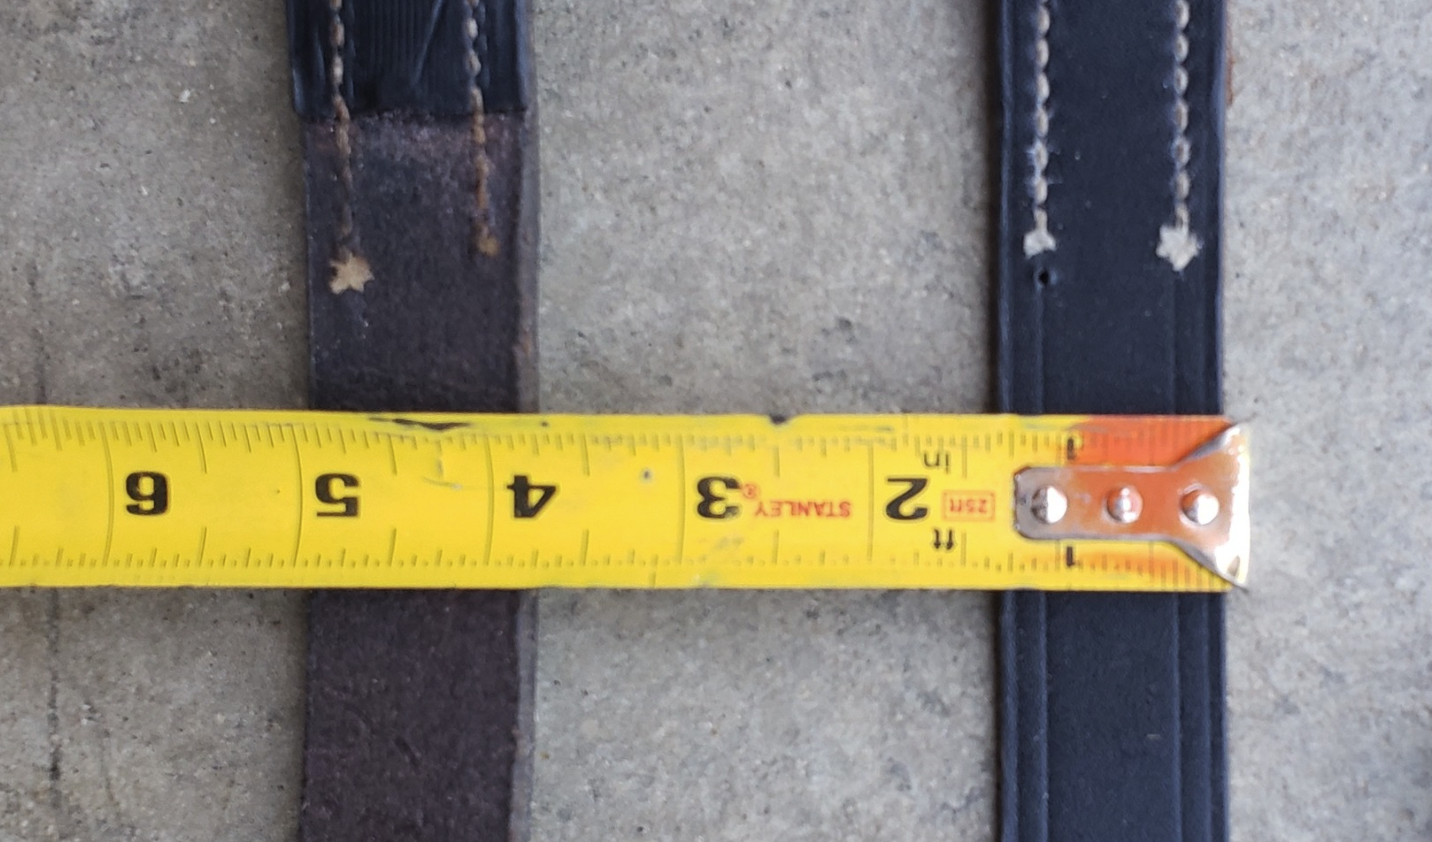
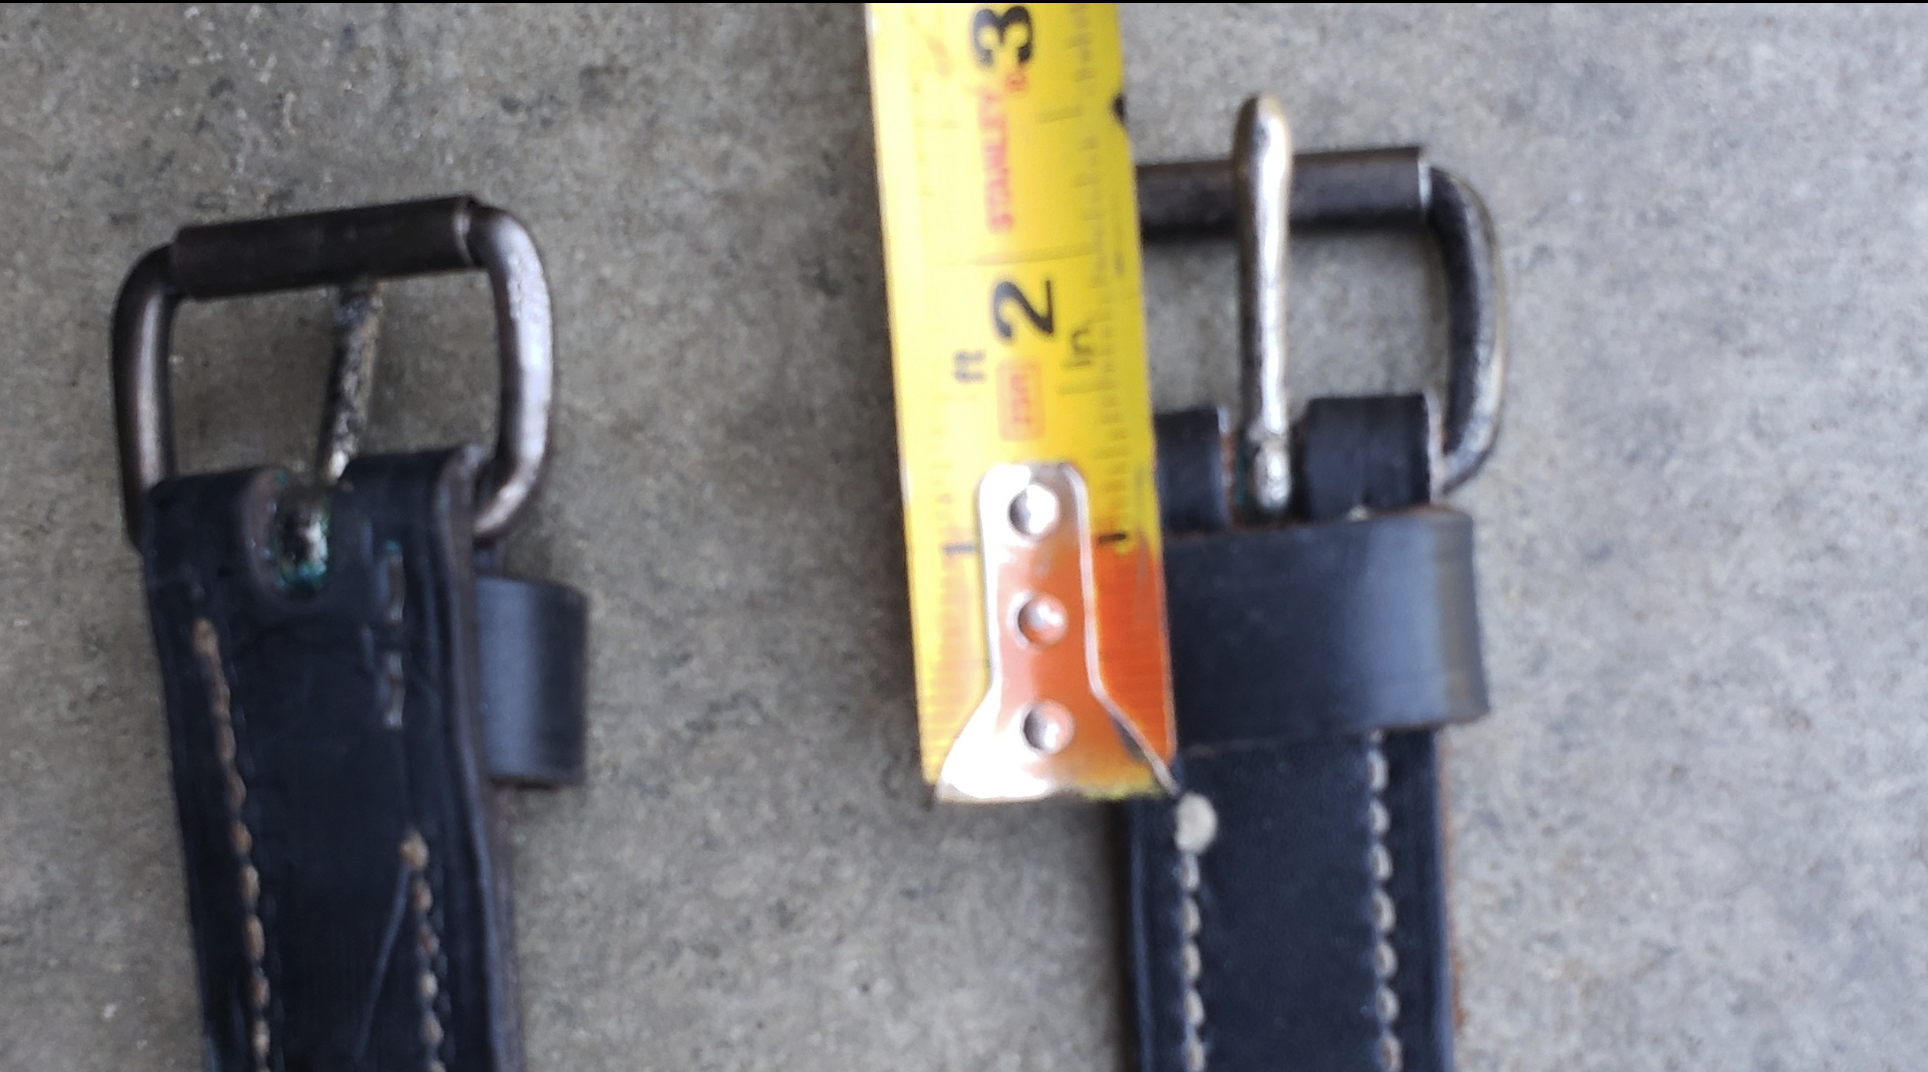
The images below show the measurements of the leg strap, leg strap loop, and calf pad. Images are taken from a New Old Stock (NOS) unit. The calf pad is about 4inches in width and length. The calf pad loops on the back are about .5 inches long. The calf leg strap is about 1.25inches wide. The calf strap loop is about an inch wide. The calf leg strap is about 22inches long.
The document below shows how to measure your leg and calf to be fitted for the pole climber size.
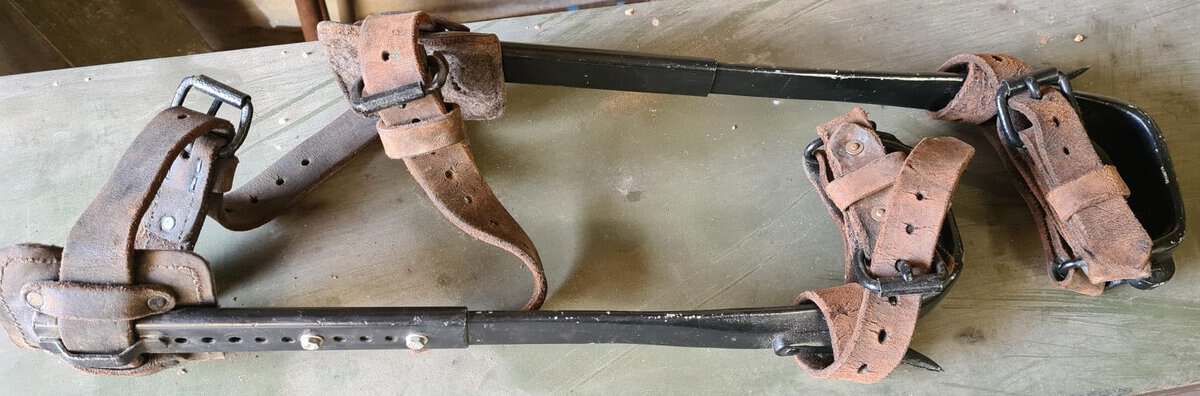
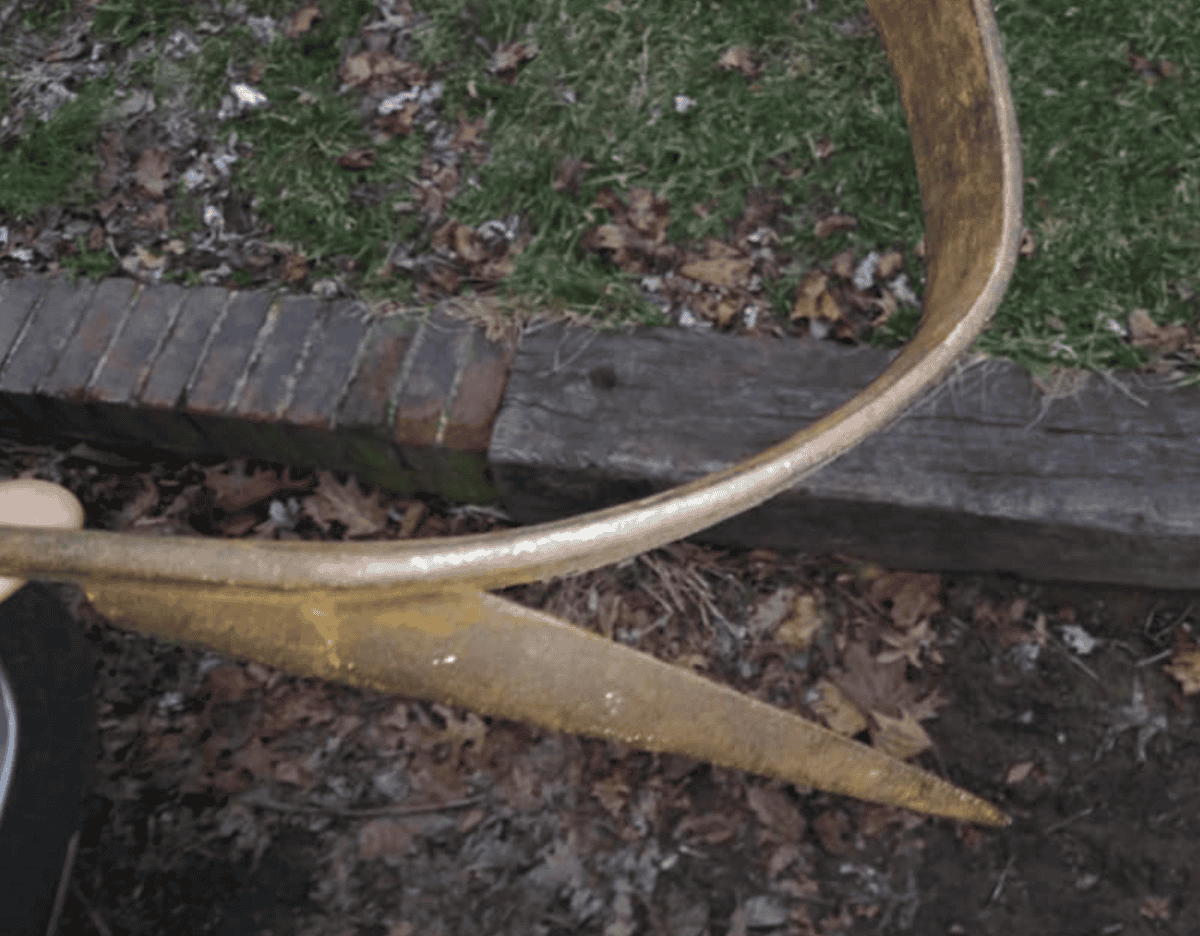
One thing to keep in mind when looking at the LC-5 Climbers is that there are two types. One for pole climbing and one for tree climbing. Each crew had a set of tree climbers, which appear to be just some kind of commercial tree spikes. These tree spikes appear to have no designated catalog number. You can tell they are tree spikes because the gaff is much longer for digging into the meat of the tree.
Pulled from the WW2 Signal Corps Facebook GroupPulled from the WW2 Signal Corps Facebook GroupPulled from the WW2 Signal Corps Facebook Group
SAFETY: Do not use original LC-23 belts or LC-5 leather straps and calf pads for climbing more than a few feet off the ground. It’s fine to wear to show the public or provide a demonstration where you climb up a wooden pole a few feet off the ground. However, you should not rely on almost 100-year-old equipment to support your weight more than a yard up. For the LC-5 straps and calf pads, you can buy modern versions and use those (or as close as you can get). For the LC-23 belt, nobody that I am aware of reproduces them. So you need to convert a modern one, as best as you can, to a WW2 version, or contract with someone to reproduce them.
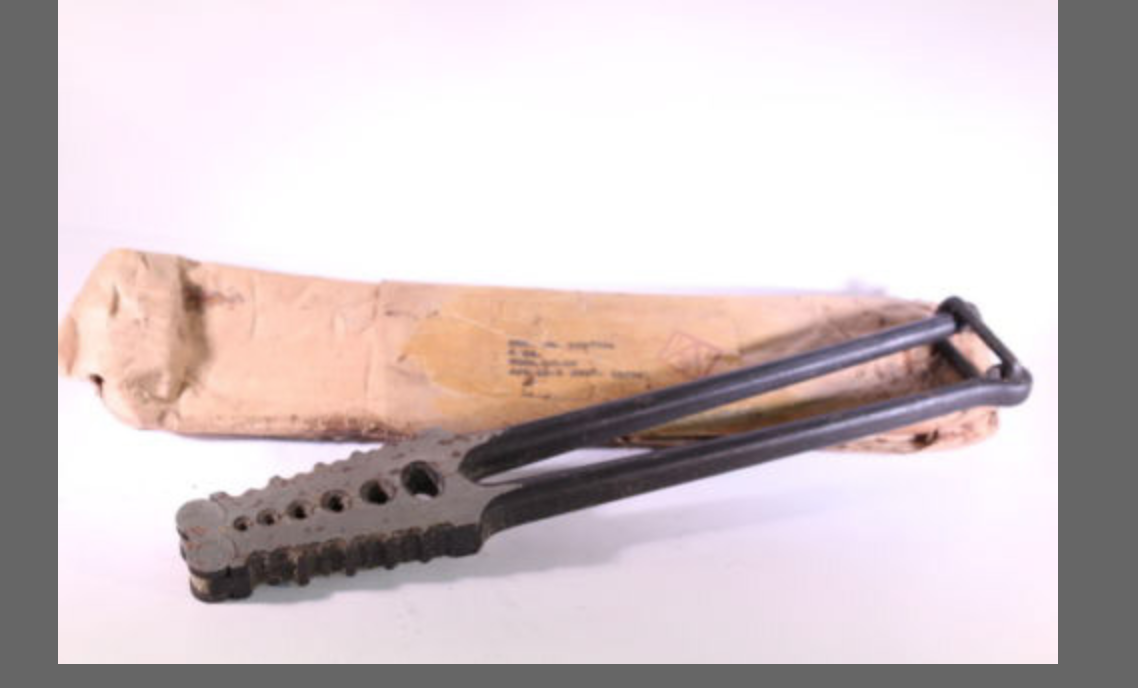
LC-24 Twisting Plier,also called a Clamp: Used to crimp, twist, and splice wire.
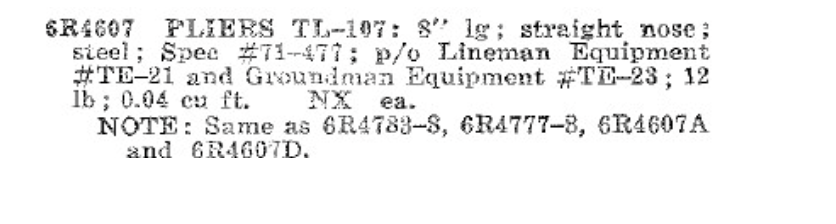
TL-107 Pliers, 8″: 8in in length, straight nose, steel. The US government contracted with various firms like Utica to make them. Indeed, Utica made a set of commercial pliers that are the same, called Utica 1950-8. 1950 being Utica’s catalog number and 8 meaning the pliers are 8 inches long. For a history of these pliers, see Alloy Artificats Utica Tools, Linemans.
This differs from the TL-13 and TL-13-A pliers, which were 6inches in length.
Sig5, Class 6, 6R
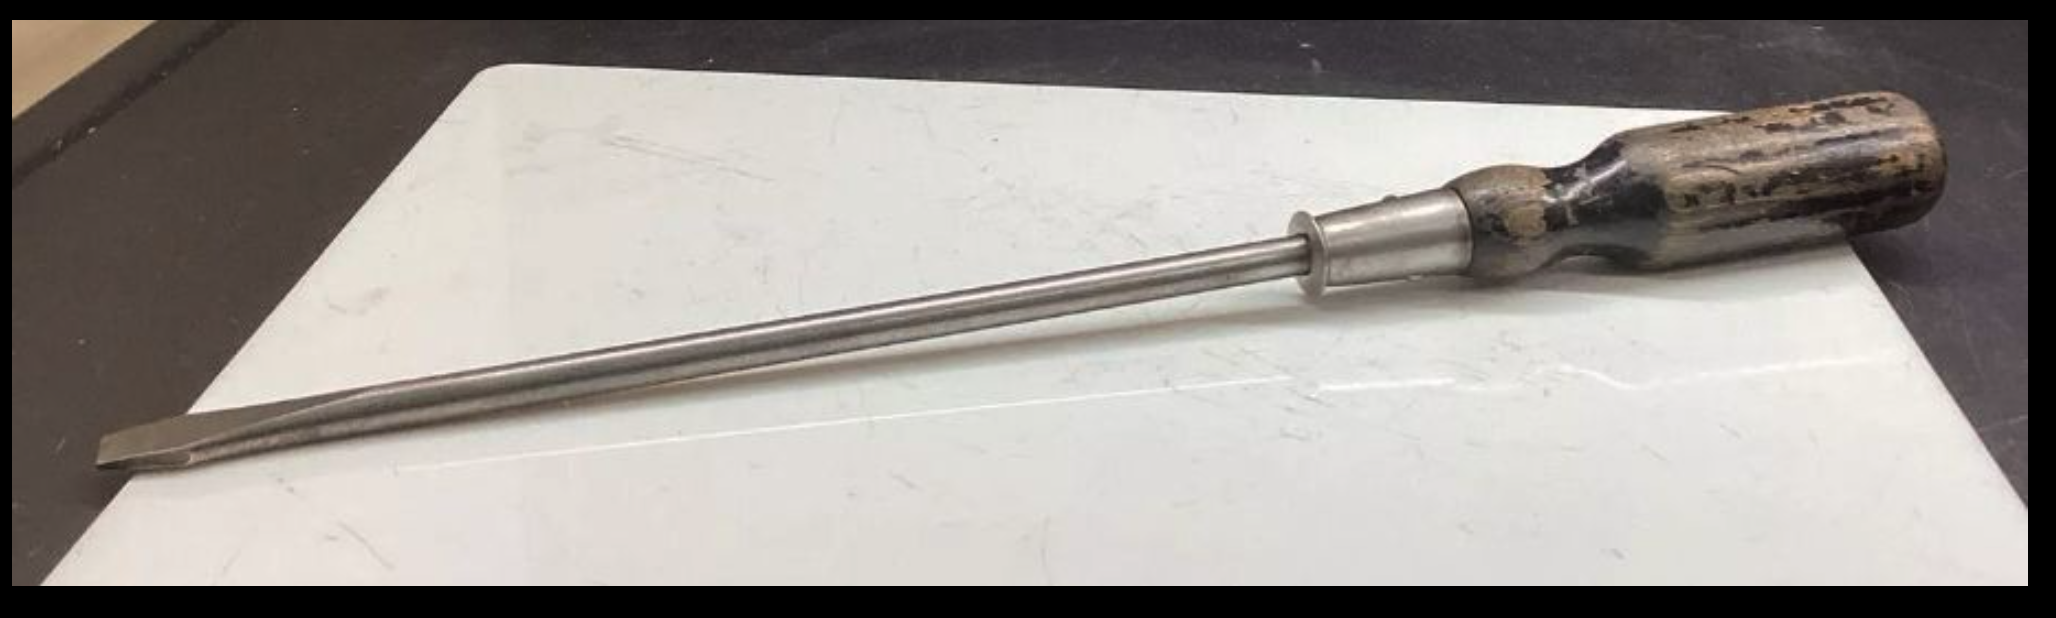
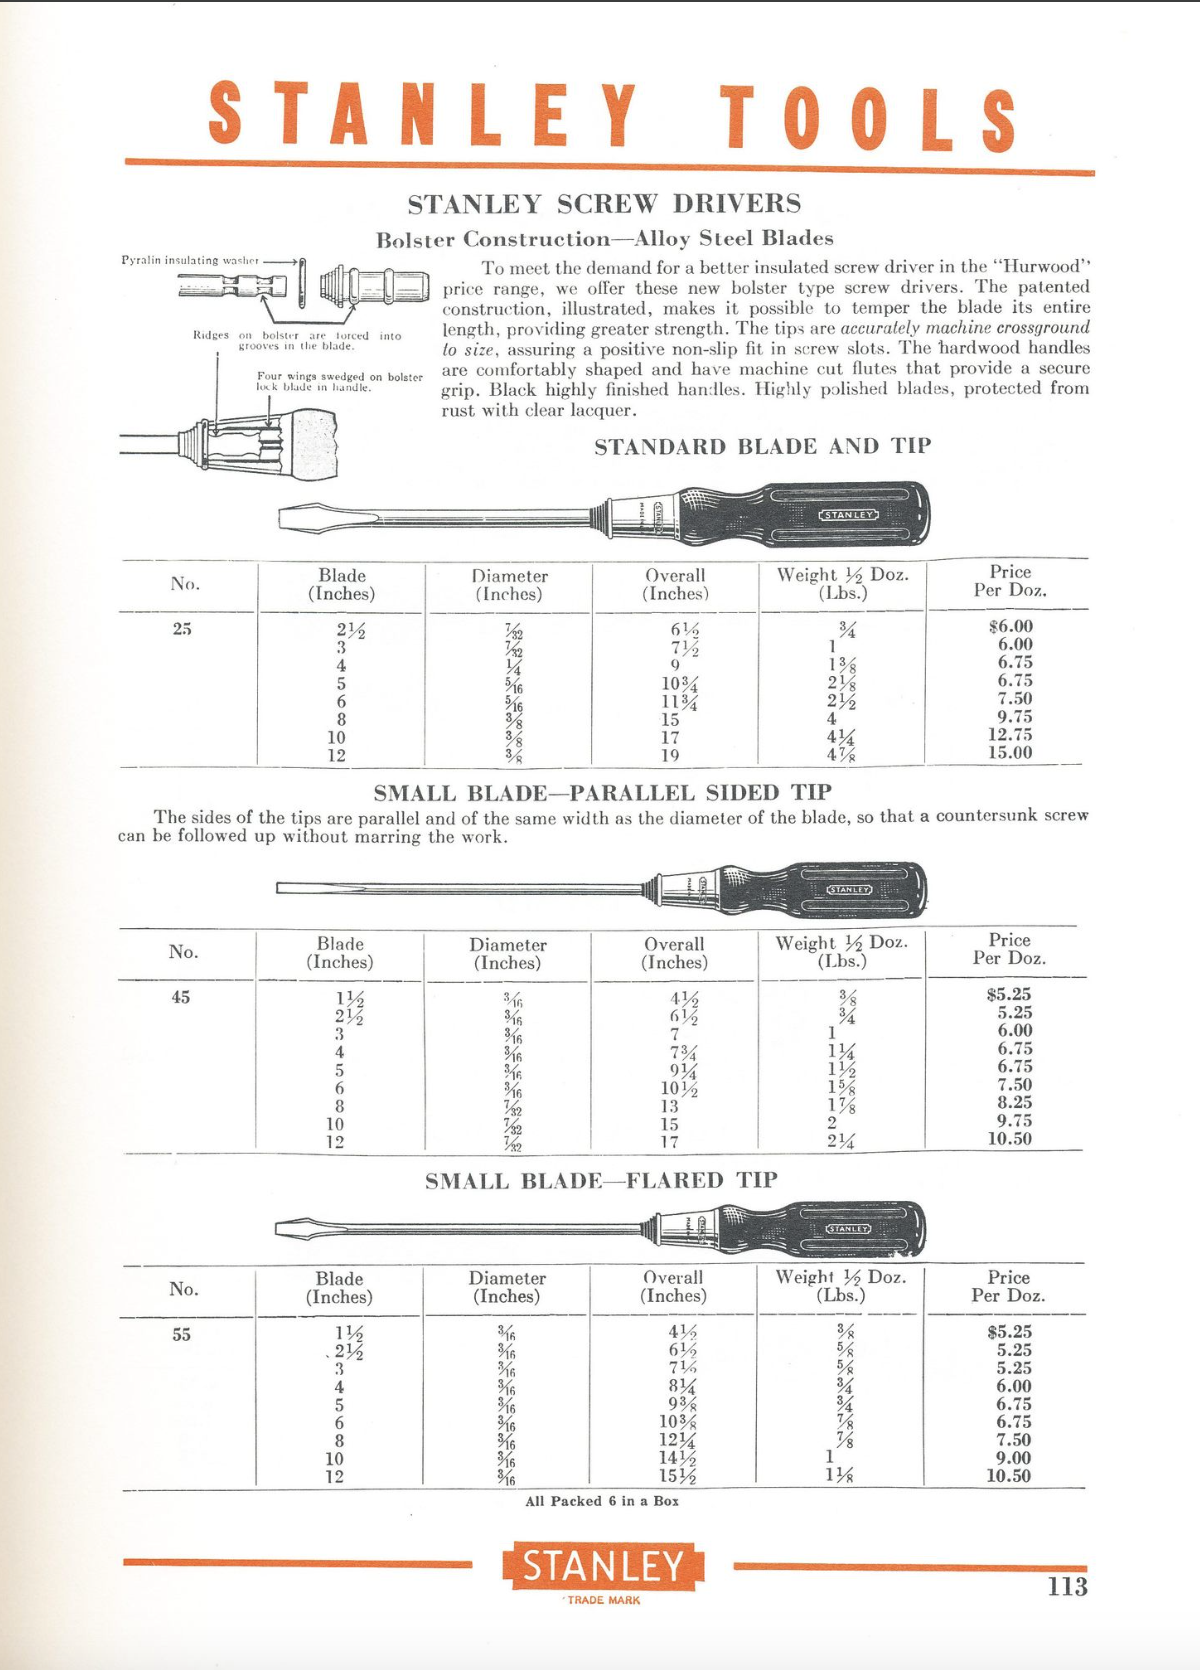
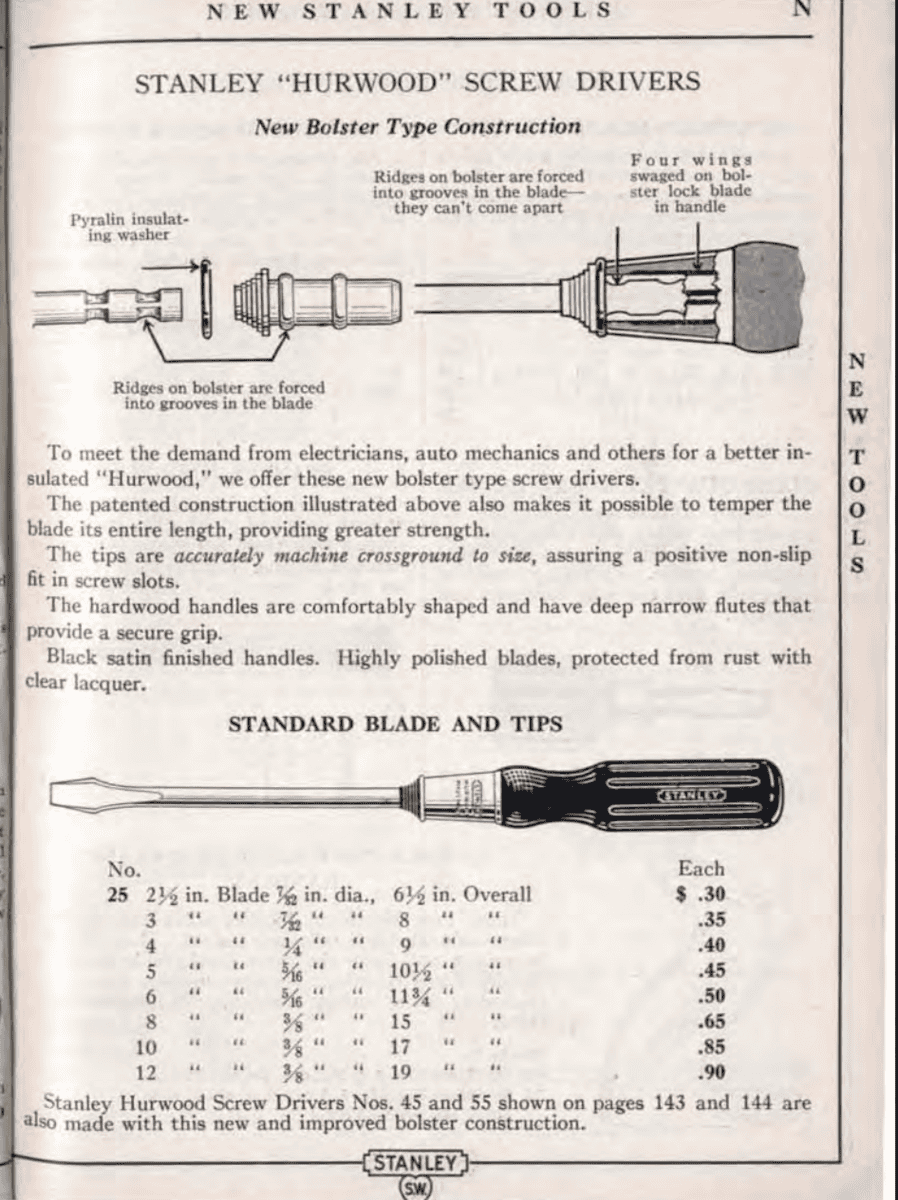
TL-106 Screwdriver: The screwdriver is similar to the Stanley 1934 # 25 driver. It had a 10-inch blade with a 3/8ths tip and 17in overall length. In 1934, it cost .85 cents.
Note that some screwdrivers might say “Forval” on the handle. This appears to be a French-made screwdriver. It’s unclear if this is a post-WW2 production or if the US Govt contracted with French companies after D-Day to produce these, which would make them “wartime dated”.
Now the specs say “or equal,” and there were other tool companies, such as Irwin, making tools during World War II. The IRWIN 800 seems like it would be a close equivalent. It is 14inches overall, the blade is 10 inches, and the blade tip seems to be close to 3/8ths (though depending on how you eye it, it might be 1/4th)
Additional images of the TL-106 Screwdriver can be found on Worthpoint here and here.
Sig5, Class 6, 6R
Screwdriver image pulled from ebay sale1939 Stanley Catalogue #25 ScrewdriverScrewdriver image pulled from a Facebook post in the WW2 Signal Corps Group Page#25 Stanley Screwdriver comes from the Stanley Tools 1934 Catalogue.
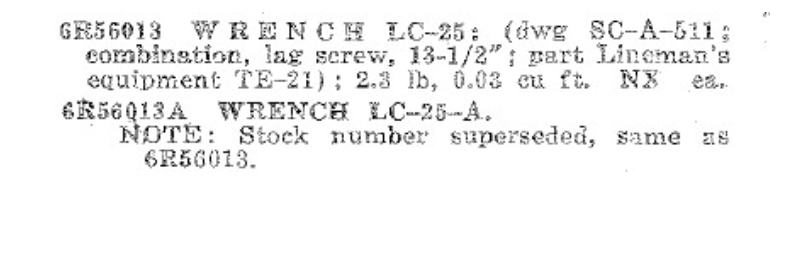
LC-25-A Lineman Wrench: The LC-25-A Wrench was used to secure cross beams to telephone poles. It differs from the LC-25 wrench. See the “load out” images towards the bottom for the differences in appearance.
Sig5, Class 6, 6R
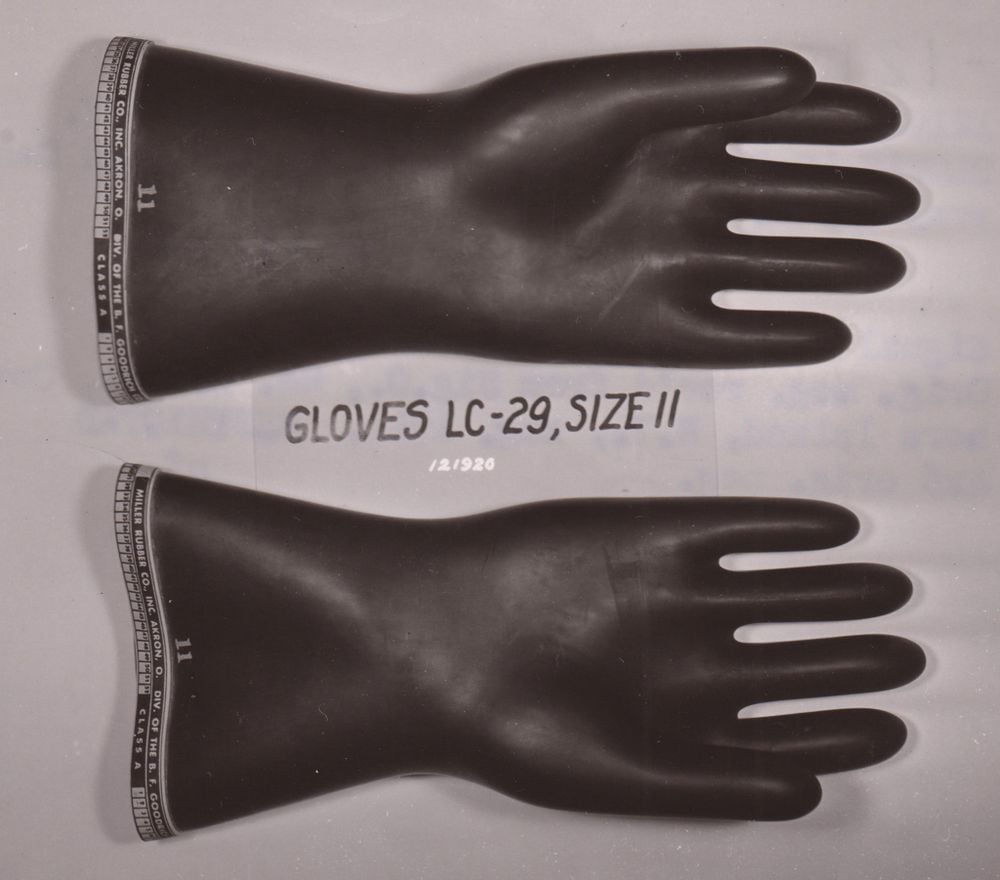
LC-29 Gloves, Rubber: This was not part of TE-21 but something they likely kept on hand. Black in color. Likely worn over the leather gloves for working with exposed lines, as rubber is an electrical insulator. It came in three different sizes, I believe.
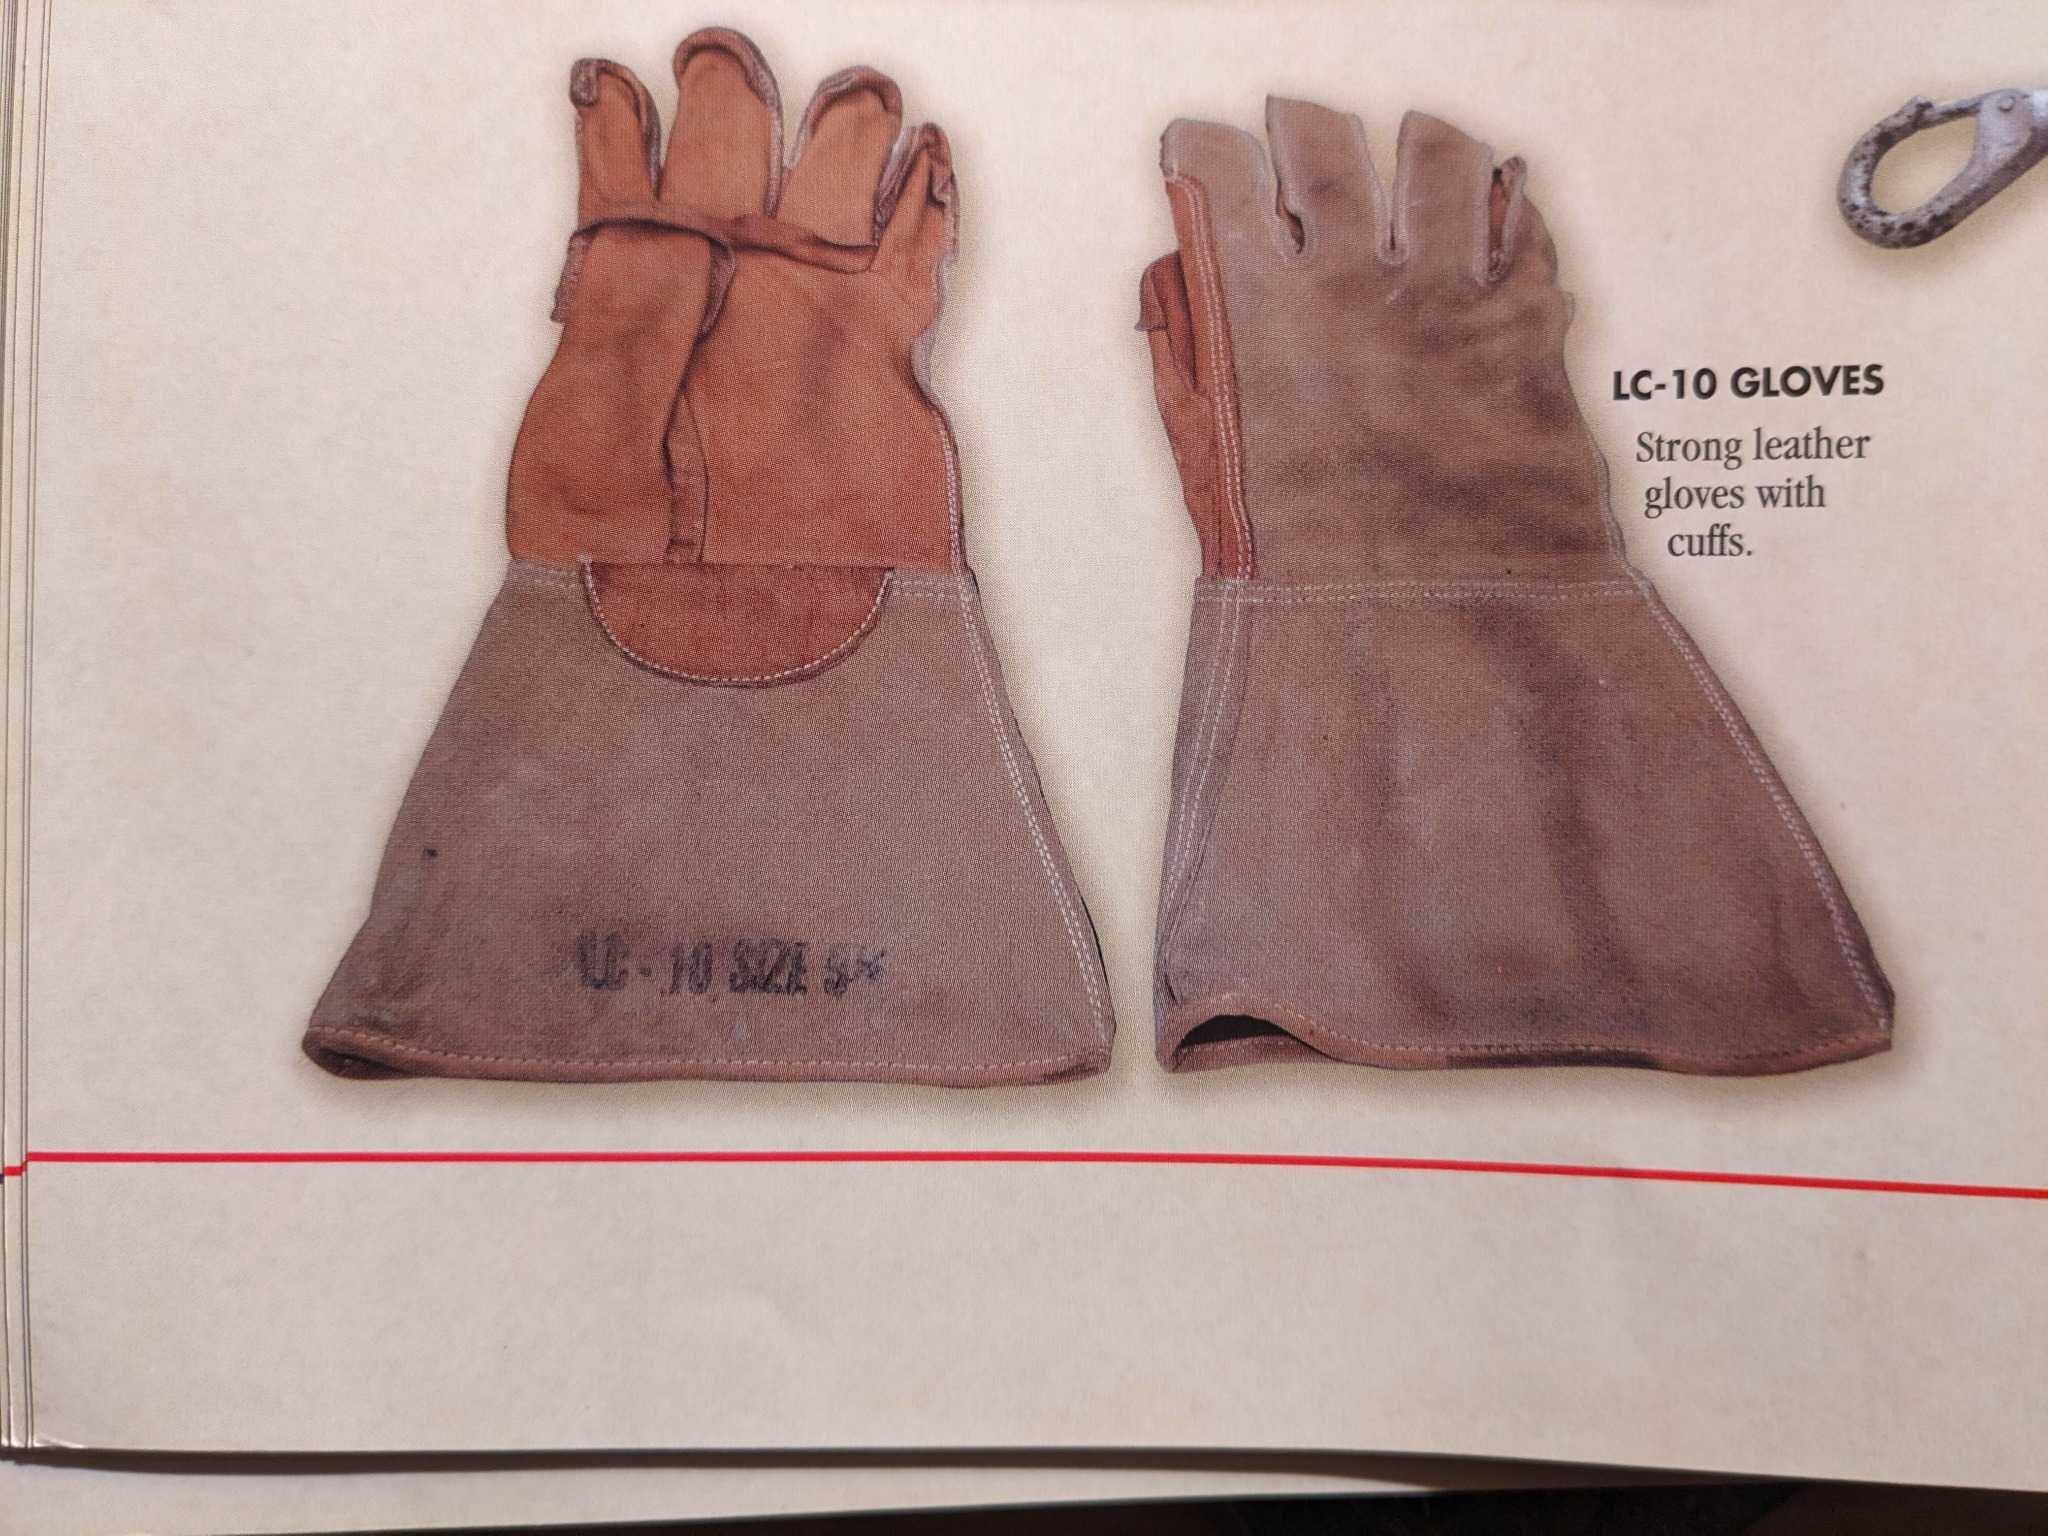
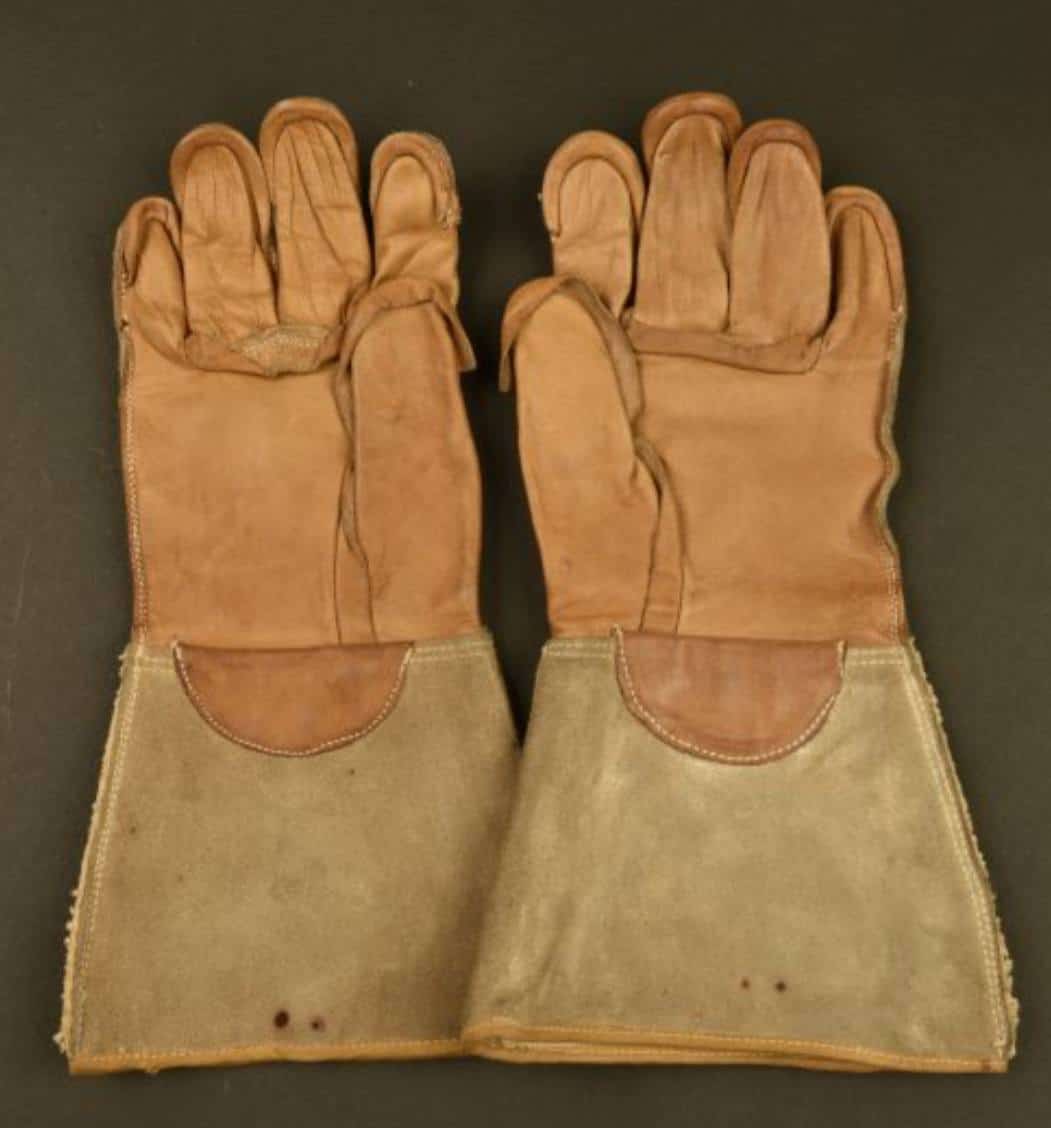
LC-10 Gloves, Leather: These gloves were leather and had cuffs. They came in multiple sizes. Note that AI is saying there’s an LC-29 leather glove. That’s wrong because it scraped the wrong information. Such a glove doesn’t exist!
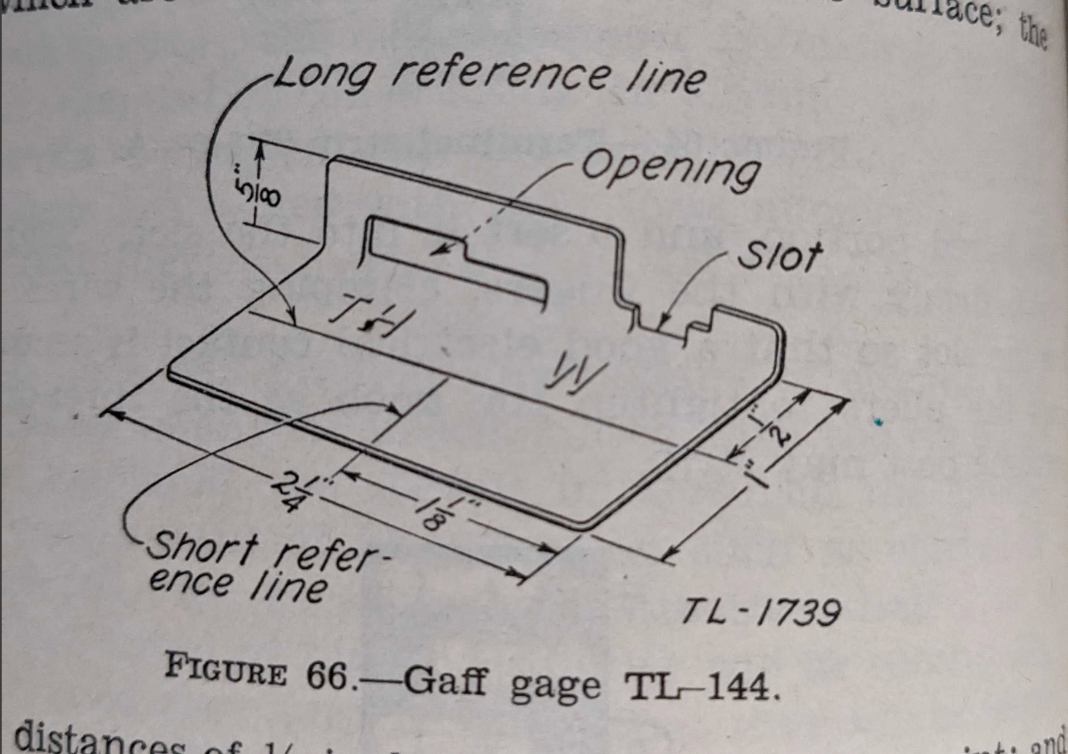
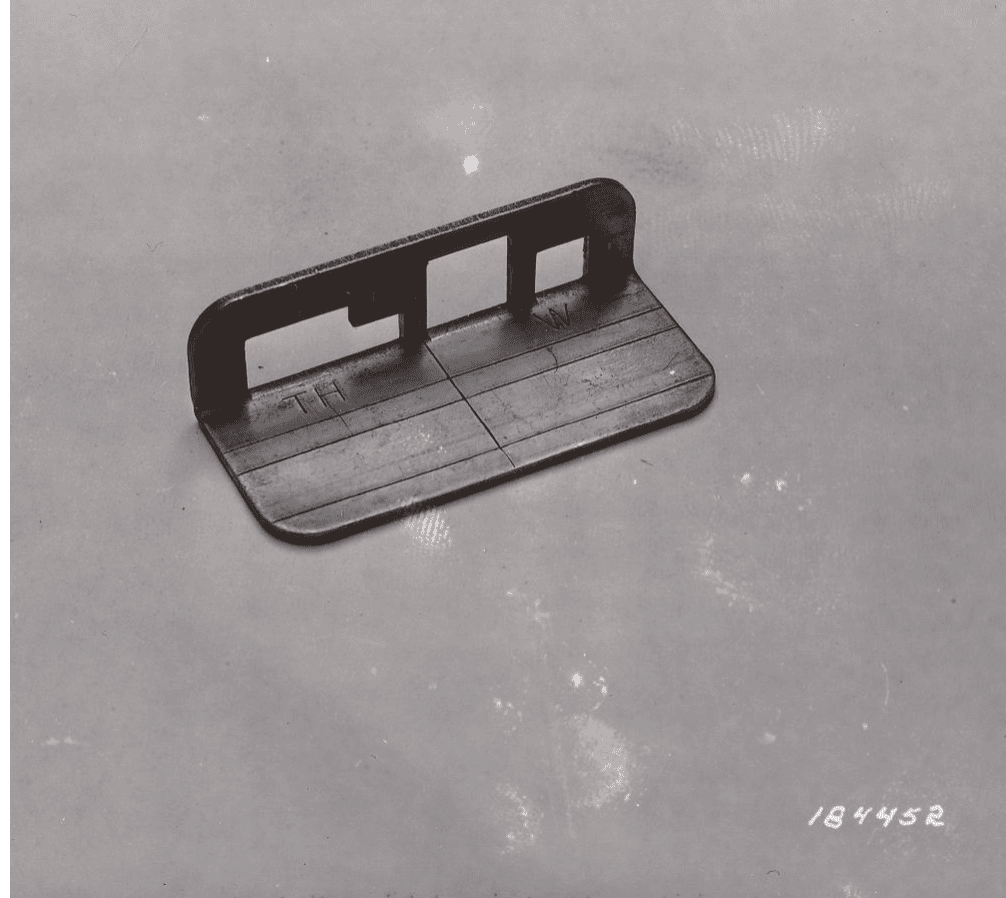
TL-144 Gaff Gauge or Gage: Used to measure the spikes on the climbers. This was not part of TE-21 but something they likely kept on hand. It may have come in a few different designs, as shown below. However, neither design shows any kind of cut in the base/short reference line area.
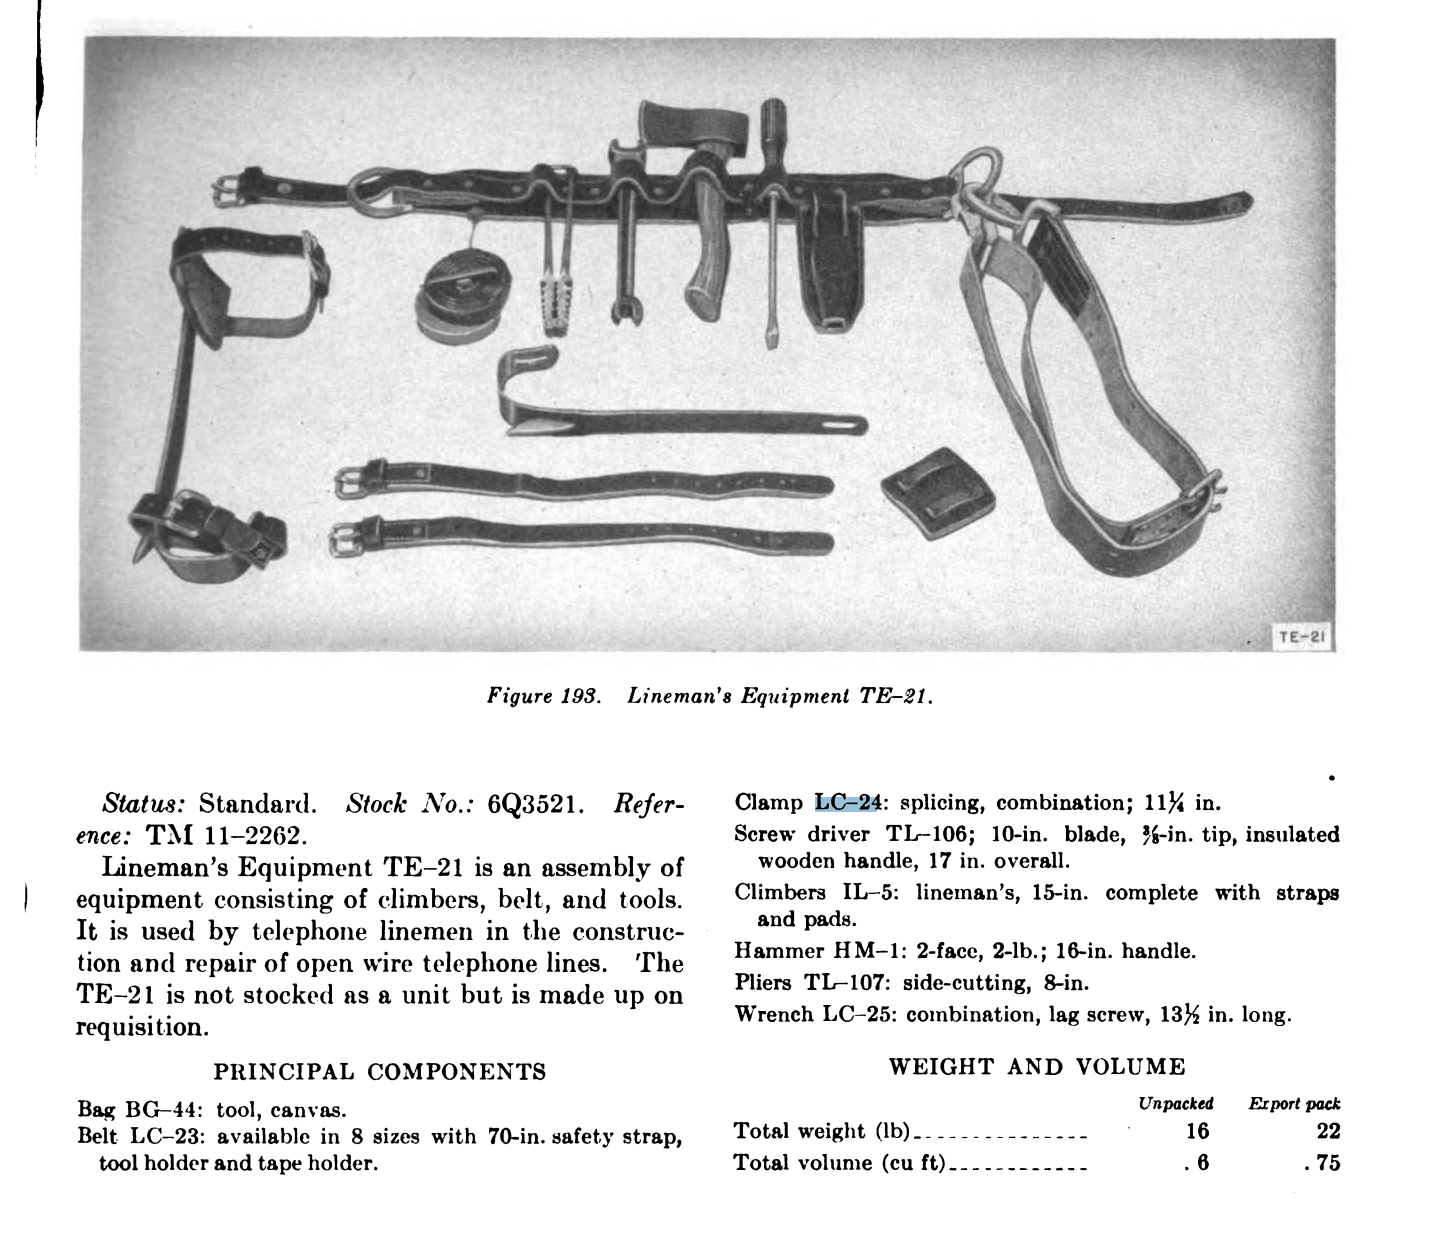
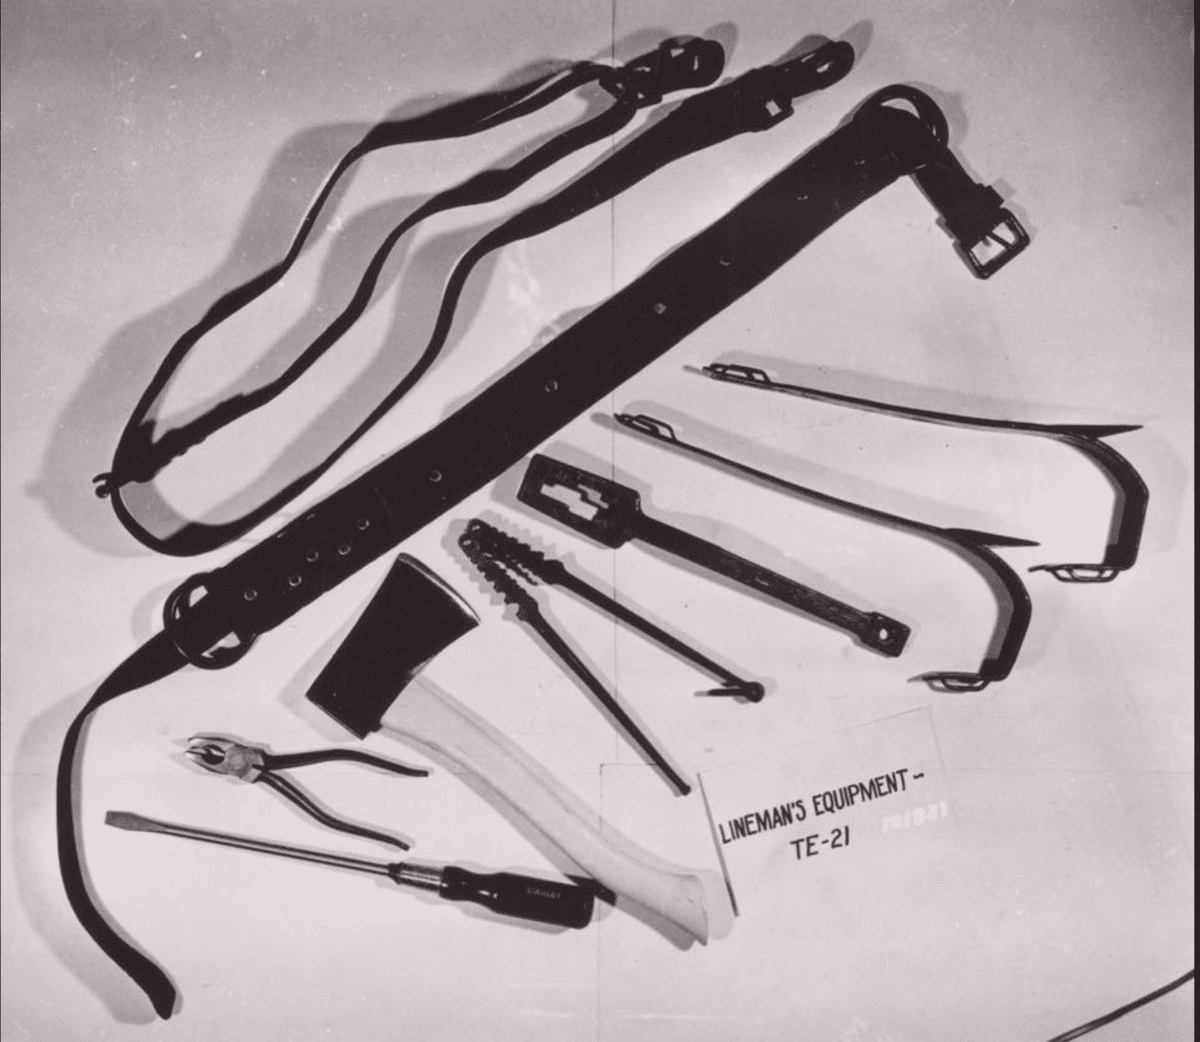
Lineman’s equipment TE-21: TE-21 is the designation for all the equipment put together. When laid out, it looked like this. I suspect some of this stuff was traded off between the guy on the pole and the guy on the ground. Also, the image might be a post-war one, as the Hammer, HM-1, isn’t listed. Instead, a TL-39 Hammer is listed.
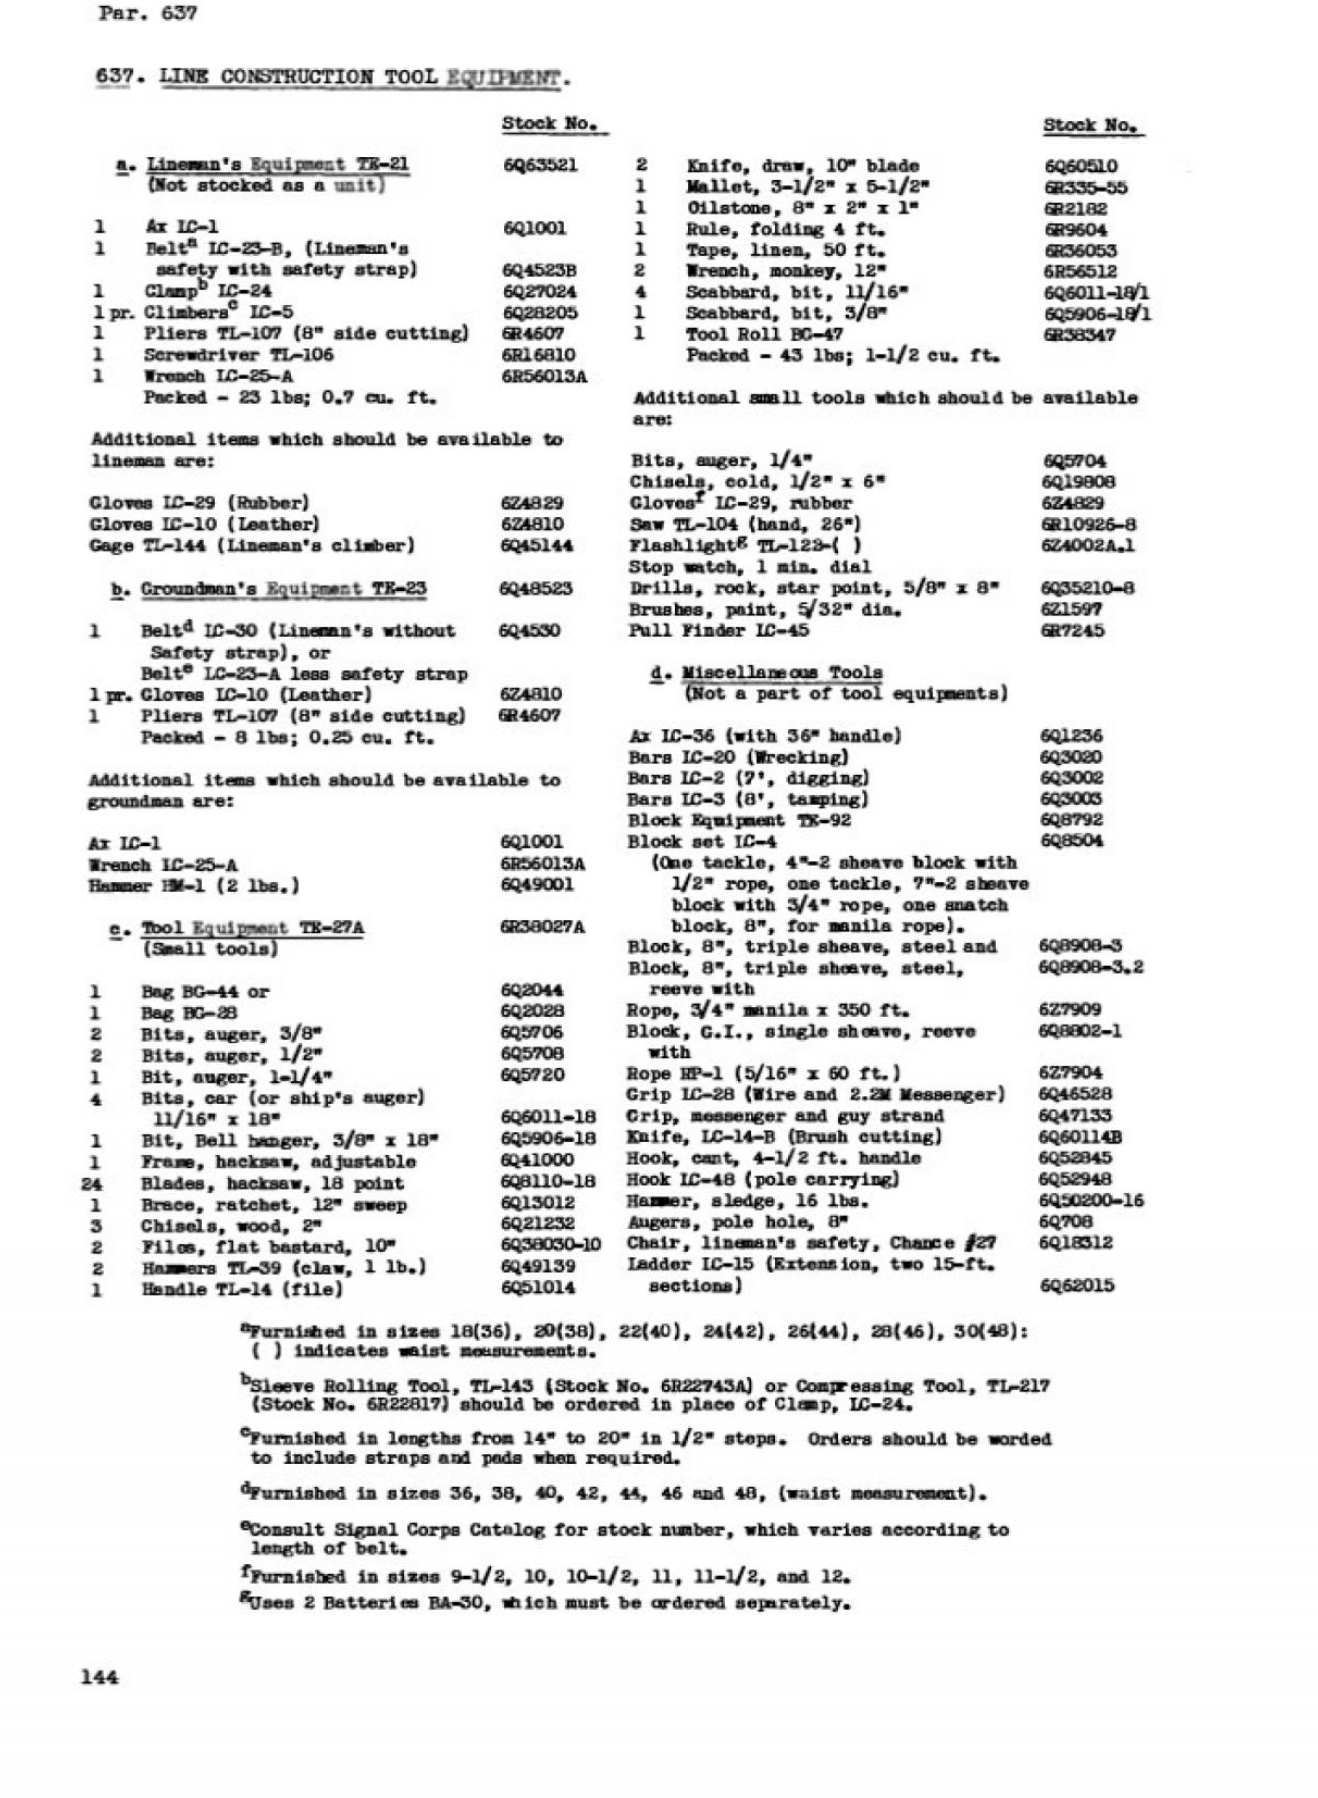
From TM 11-487 Oct 1944, pg 144. Shows the equipment for TE 21, TE 23, and TE 27a. I suspect that many of the tools were interchangeable on the job site.
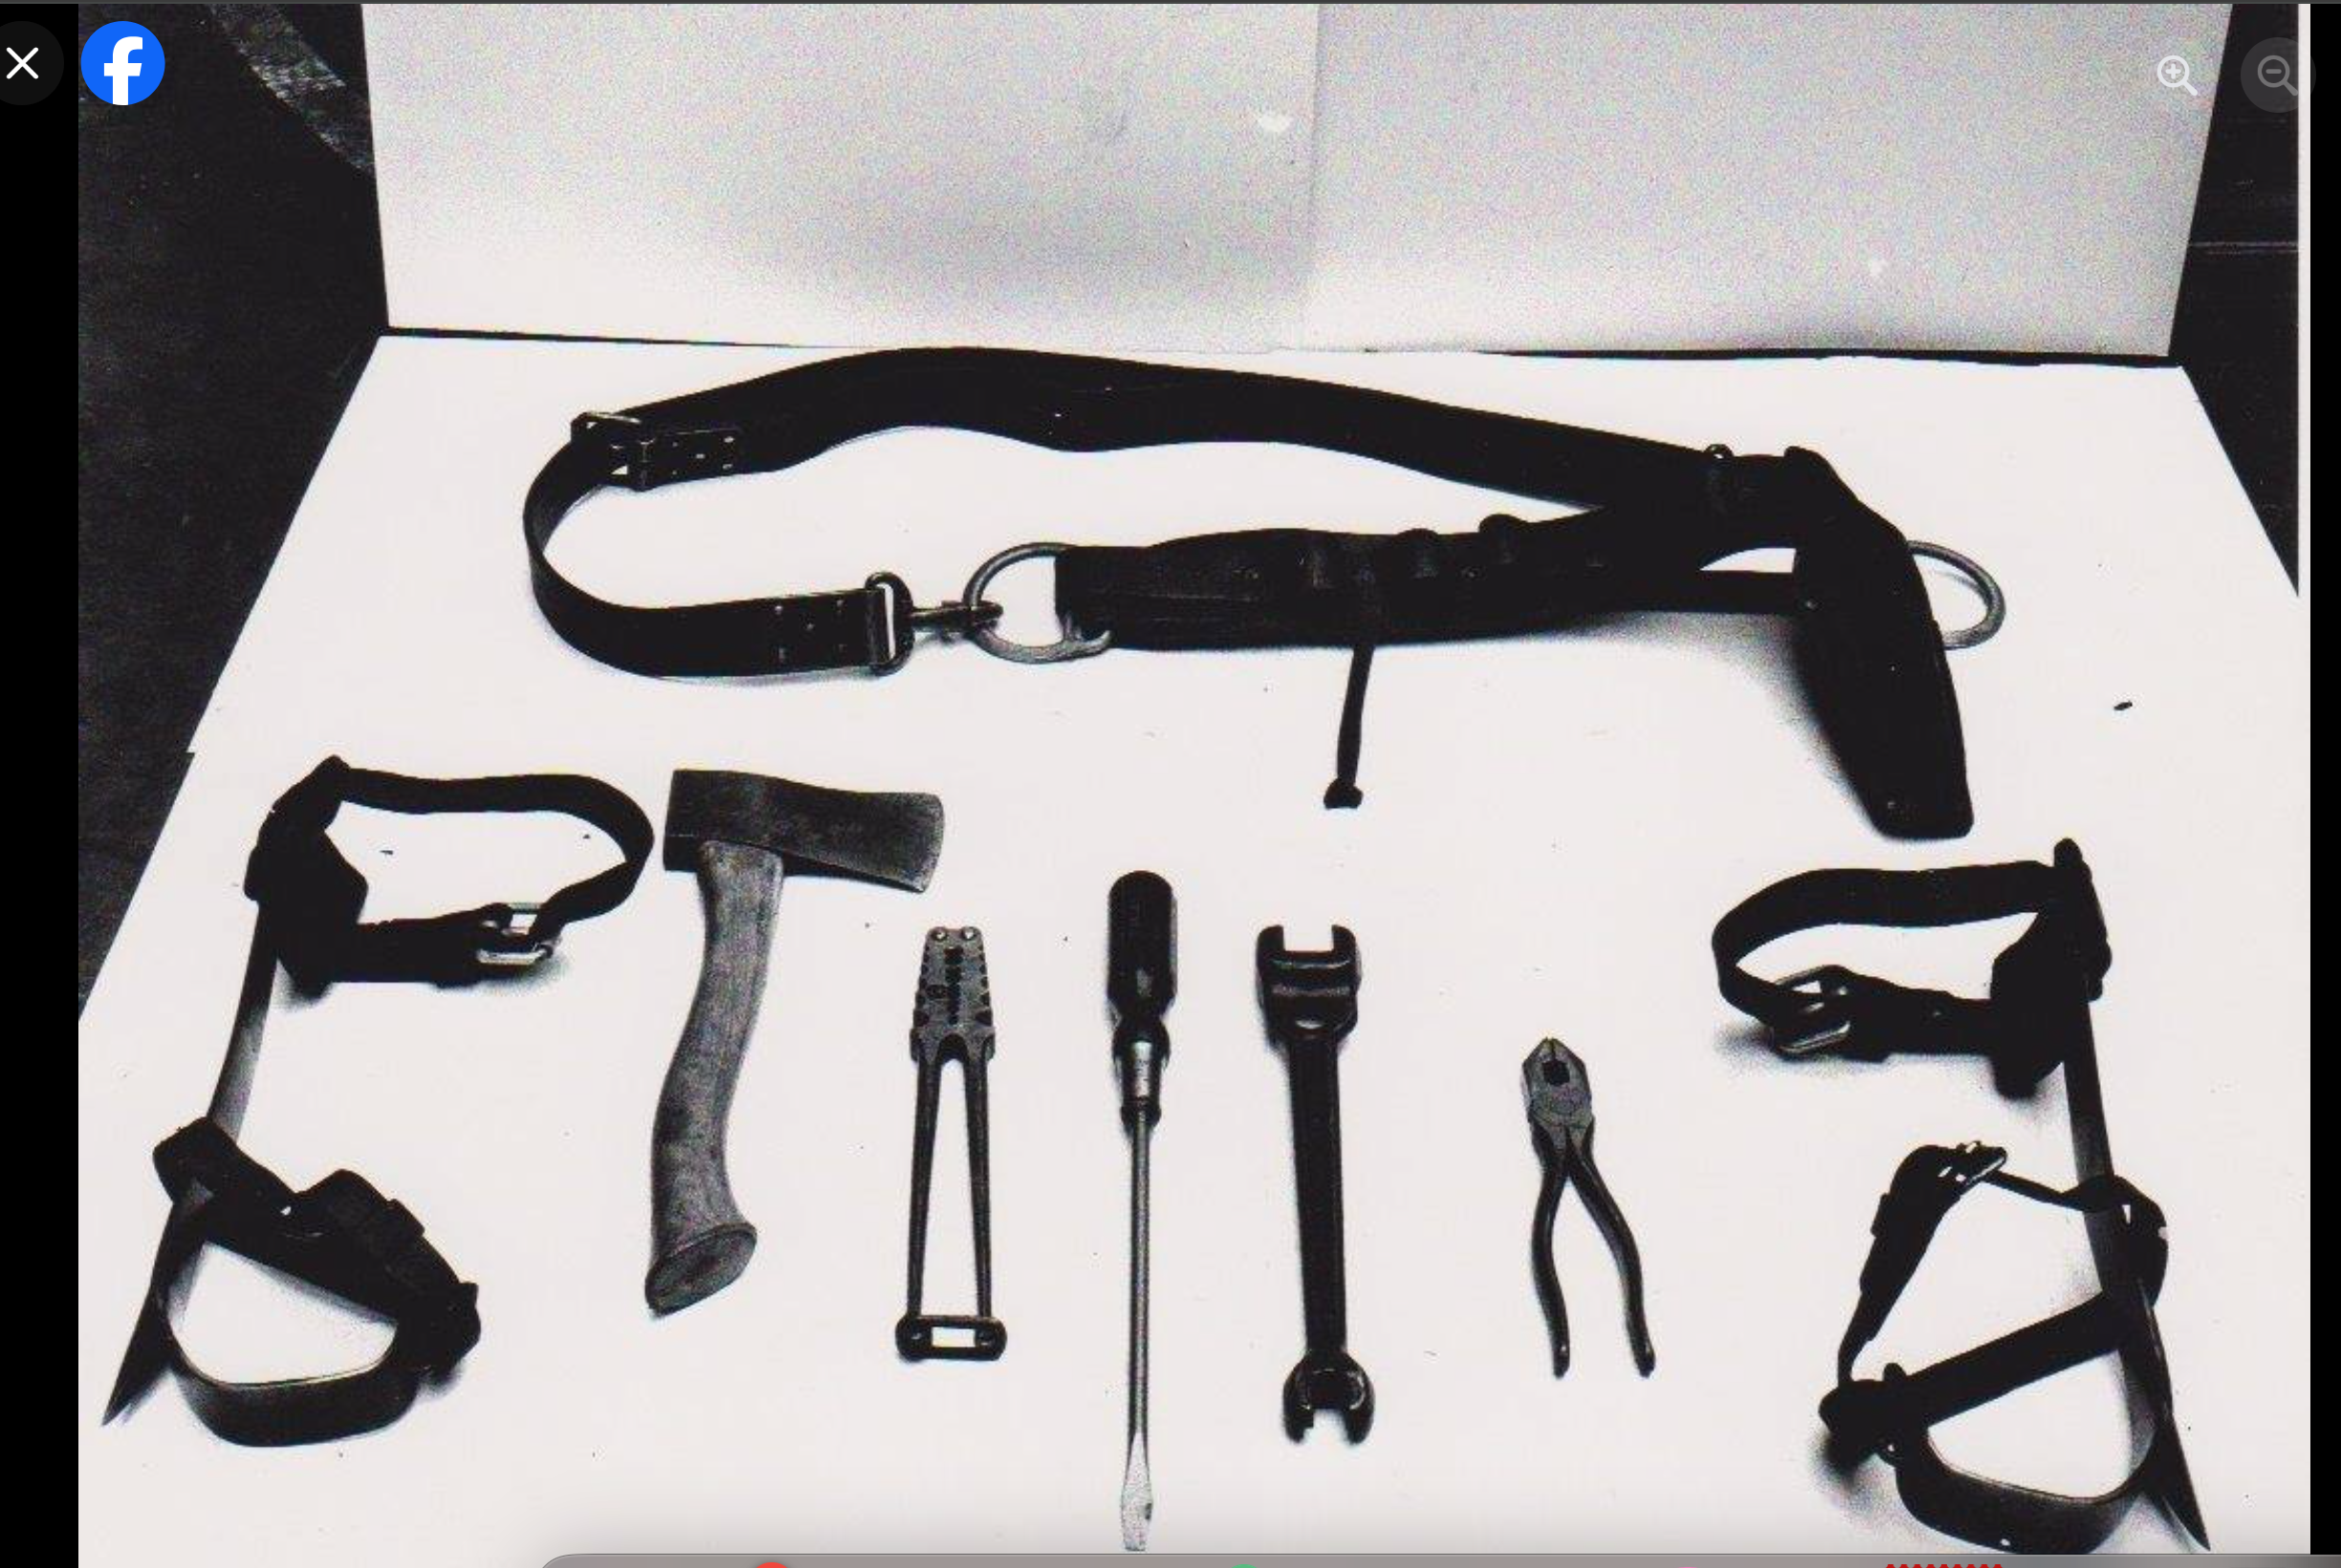
Post War Lineman’s Equipment TE-21 March 1951 via TM 11-487B; A display load out type image
A display “load-out” type image. This is probably a later image because the LC-25-A Lineman Wrench appears
Lineman’s Equipment TE-21 “load out” type image. This is an earlier one because it shows the LC-25 Lineman Wrench.
Groundman’s Equipment:
LC-23 belt w/o strap [late ’44 date]: Same as the equipment for the lineman.
LC-10 Gloves, Leather: Same as the equipment for the lineman.
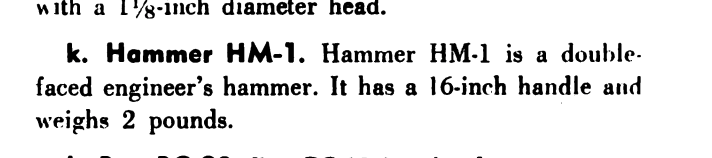
HM-1 Hammer, 2lb: This is a double-faced engineer’s hammer with a 16-inch handle and a weight of 2 pounds.
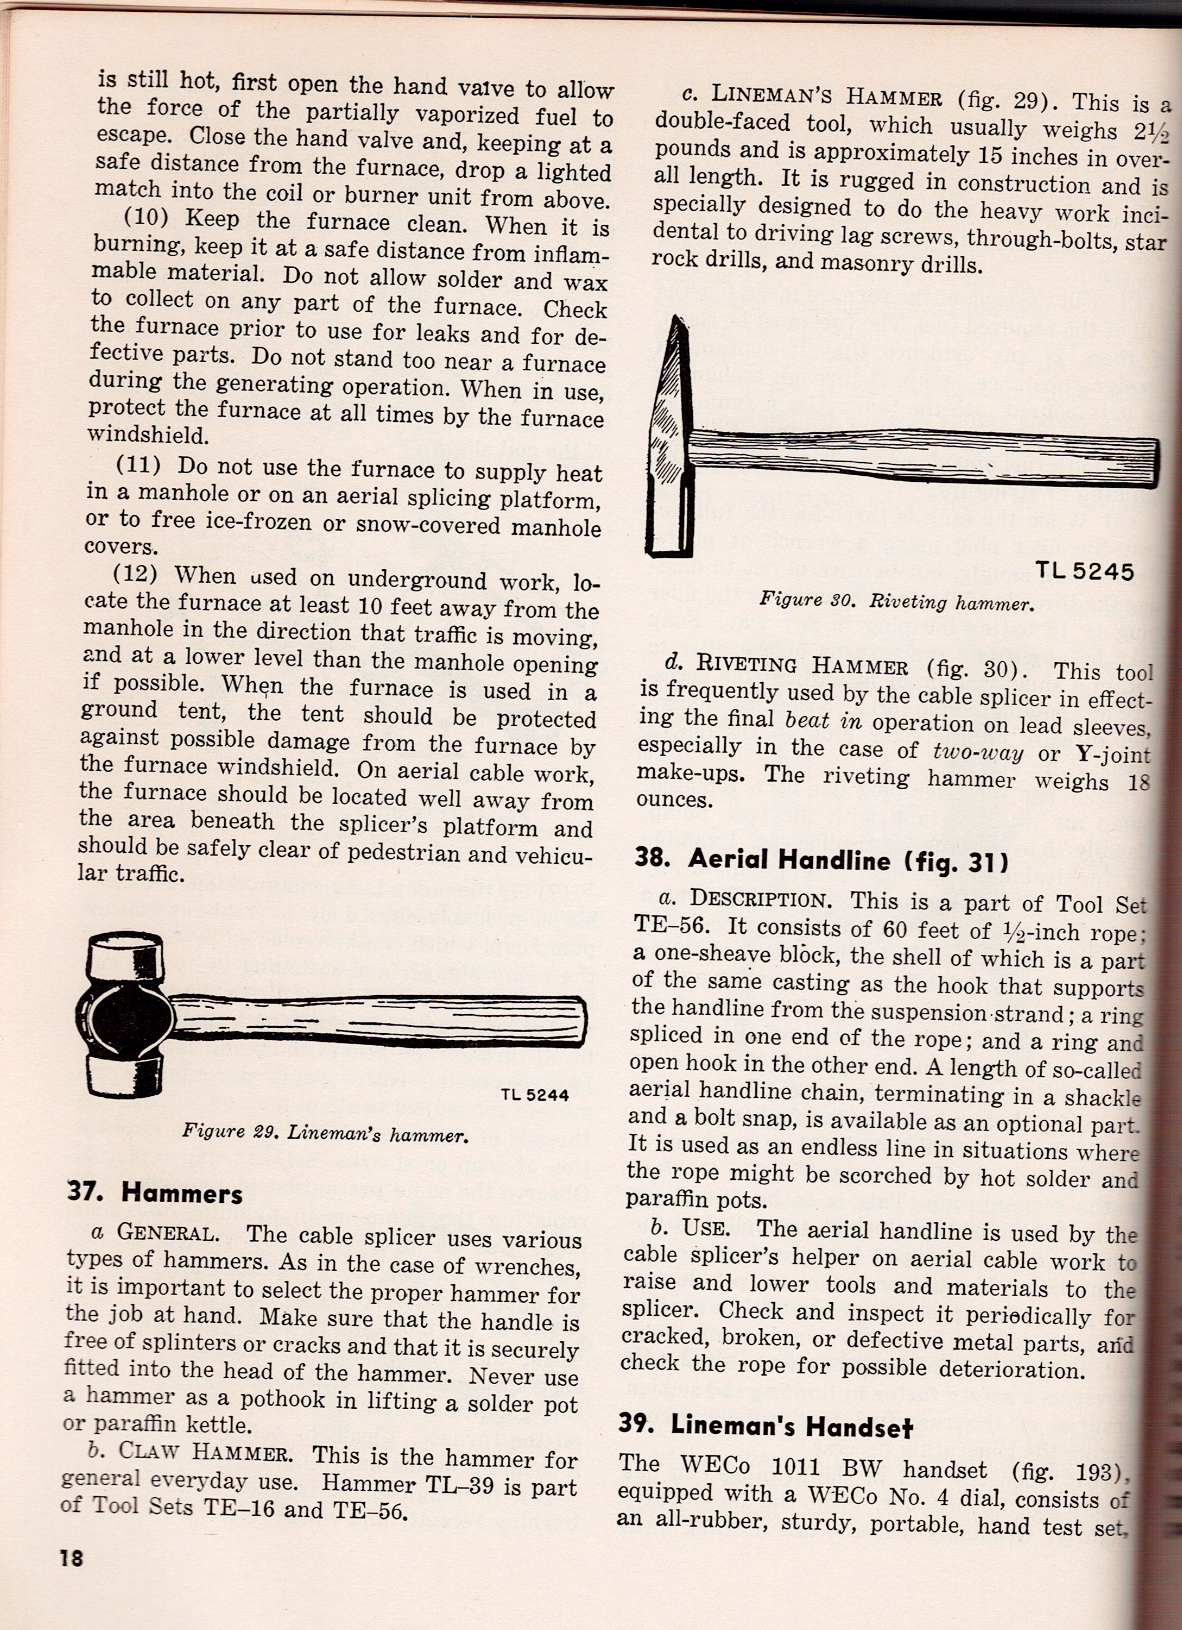
Now, according to the May 1947 TM 11-372 field manual, the HM-1 hammer is also called a Lineman’s Hammer and is 2.5 lbs and 15 inches in overall length. I guess that some “bean counter” must have mis-measured it.. There’s also a TL-39 Hammer, which is the Claw Hammer.
Note that in this manual, the images all start with “TL”; this isn’t meant to be interpreted as a “TL” or “tool” designation for the item depicted but rather a way of numbering images specific to this manual.
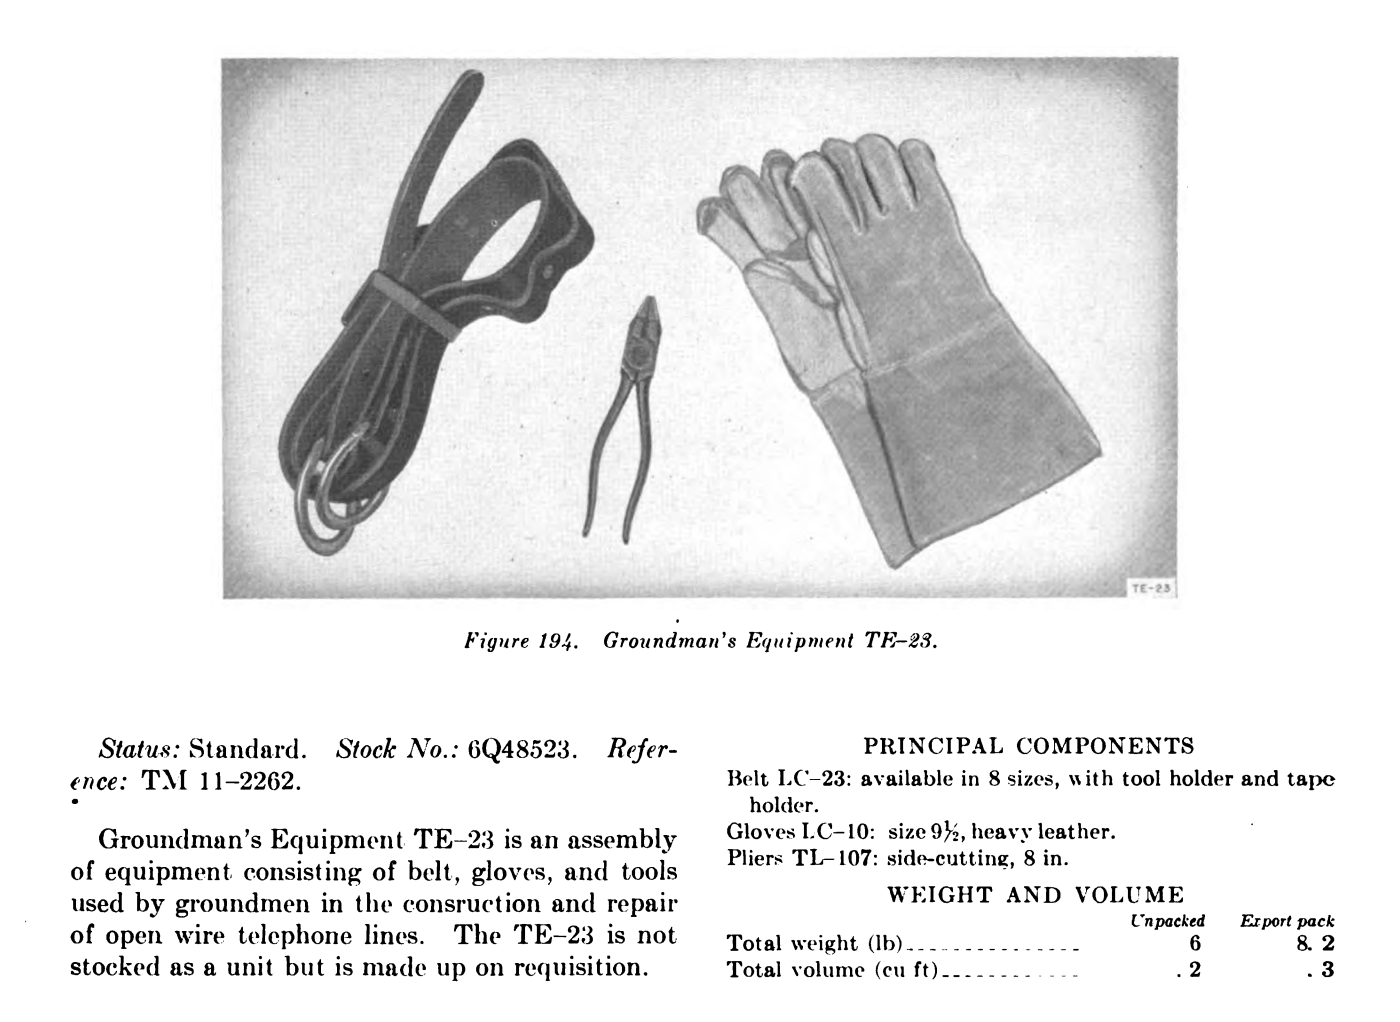
Groundman’s Equipment TE-23: TE-23 is the designation for all the equipment put together. When laid out, it looked like the following:
Groundman’s Equipment TE-23 March 1951 via TM 11-487B
Other items:
TE-33 tool kit – This kit consisted of a leather case, CS-34. Inside the case went a pocketknife, TL-29, and a small set of 6in pliers called TL-13 or TL-13-A.
Now the TL-13 plier types are a military designation of what is essentially the same set of commercial pliers called Utica 1950-6. 1950 was just the catalog number and not the year, and 6 refers to the pliers being 6 inches. Indeed, some 1950-6 pliers are also stamped TL-13, suggesting that the US military contractors acquired pliers “off the shelf” and just stamped them with their designation. For a history of these pliers, see Alloy Artificats Utica Tools, Linemans.
One thing to know about these pliers is that the US Army Training Videos regarding splicing is that the wire in use, like W-110B on various reels, may have a rubber insulation on the outside.
2 DR-4 reels [no -A suffix]: The drum consists of half a mile of W-110-B wire. May have W-110B wire (as indicated in this 1941 Signal Corps Splicing video), which consists of 3 strands of copper and 4 strands of steel. Covered by a rubber compound. Then a braid is wrapped around the rubber to help protect against crushing. You likely won’t find the original wire.
W-130 Wire – used by infantry for short, temporary lines, such as to an observation post. The wire has 6 steel strands and 1 copper. Covered by a thin rubber insulation. You likely won’t find the original wire.
W-150 Wire – Same specs as W-130, except the rubber is wrapped with a braid. You likely won’t find originals.
WD-1/TT and WD-1A/TT (both abbreviated as WD-1) – These are post-war wires and consist of four tinned-copper strands and three galvanized-steel strands, and an insulation of polyethylene with an outer nylon insulation jacket. Now, the wire on the market today is mainly this stuff, and as such, World War Two era signal corps splicing techniques may not work. So to shave the wire, you may need to use a modern tool.
2 DR-8 handheld reel rigs [no -A suffix]:
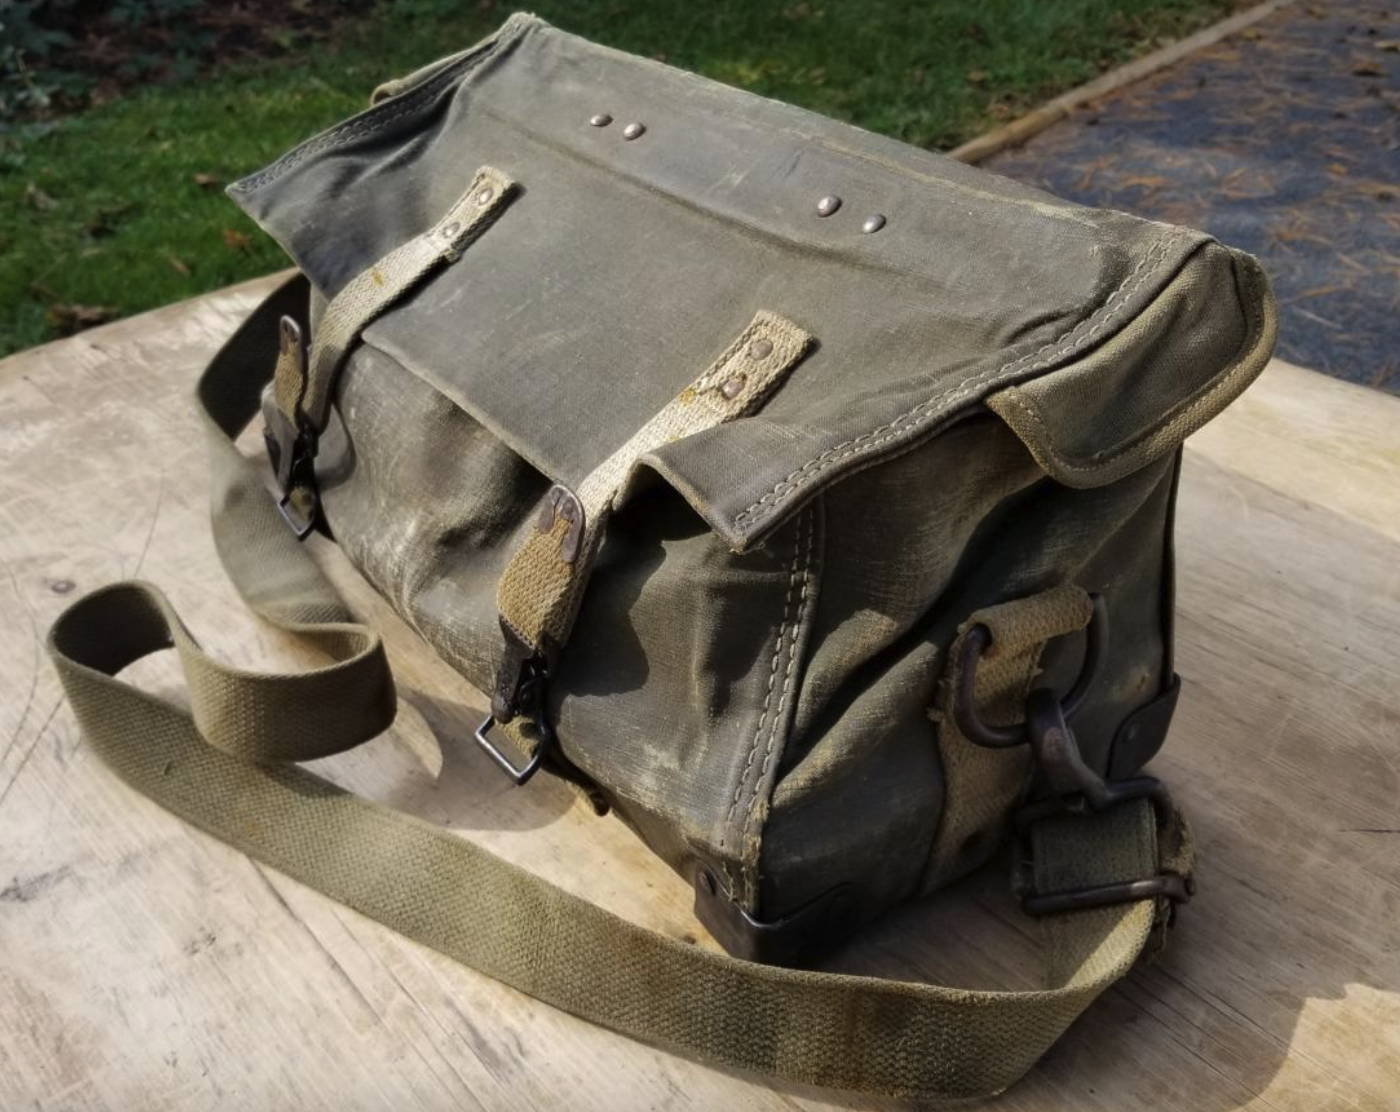
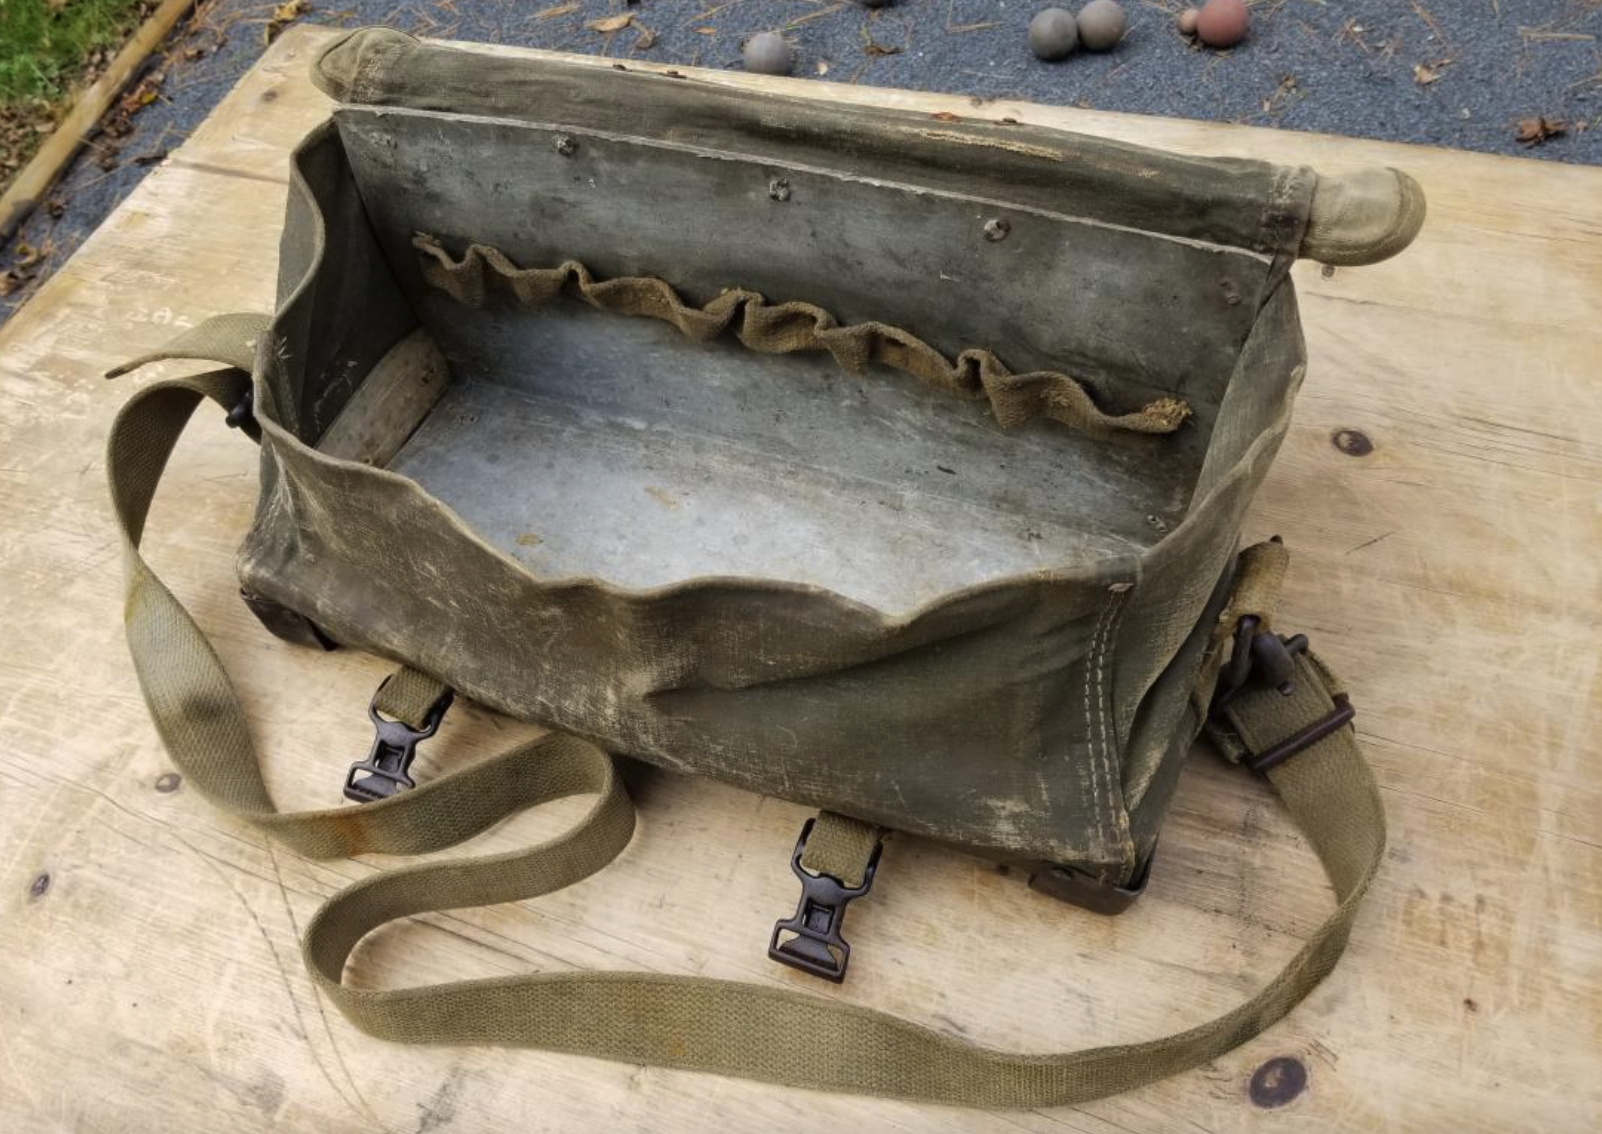
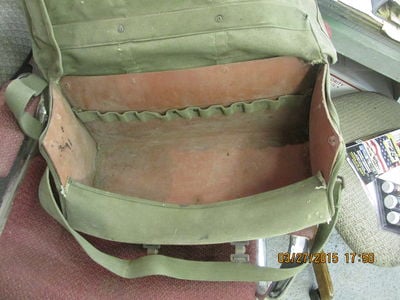
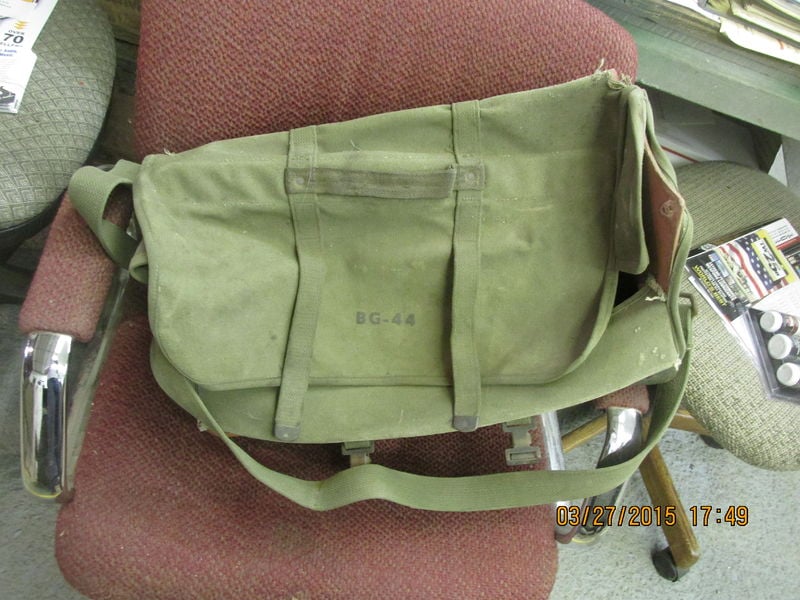
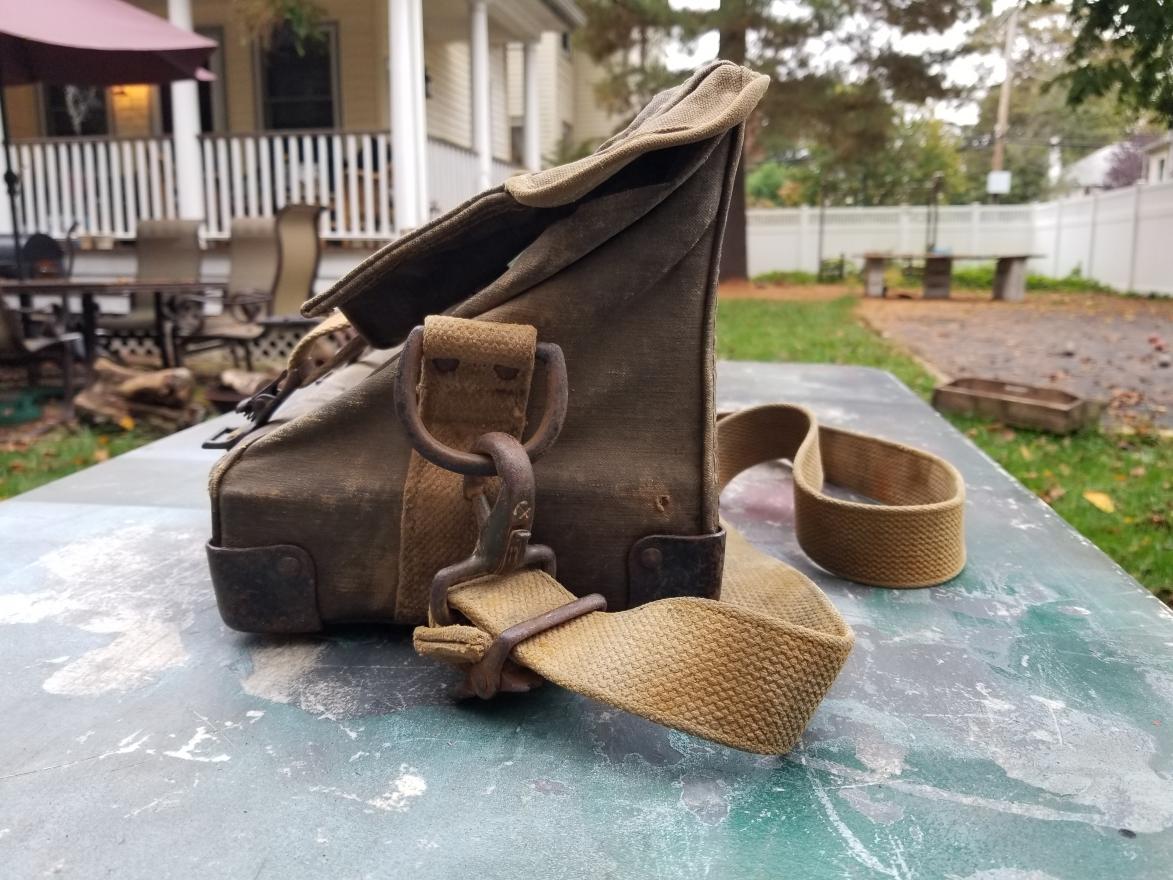
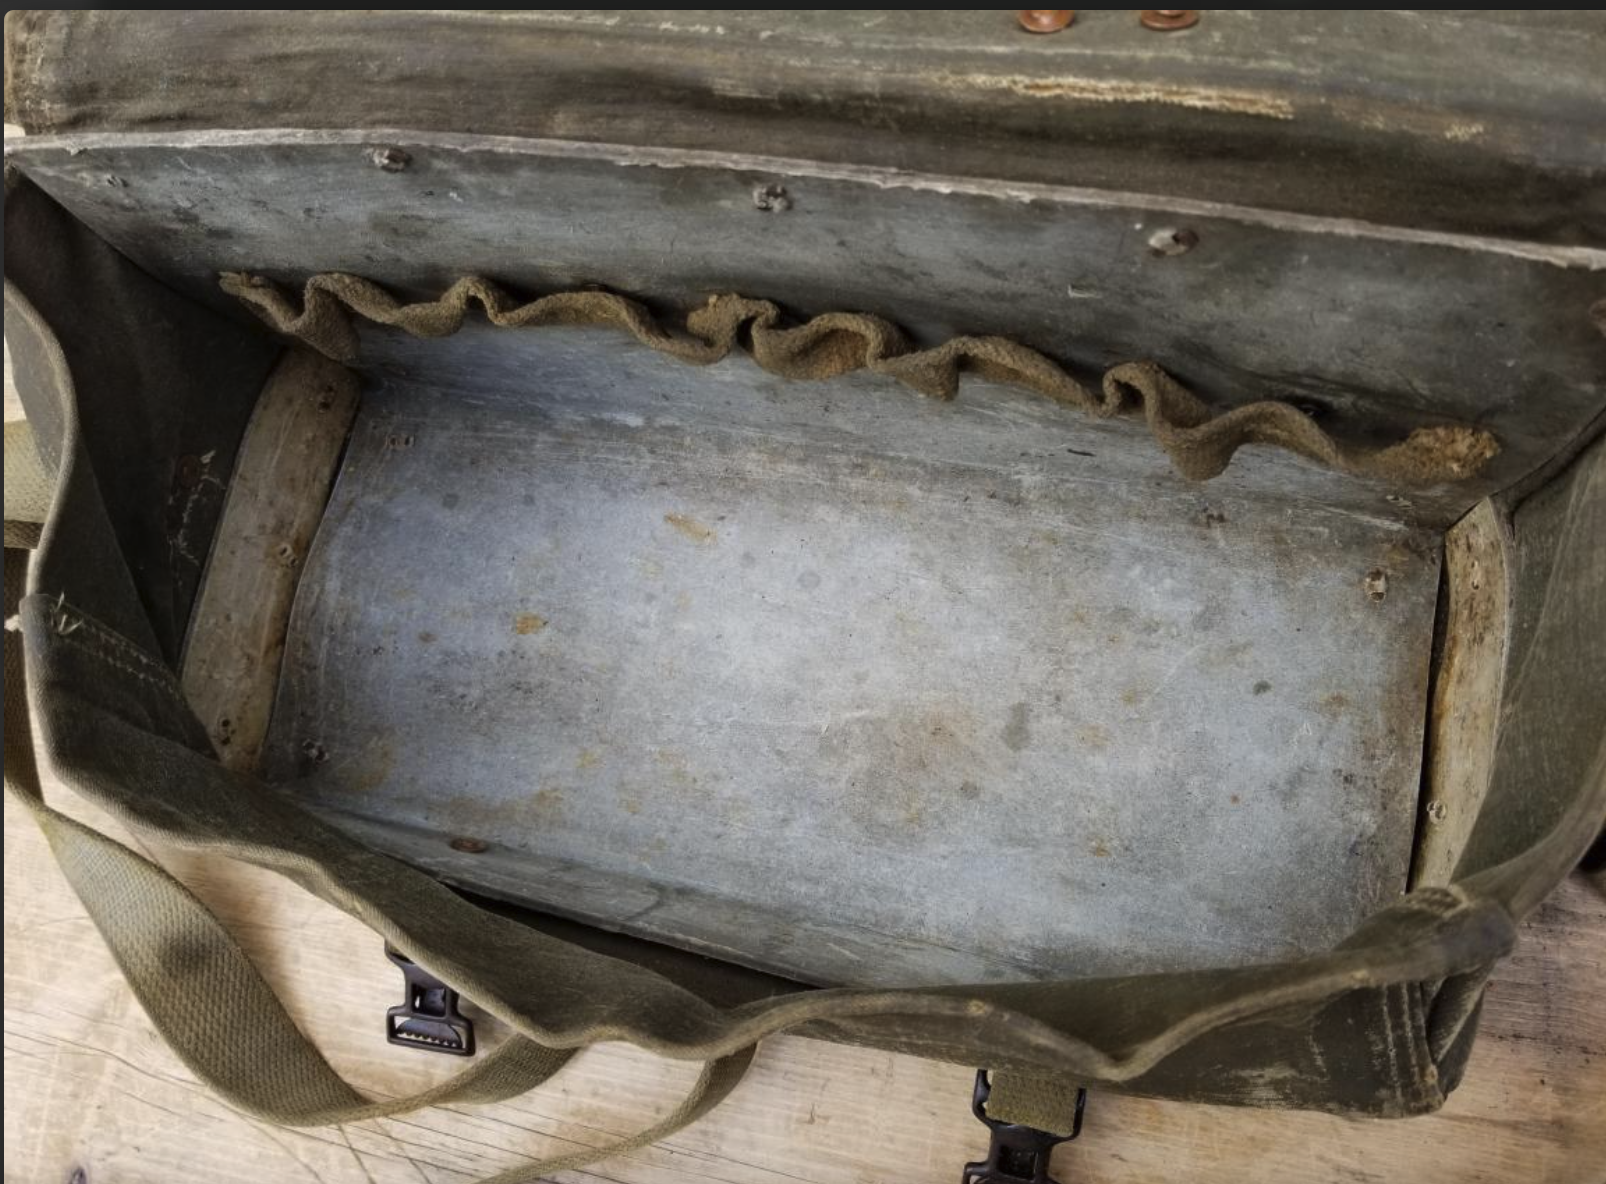
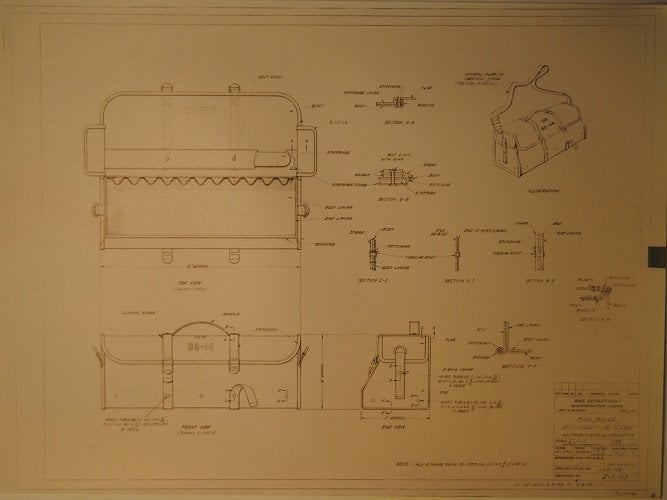
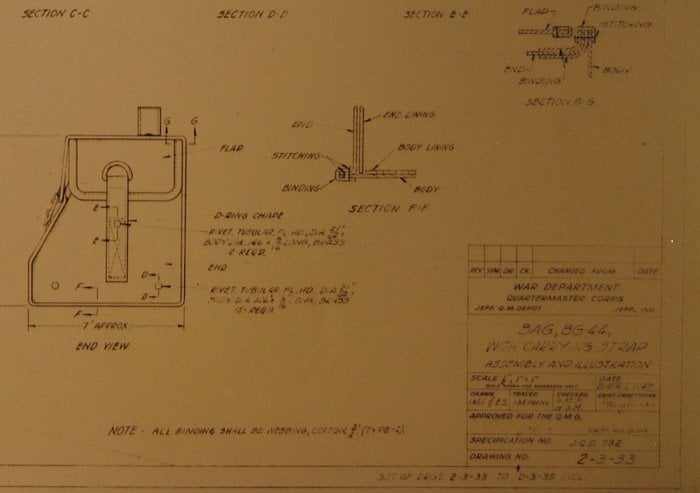
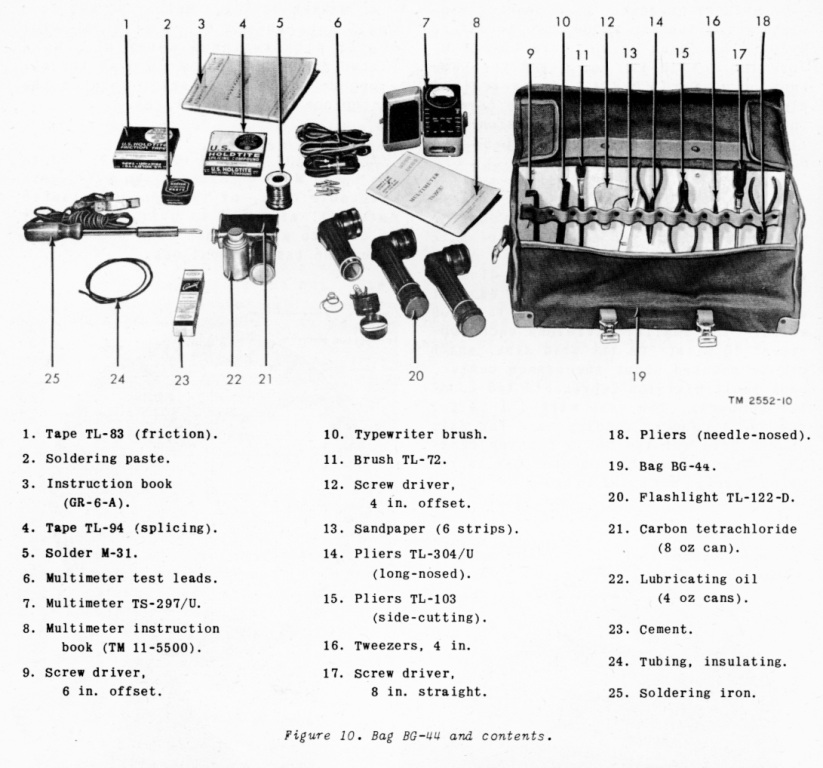
1 Bag, BG-44: This is the tool bag the team would put all their tools into for the job. You can see images of the bag at the US Militaria forum here.
Another set of BG-44 images, including the schematics/blueprints. Note that if there’s an anchor logo on the buckles, it’s Anchor Brand, a trademark (June 3, 1928) of North & Judd Manufacturing in New Britain, CT. Now a part of Buckles International.
Not all lineman jobs required the BG-44 bag, but it contained a few different tools.
This may be a post-war configuration
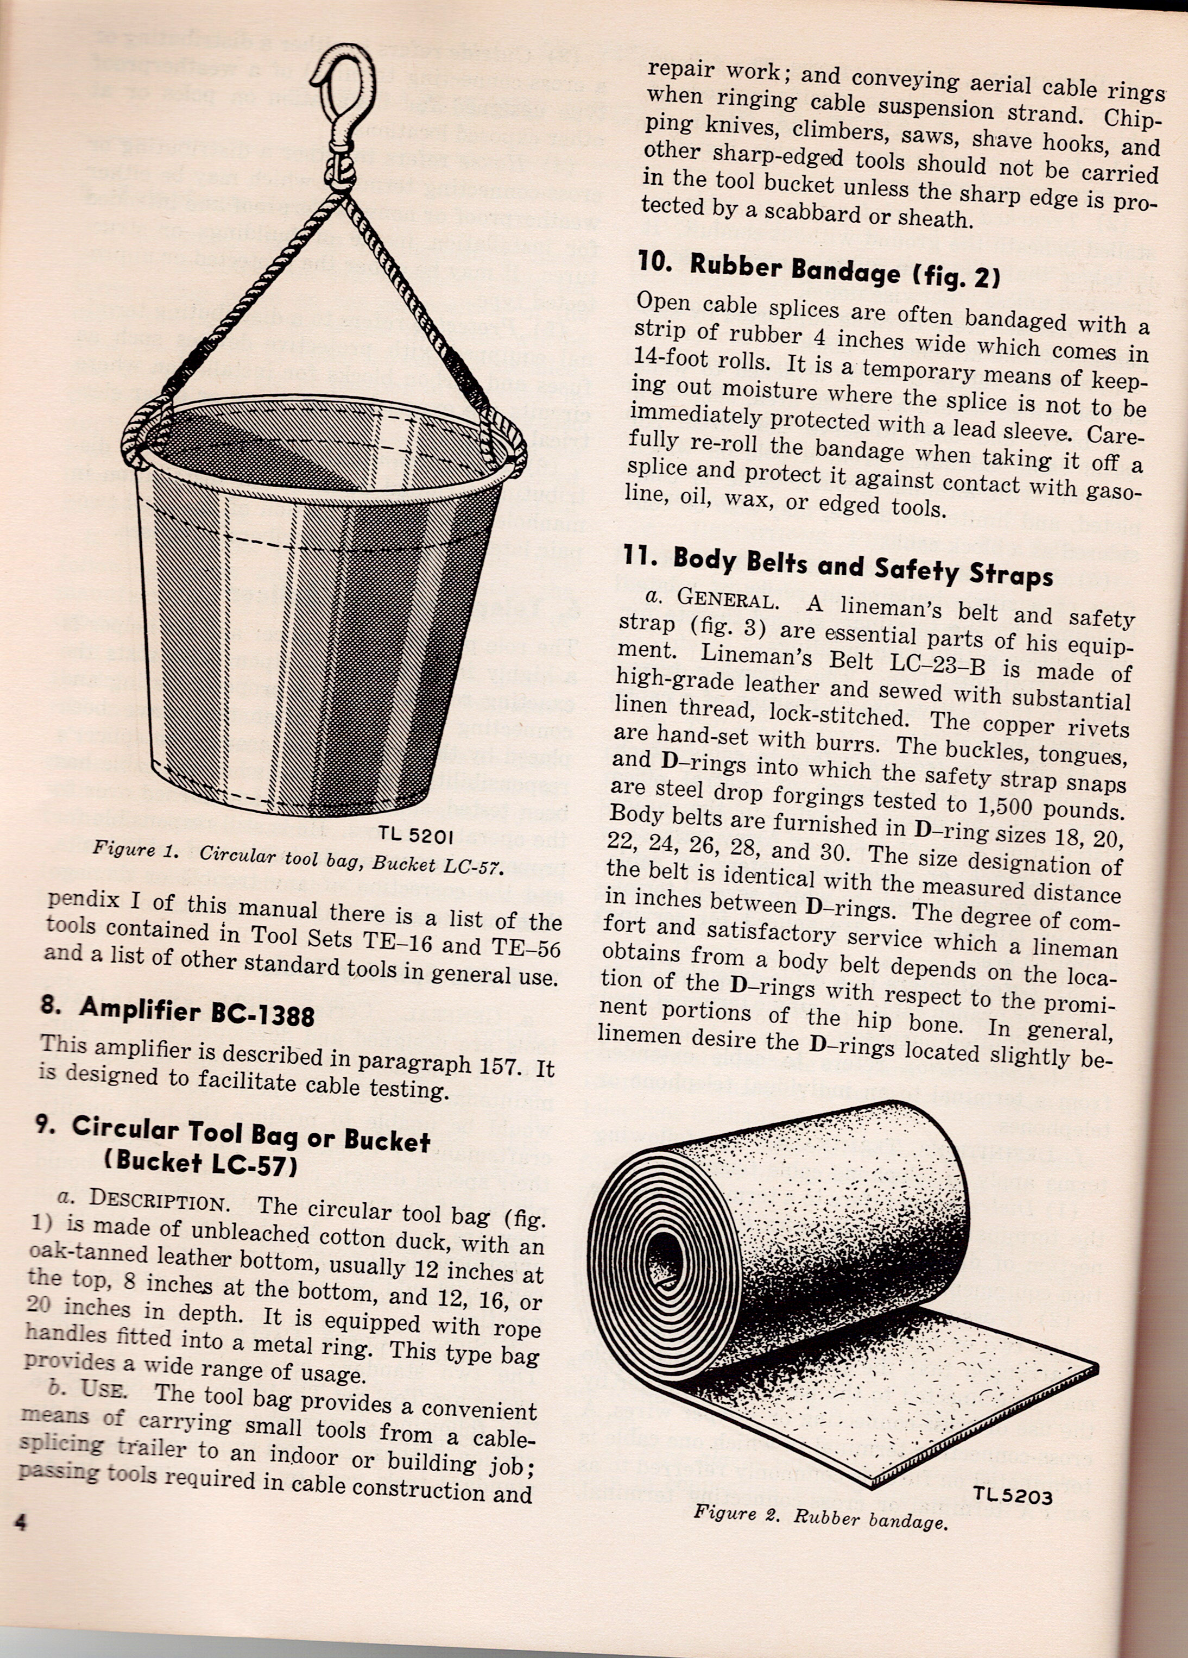
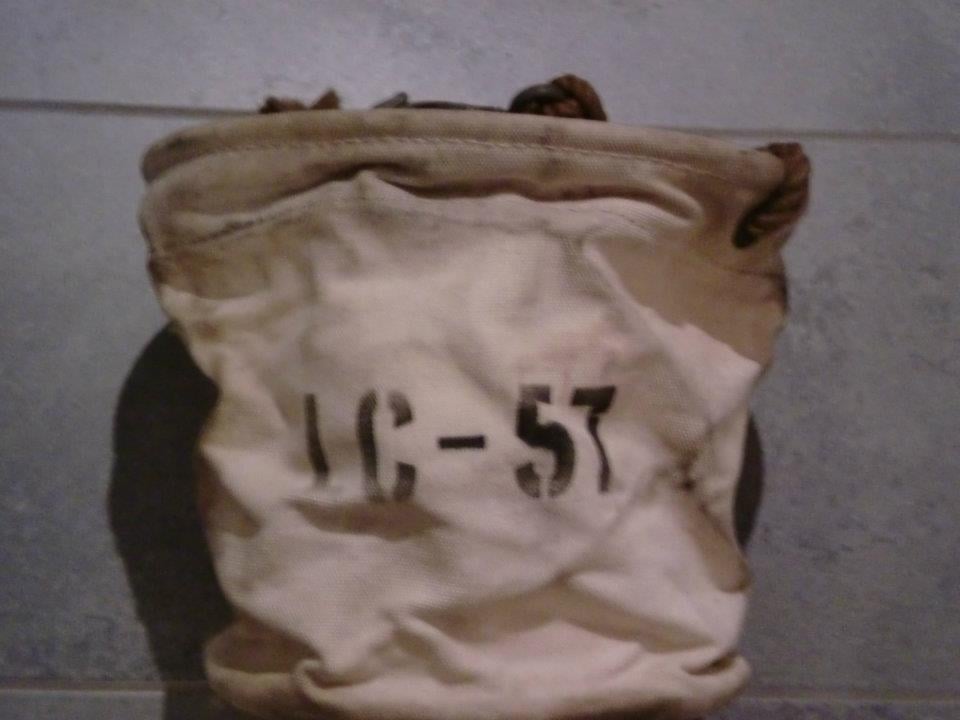
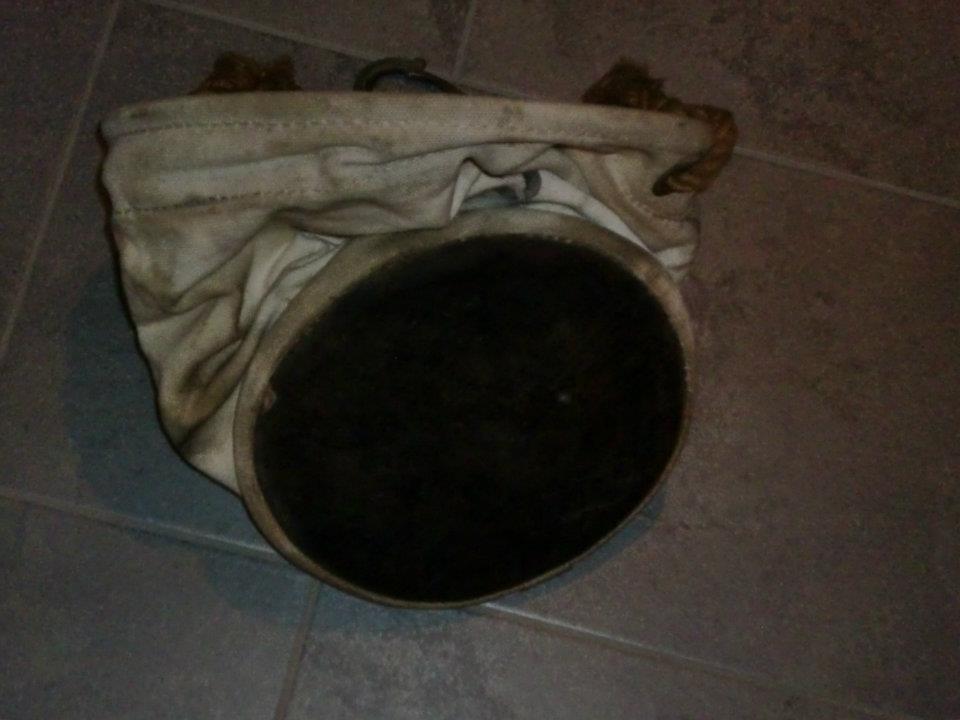
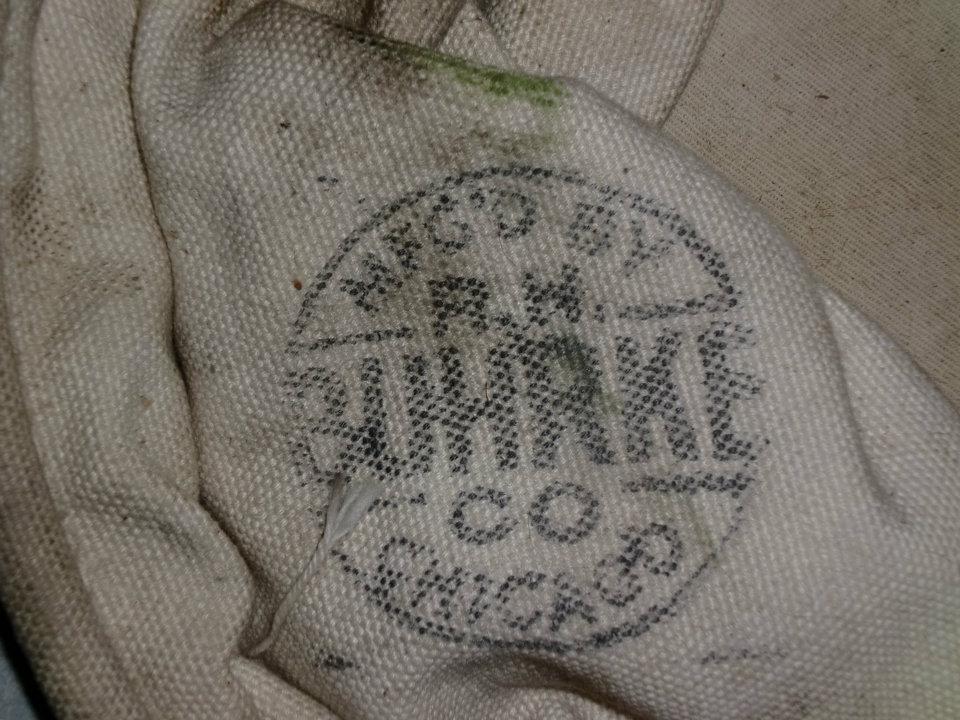
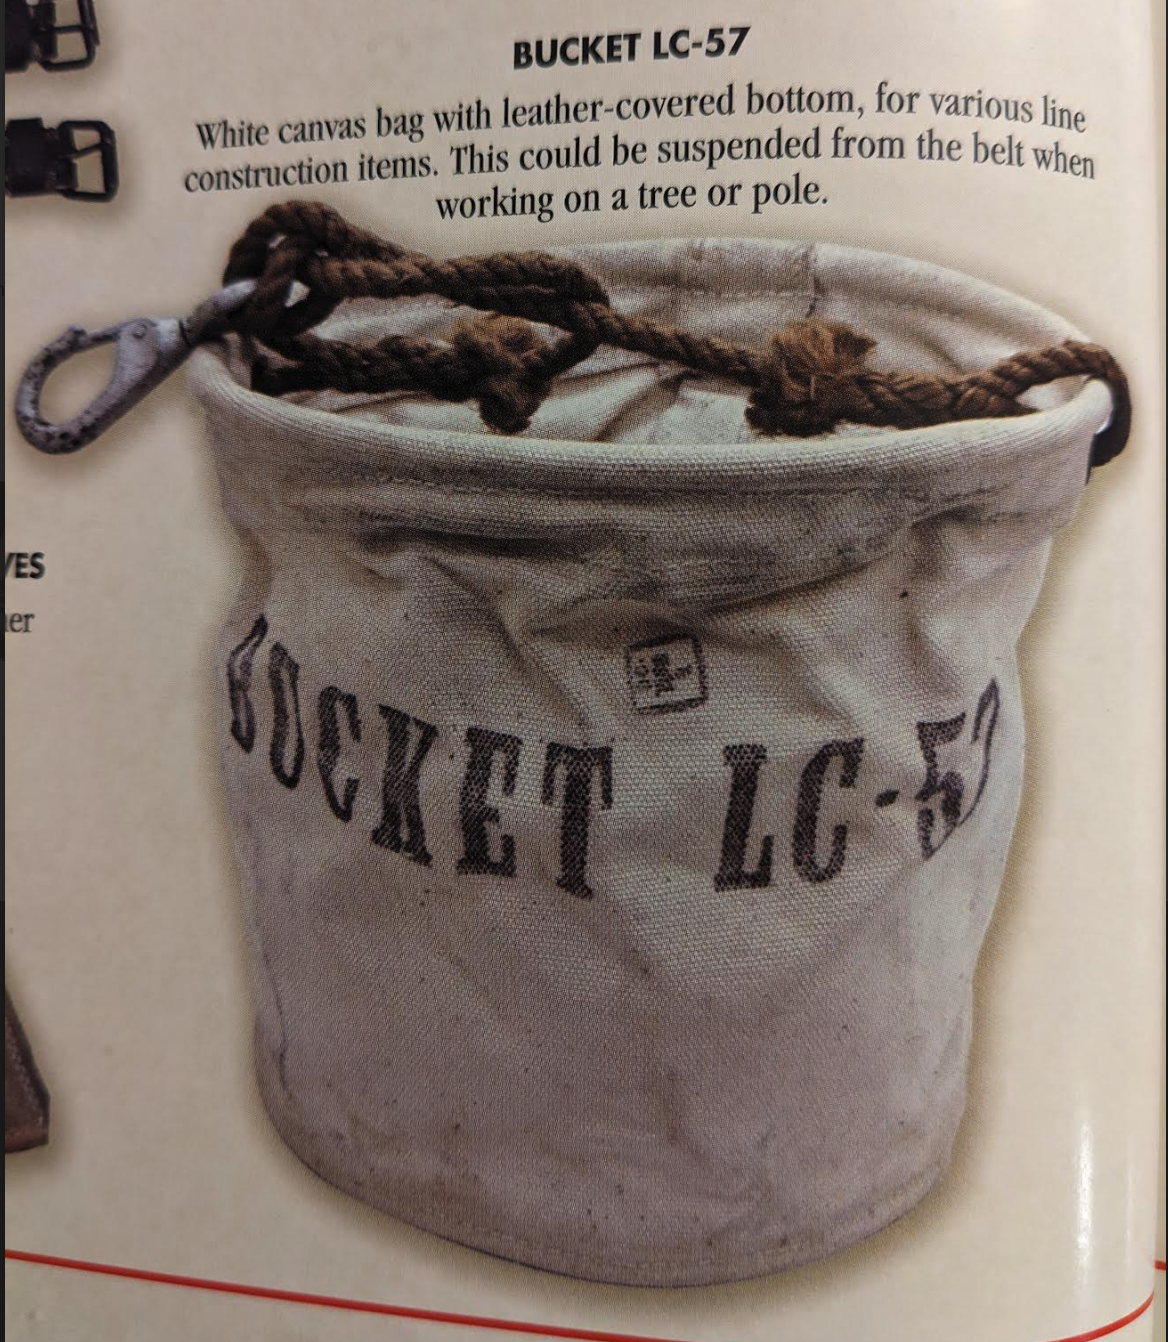
2 LC-57 Buckets, Canvas: A white canvas bucket for hauling tools around and up poles. It had what appears to be a metal ring sewn in around the top to provide support and reinforcement, and a leather bottom.
According to the TM 11-372 Telephone Cable Splicing Manual from May 1947, the LC-47 circular tool bag bucket is made of unbleached cotton duck cloth with an oak tanned leather bottom. 12 inches at the top, 8 inches at the bottom, and either 12, 16, or 20 inches in depth. It had rope handles fitted into a metal ring. Now, the fact that the bucket came in different depths presupposes that there are different model variants of the LC-57.
Describing materials and sizes of the LC-57 Bag Bucket
An example of a probable commercial LC-57 bucket
Paperwork and Forms
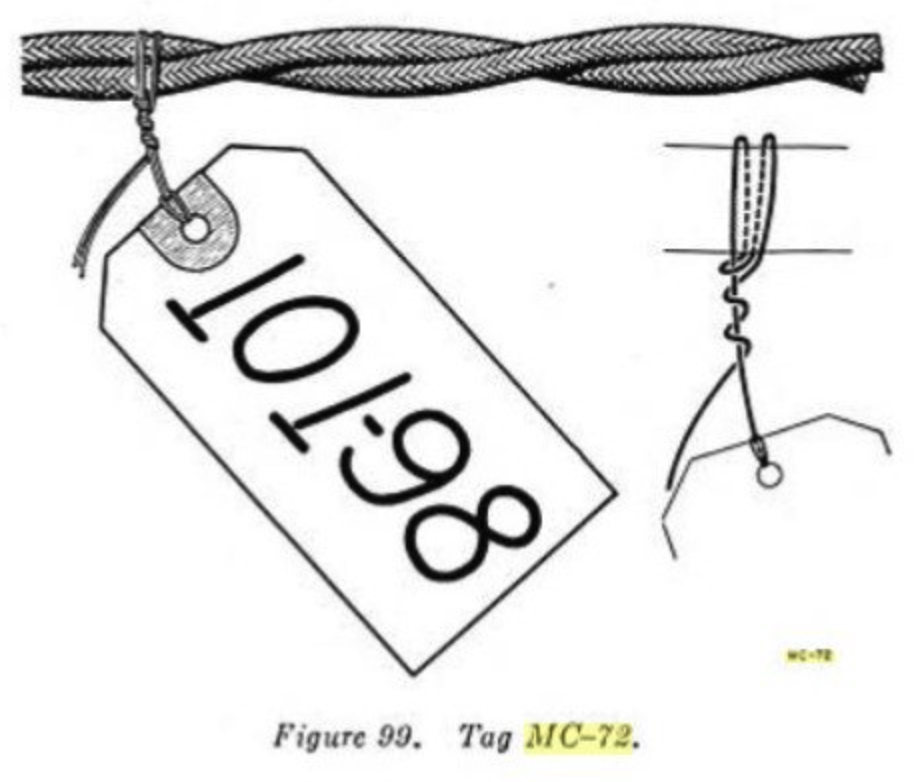
While not listed, some linemen marked the lines to identify what they are. They likely used a pencil or an ink pen to scribble what the line is. The identification tag may have been a standard ID tag. According to RadioNerds, there was an MC-72 tag that existed in 1927. It has a brass eyelet and a 12-inch tie wire for marking cables.
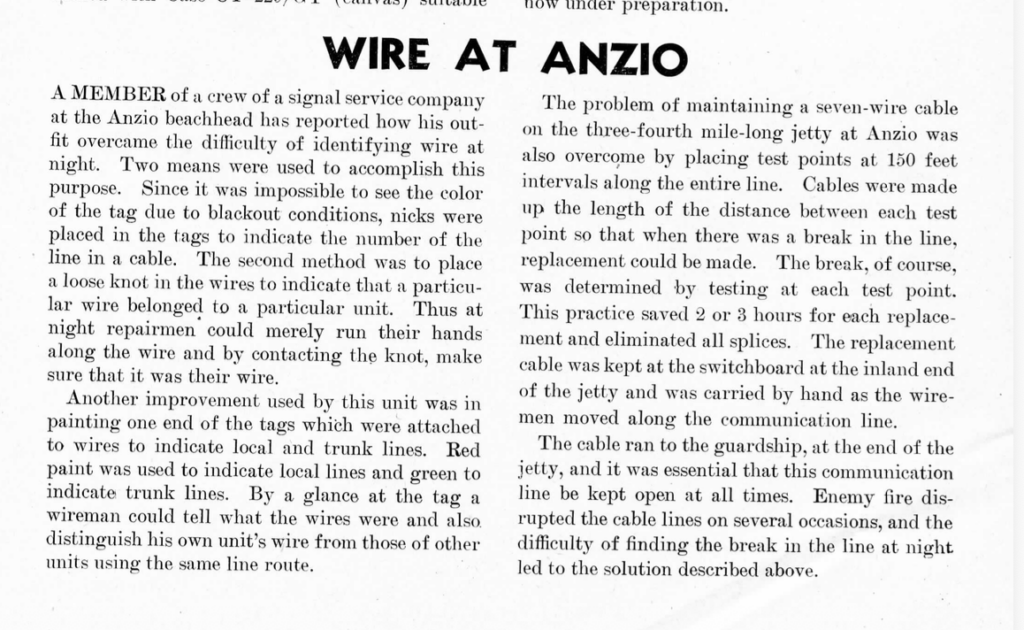
Lastly, in Signal Corps Technical Information Letter Jan 1945 No 38 on page 8, “Wire at Anzio,” it’s reported that they used colored tags to identify lines, but couldn’t see them in the dark, so they added notches to identify the number of the line in the cable. It was also mentioned that they painted them to identify local vs trunk lines with red for local and green for trunk.
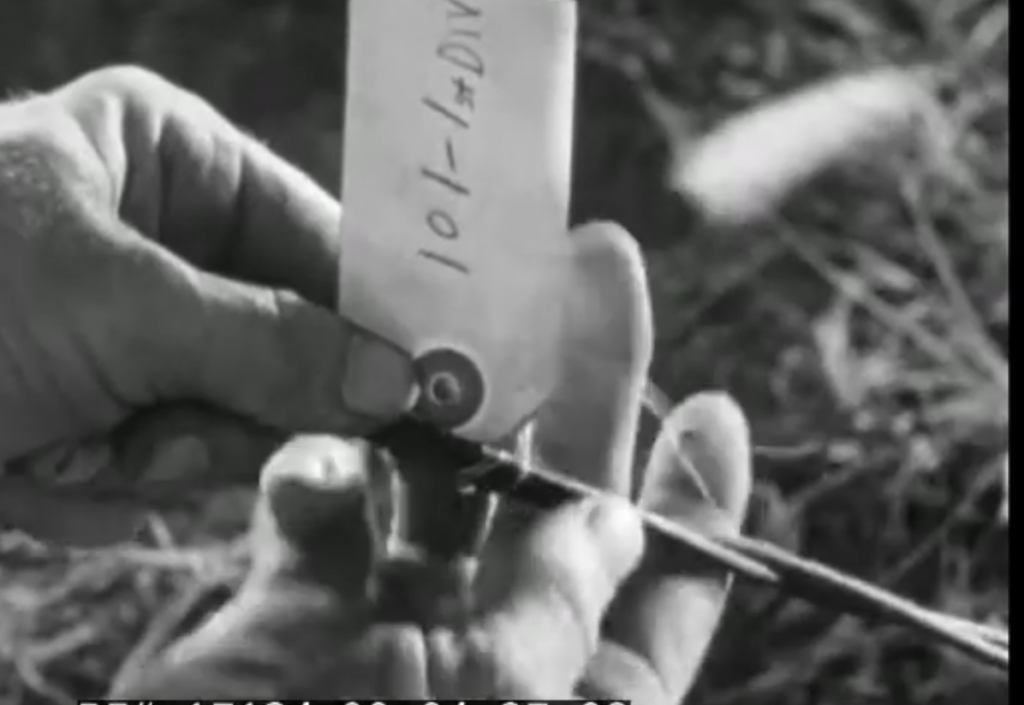
If you wanted to be historically accurate, you could get some basic white ones from Amazon and use wire to attach them. According to the 1941 Signal Corps, Pole Construction video, soldiers used white tags with wire to identify lines. Then scribble on it any relevant notes and add a notch if needed to identify the line, and some paint to differentiate the type.
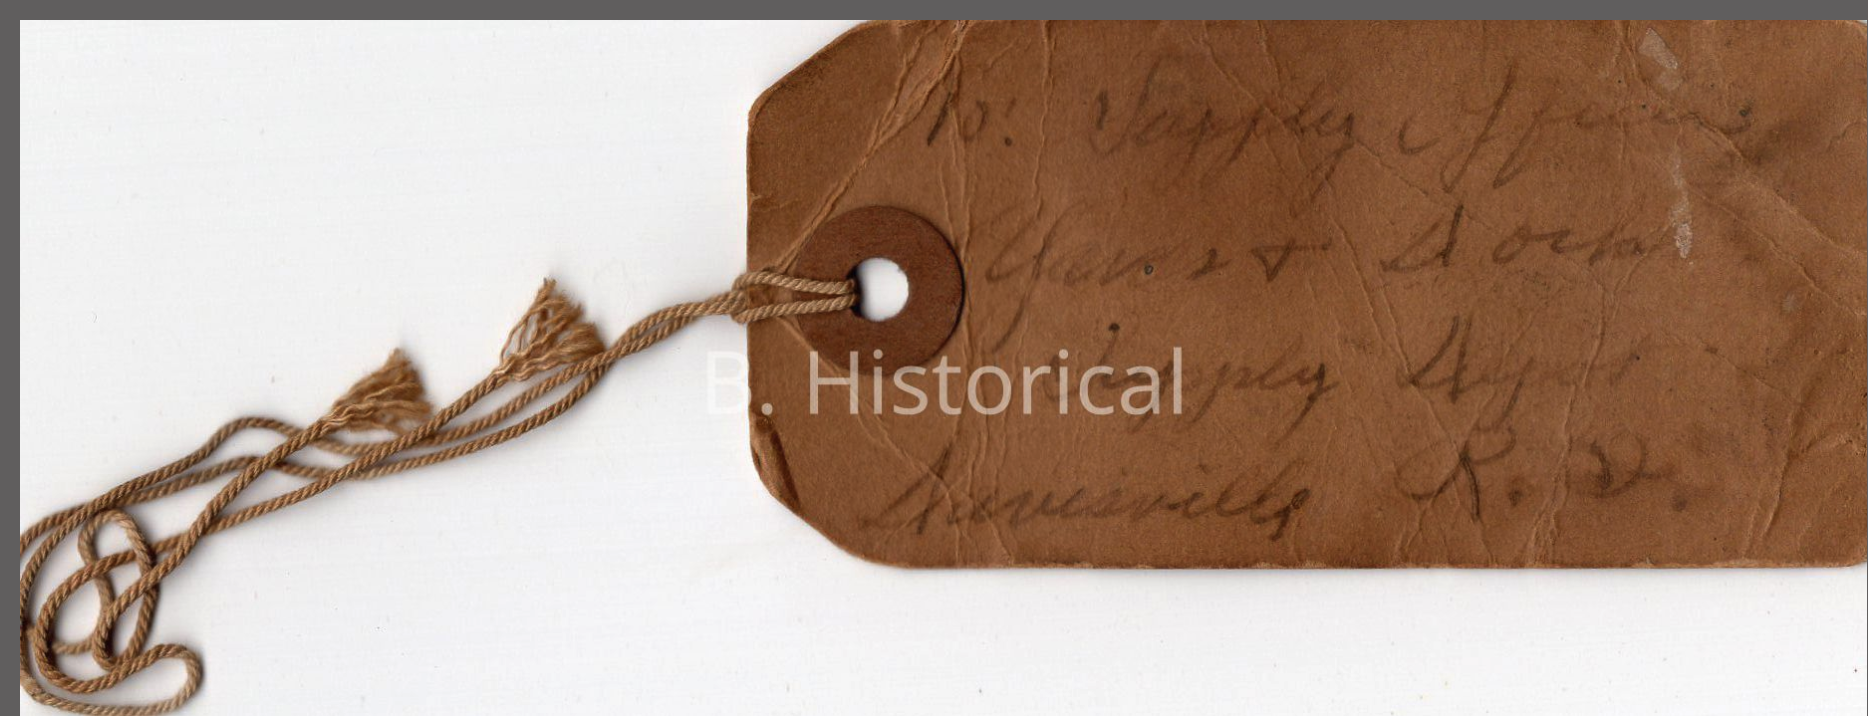
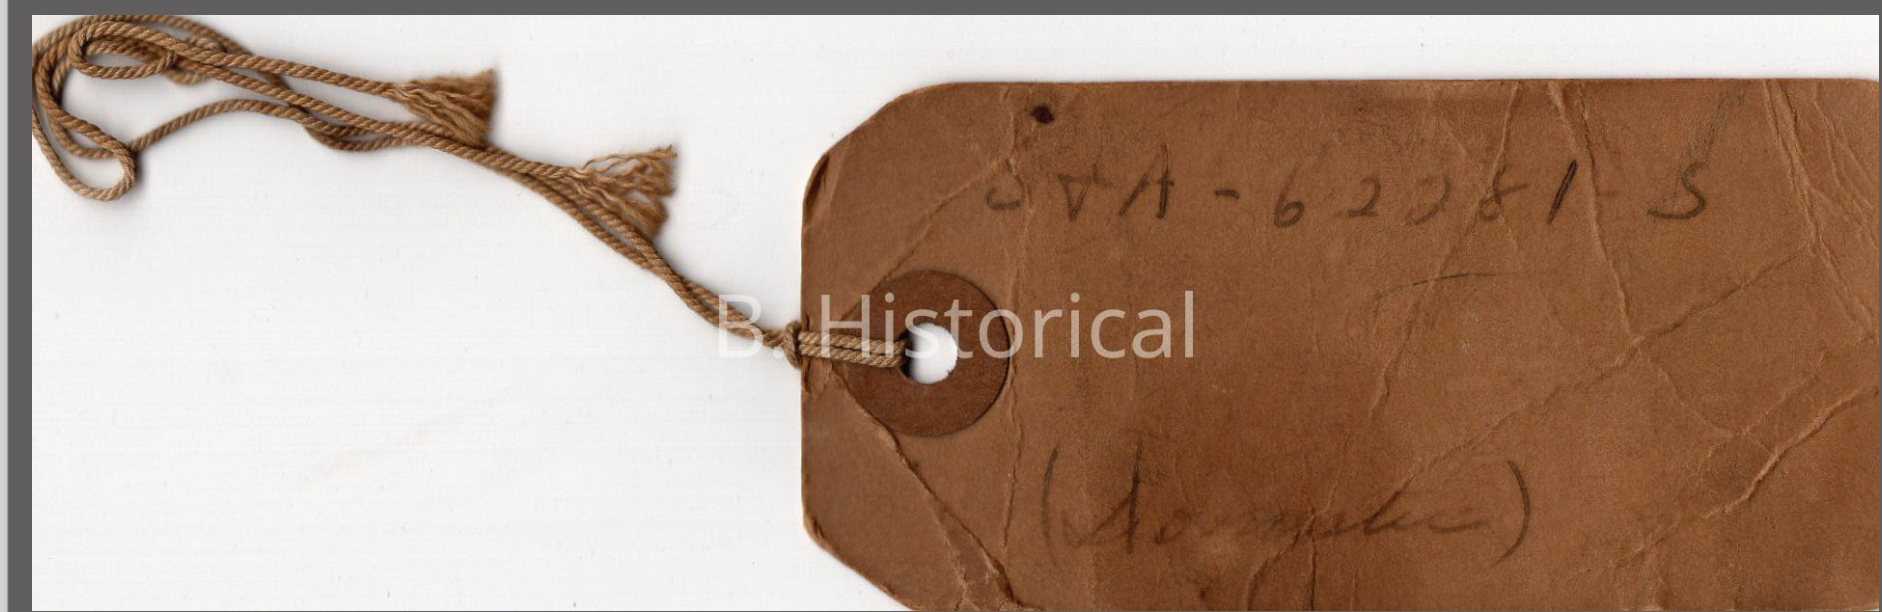
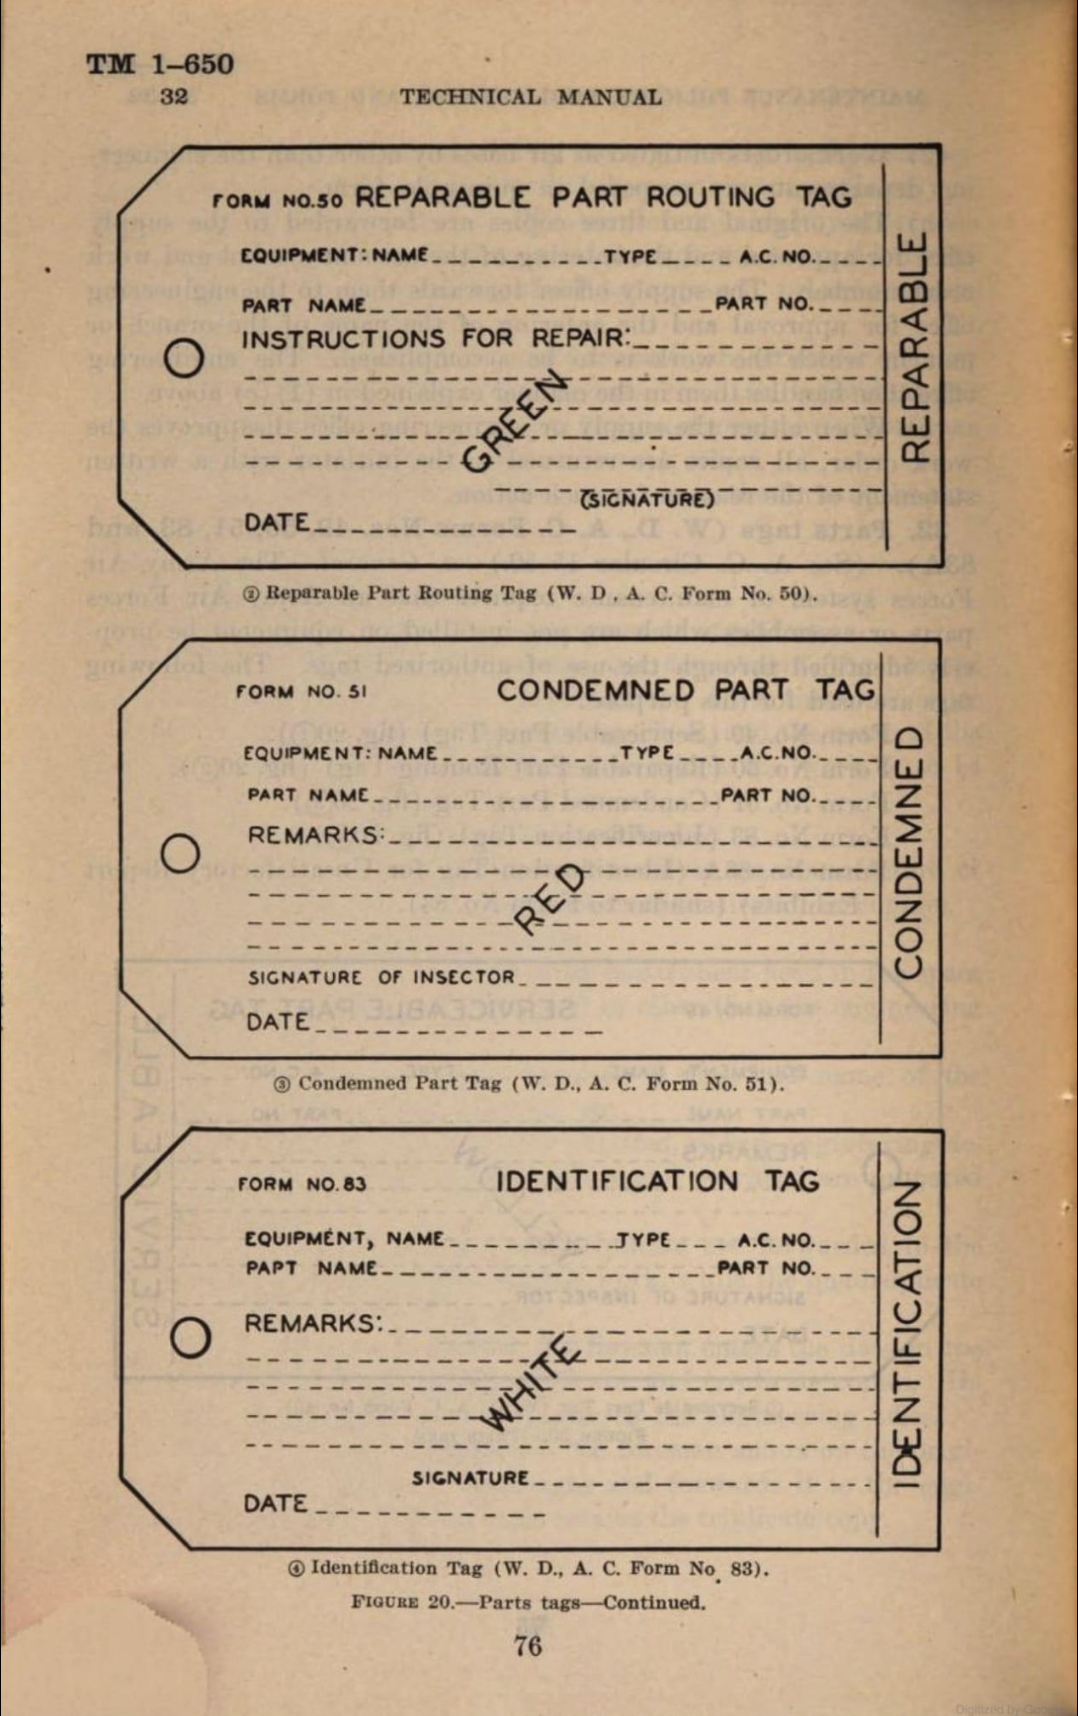
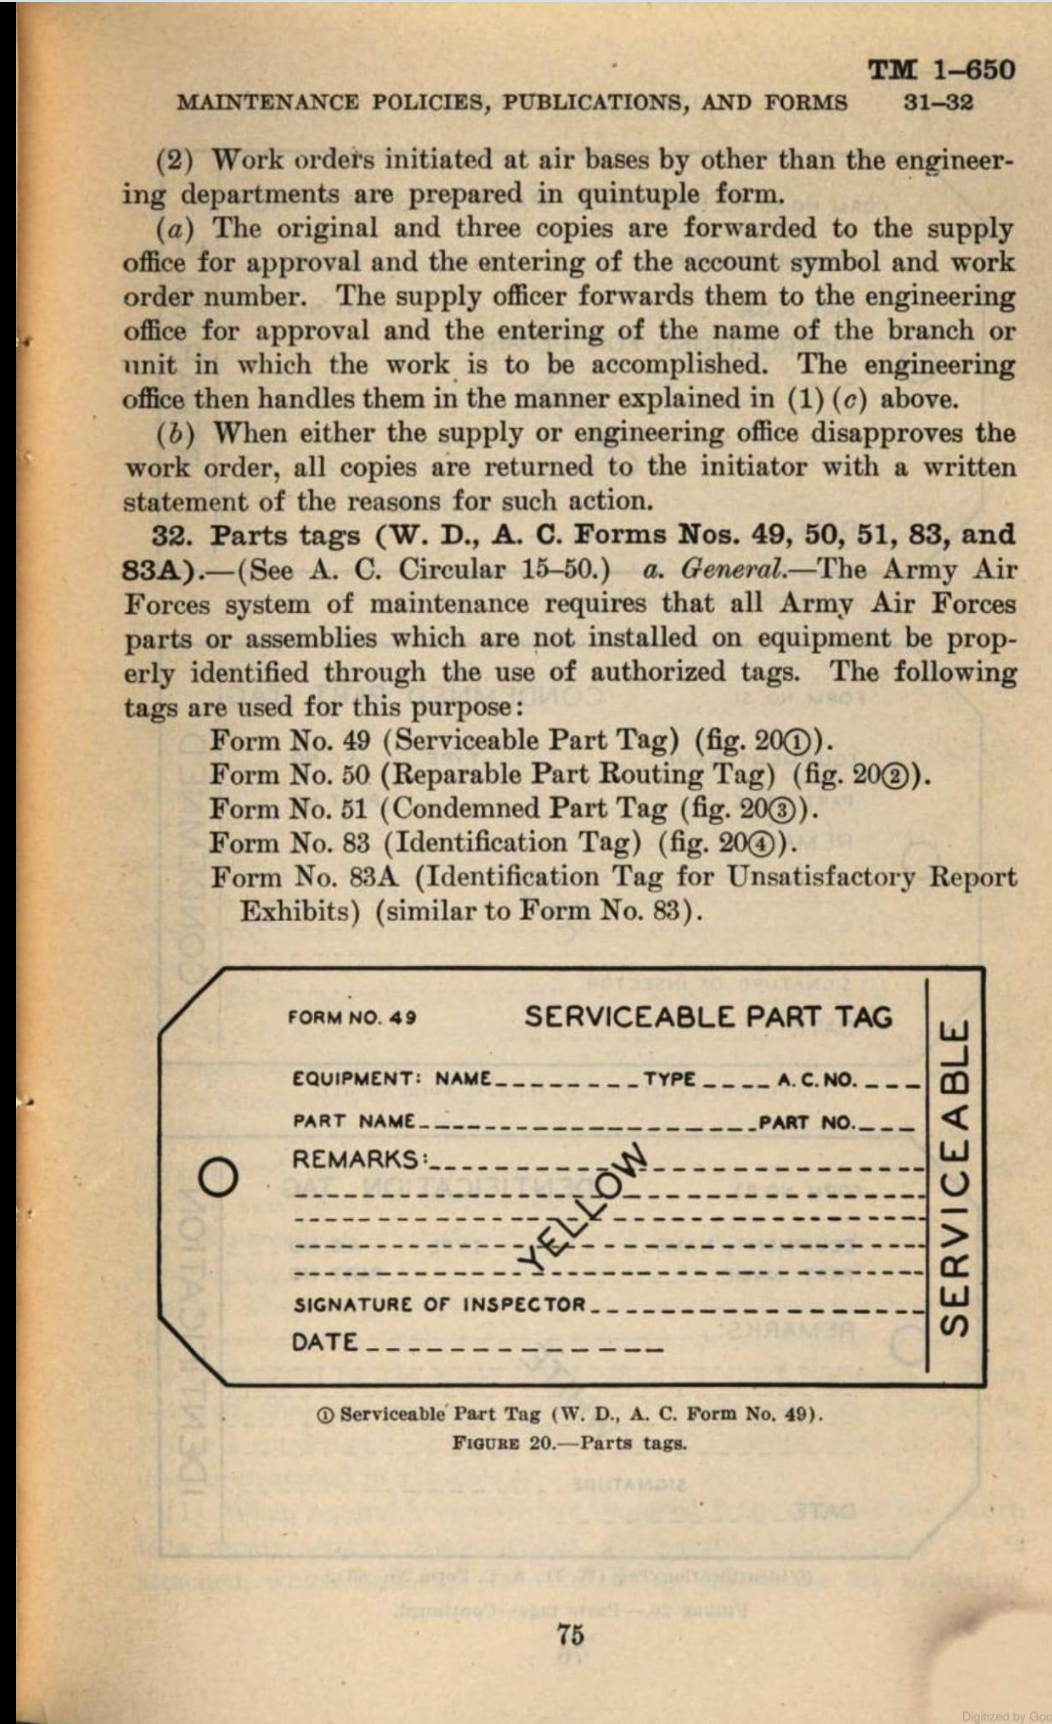
I’m unsure if the wire part of the tag was dropped for a string as the war continued, if the brass was dropped for a cardboard support, and/or if the color of the tag was switched to brown (as shown on that repair tag above) to better camouflage the lines.
The LC-A wrench looked different when compared to the A version.
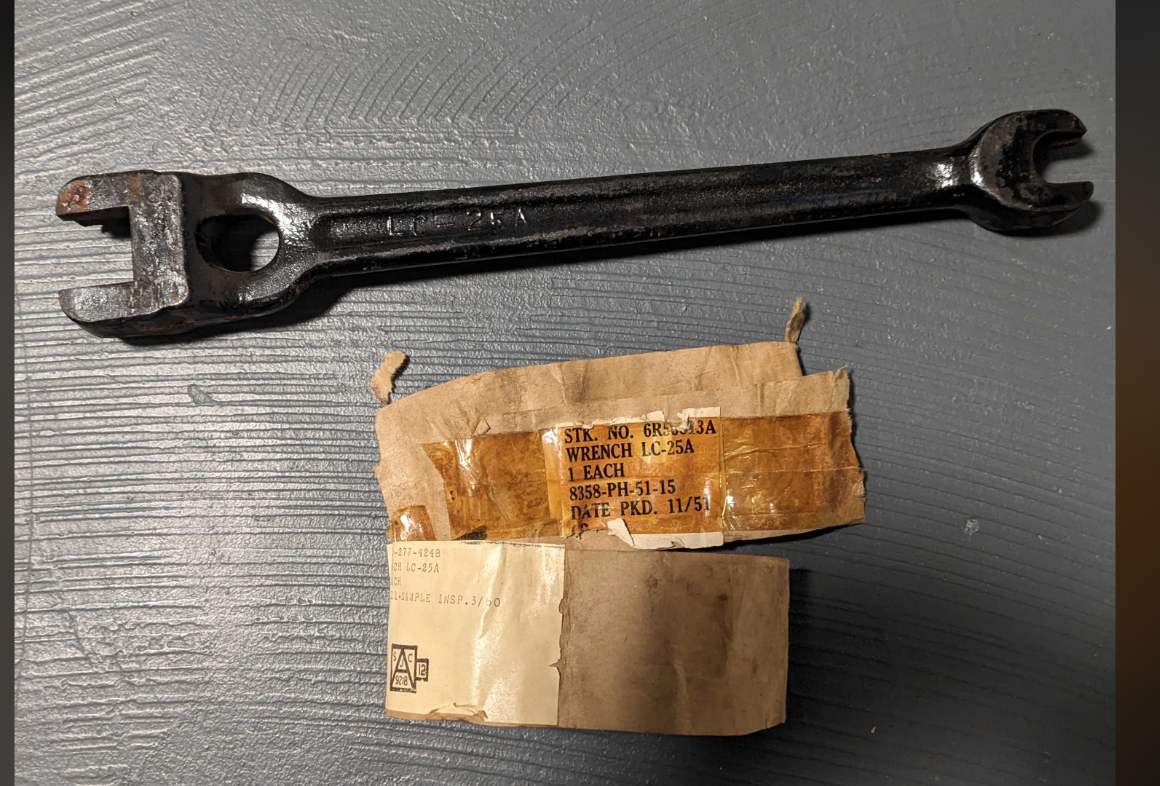
The LC-25-A Wrench was used to secure cross beams to telephone poles. I purchased mine off of eBay for 30 dollars in March 2025, shipped. It came in new, unopened condition. It was wrapped in two brown paperish wrappers with a paper tag attached to it.
The first tag was an inspection wrapper dated 3/1960. The second tag was the initial packing tag. It was dated 11/1951.
Now, to my knowledge, the wrench didn’t change between WW2 and the Korean War. I don’t have the wrappers, but the 11/1951 wrapper is 6in long and 2in wide. The 3/1960 is 7in long and 2in wide. You can download a PDF here if you want to try and recreate it.
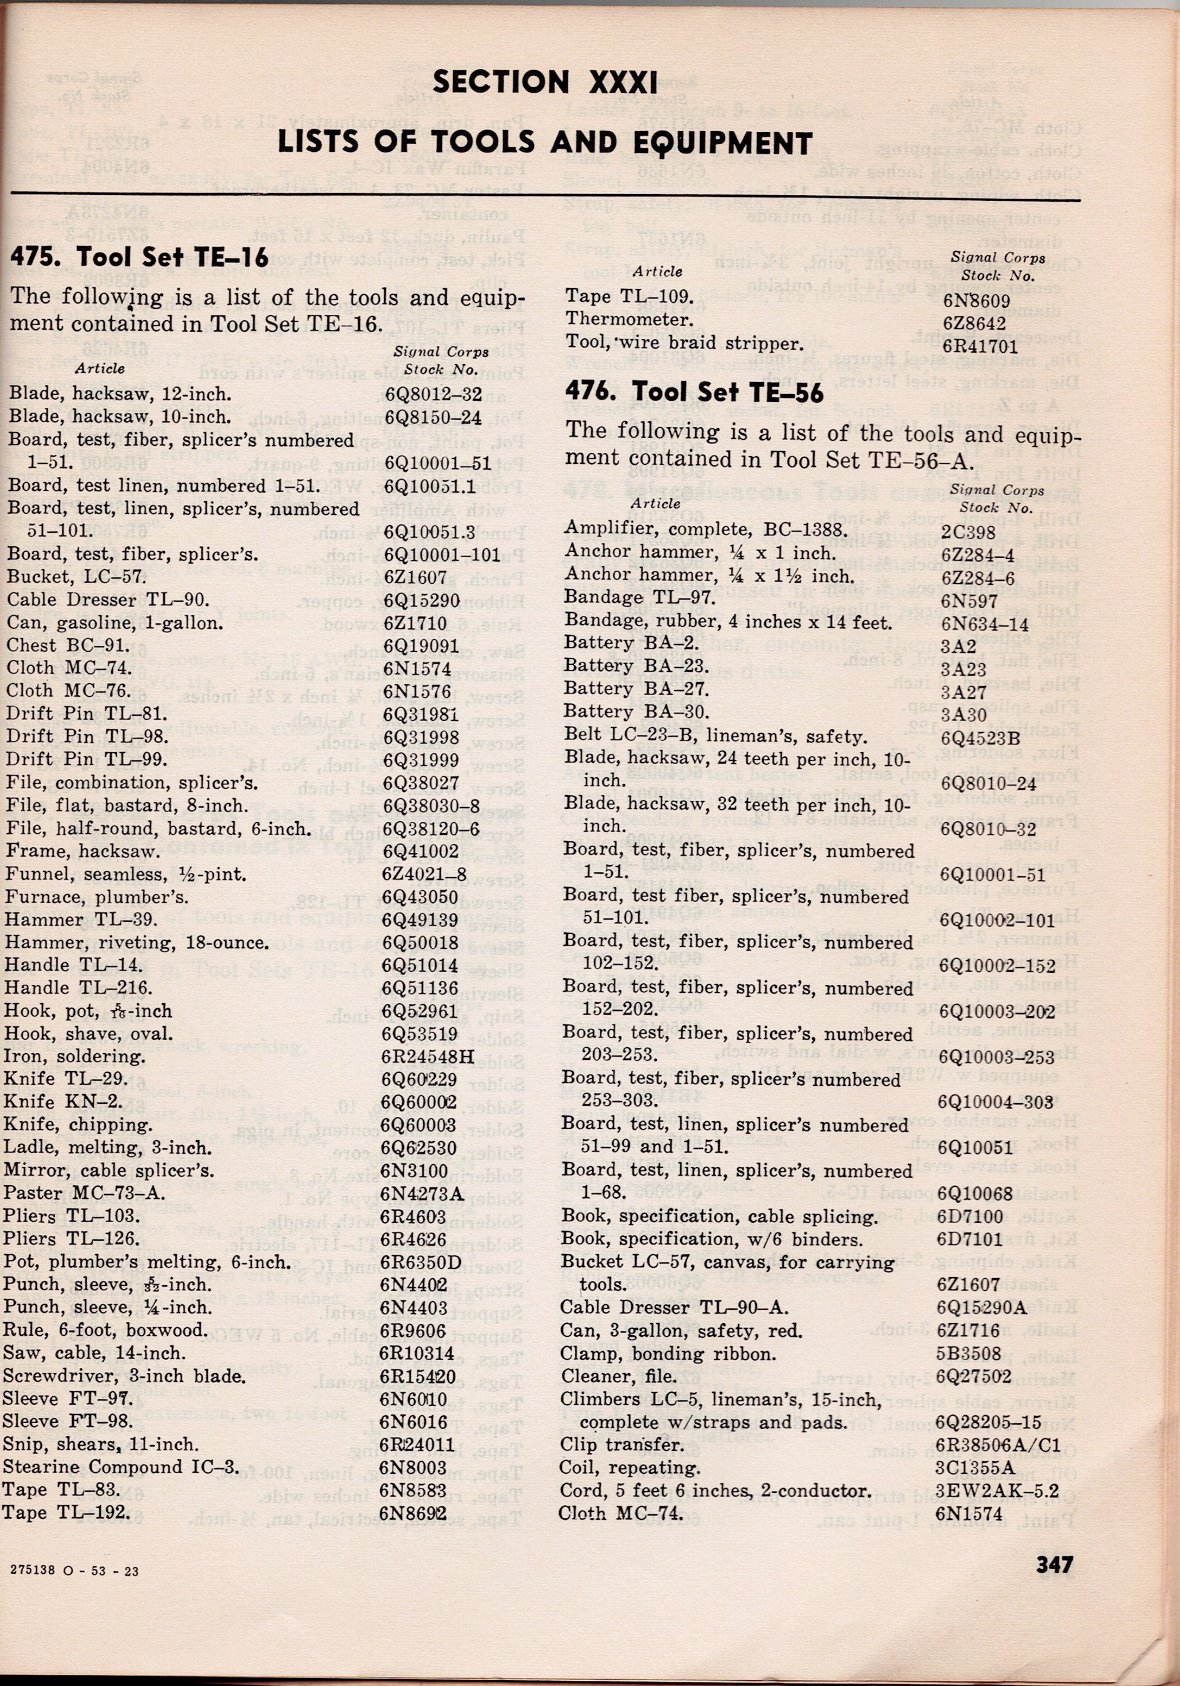
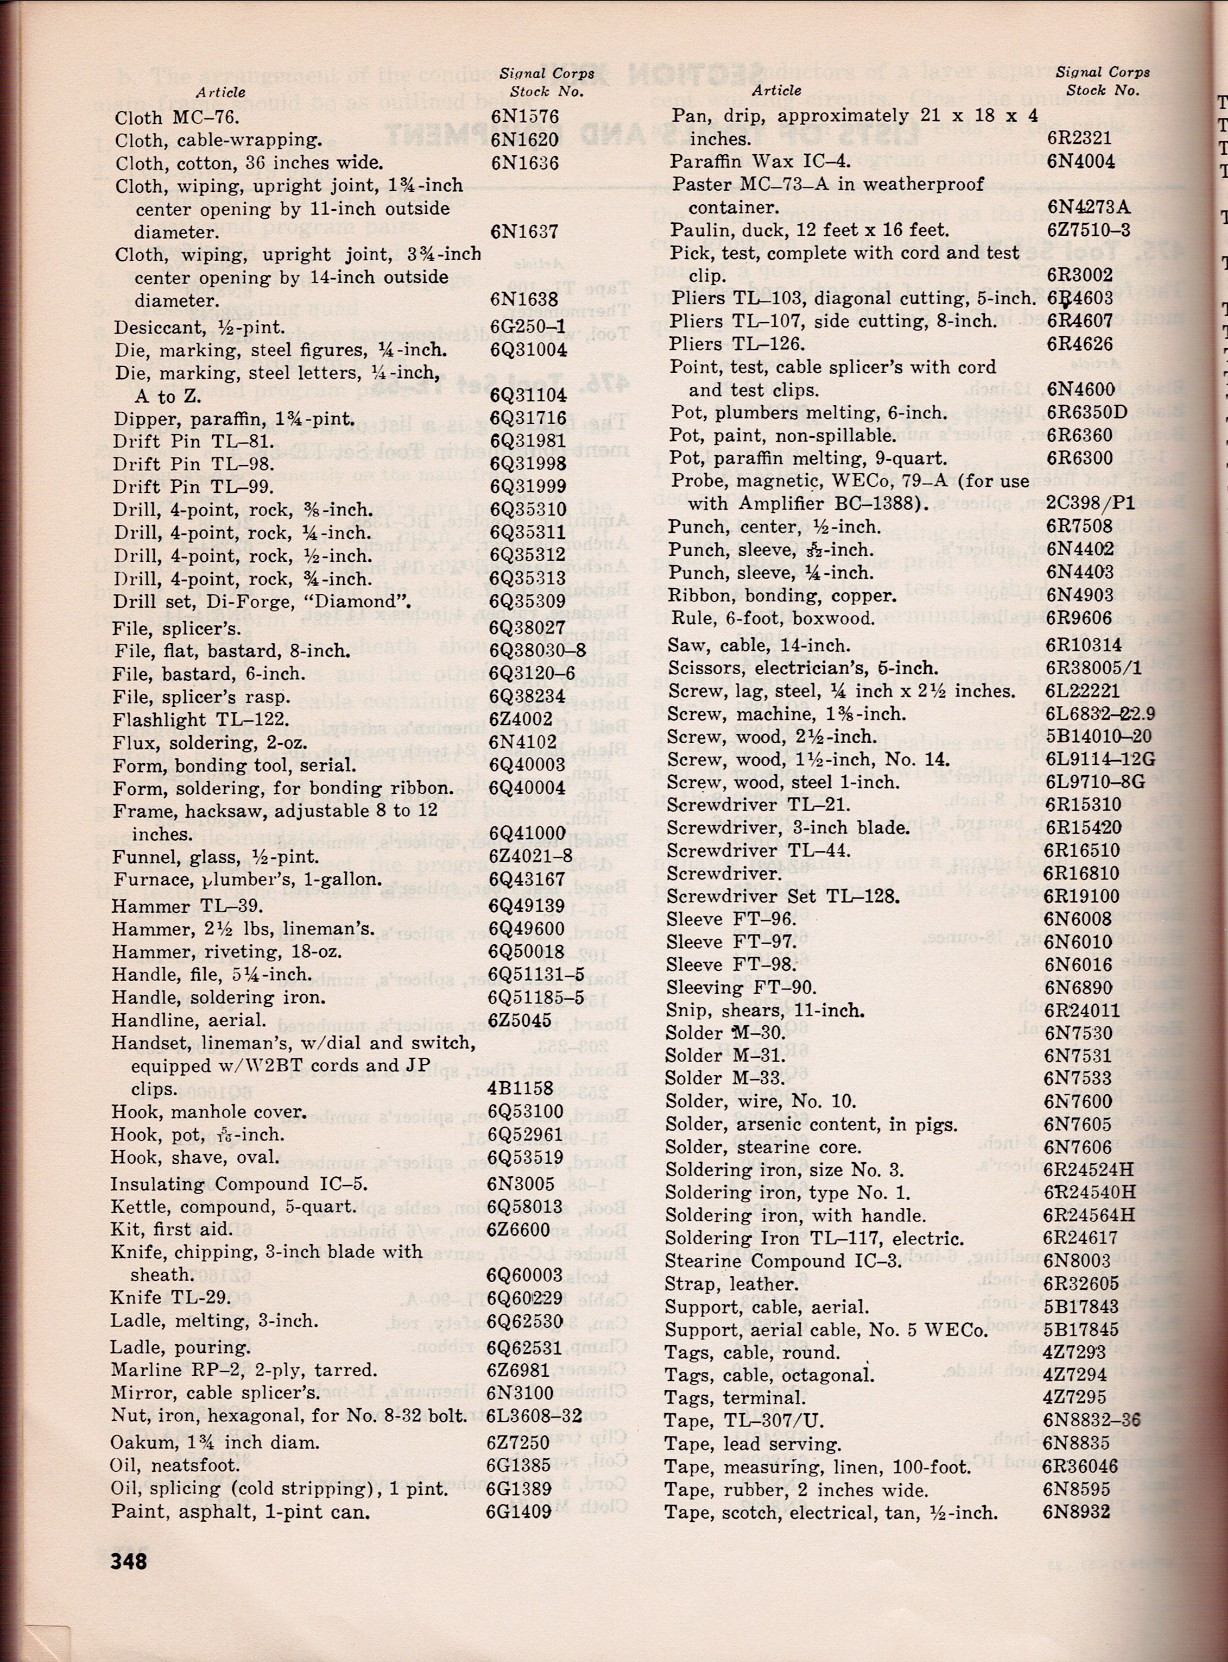
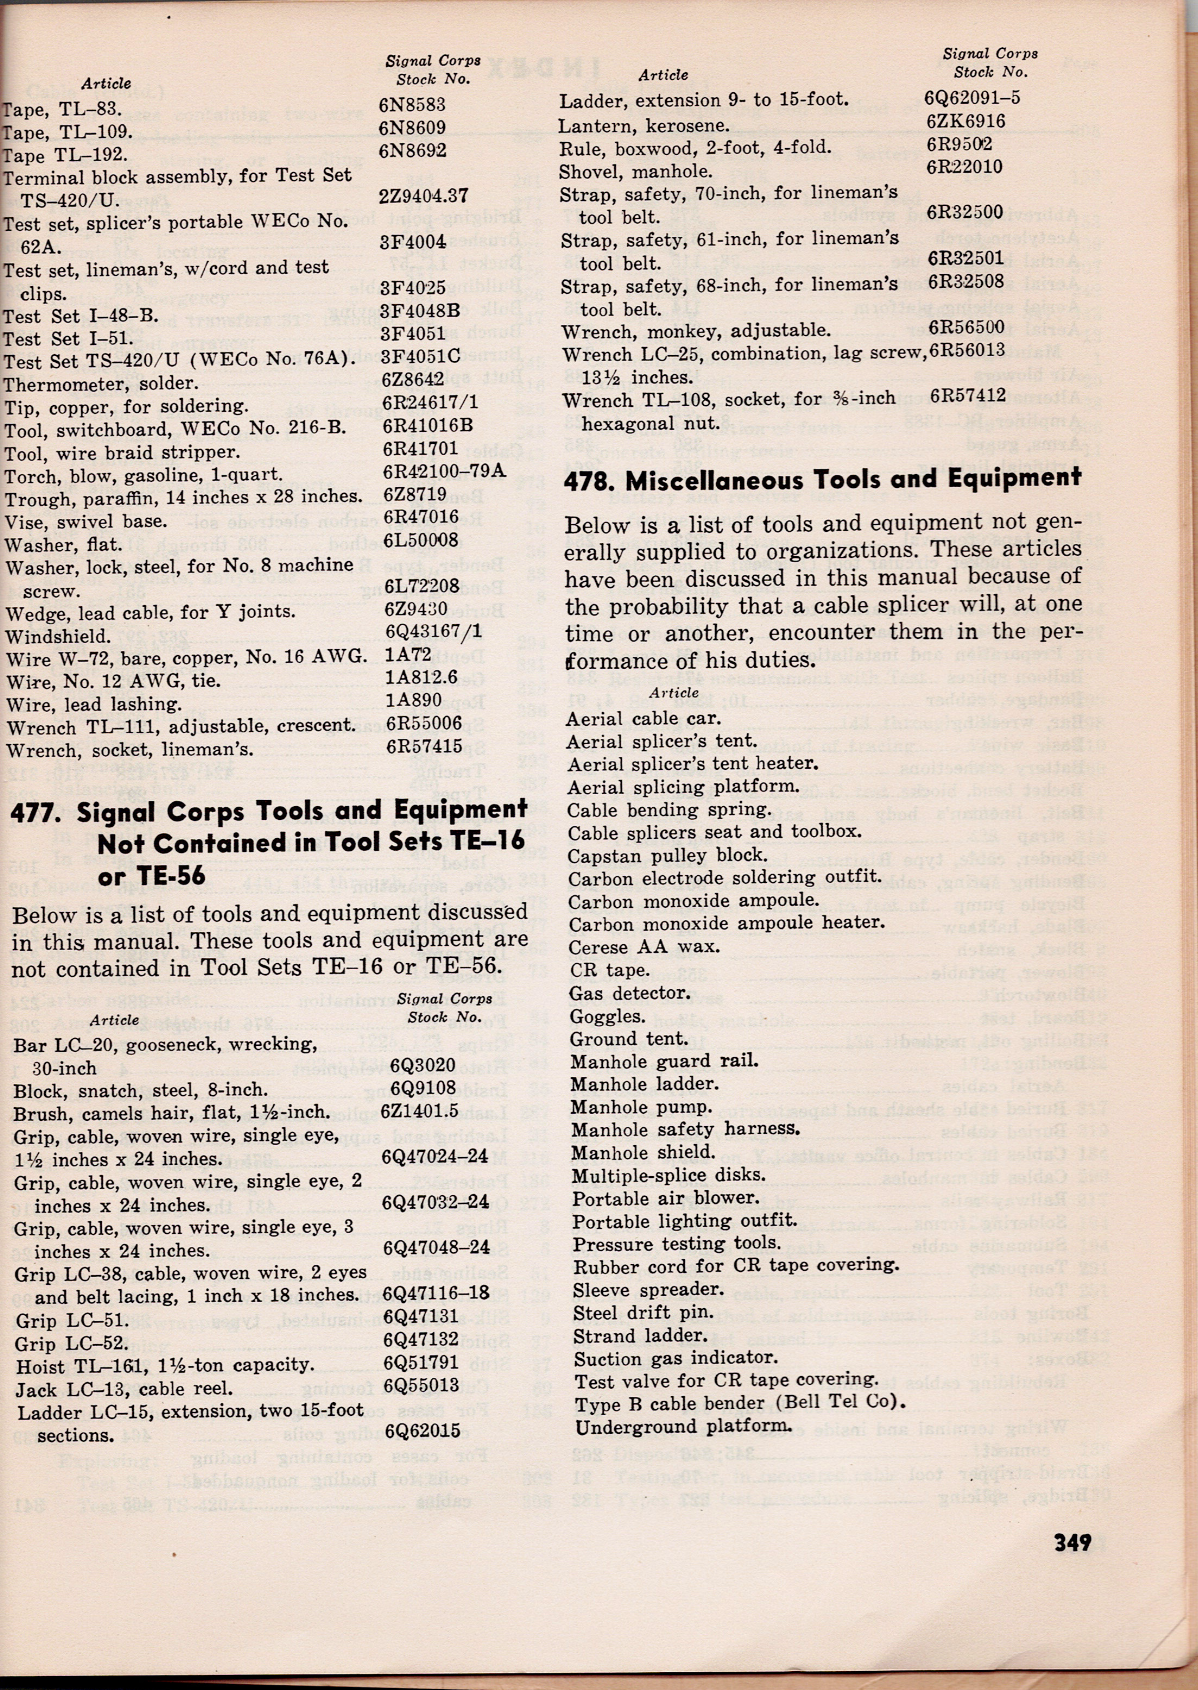
Tool Set TE-16 and Tool Set TE-56
Below is the list of tools and equipment contained in both sets. They come from the TM 11-372 Telephone Cable Splicing Manual from May 1947. While post World War II, it seems the equipment for the sets wouldn’t have varied by much, if at all.
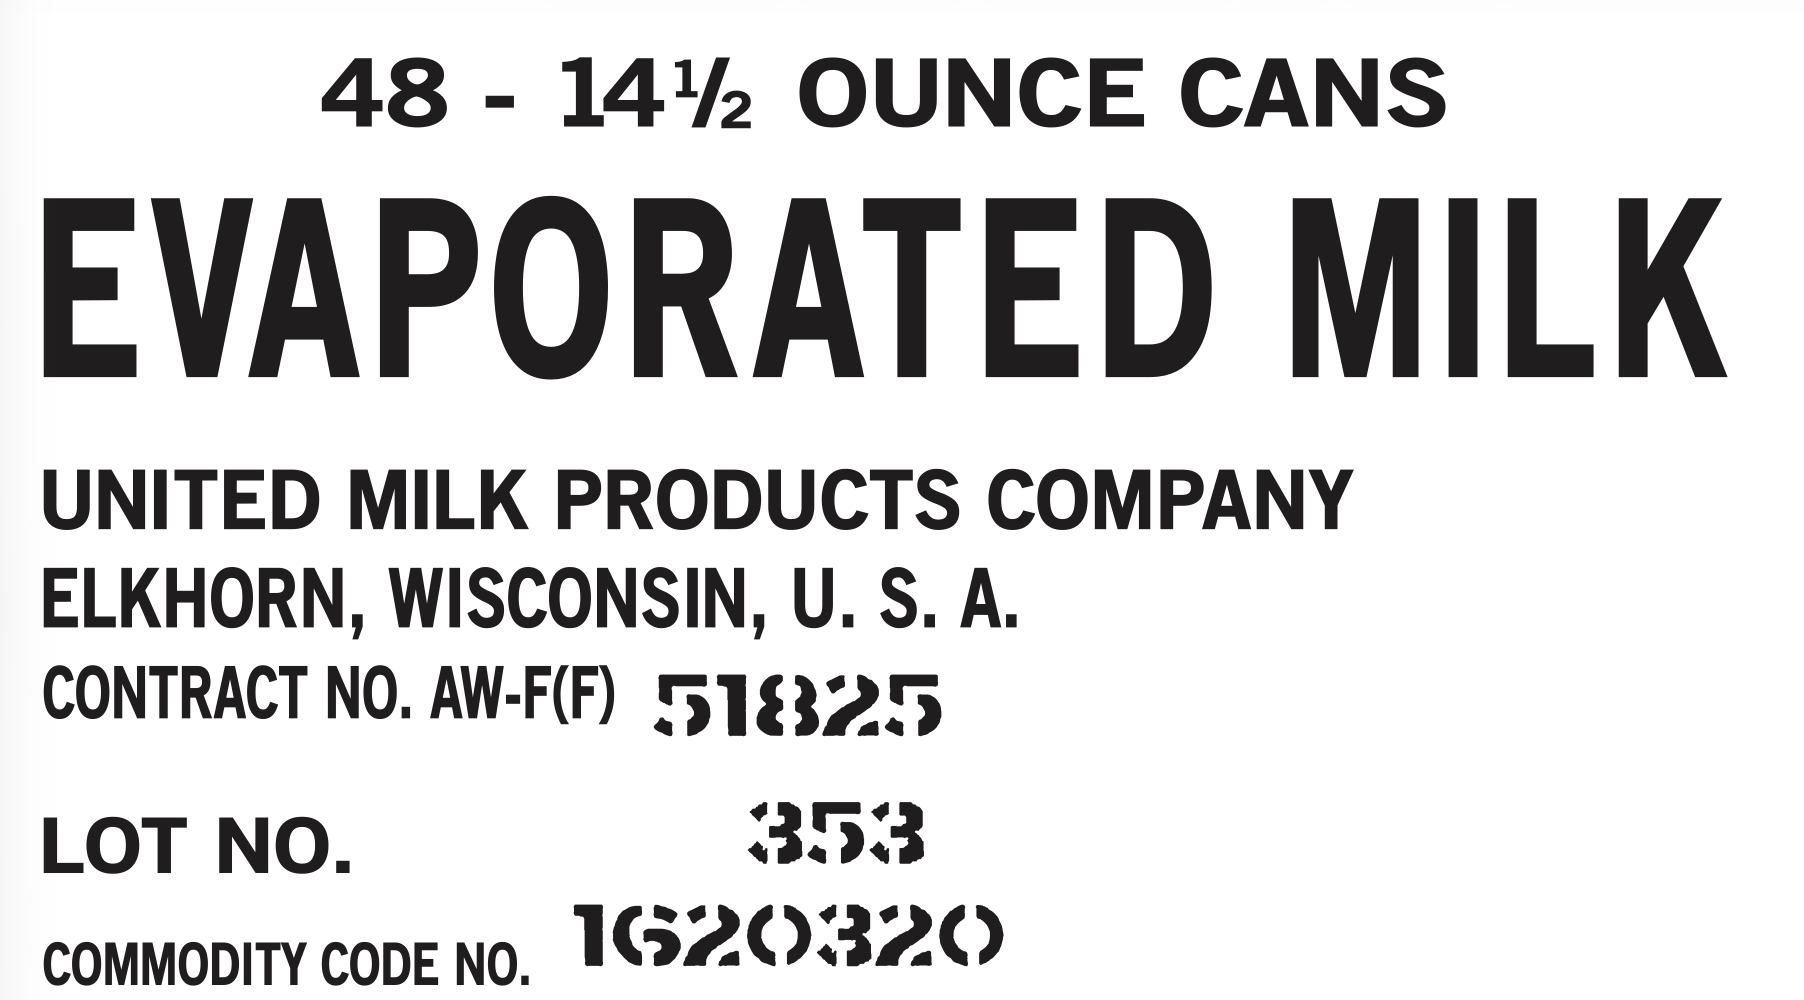
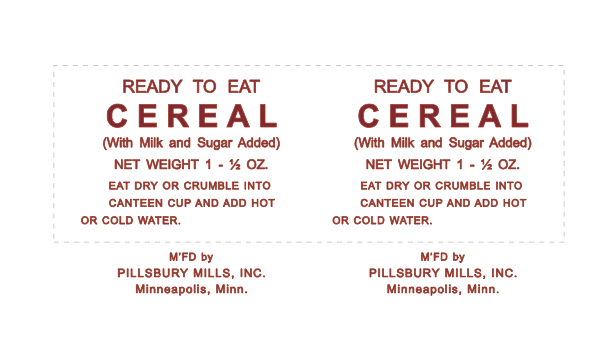
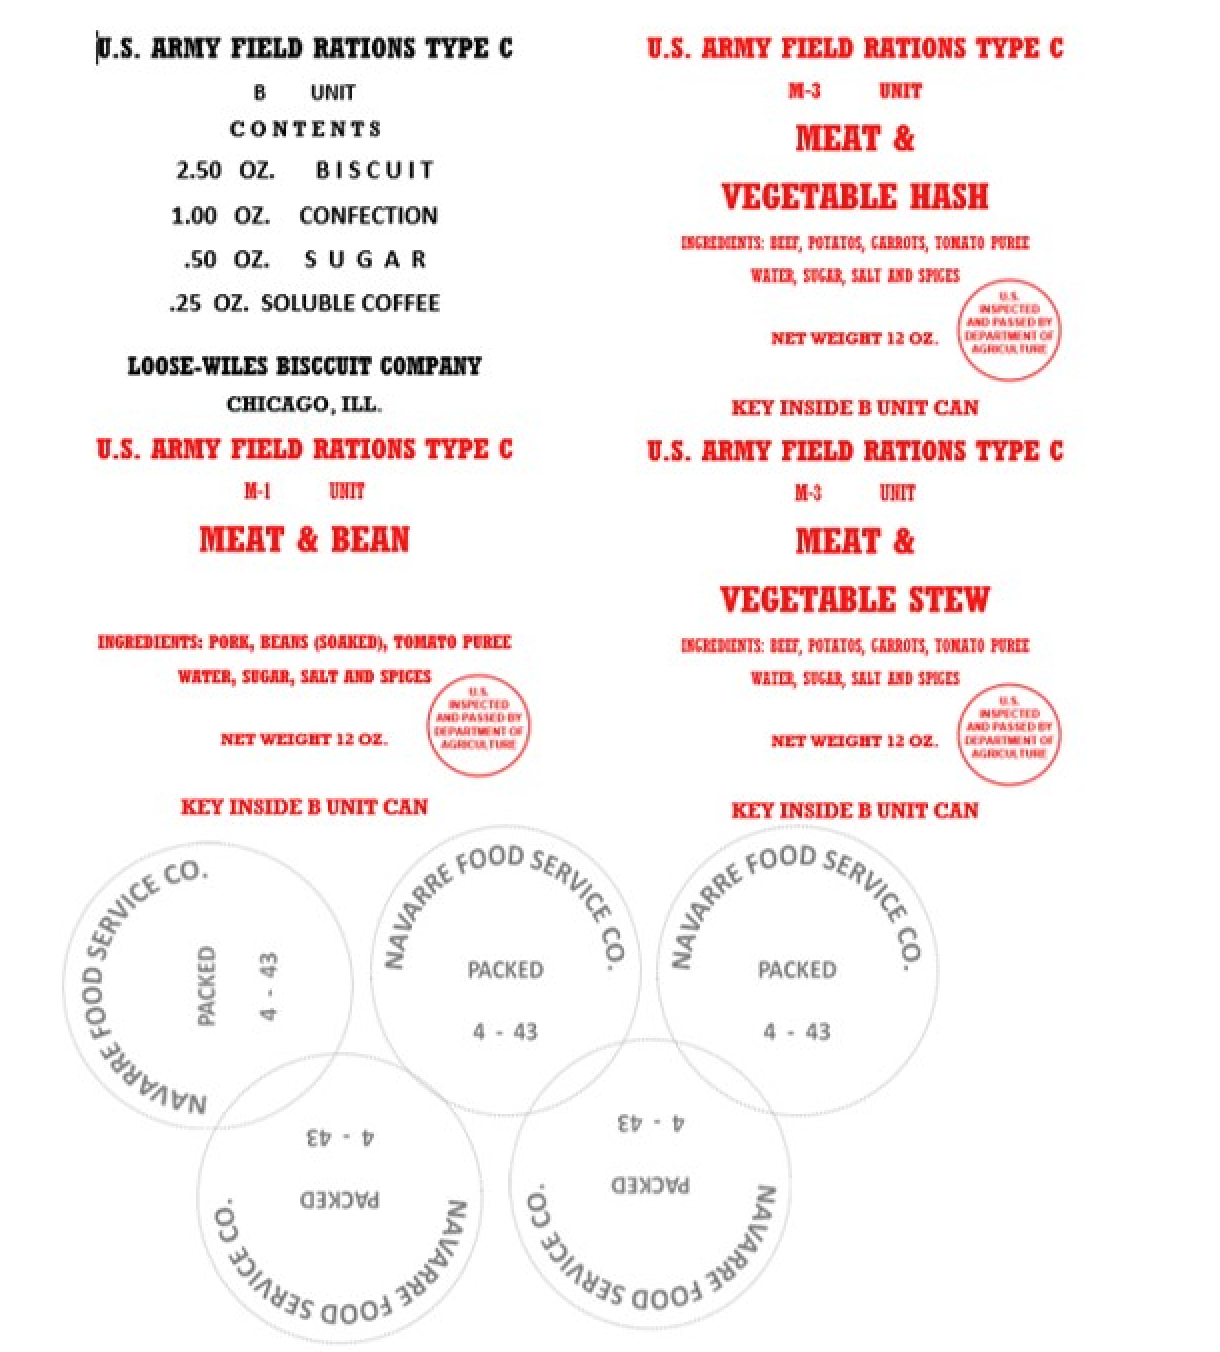
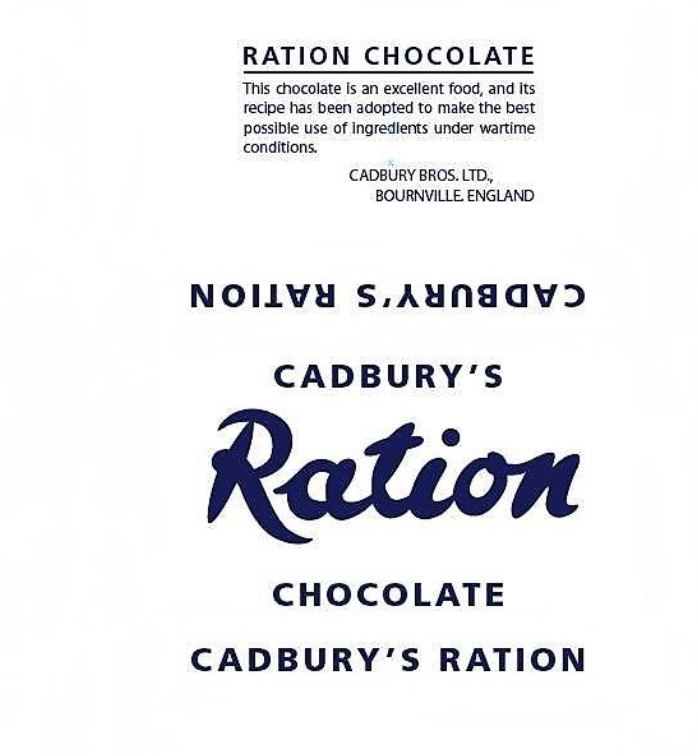
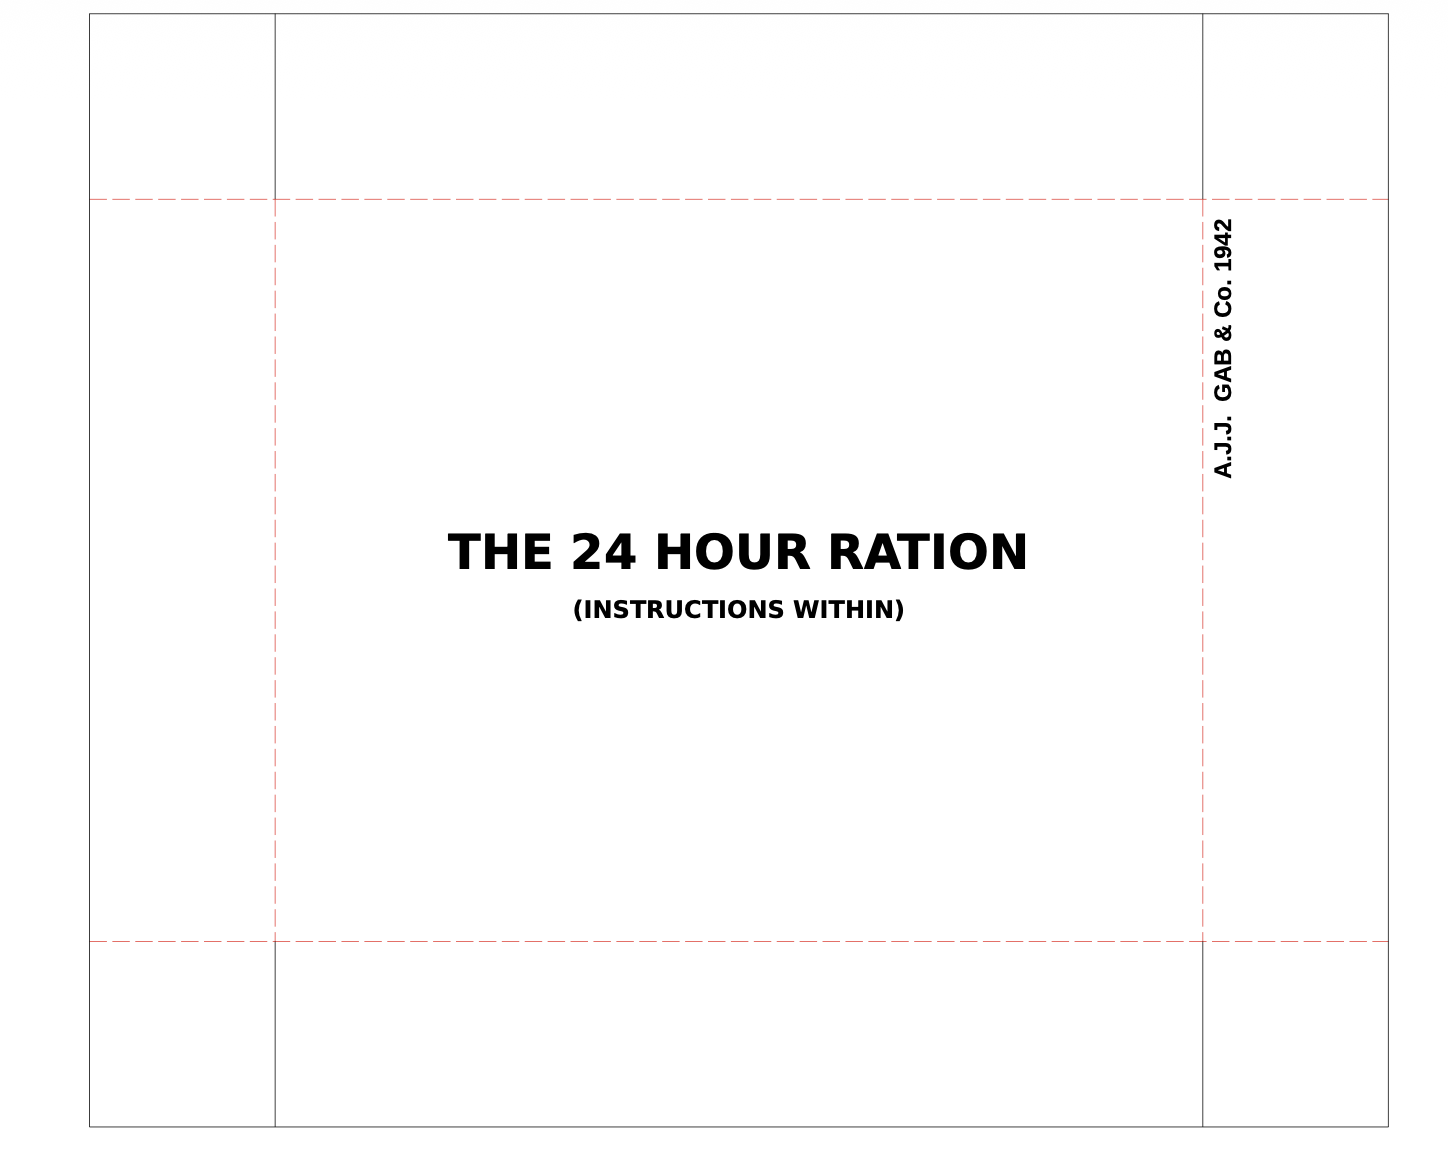
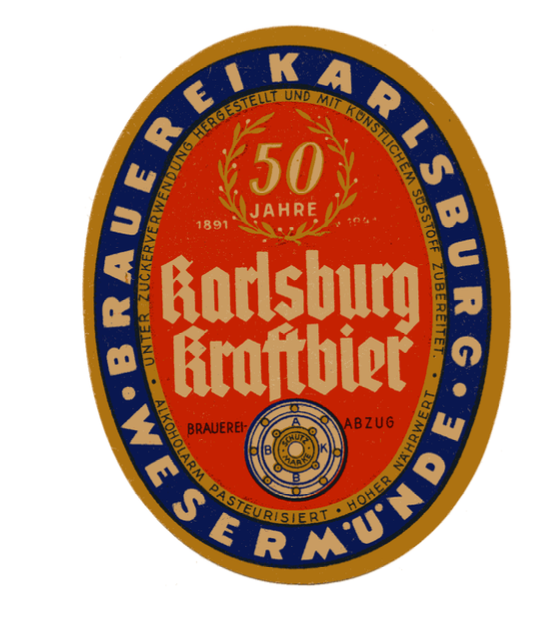
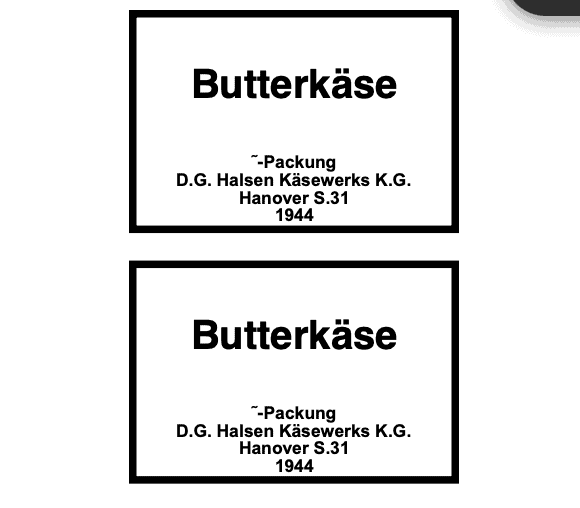
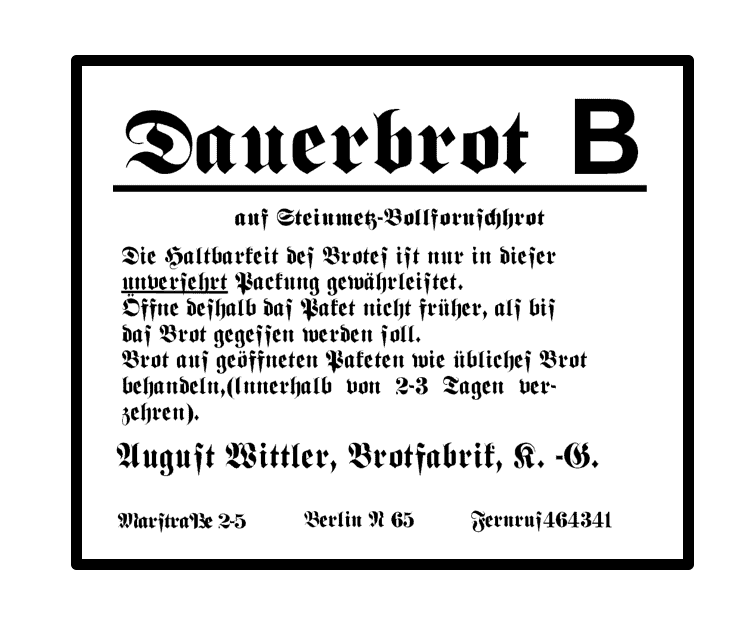
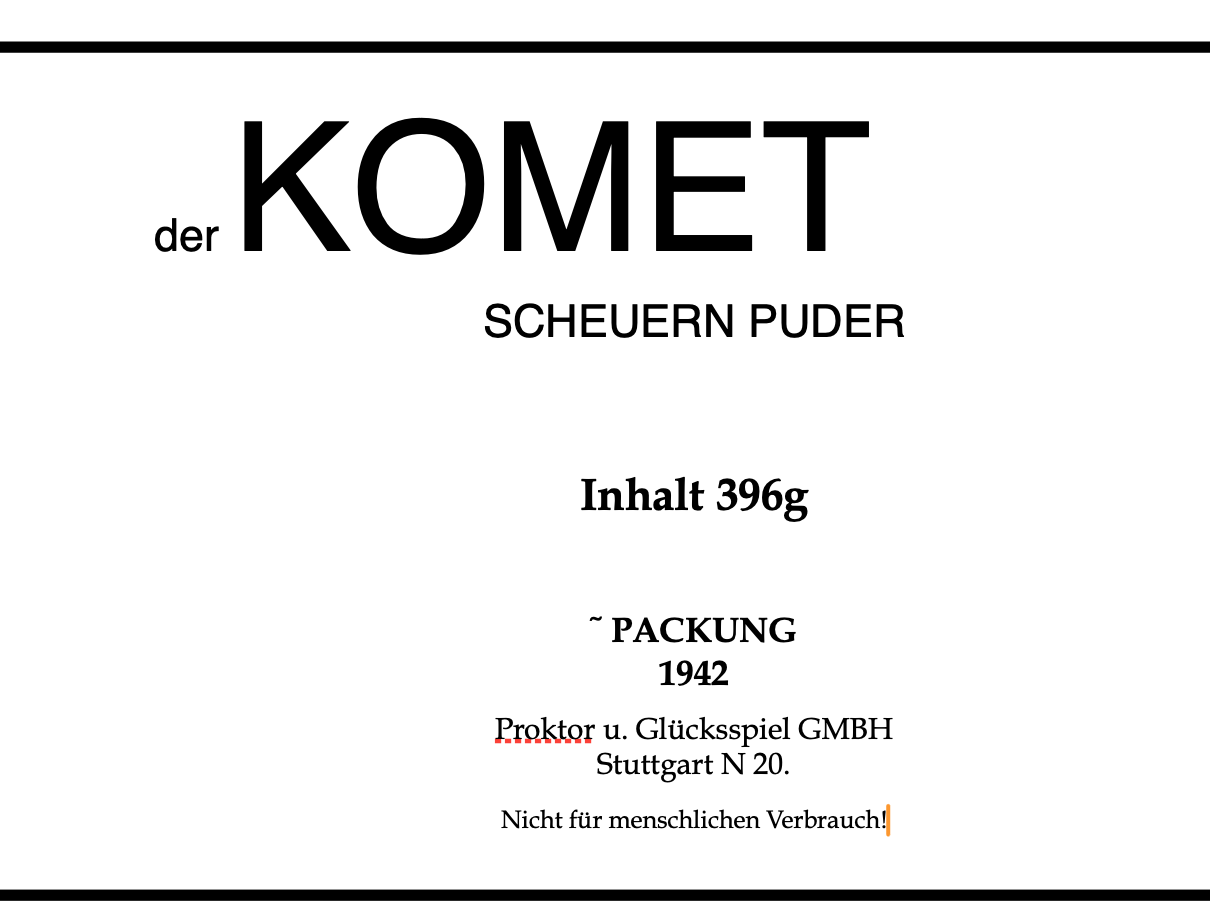
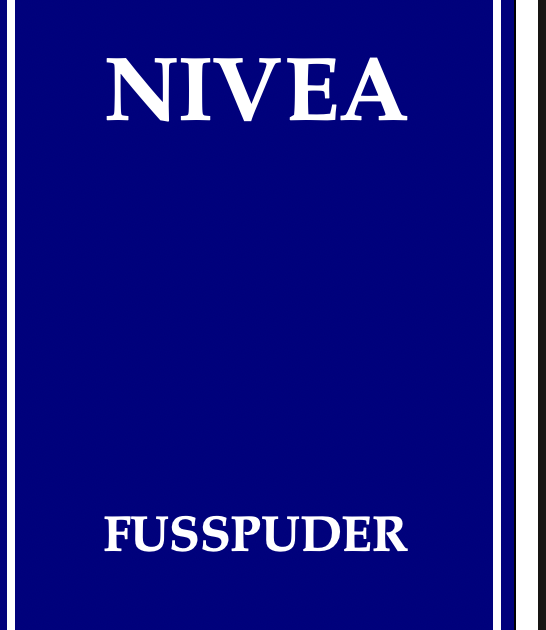
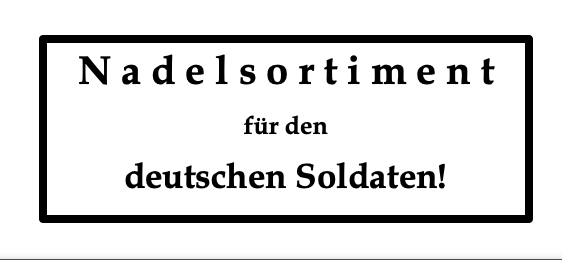
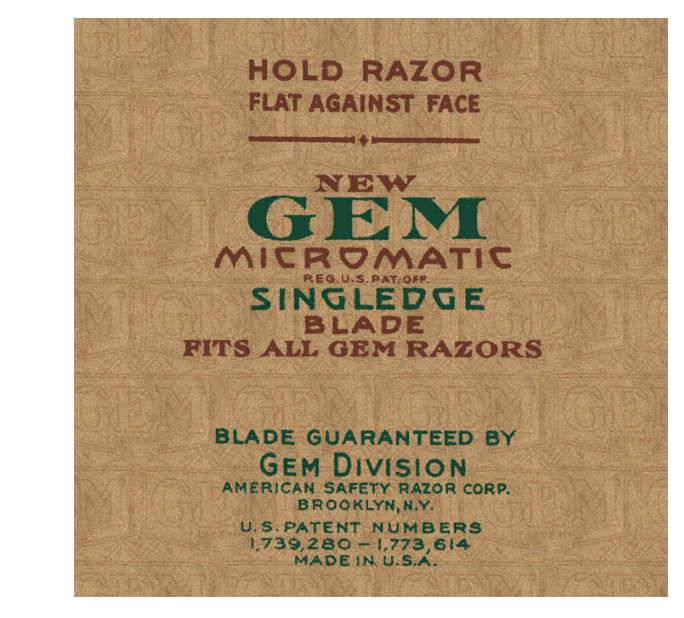
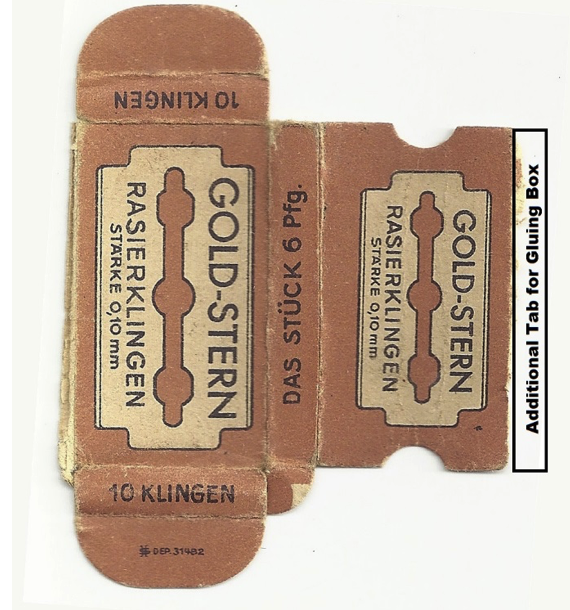
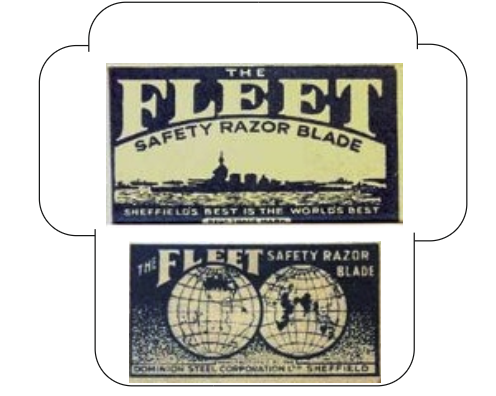
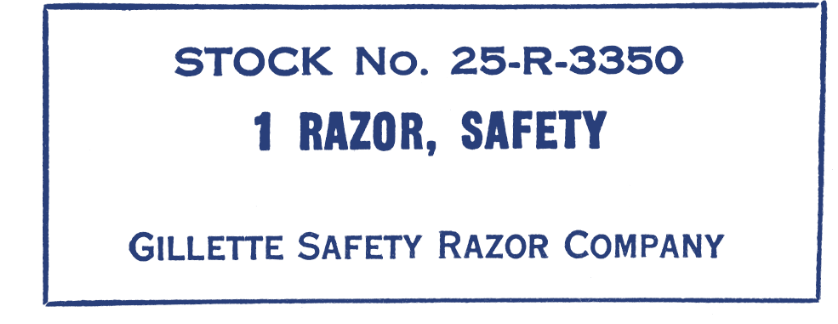
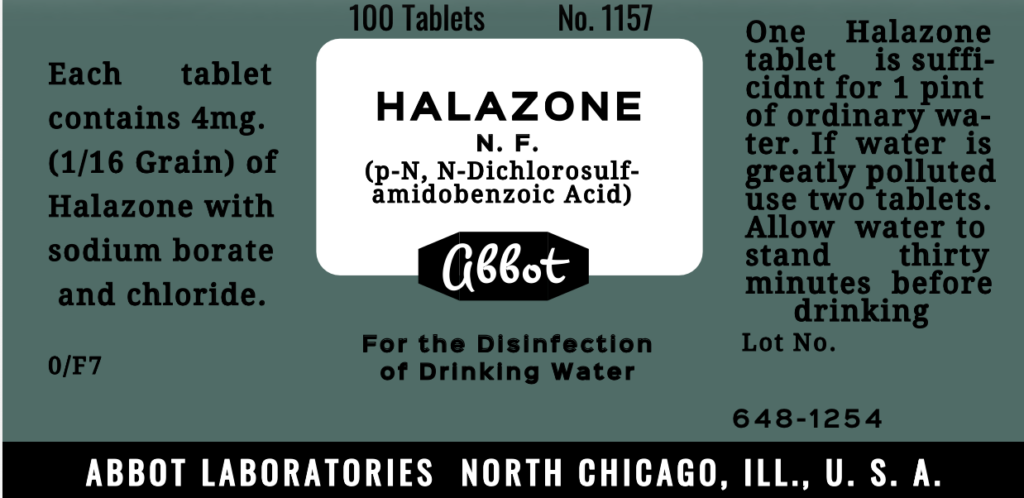
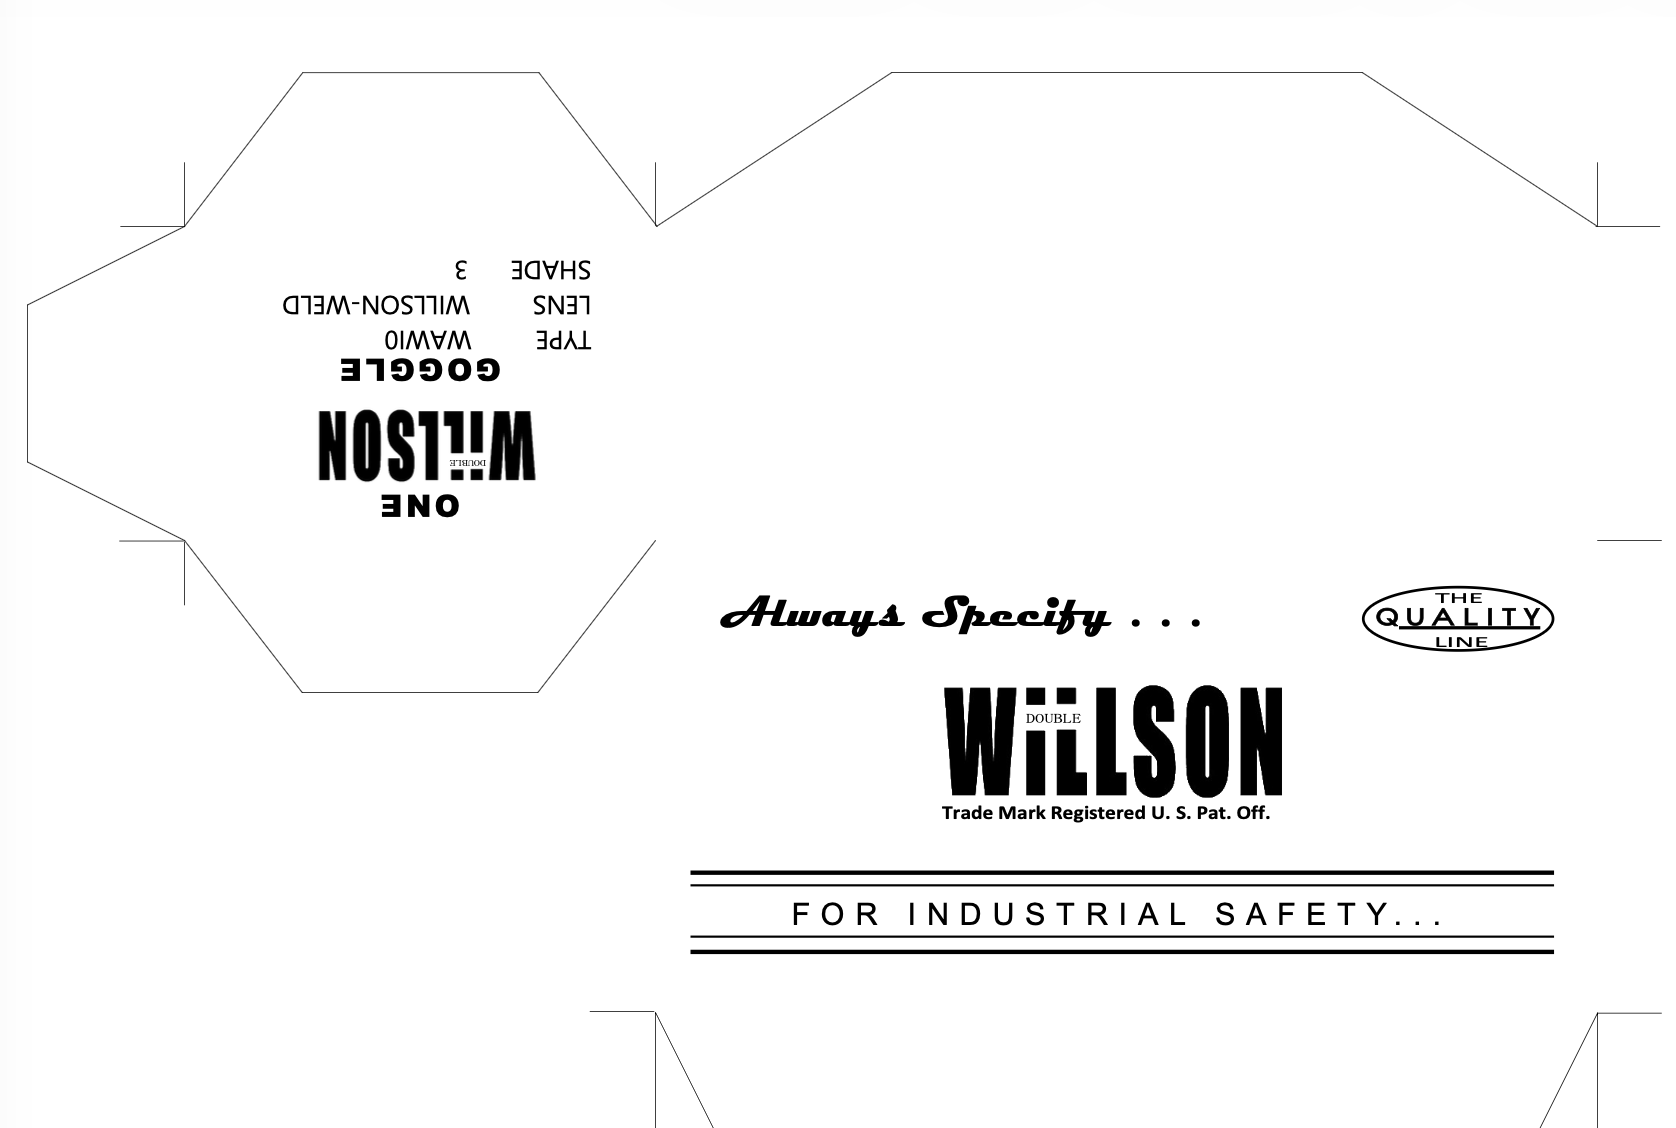
This page will outline food box and label printables associated primarily with the US Army or the home front. Other countries are listed if I have a box or label for them.
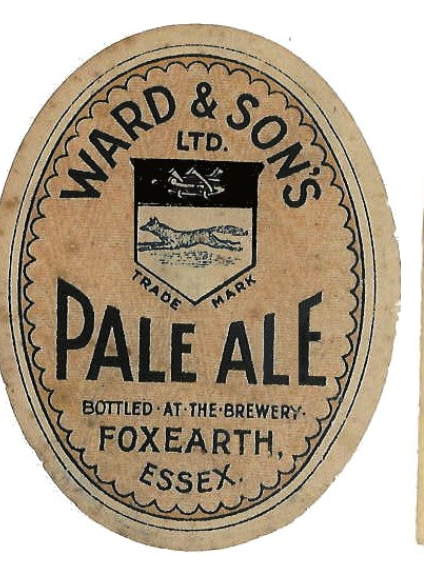
Vat 69 Blended Scotch Whisky – A curved whiskey label to print off on standard 8.5 x 11 printer paper. Then, glue the label to the Whiskey bottle. I’m not sure what kind of glue is needed, but you’ll likely need an original VAT69 bottle. Attributed to ChrisNZ.
For the stopper and the wax seal stamp, you can 3D print them using this guide. Use black for the stopper and red wax.
The bottles are green in color, and you can pick them up at various places online, like eBay.com or Etsy.com, etc. Google Images is a good place to start to see what’s available, as well as the old advertisements, to see where the label parts get placed. For a short history of Vat 69, see A History of VAT 69.
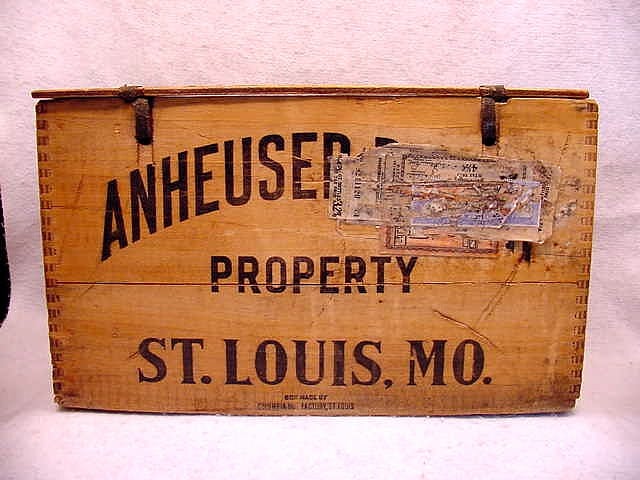
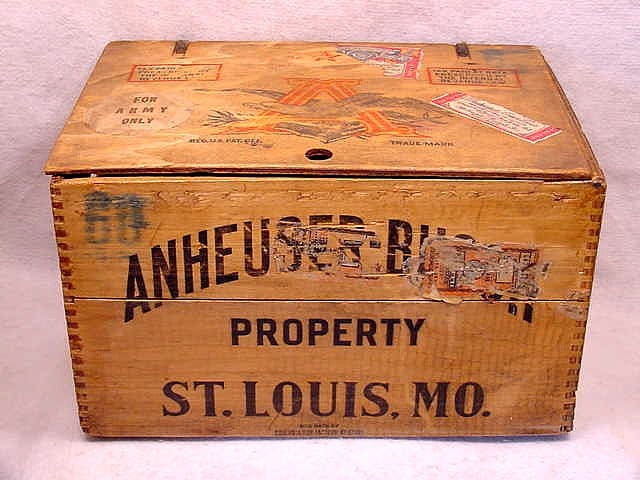
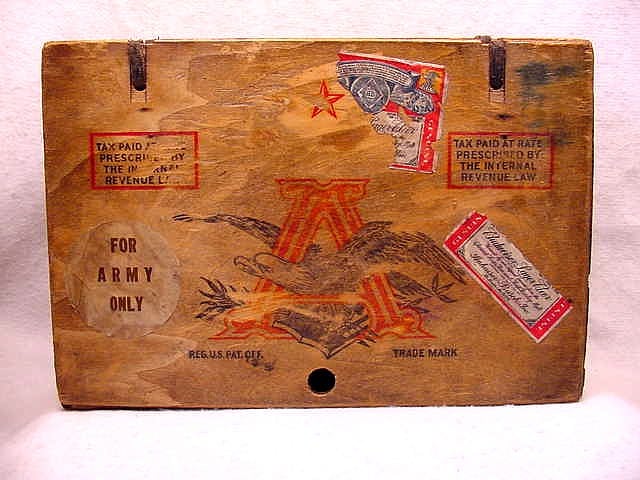
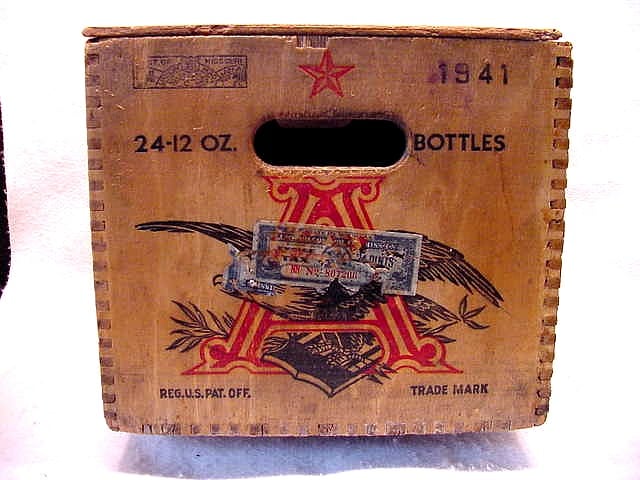
Anheuser – Busch Budweiser Longneck Deer Crate – 1941 World War II US Army dovetailed wood shipping crate for beer. It measures approximately 10 ” in height, 17″ wide, and 11″ in depth.
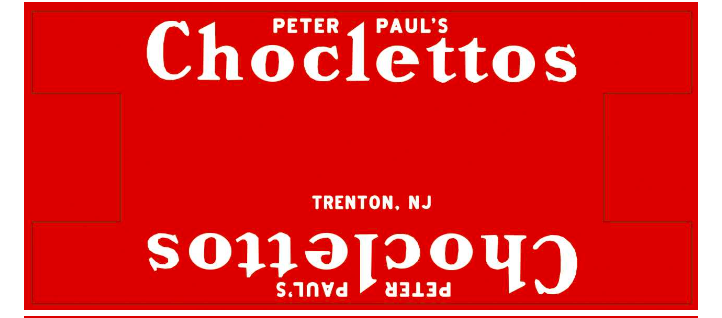
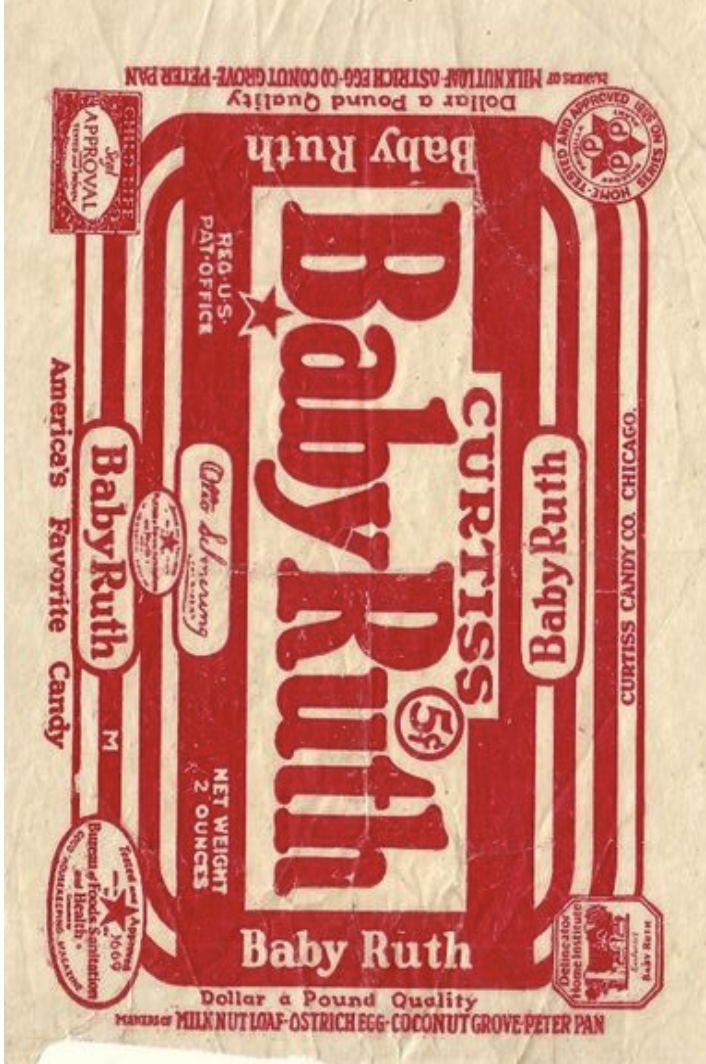
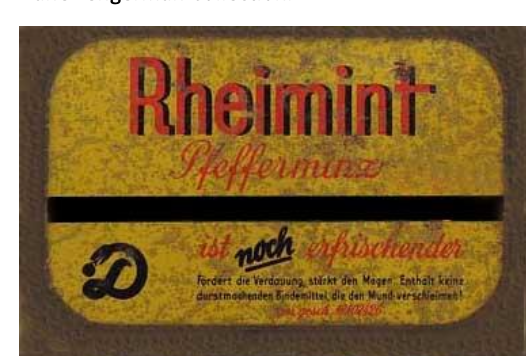
Peter Paul Choclettos – For use in K-rations or 10-in-1 rations. Though unsure how they appeared with this label. K-ration Info here has some, but they appeared in a tray format and not individually wrapped with a label.
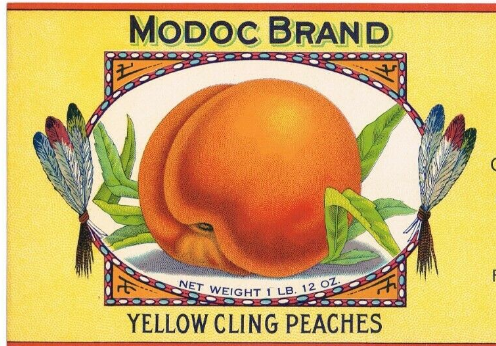
Modoc Brand Yellow Cling Peaches – unsure if this brand shipped peaches overseas in cans, but the brand is highly collectible and was around during WW2, producing peaches.
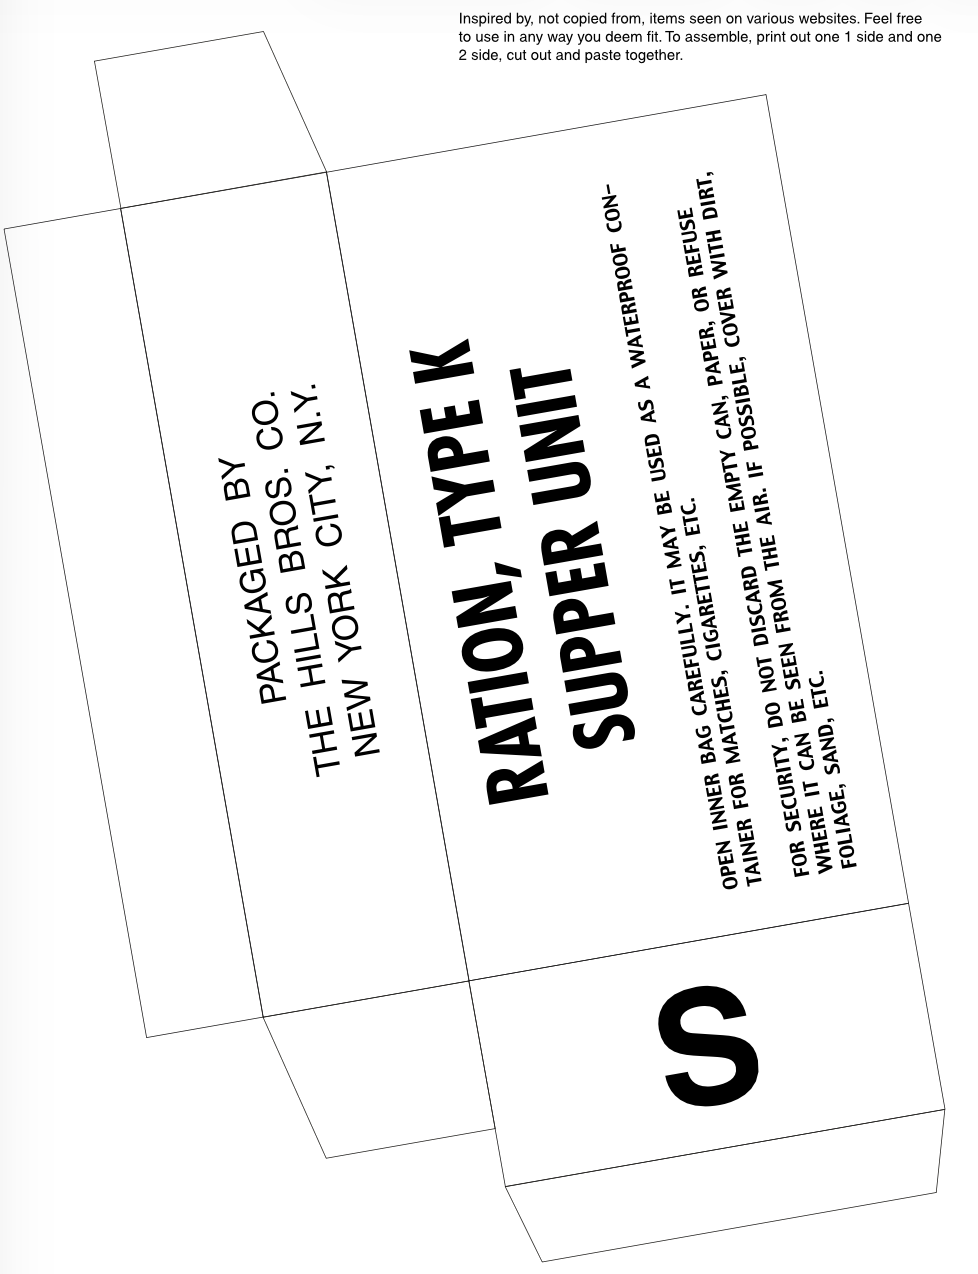
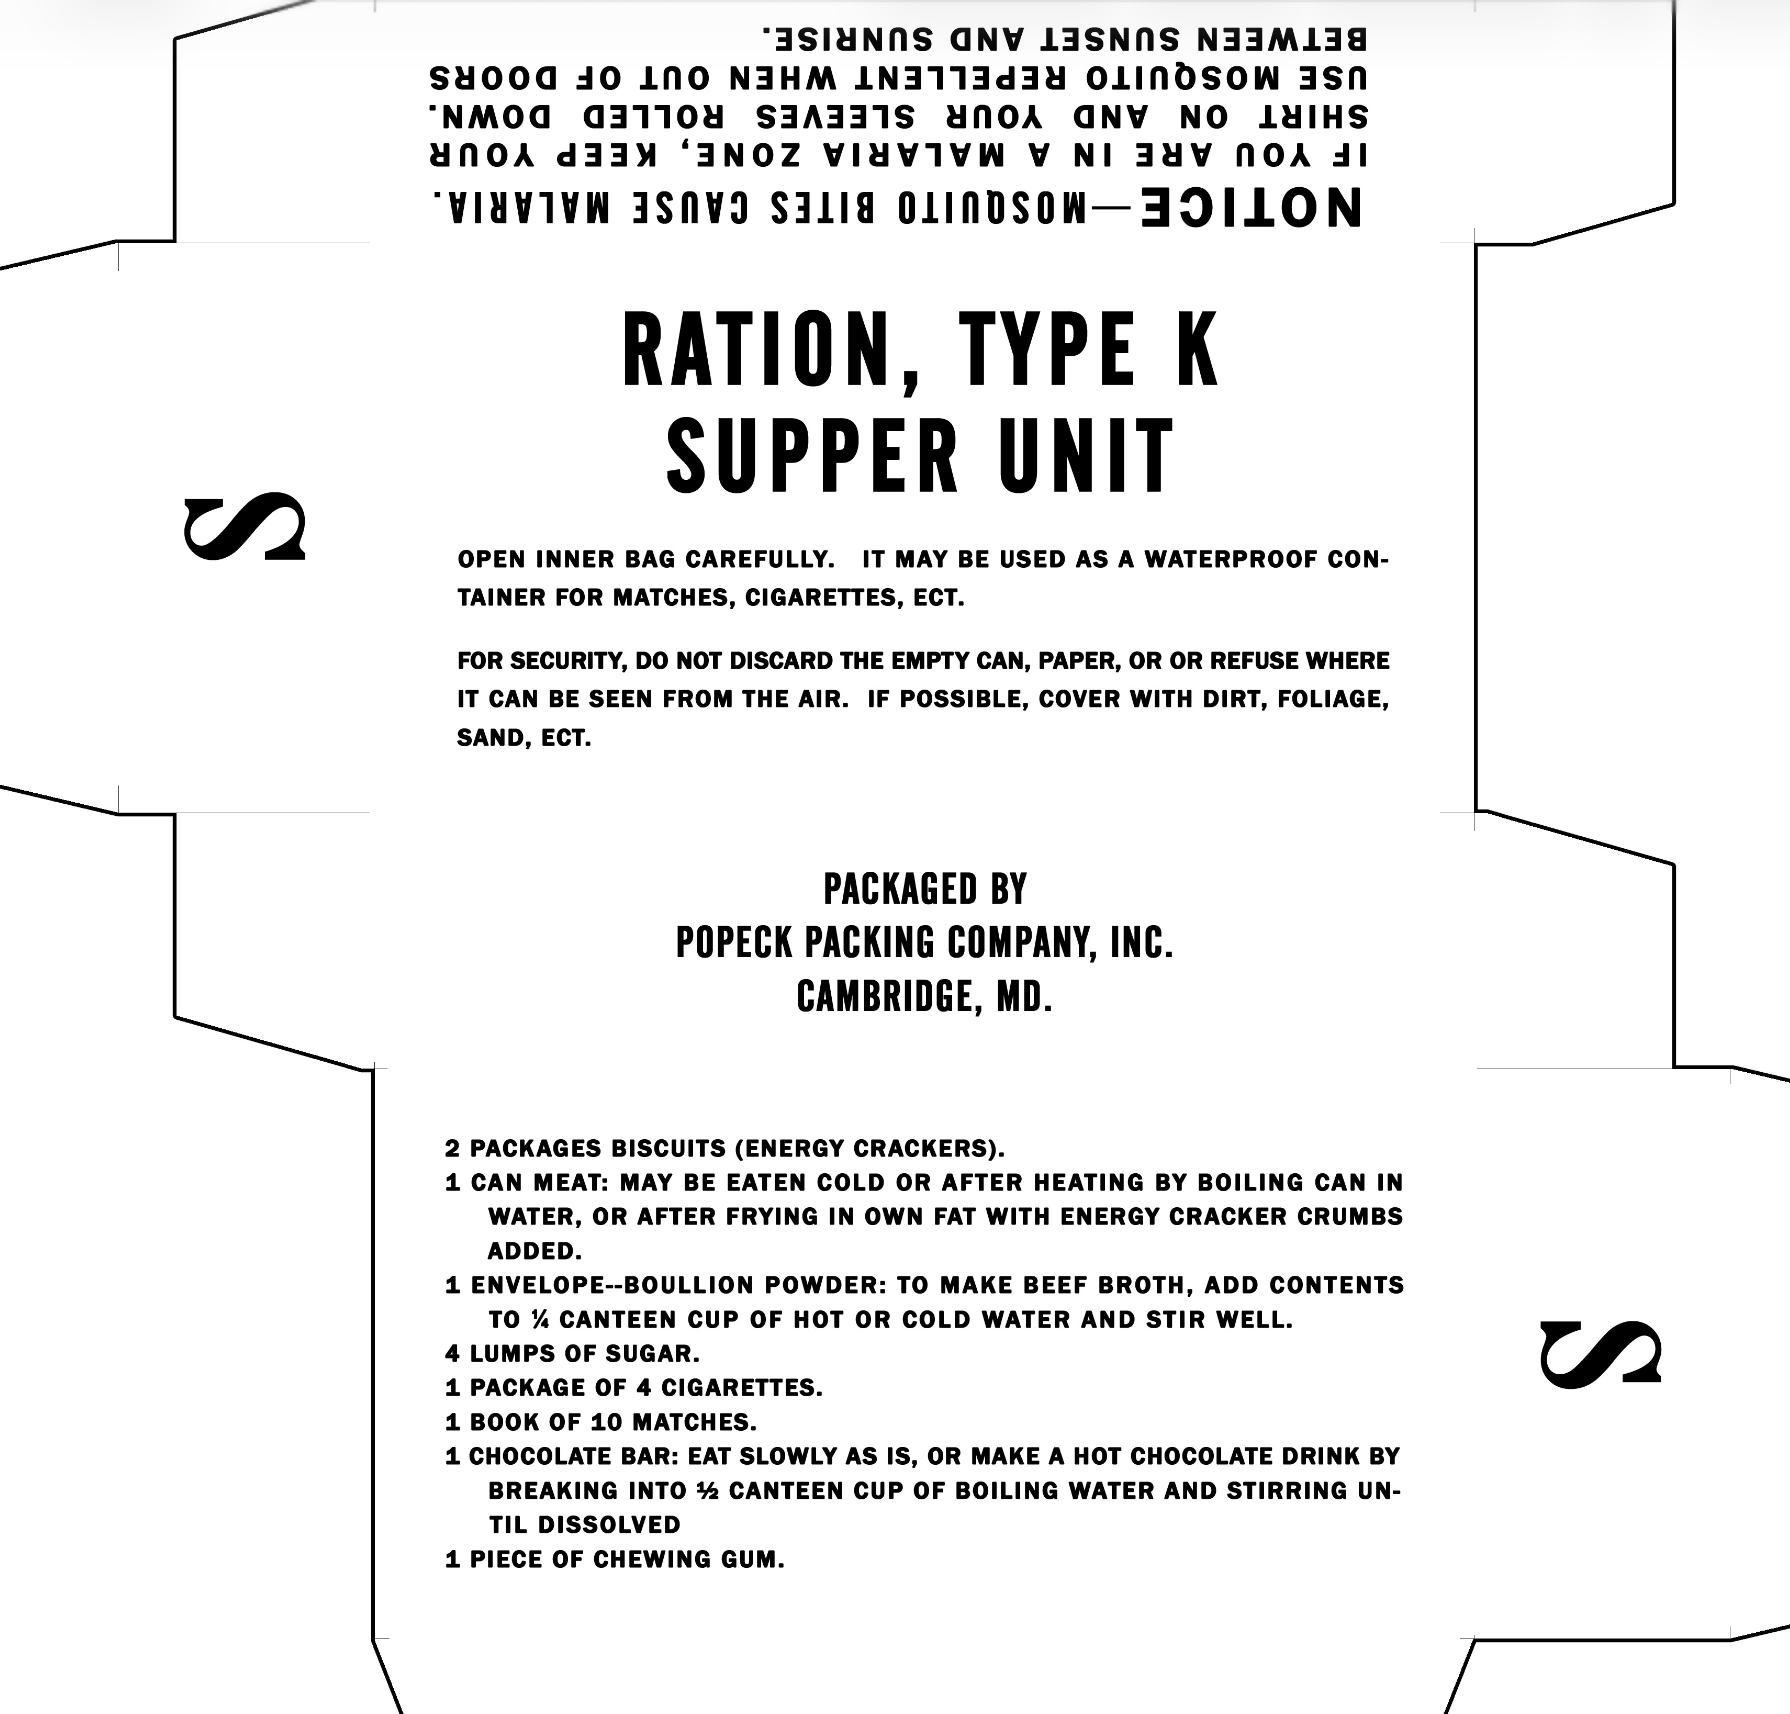
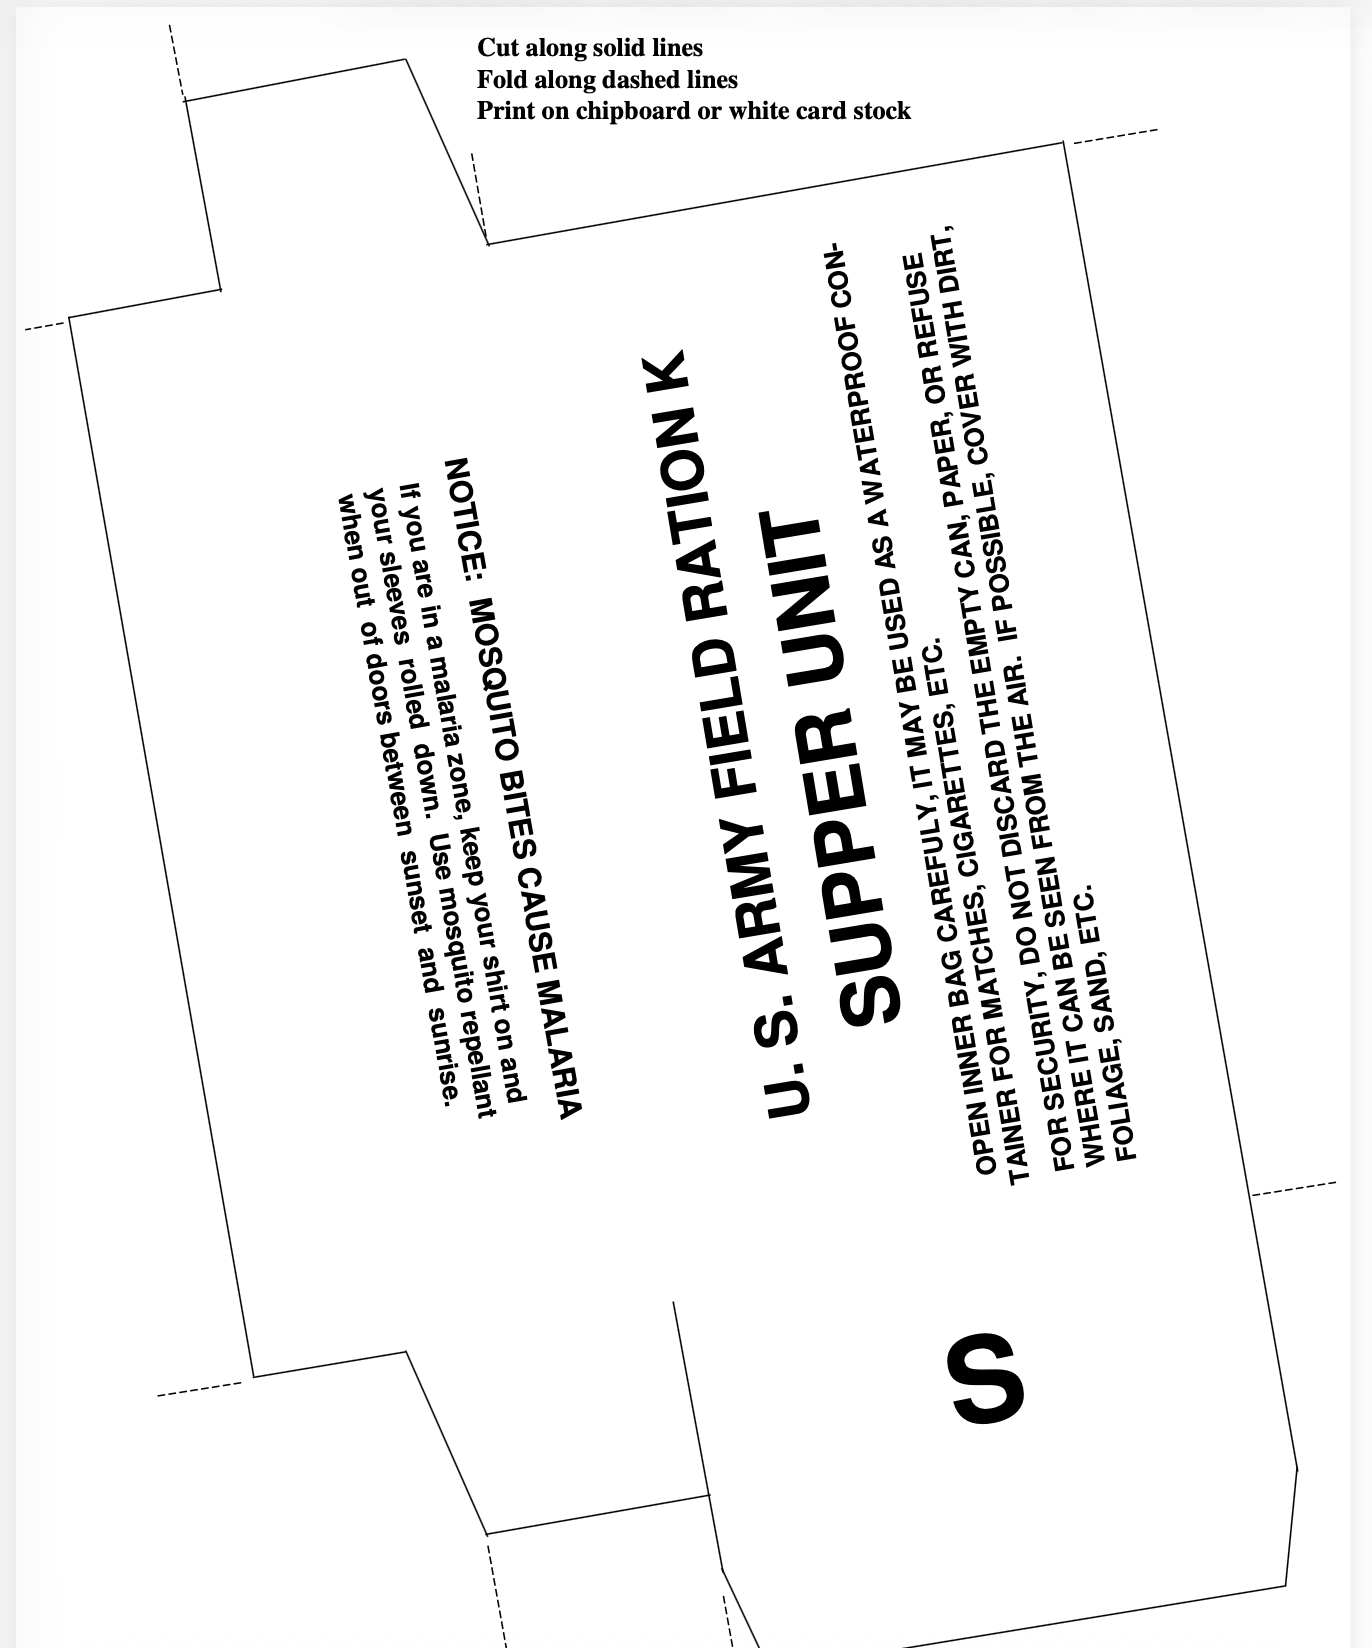
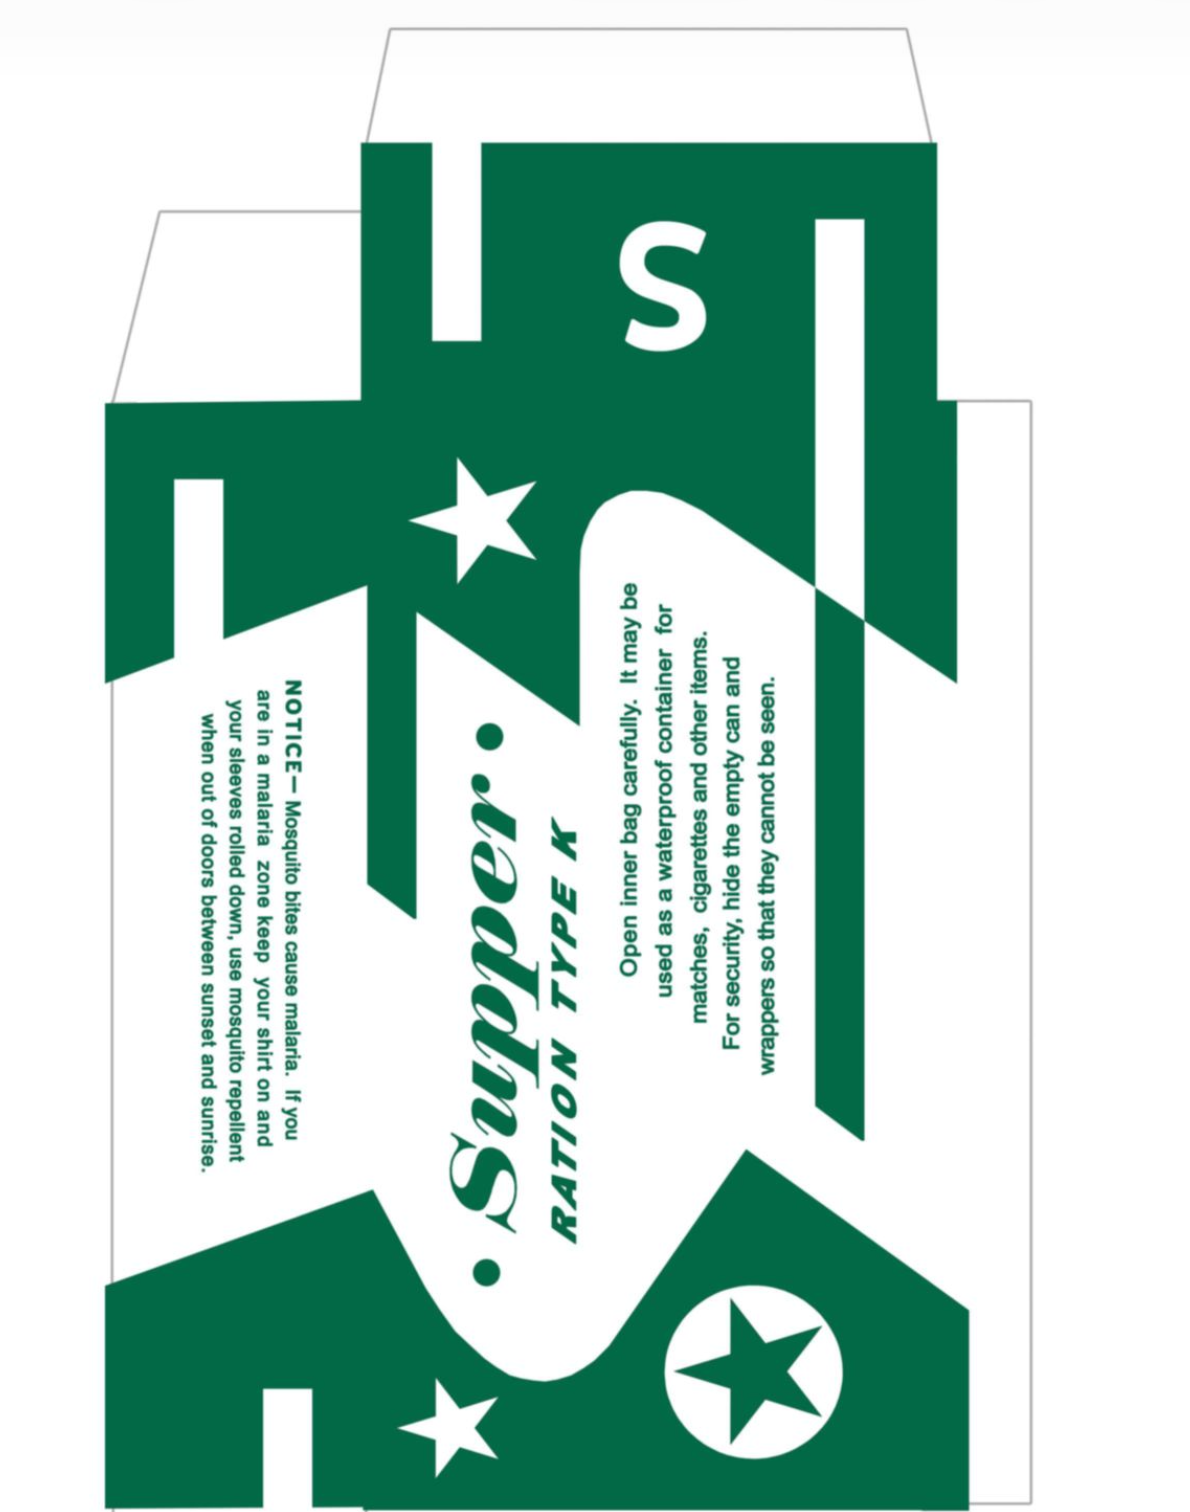
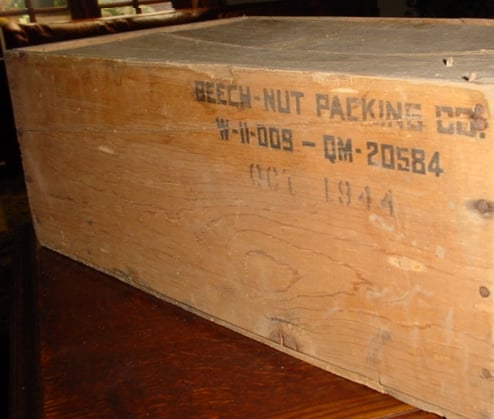
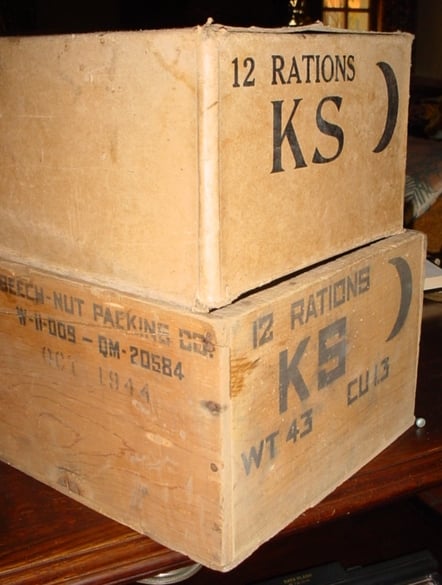
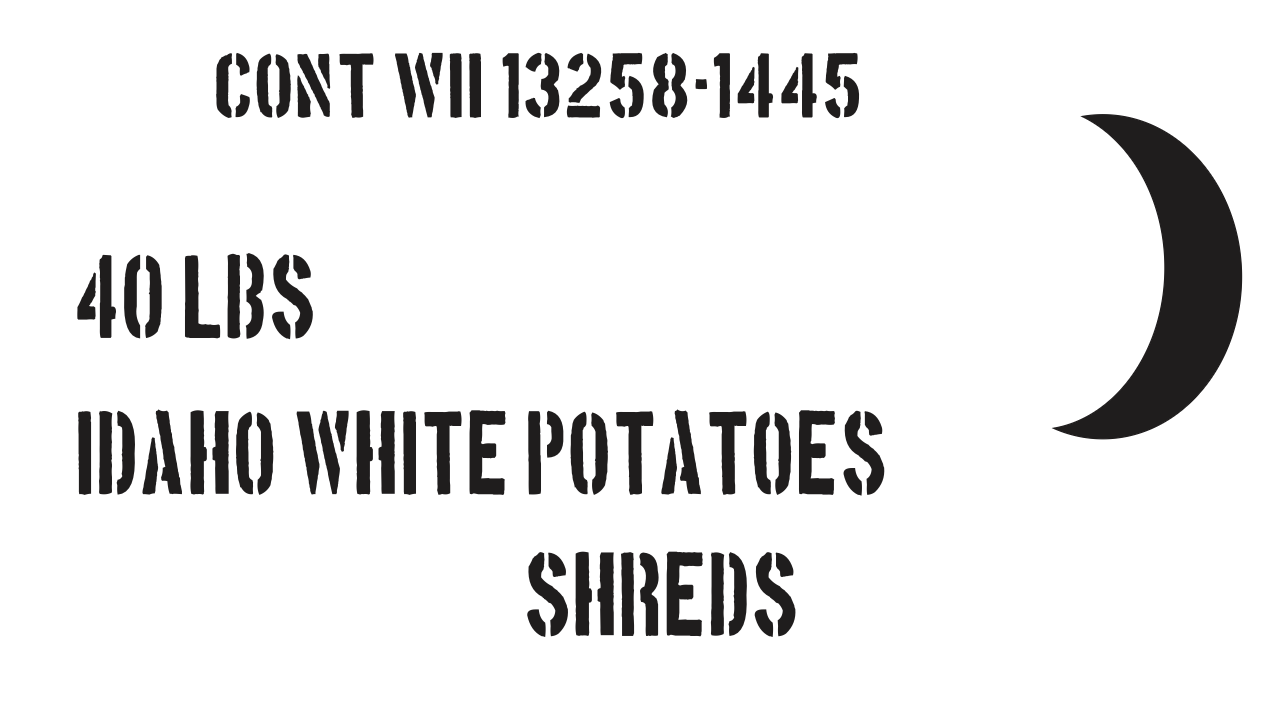
K Ration Outer Carton Early War – This is the outer carton only and is the early non-morale version. Print on brown cardstock. Includes Supper, Dinner, and Breakfast.
K-Ration Morale Version – This is the morale version for Breakfast, Dinner, and Supper. It is the outer carton only. Print on cream or white cardstock. It’s considered to be the late-war version.
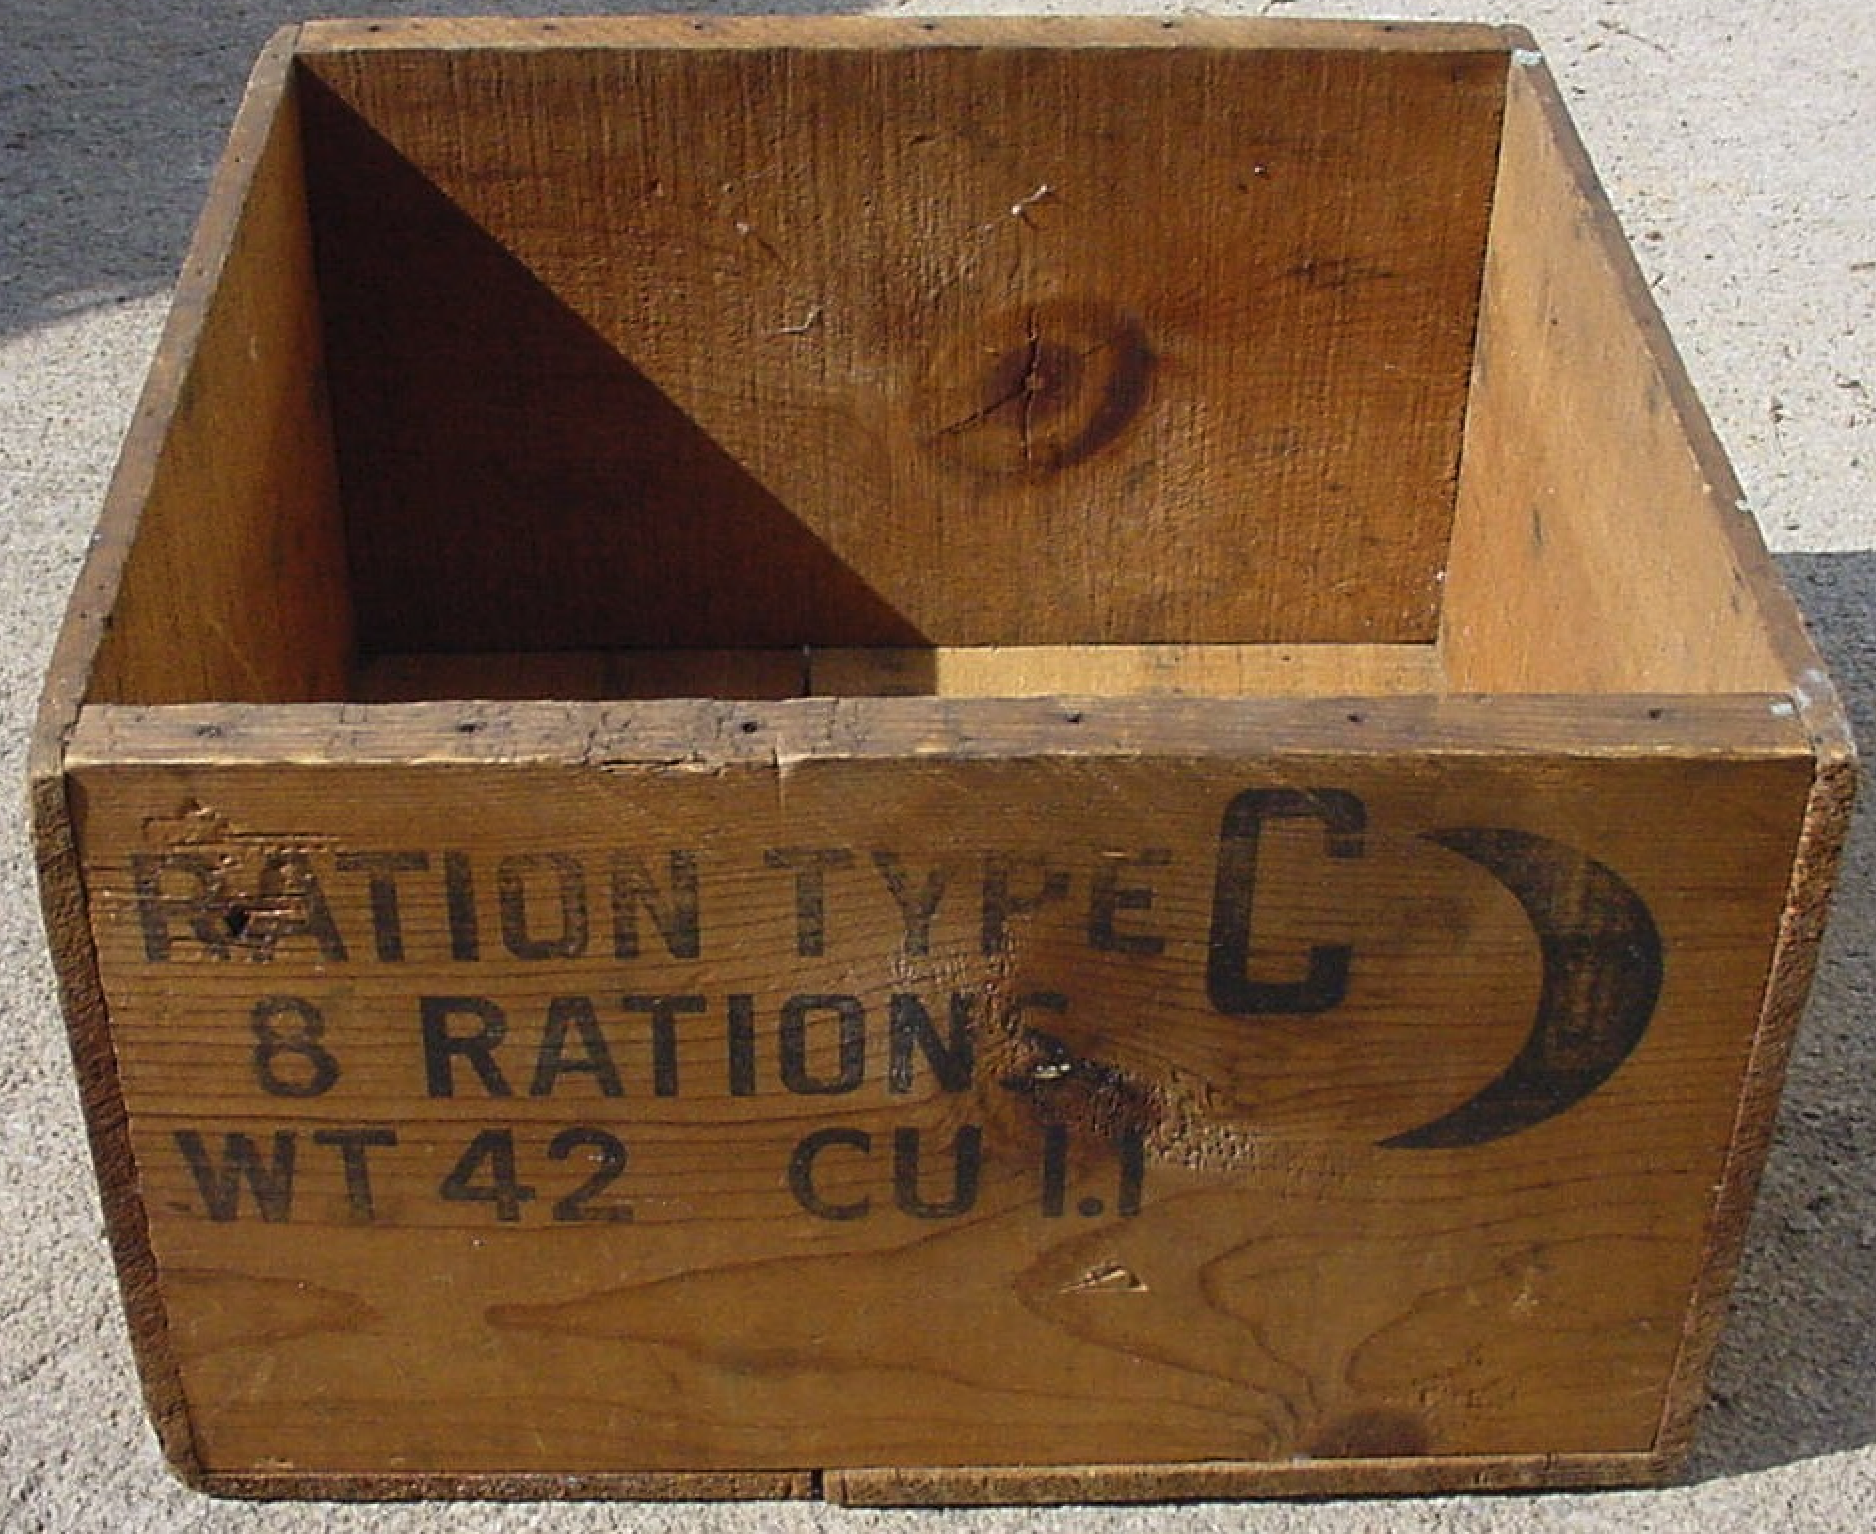
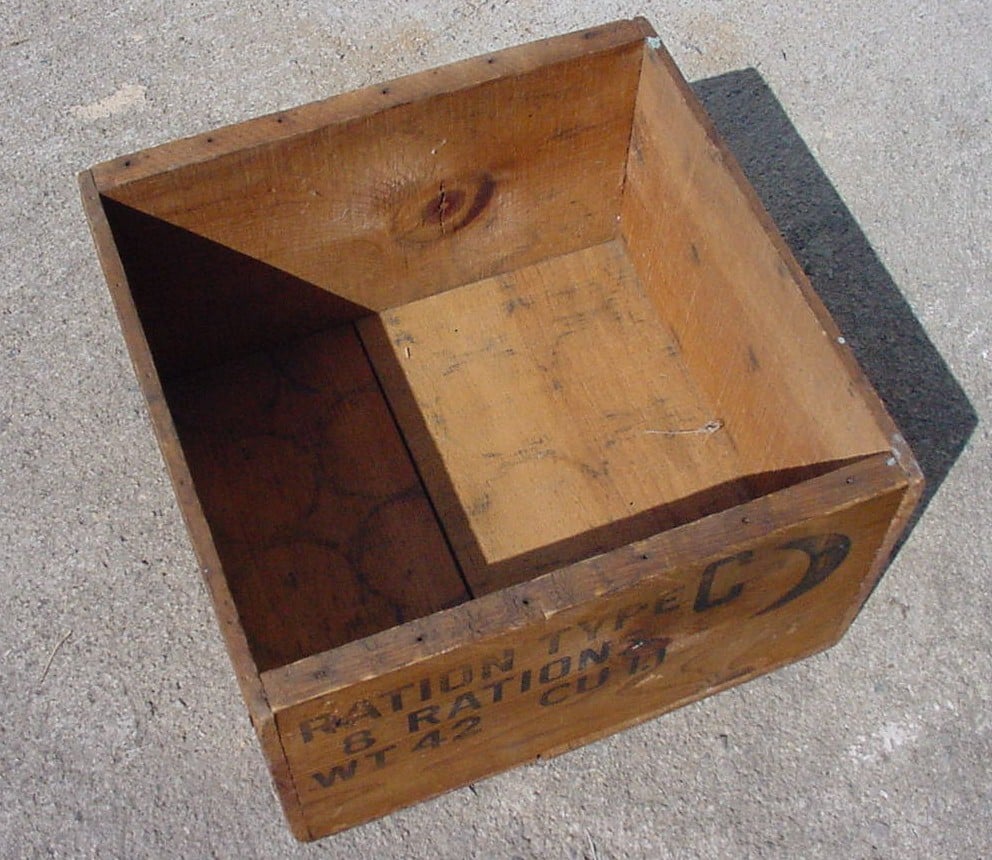
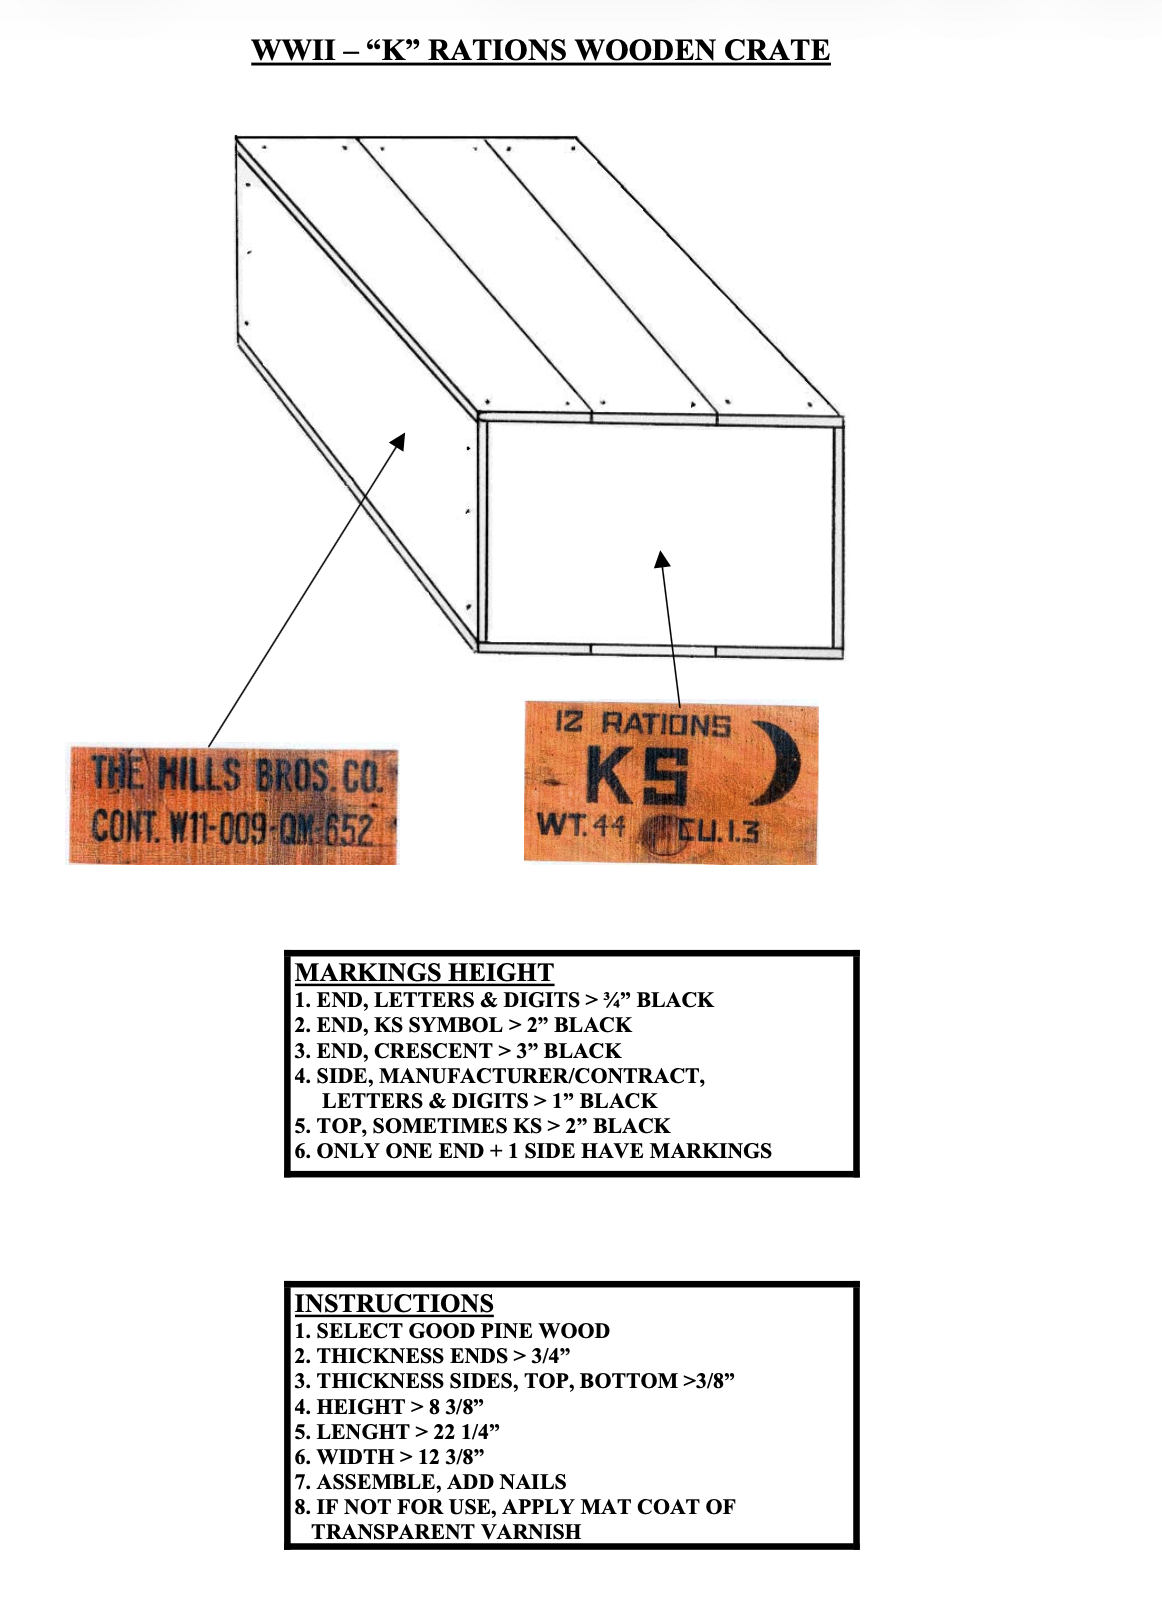
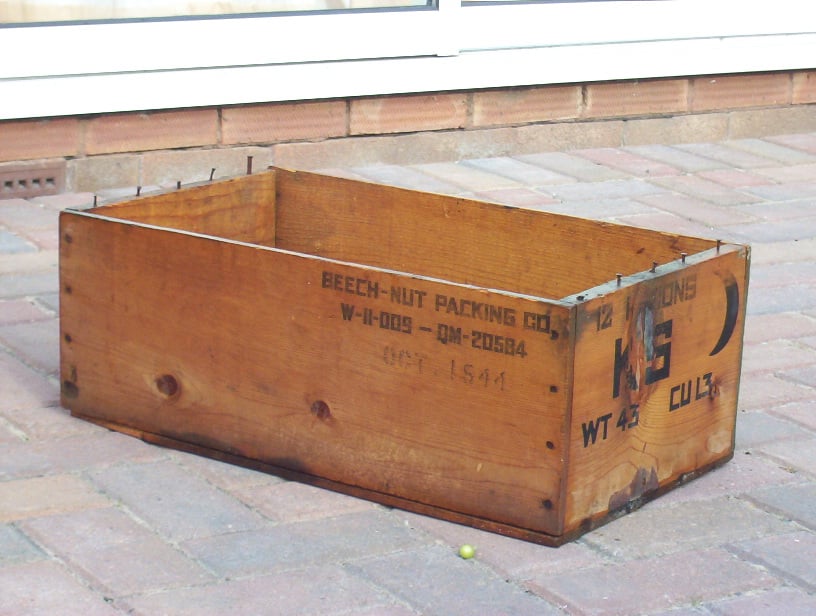
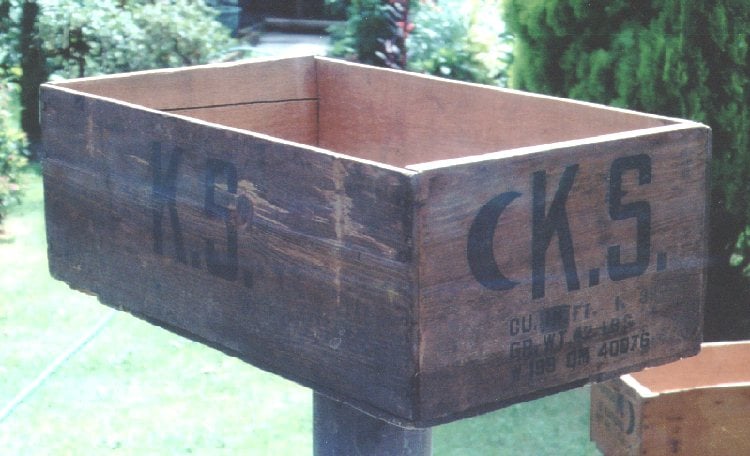
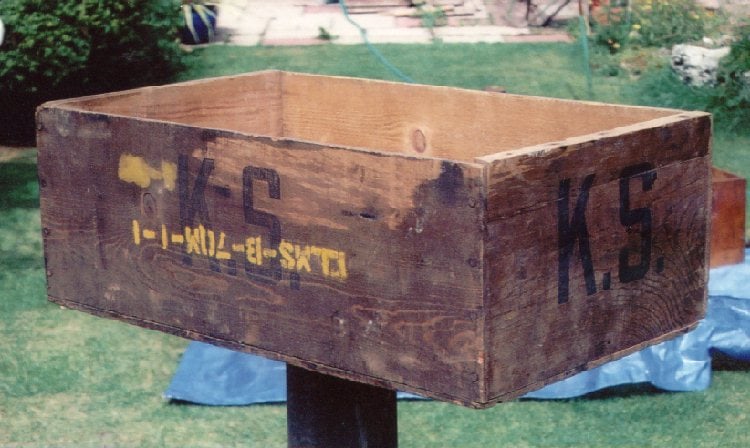
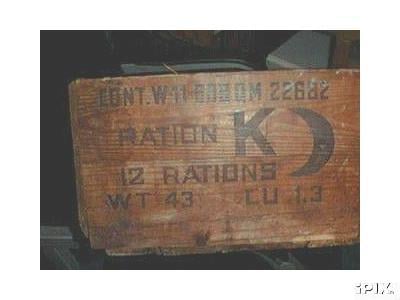
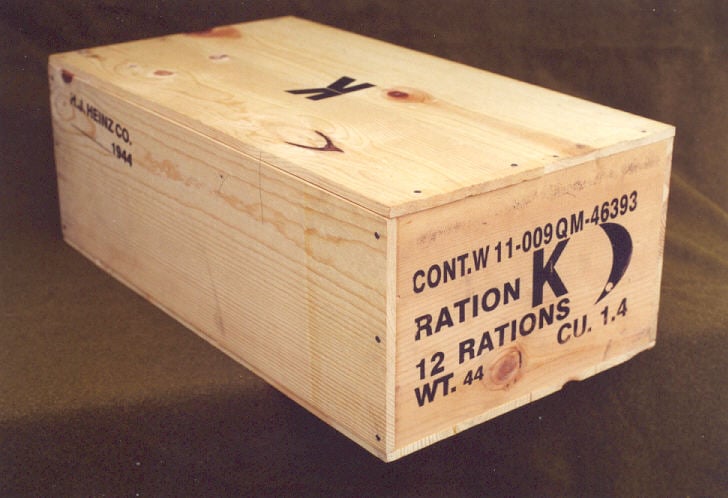
Note: that the size of the cardboard box is 22 X 12 X 8. (round up). The wood crate measures 7.75″ tall, 12.25″ wide, and 22″ long. This differs from the instructions, which mention a different size. Arguably, different manufacturers likely had slight tolerances in production.
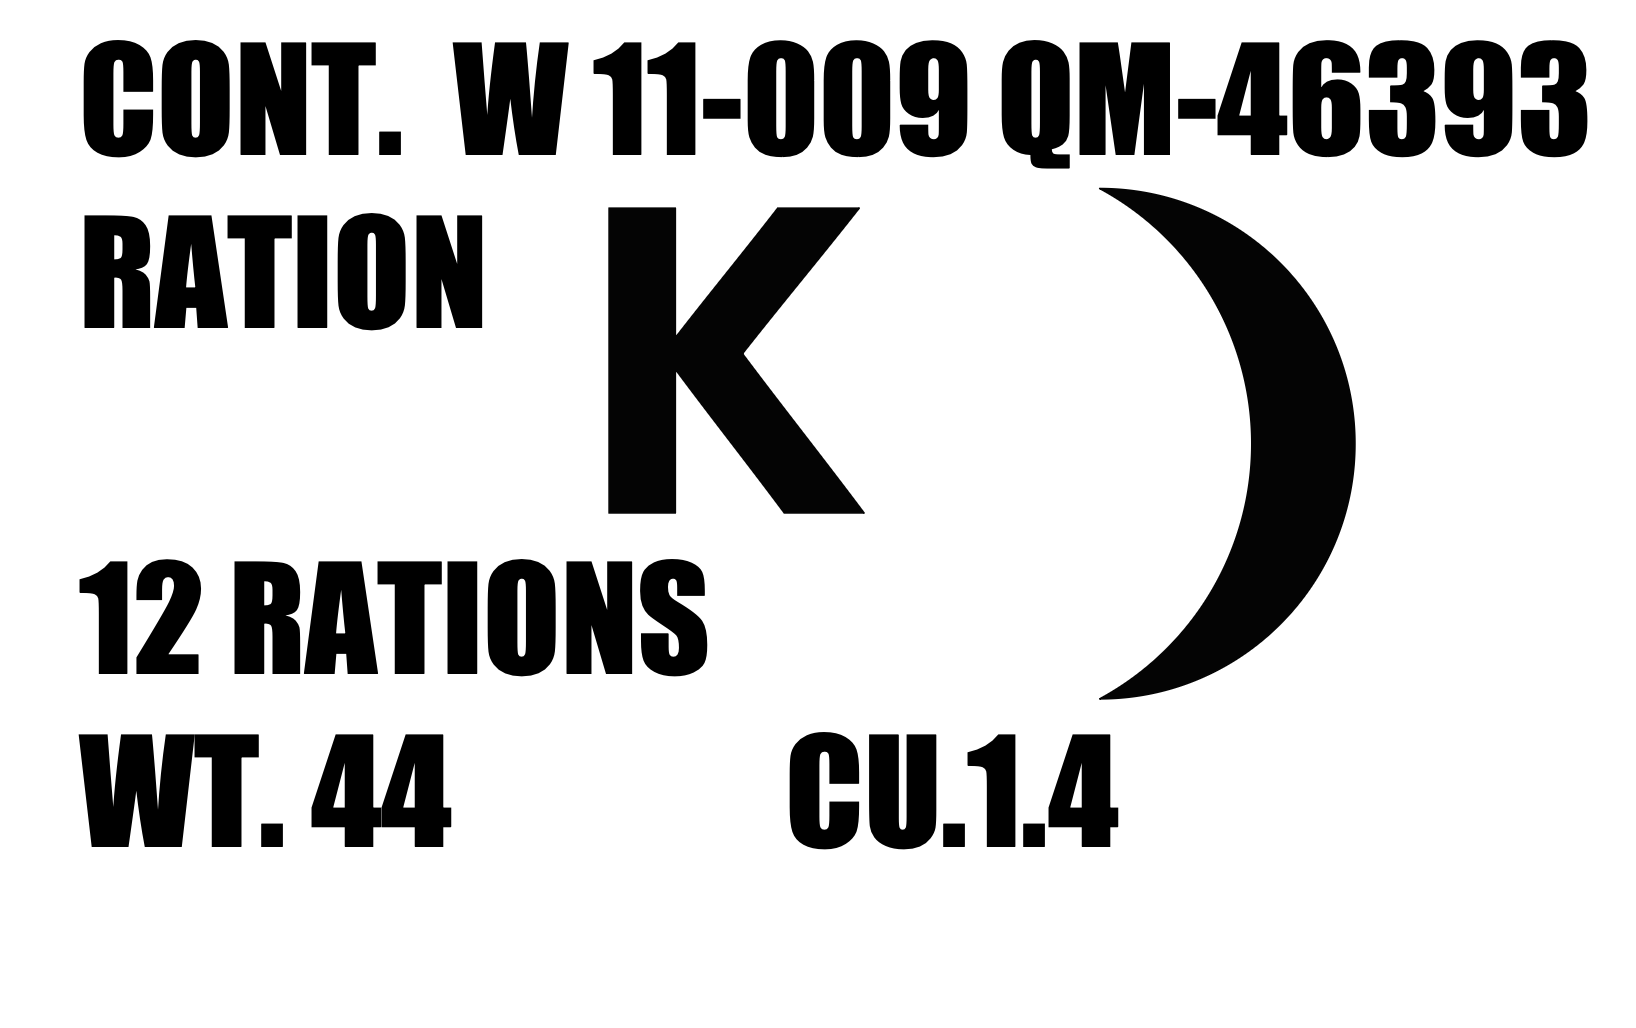
K-ration Cardboard Box Label – This is the stencil that goes on the cardboard box that fits inside the K-ration crate. Inside this cardboard box fit the individual K-ration rations.
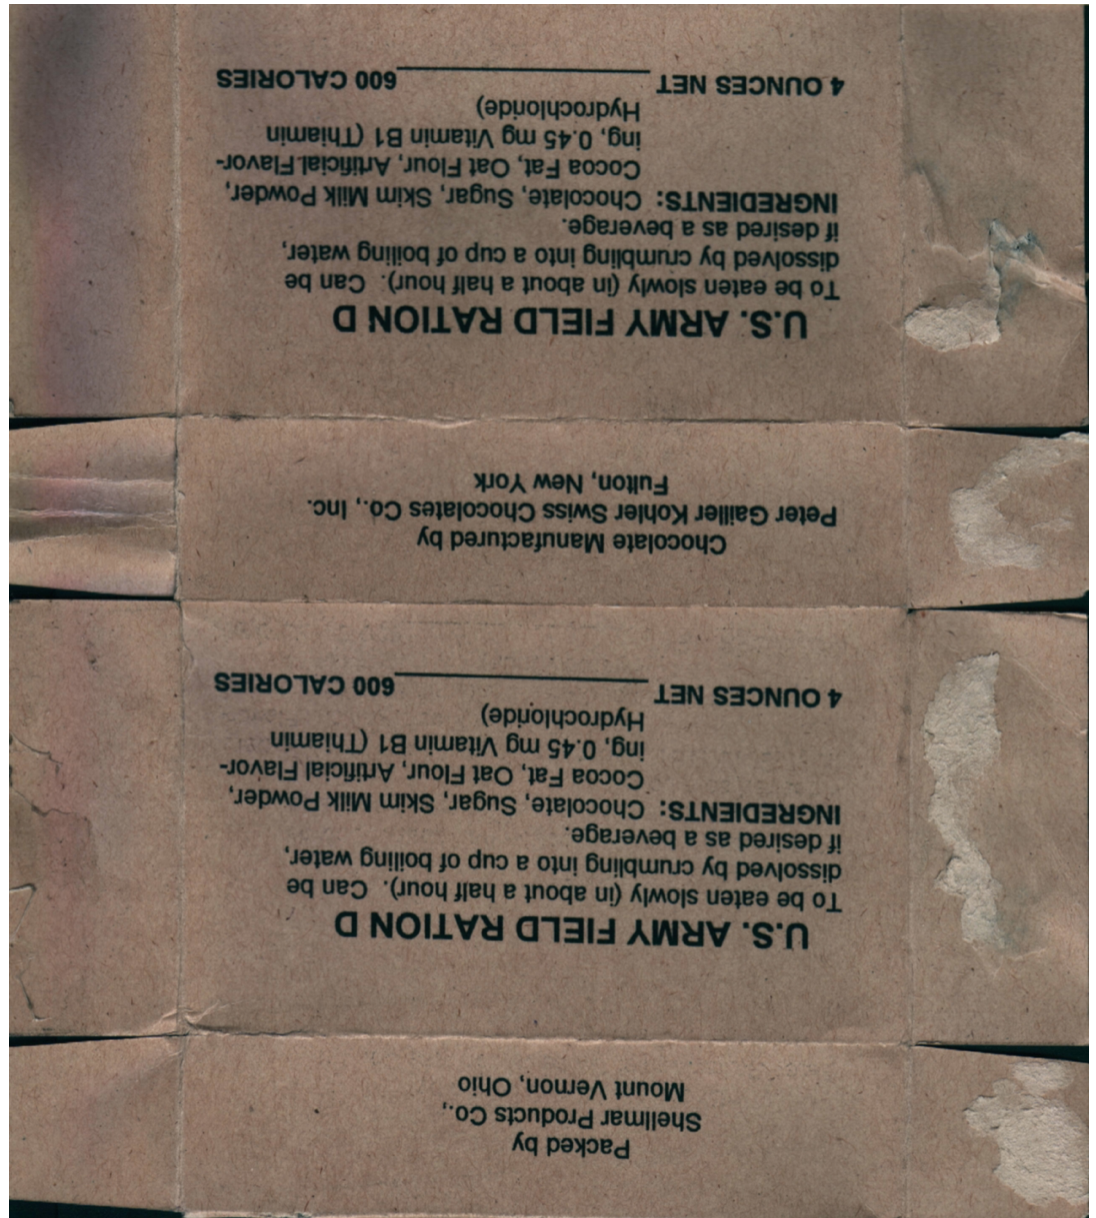
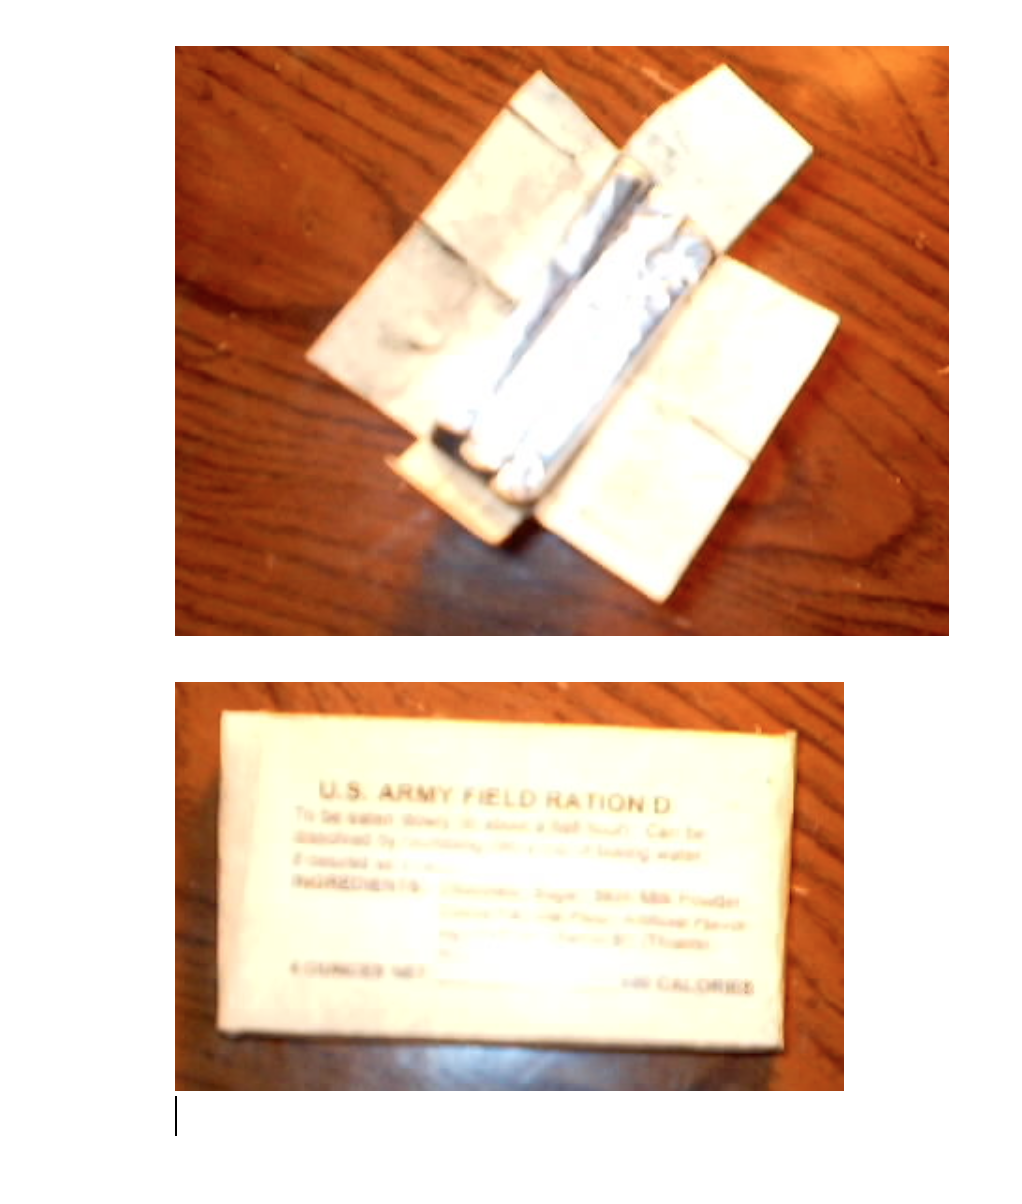
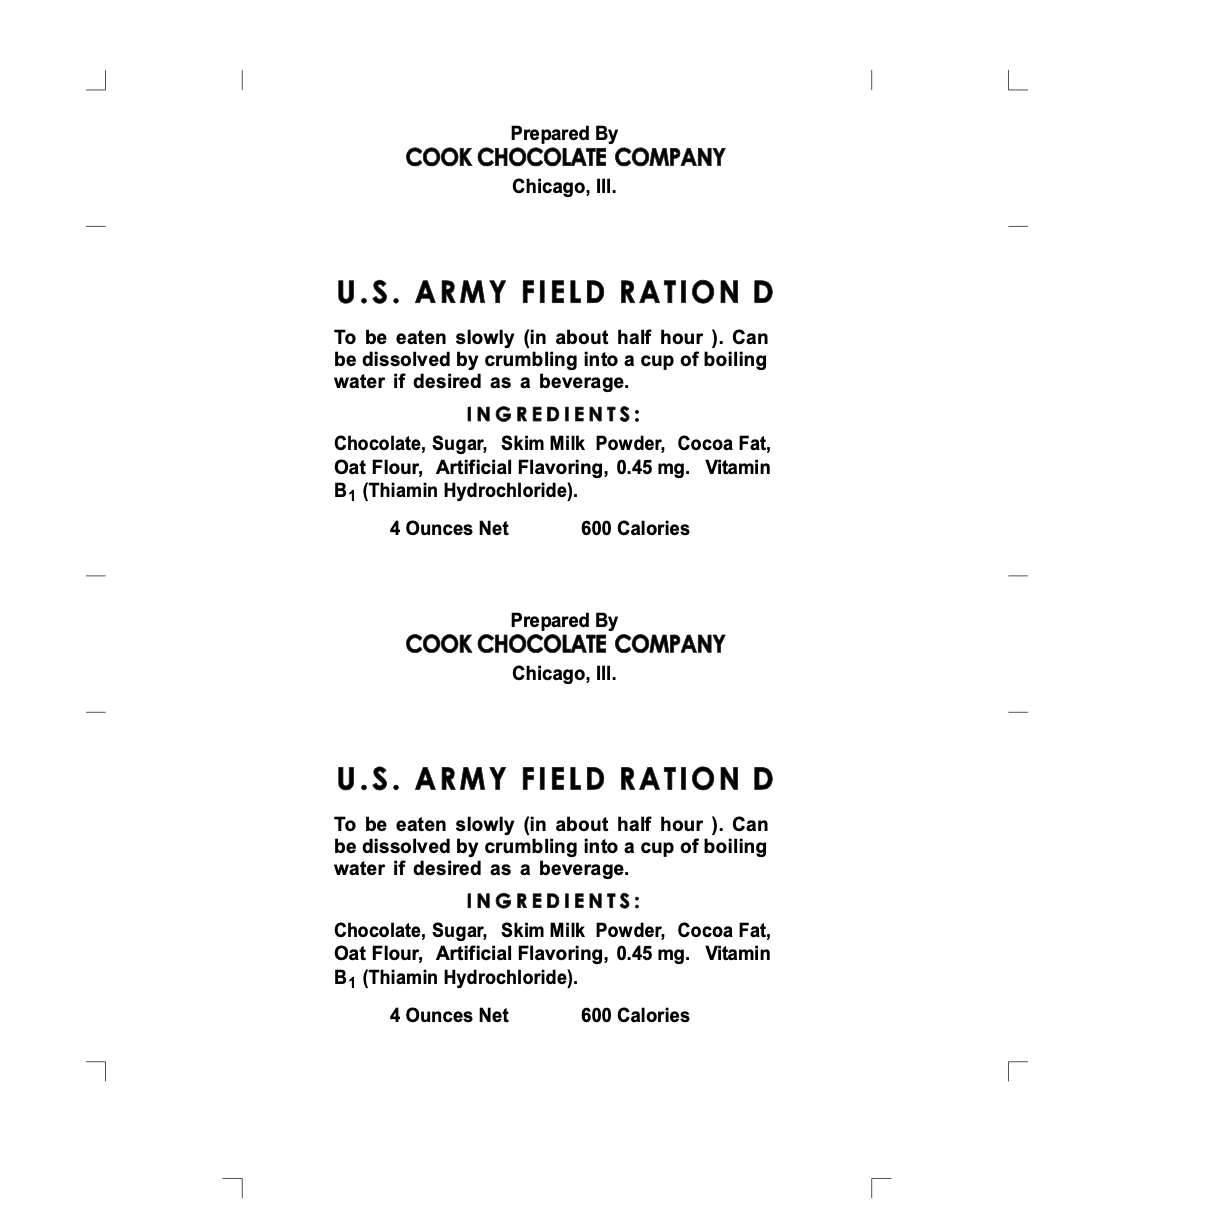
Poor Man’s D-Ration Label and Edited D-Ration Label: When I first started WW2 reenacting back in the late 1990s, there wasn’t much way to get the authentic rations. This was a broke kid’s attempt to make a D-ration.
Essentially, print off the wrapper on brown cardstock. You may need to adjust tones (half-tone seemed to work in the past).
Trim, cut, and fold it. Use a few dabs of Elmer’s school glue to glue the sides together.
In the past, I used Hershey bars as the D-Ration, which is just ridiculous. These days, I might either make the D-ration myself or buy some protein bars, wrap them in wax paper, and stick them inside.
Once you have your ration inside, use a few glue dots to close the lid. That way, you can re-open it without damaging it and continue to reuse the box.
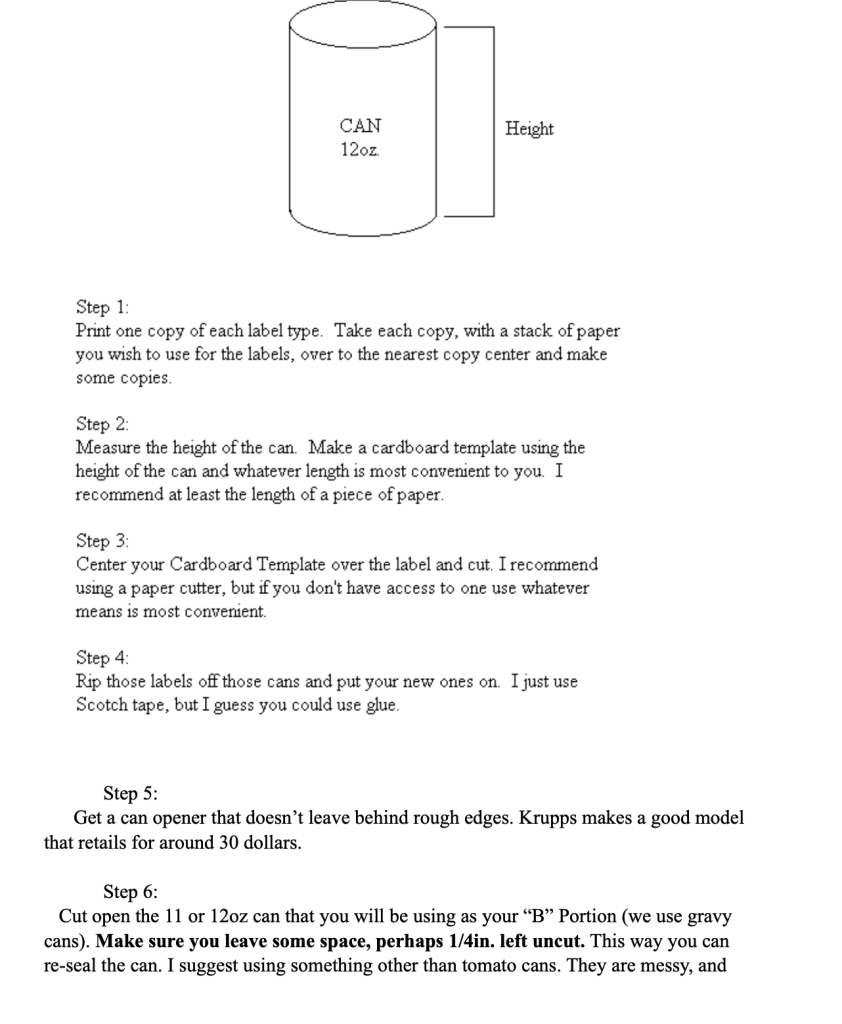
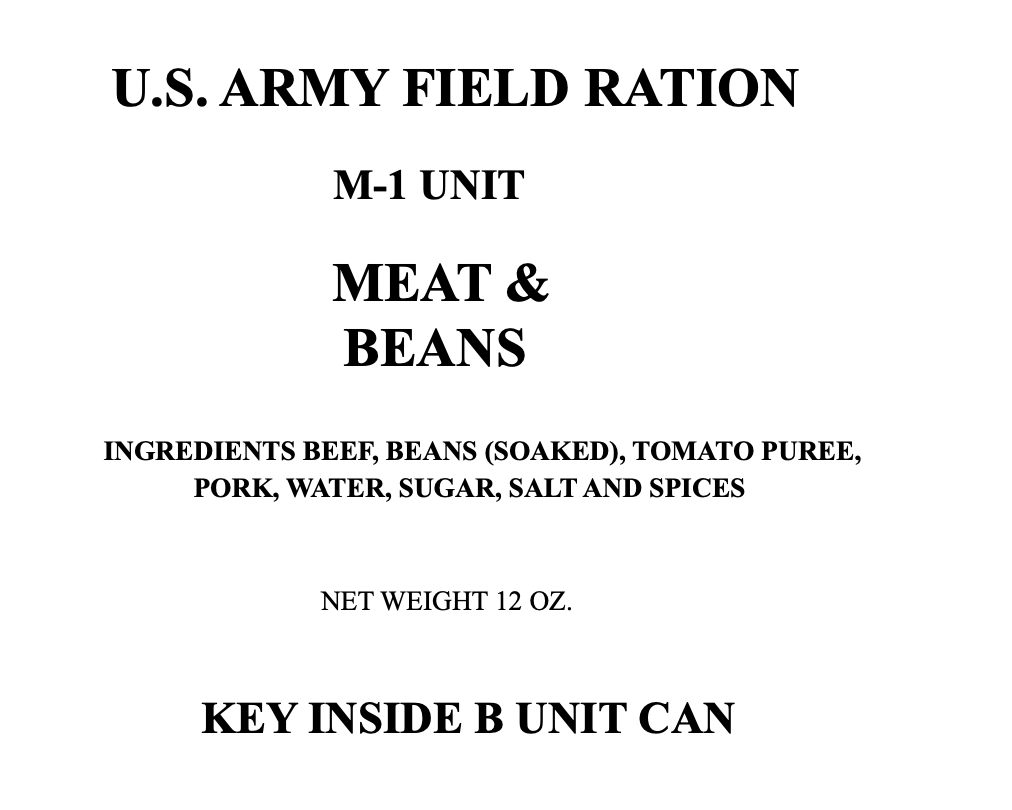
Poor Man’s C-Rations: When I first started WW2 reenacting back in the late 1990s, there wasn’t much way to get the authentic rations.
The unit I was with, 88th Infantry Division, 350th RCT, came up with a poor man’s way to make rations. We were all poor high school and college kids trying to make it work.
Essentially, buy two 12-oz cans. One can, the “M” unit, would be an off-the-shelf Pork n’ Beans. The other one, the “B” unit, would be a cheap 12-oz can. You then take a can opener that doesn’t leave rough edges and cut the top till you have about a fingertip left. The idea is that you could open and close the can and reuse it.
You then fill the “B” unit with biscuits (wrapped in wax paper), 3-5 caramels, a few sugar packets, and travel-size instant coffee.
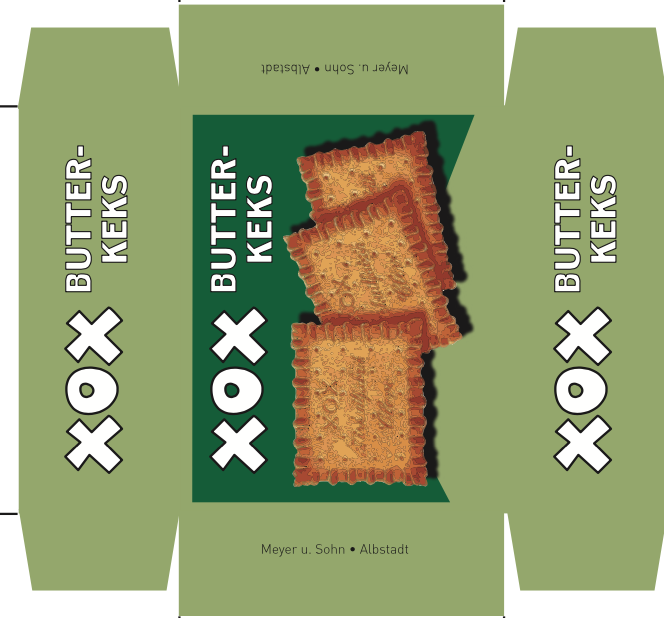
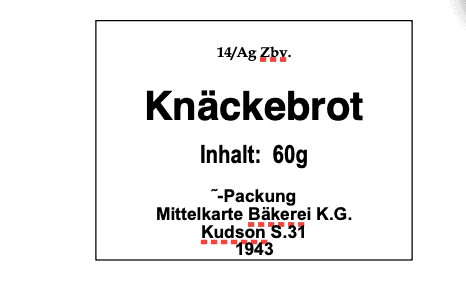
Butter-Keks are a brand of crackers. Wikipedia goes into more detail on the brand’s history. Looks like you can print it on cardstock. I’m unsure how many crackers go into the box. I would also guess the crackers would’ve been wrapped in some kind of craft or wax paper.
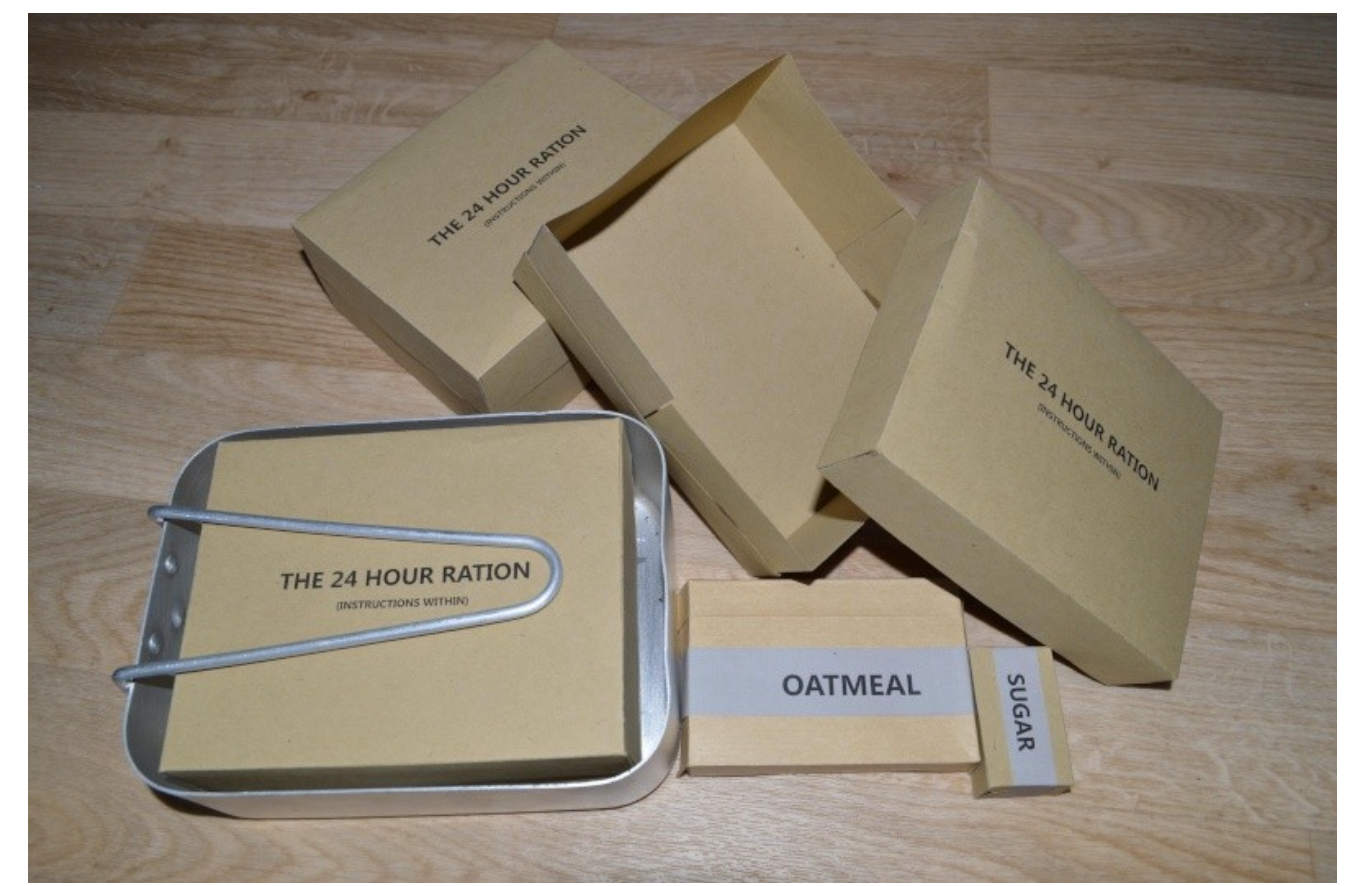
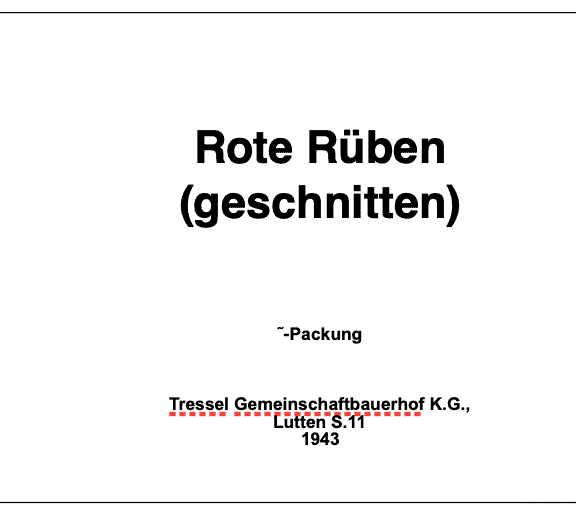
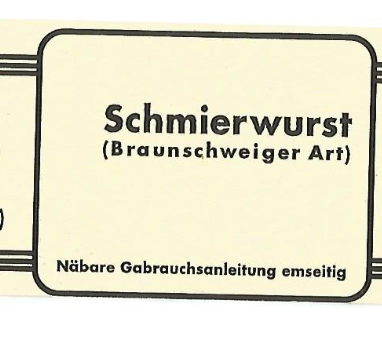
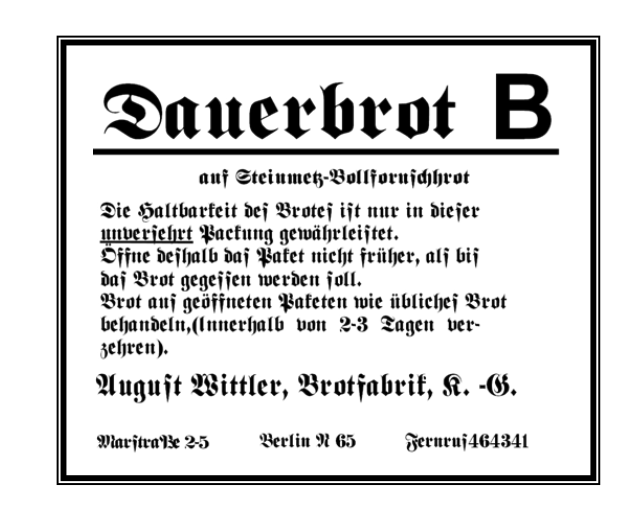
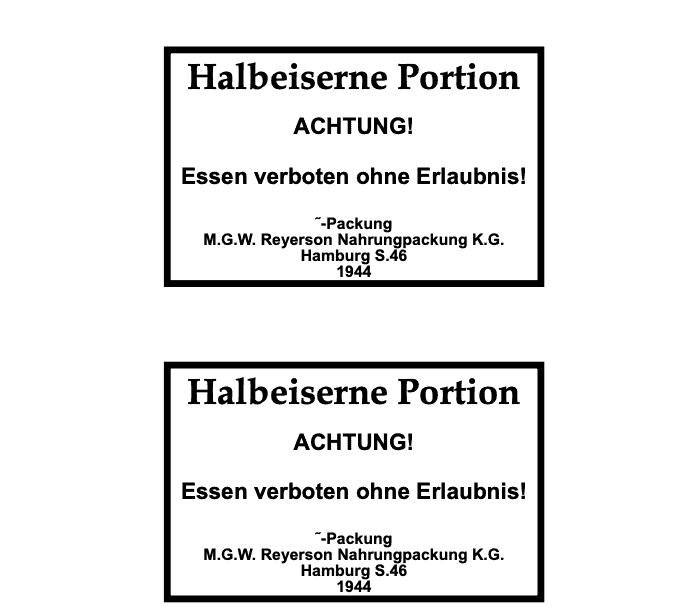
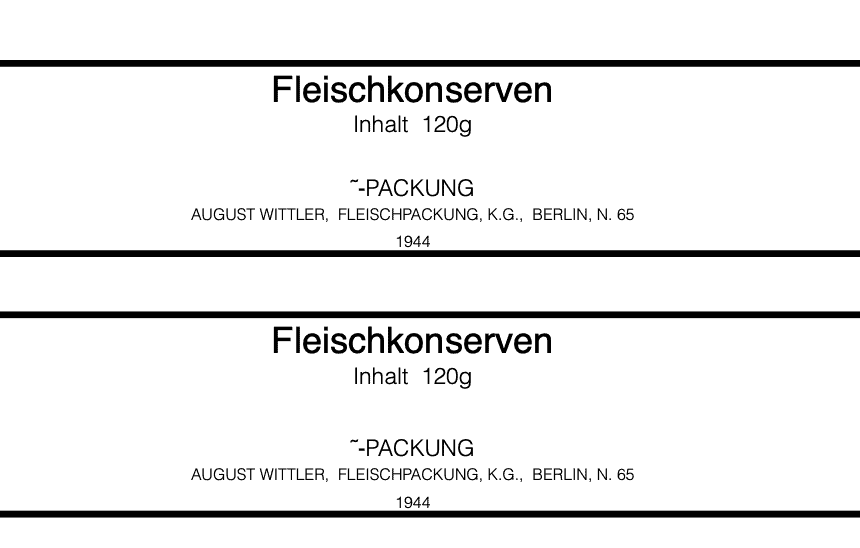
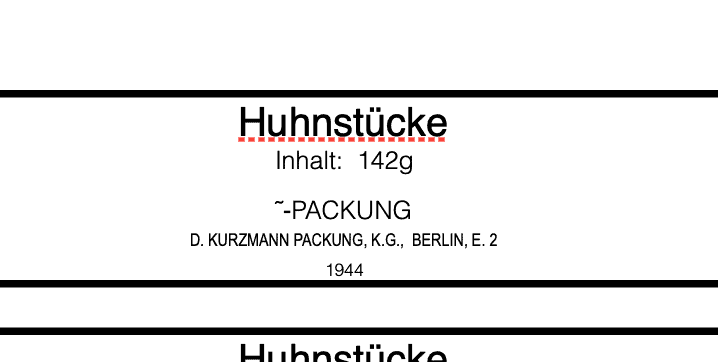
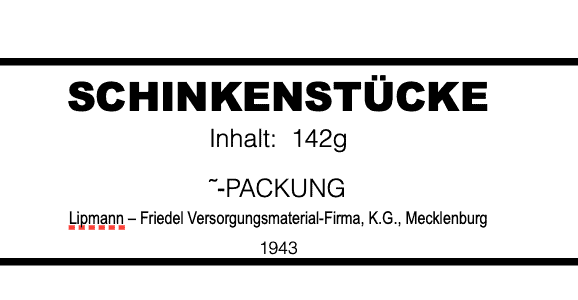
Iron Ration– This was a German ration which appeared to have a unit of bread (Hartkeks) and a unit of meat (Fleischkonserve, Rinderbraten, Truthahnstucke, Schinkenstucke, and maybe Huhnstücke, but I’m unsure). The Fleischkonserve is essentially canned mystery meat. I don’t do German, but I guess some kind of potted meat or canned tuna, etc., type can would work with that label. The Hartkeks’ label goes with some unit of hardtack/crackers. The Halbeiserne Portion label that has both on it would be placed on top. So the meat and crackers are combined in a package, and that label goes on top. I guess the label could be white or the blue and tan colors shown in the colored images.
This will be a collection of WWII-era Civilian magazines and newspapers. If you don’t see what you’re looking for, War Time Press has a selection as well. However, it appears you only get a digital file.
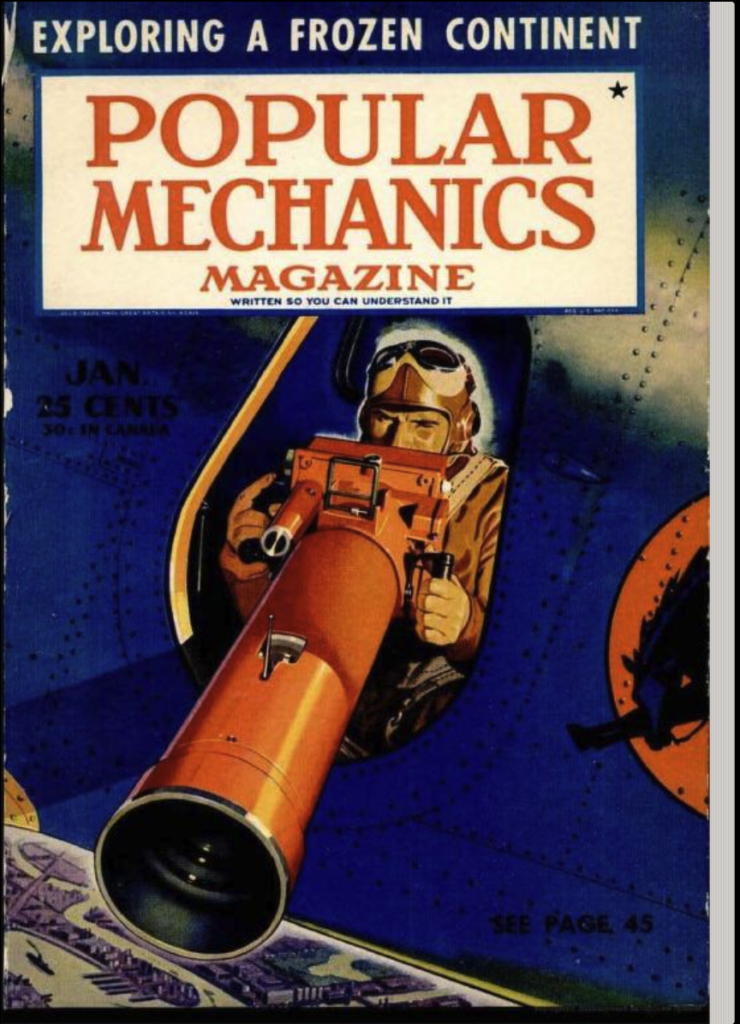
Popular Mechanics – The 1940s versions are available for viewing in Google Library, but you do not seem able to download them. You can download the 1940, 1941, 1942, 1943, 1944, and 1945 years via the Internet Archive. My guess is that you could print this on an 8.5×11 standard piece of printing paper (though back then, it appears to have been closer to newsprint?)
Collier’s – Is another popular American Magazine. This one was weekly, so there are a lot of issues to look through. Like other magazines, this one also captures the products available during the War years. You can find the full collection at Unz Review, though they don’t appear to be downloadable.
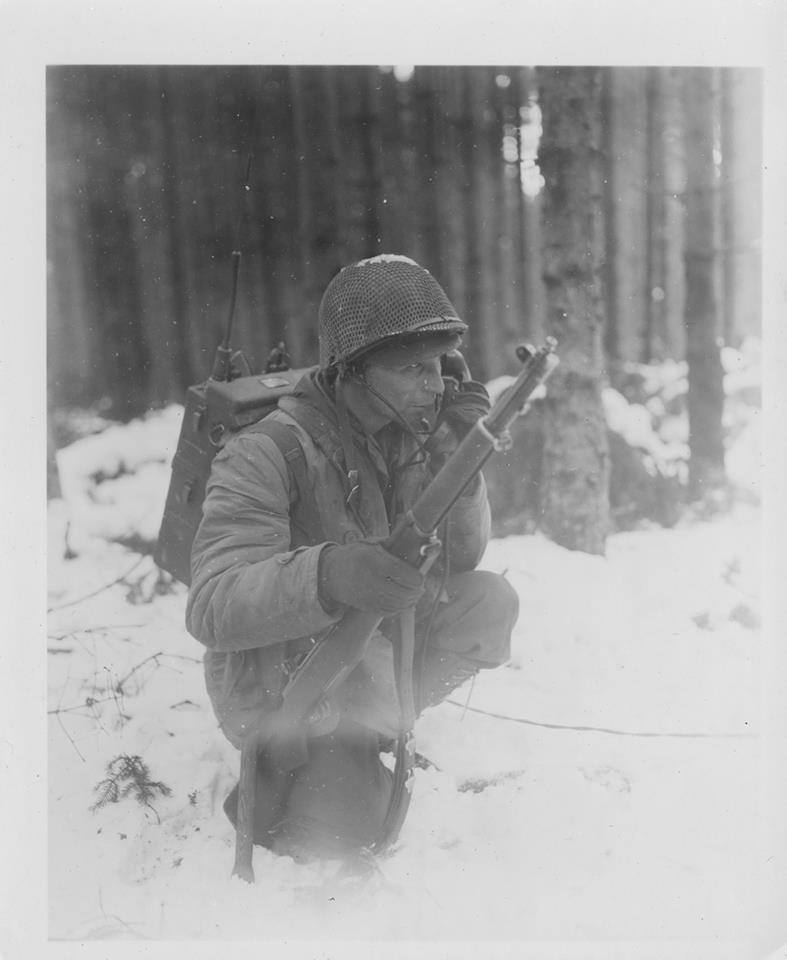
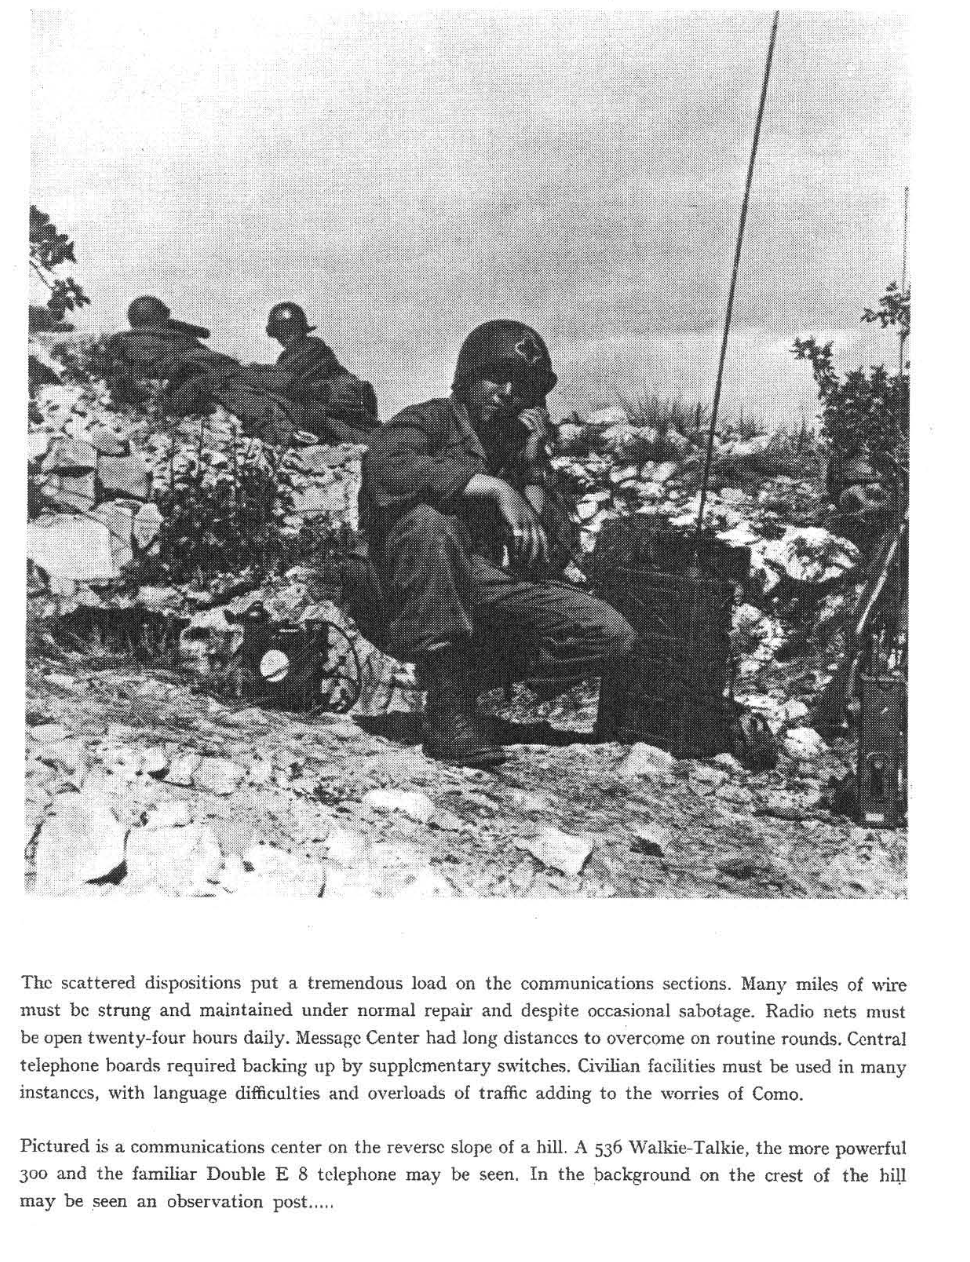
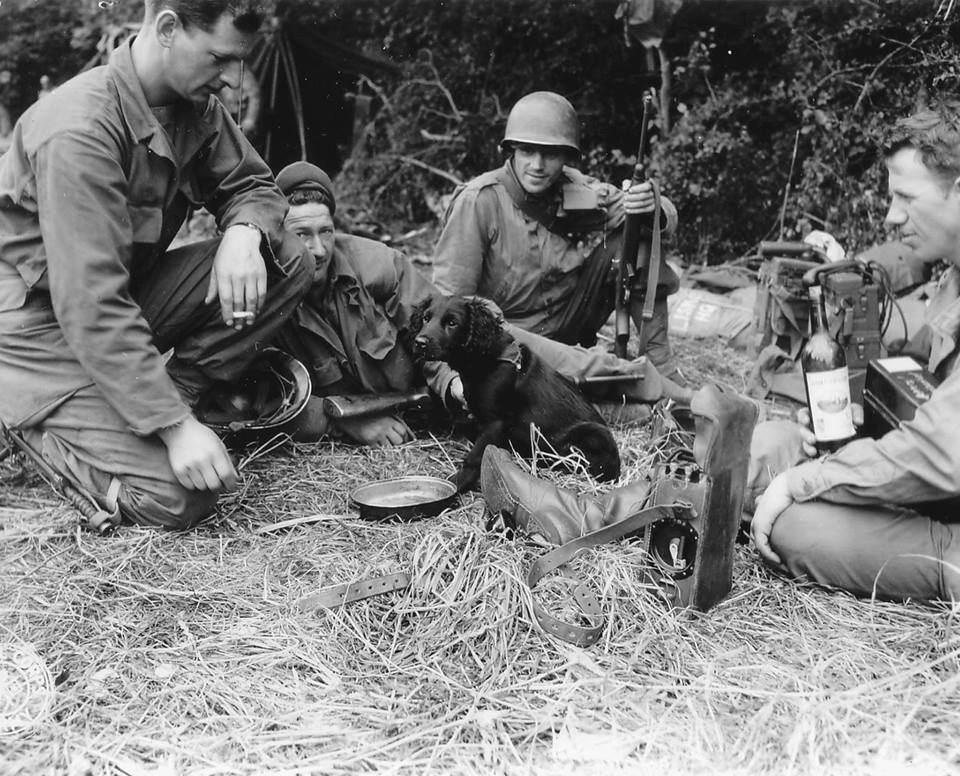
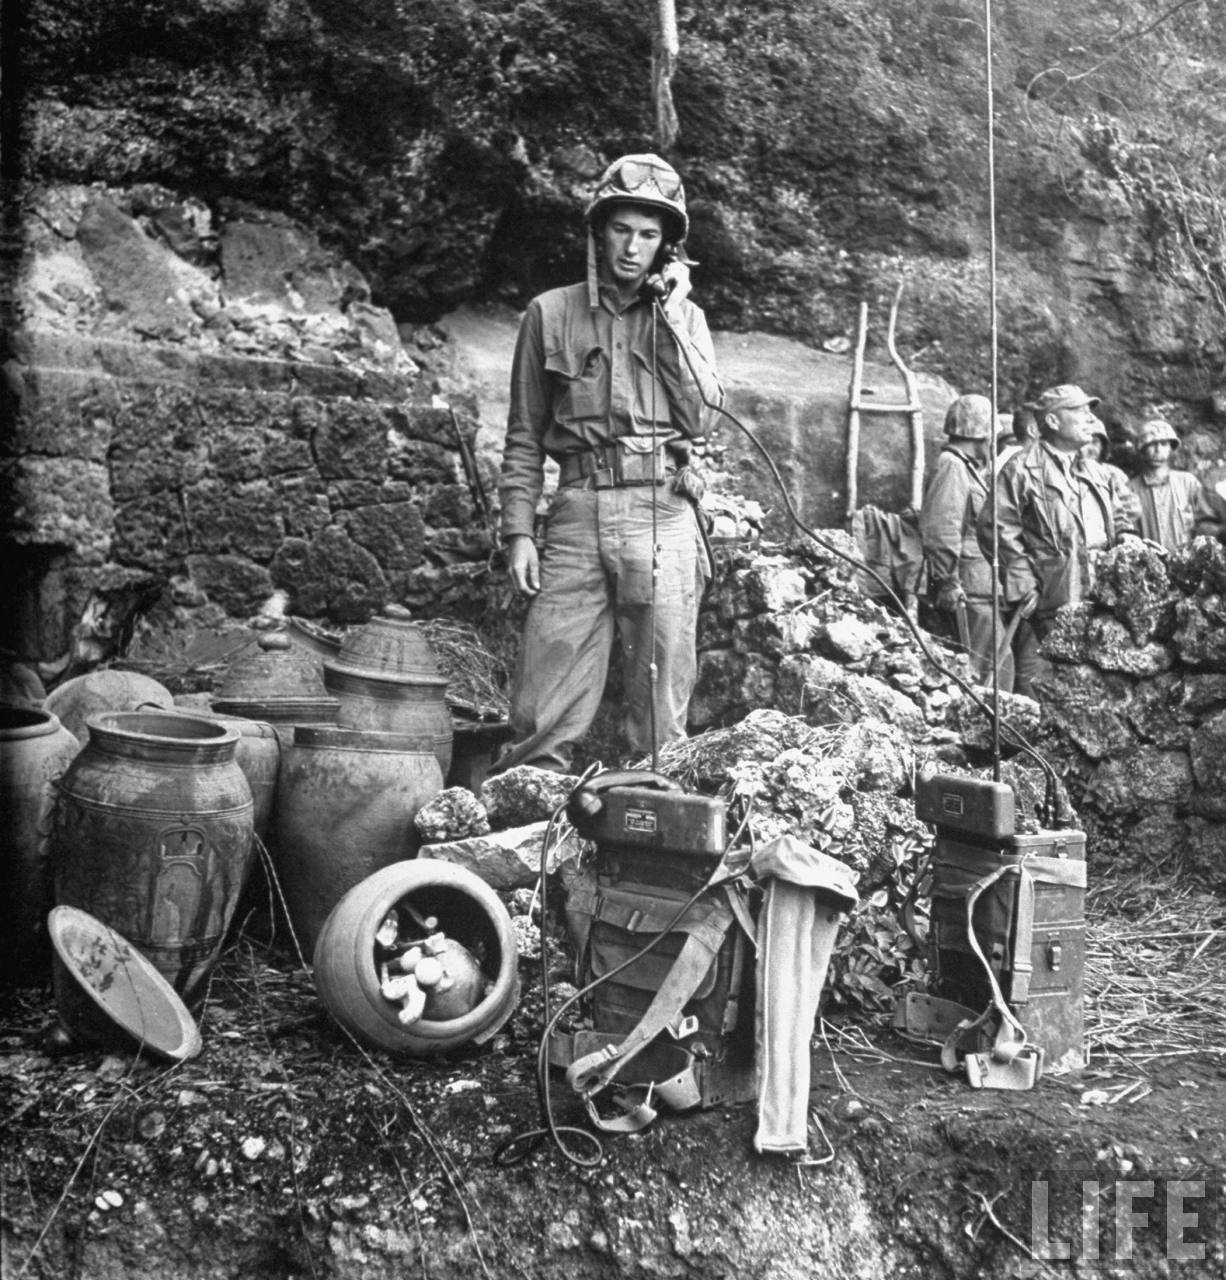
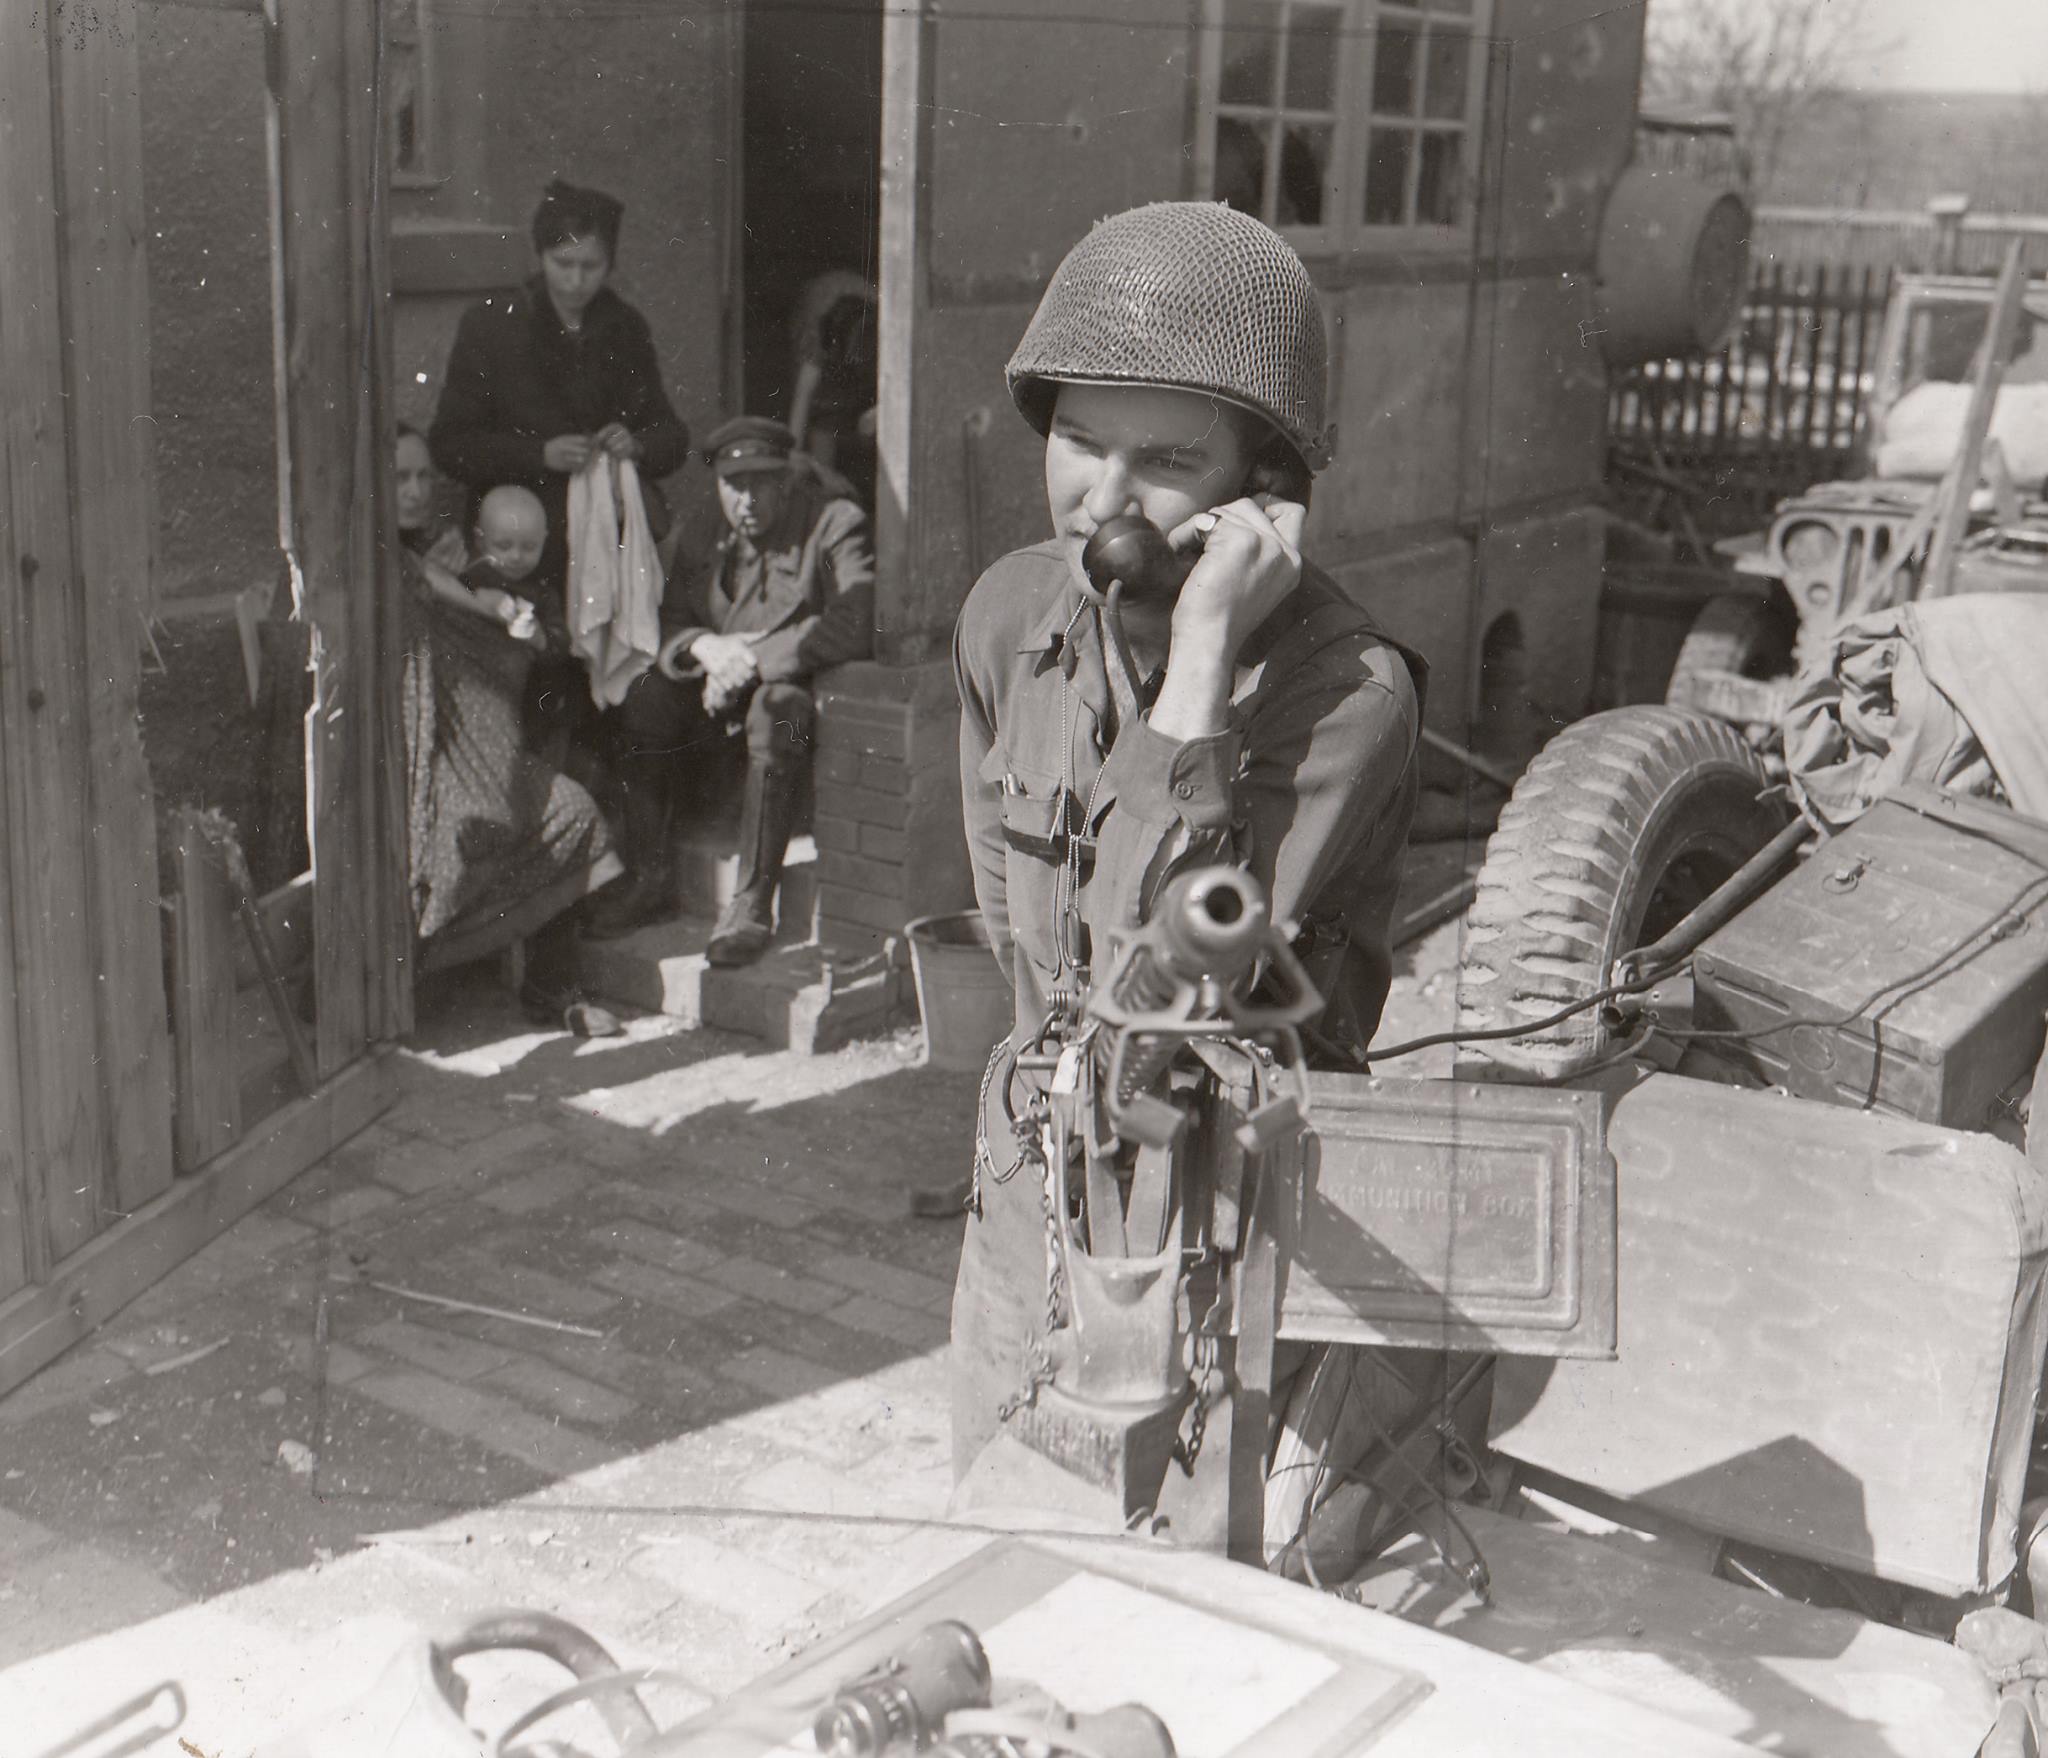
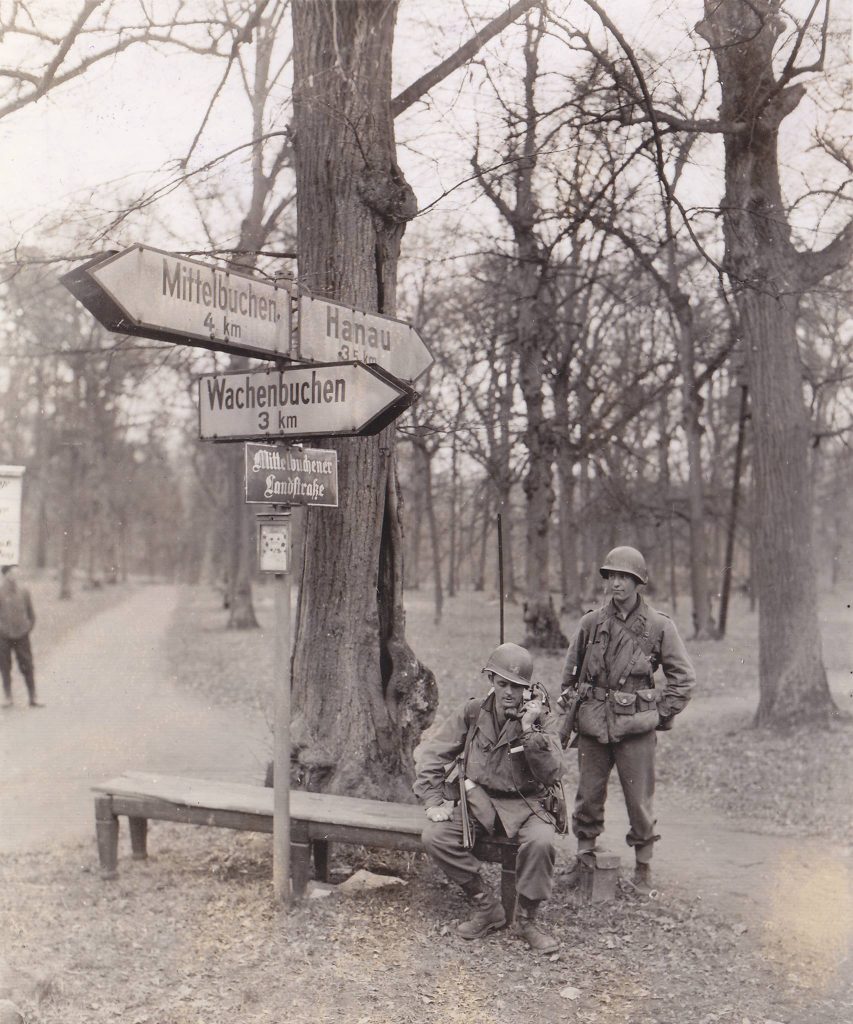
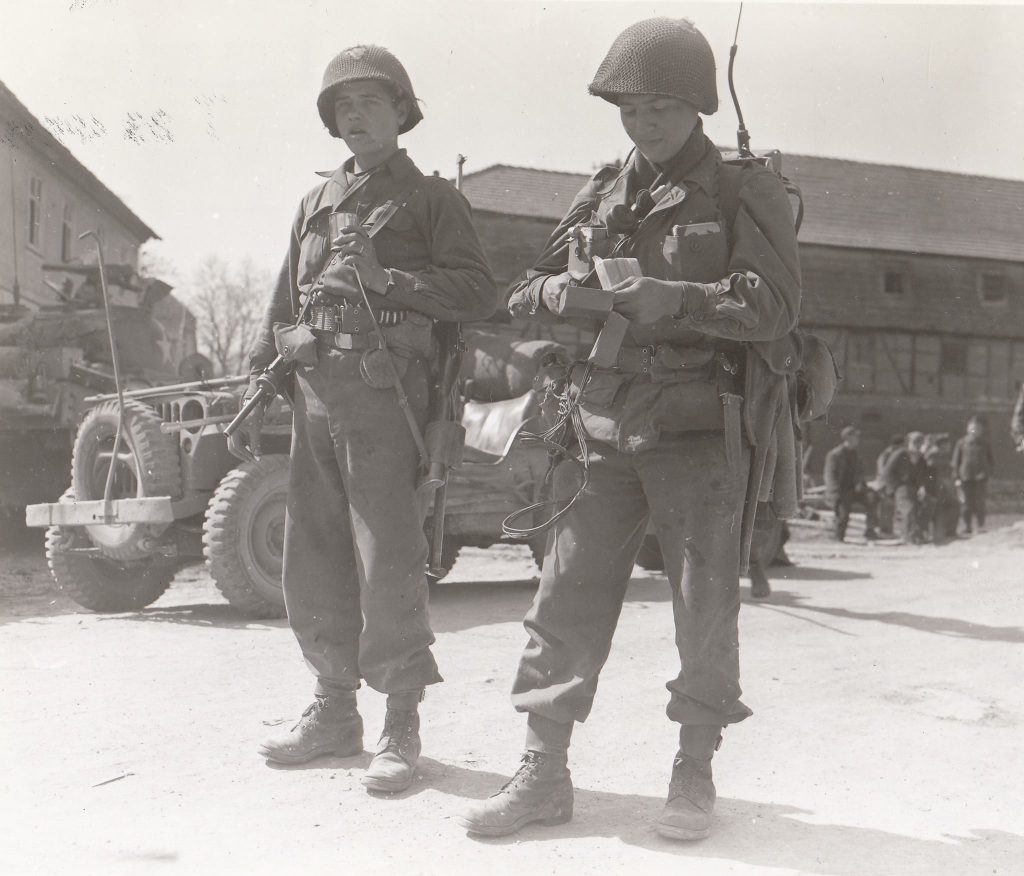
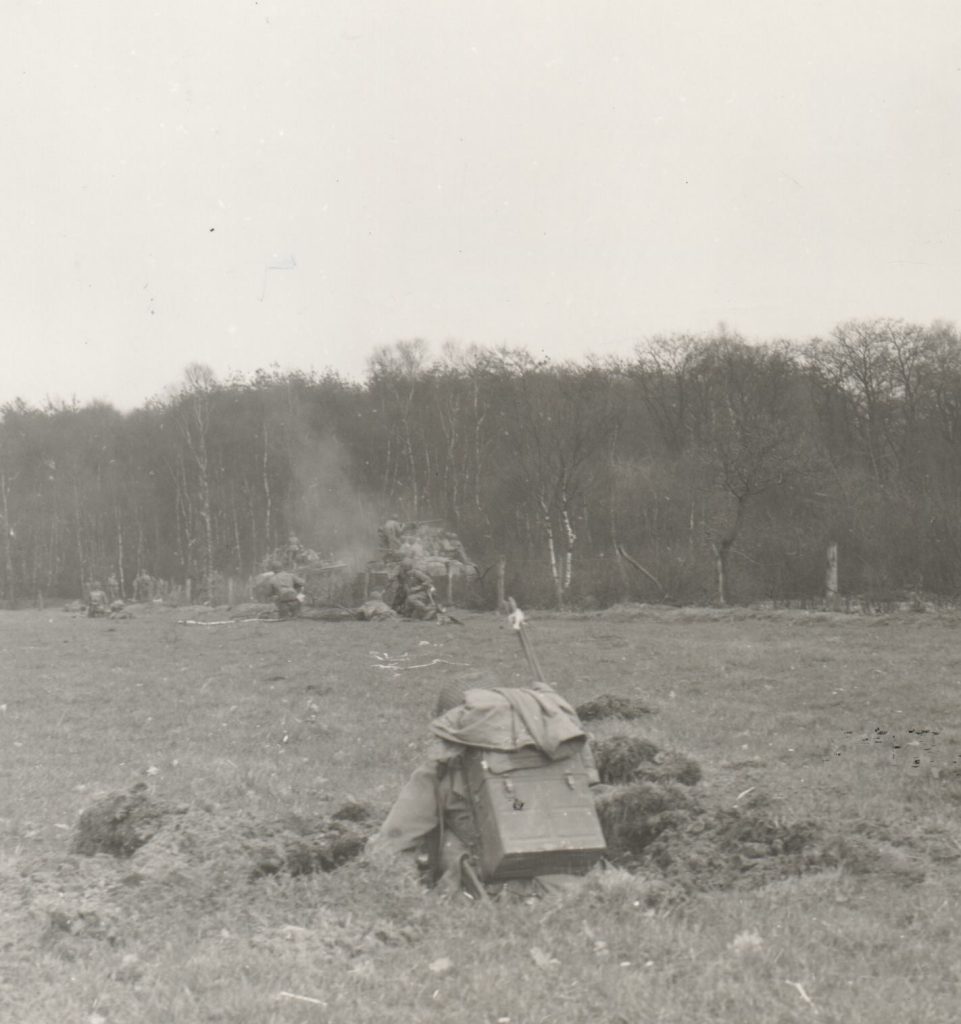
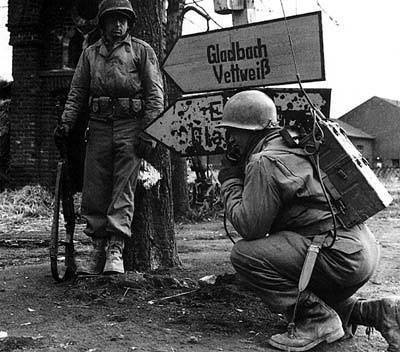
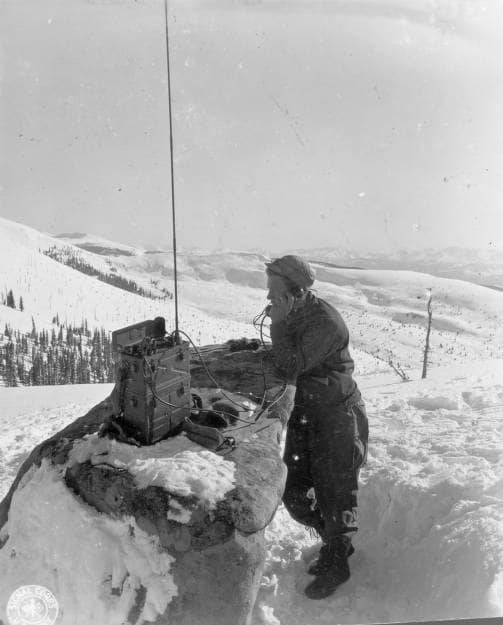
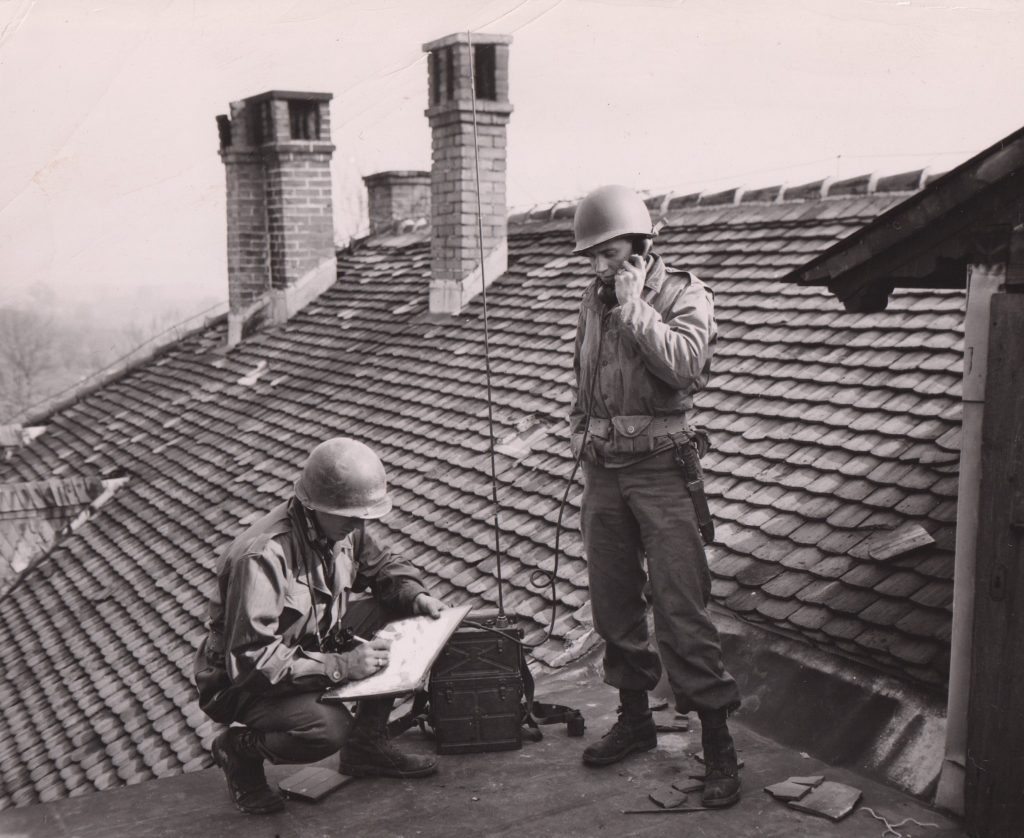
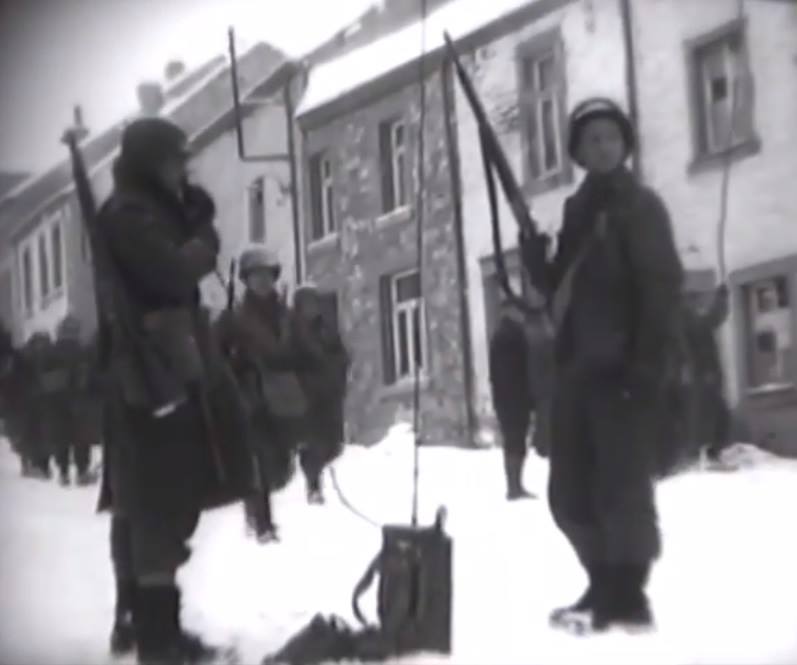
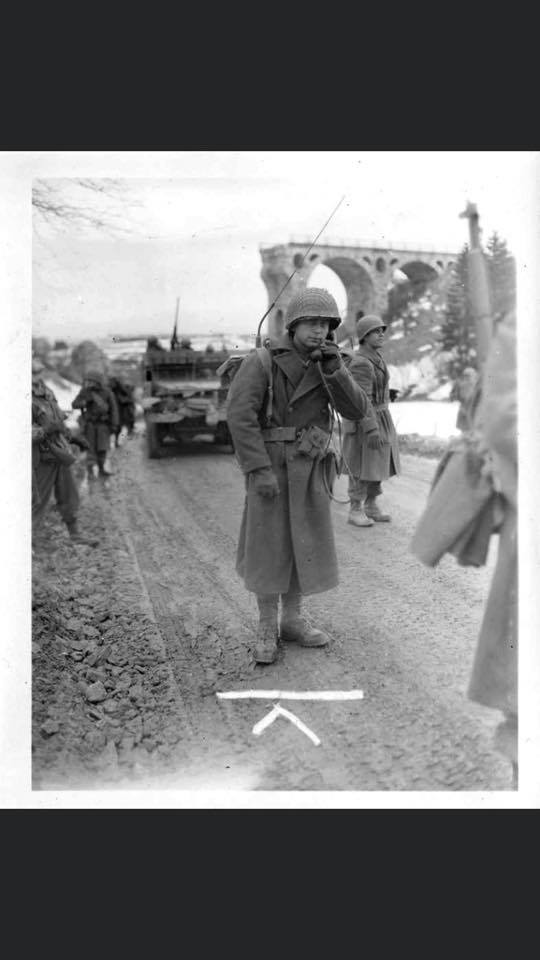
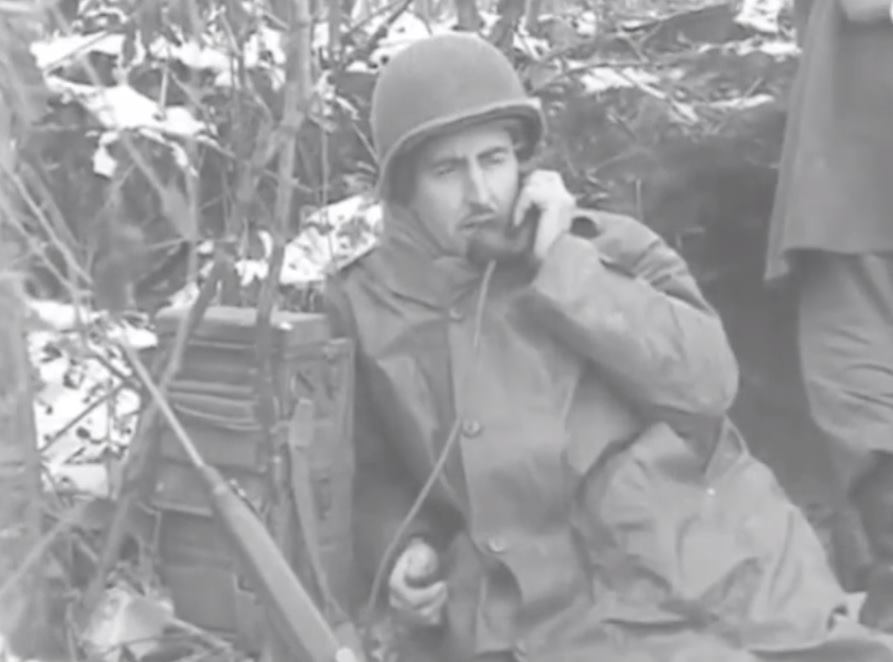
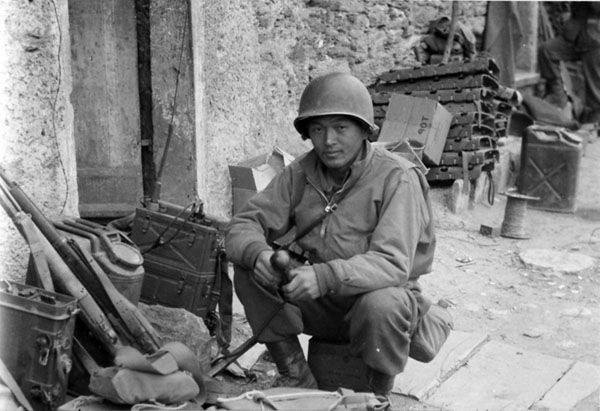
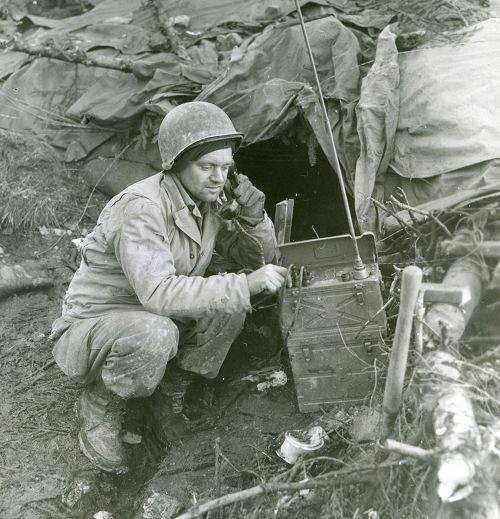
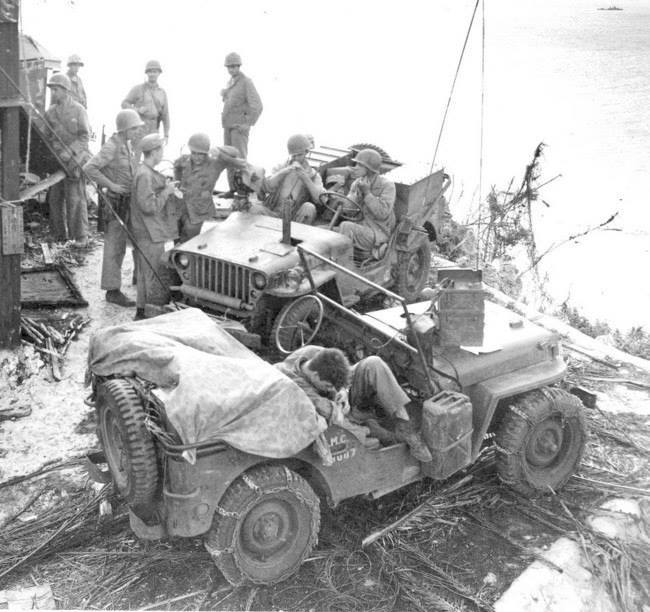
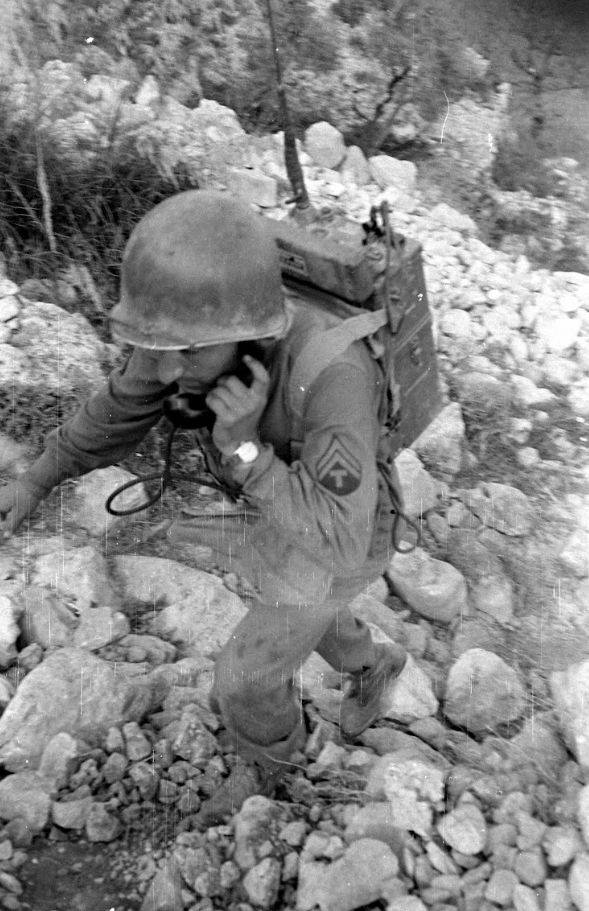
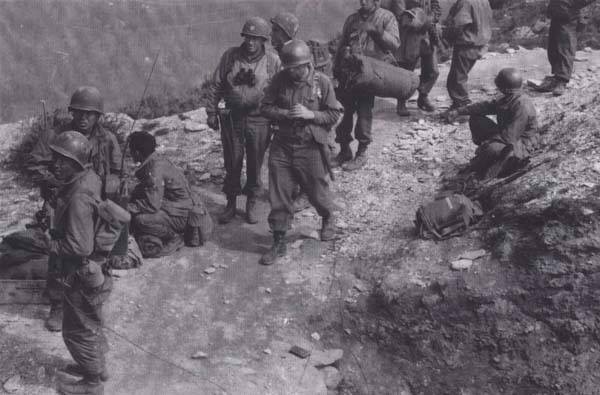
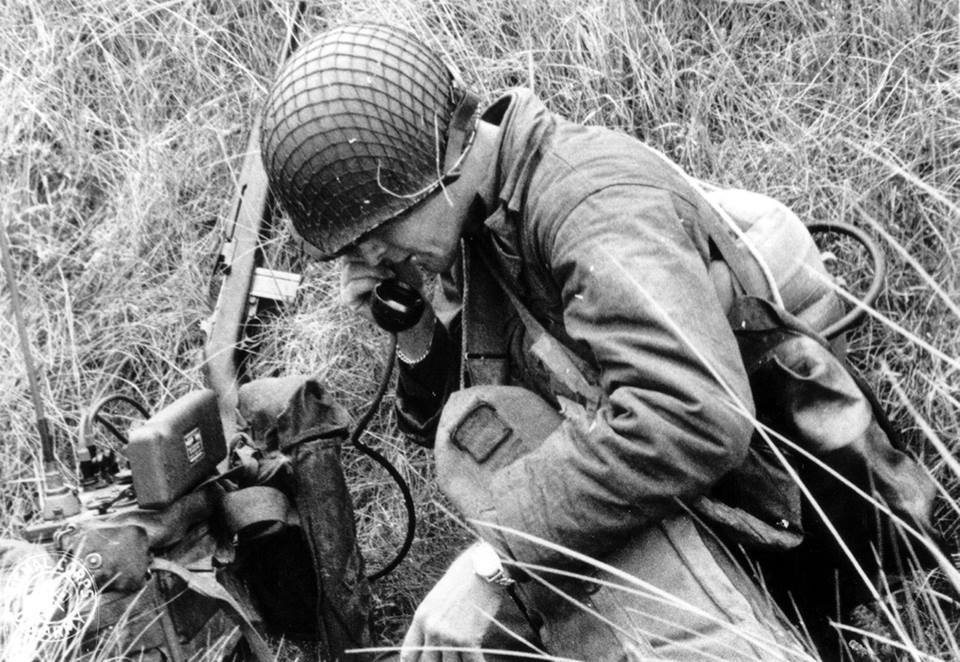
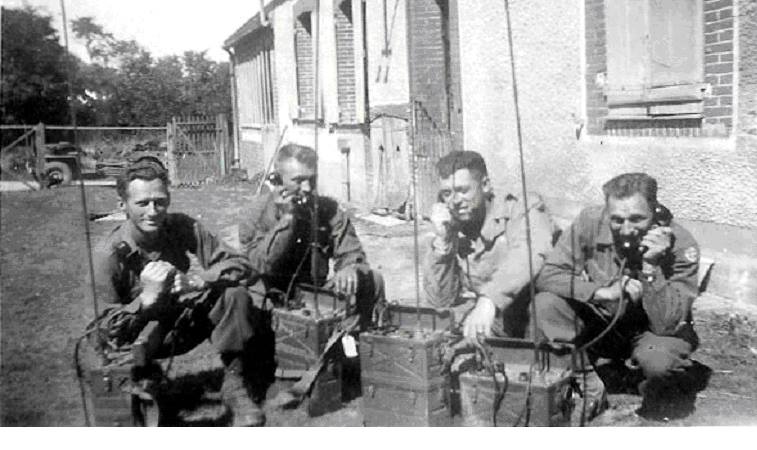
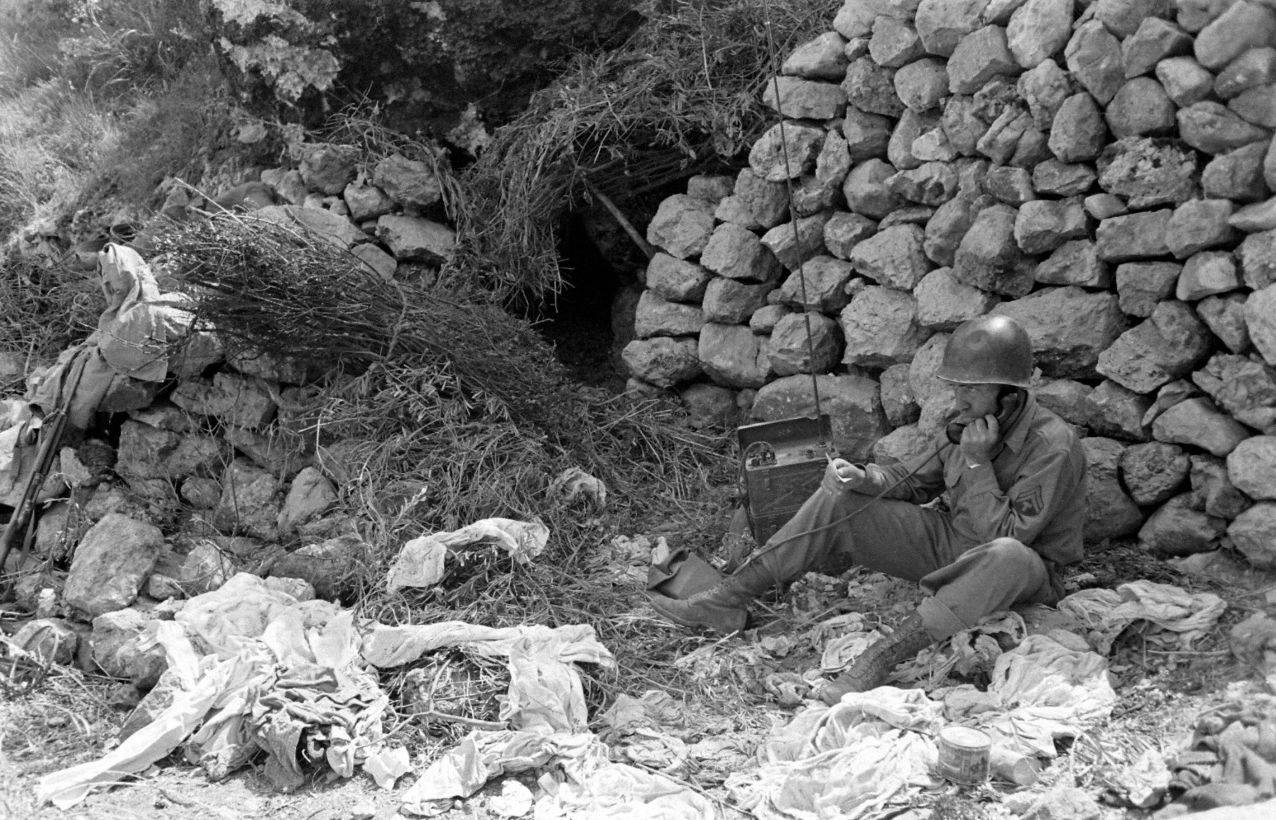
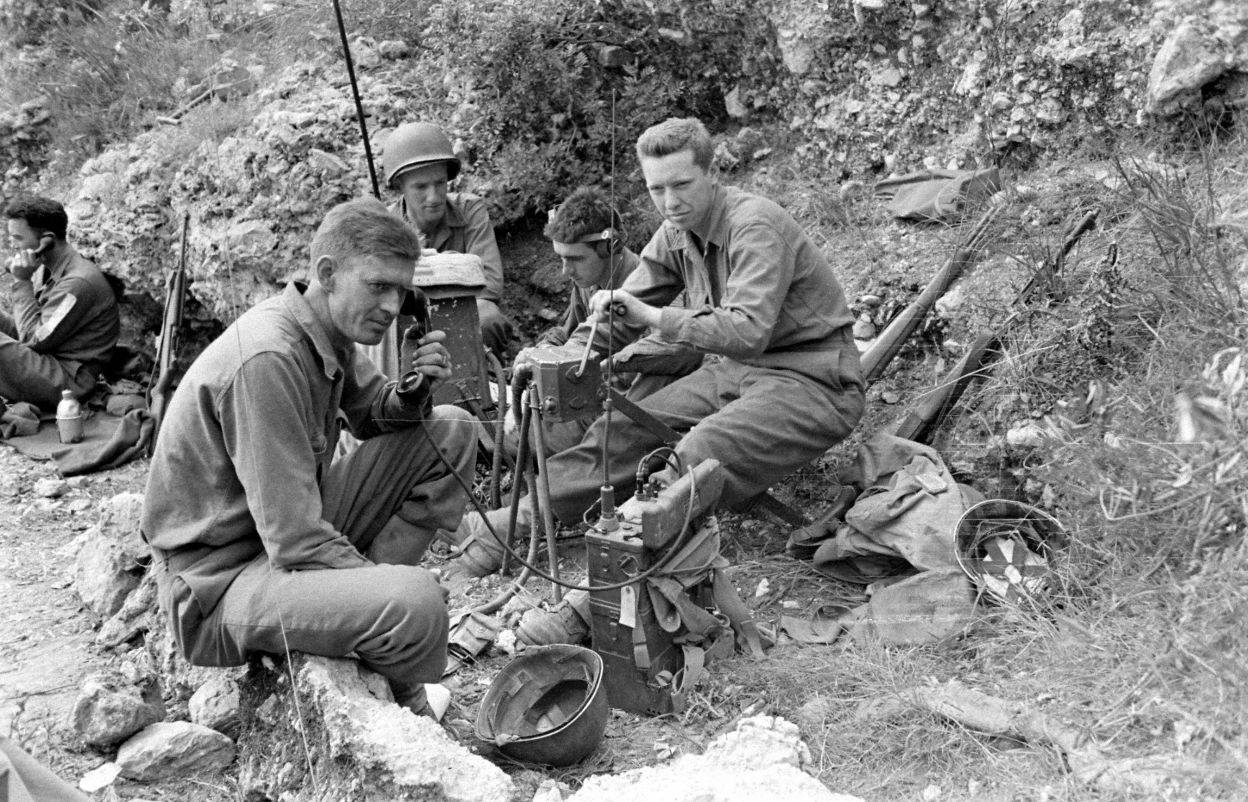
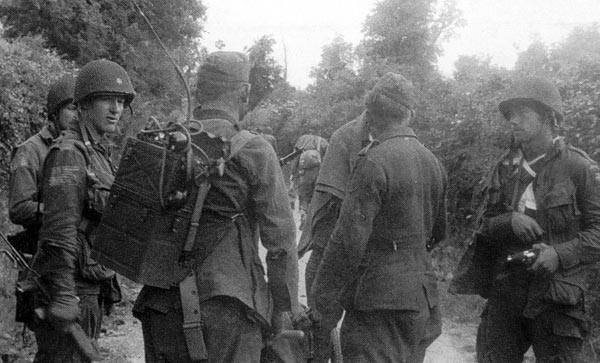
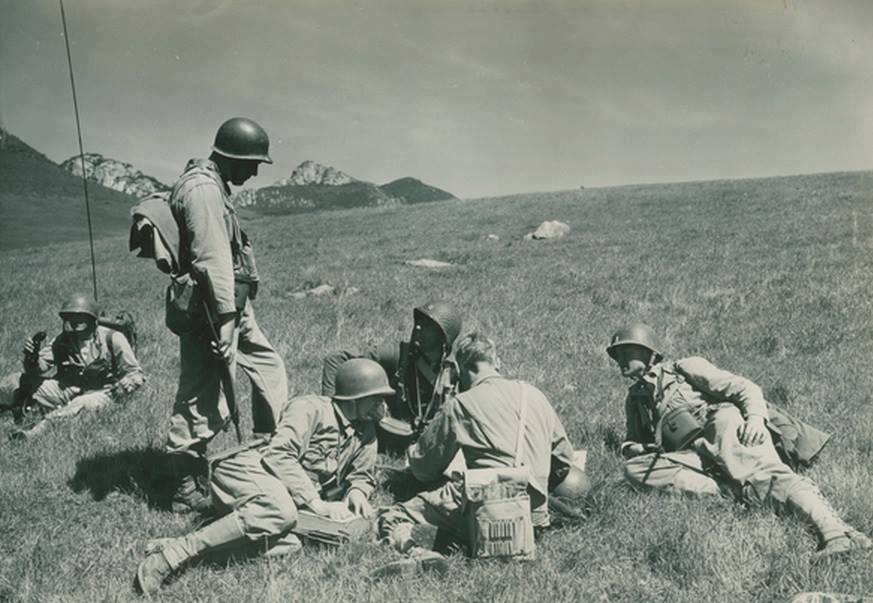
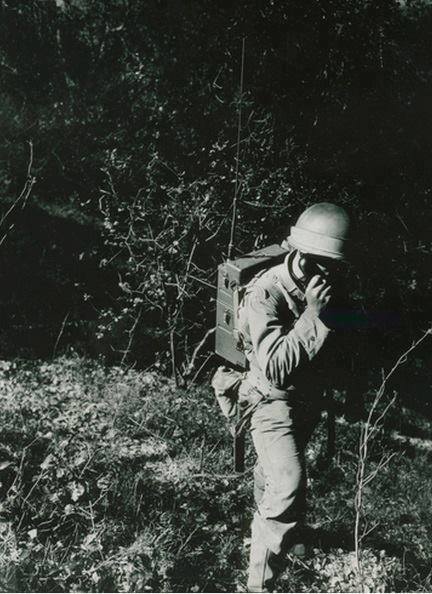
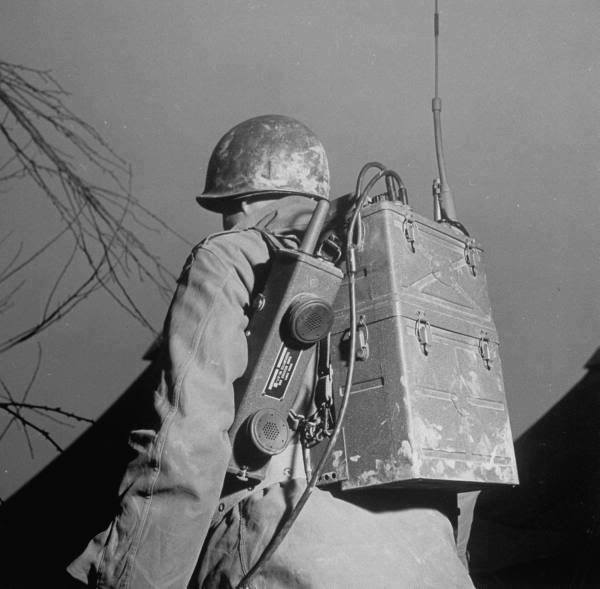
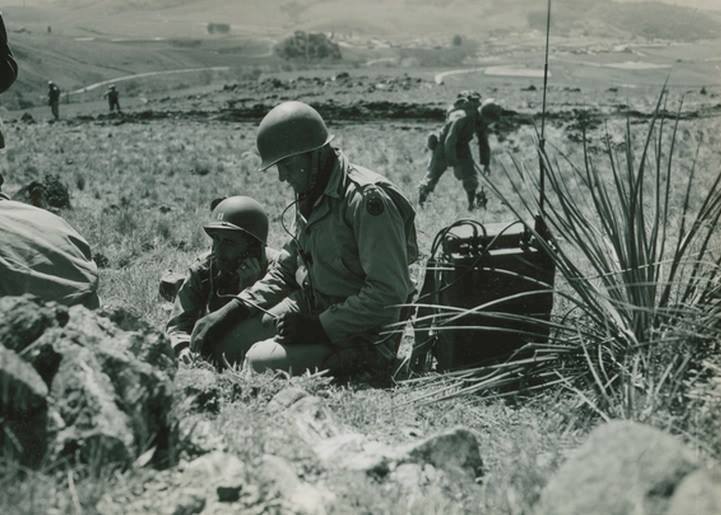
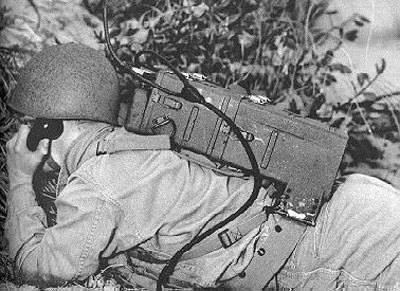
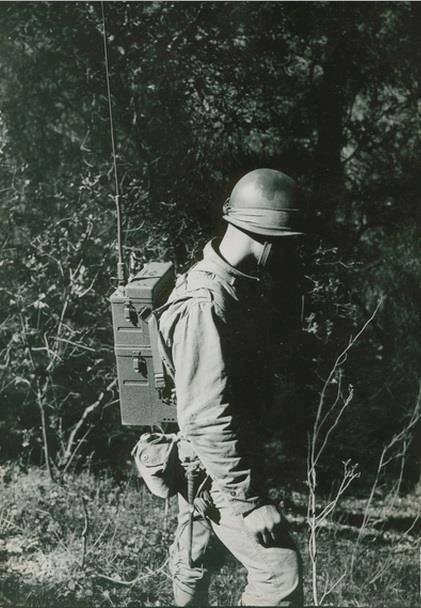
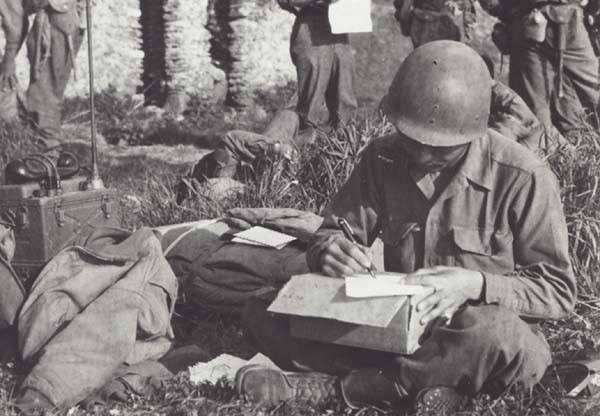
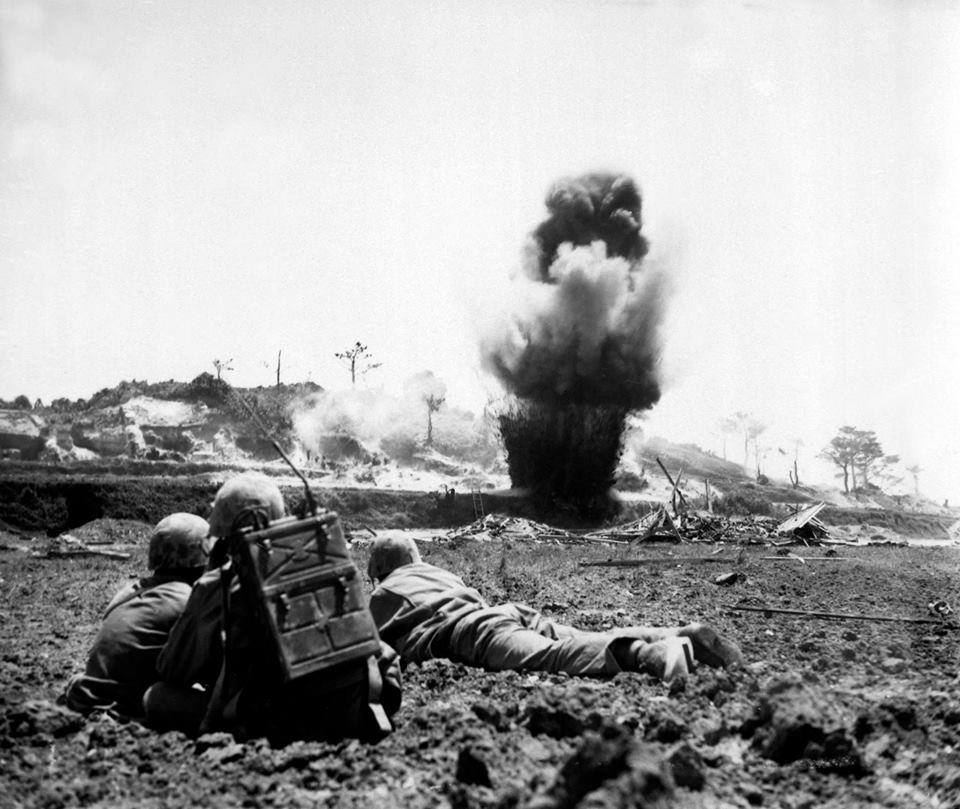
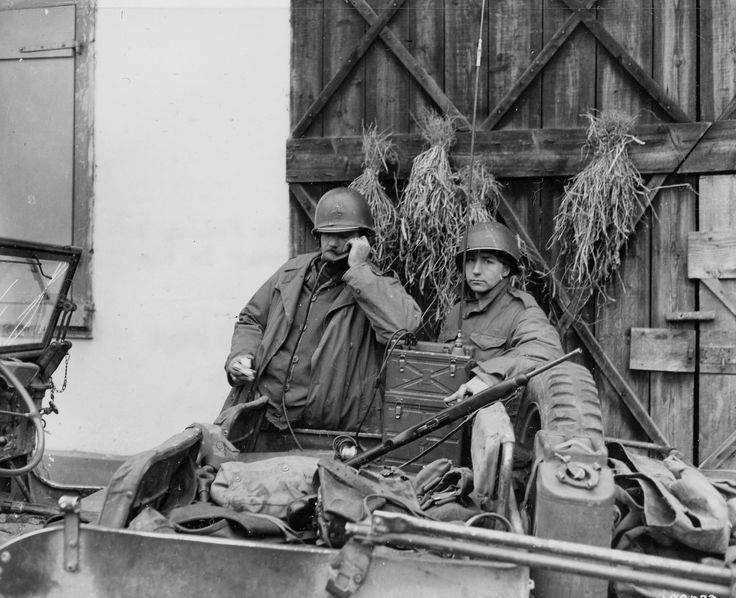
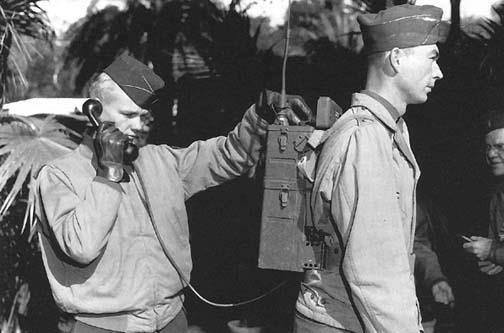
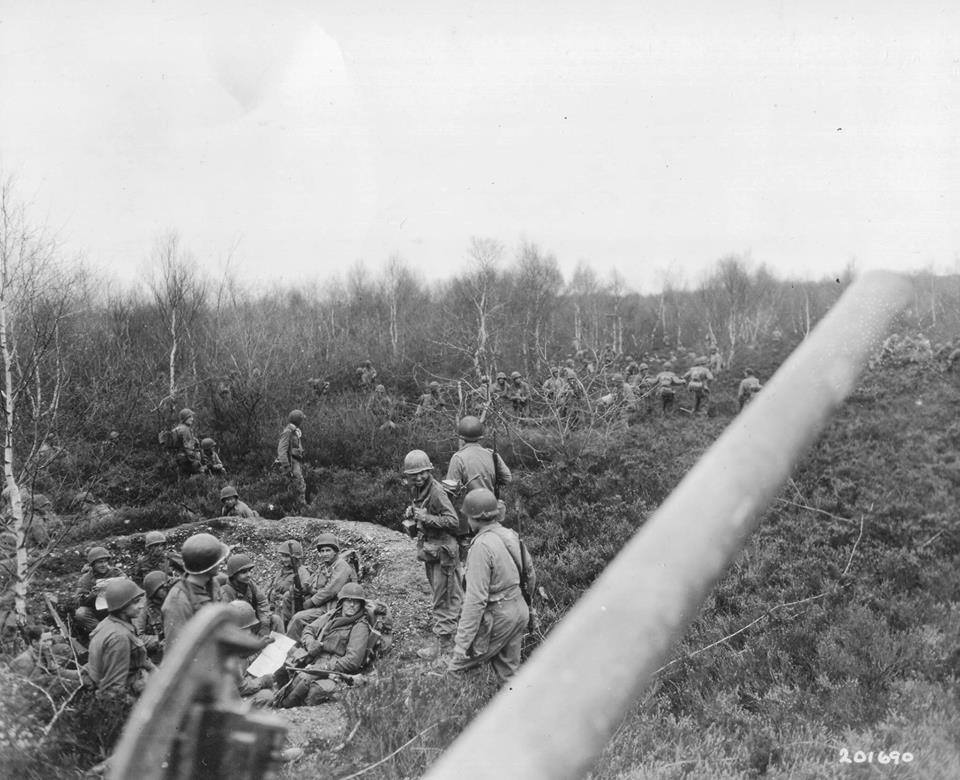
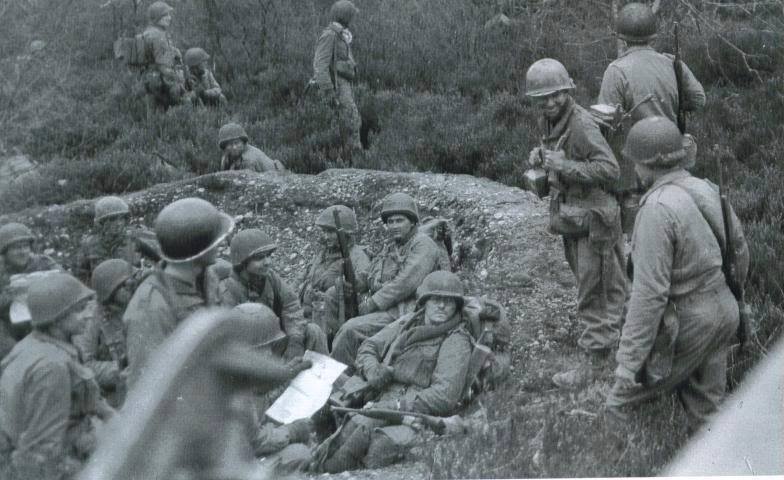
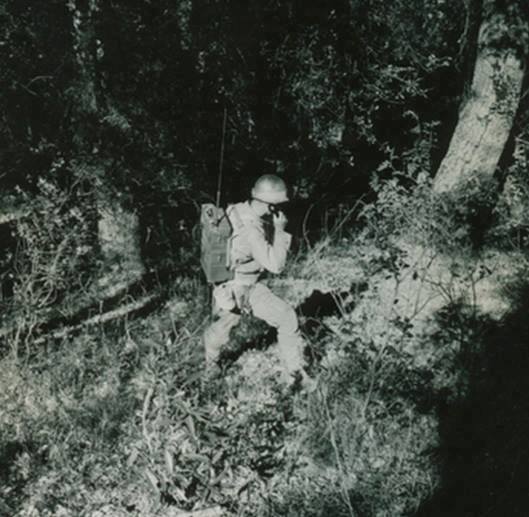
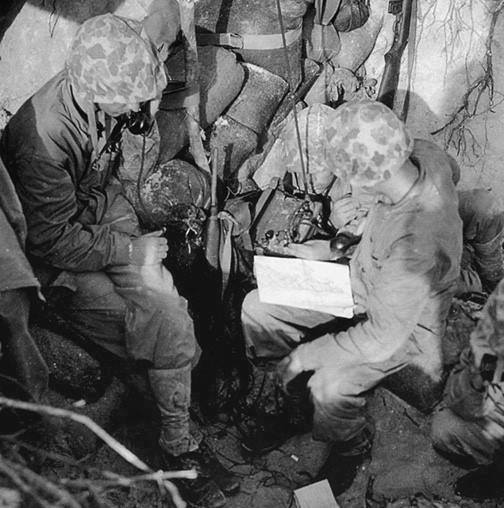
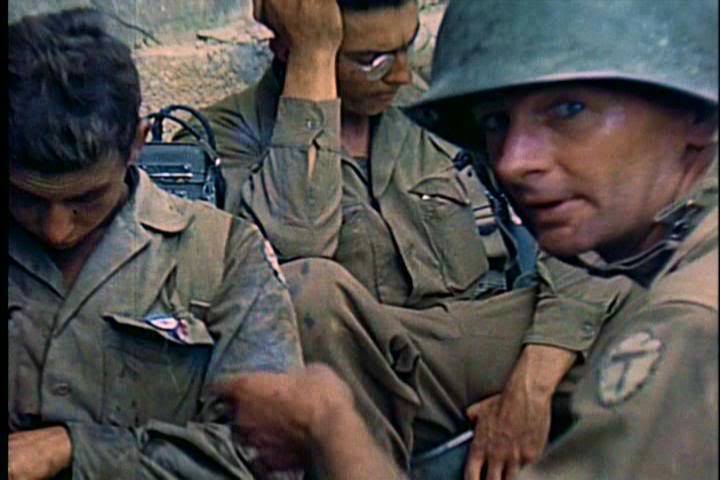
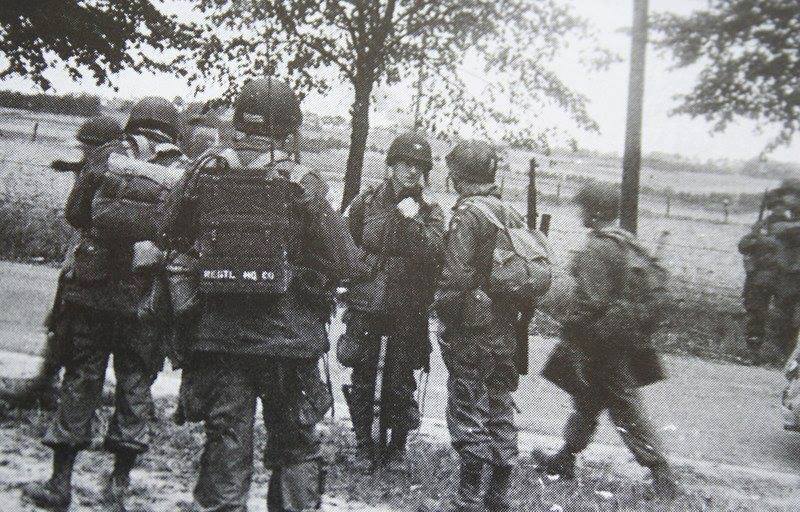
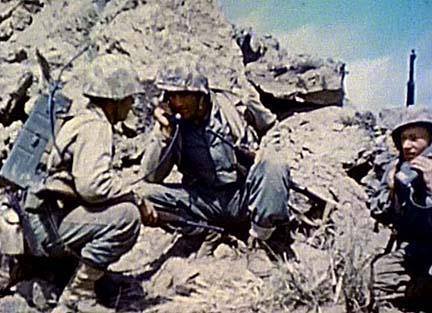
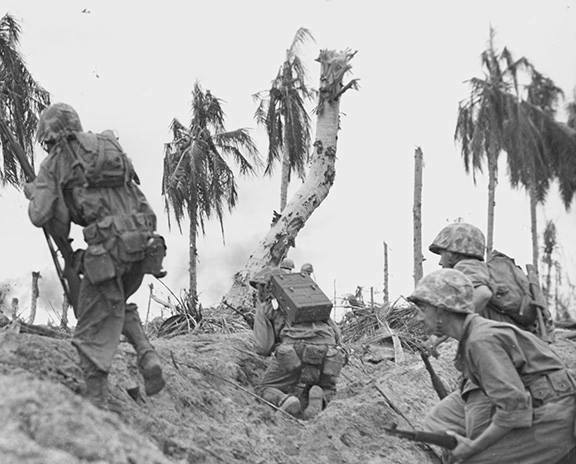
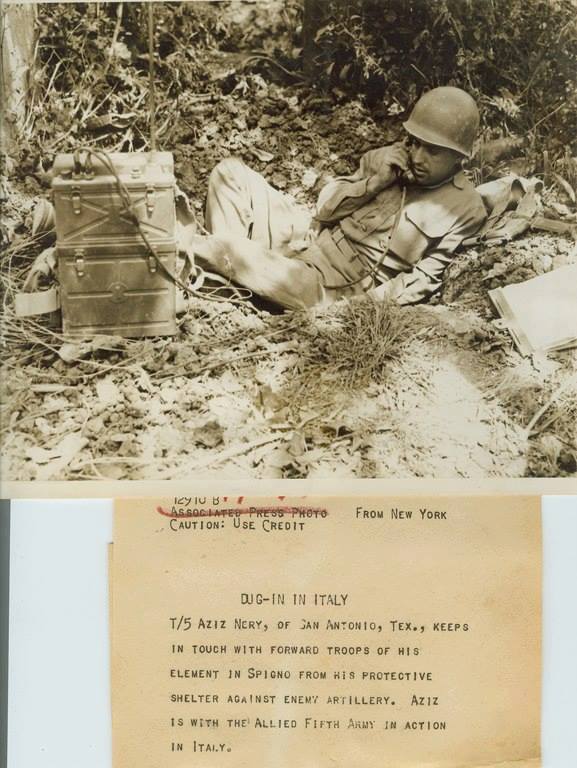
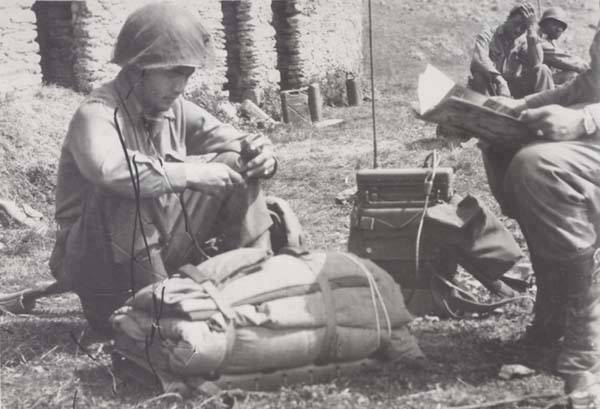
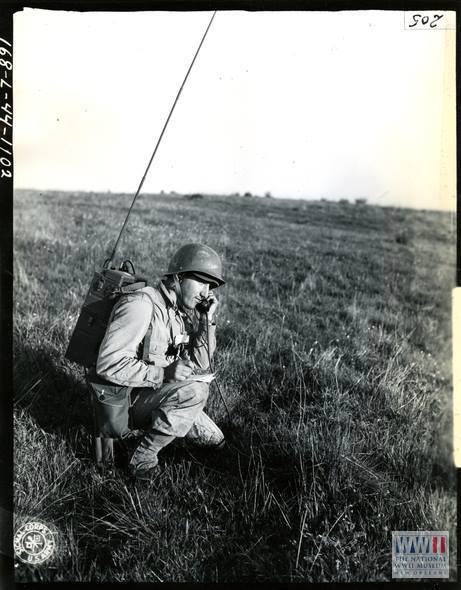
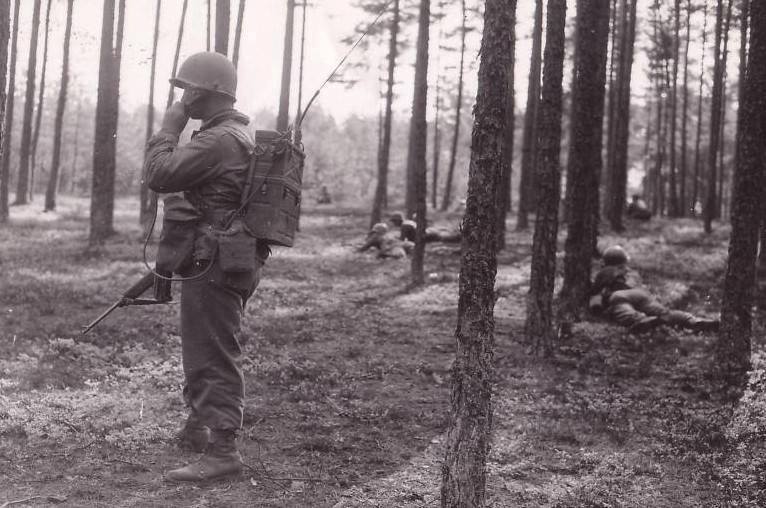
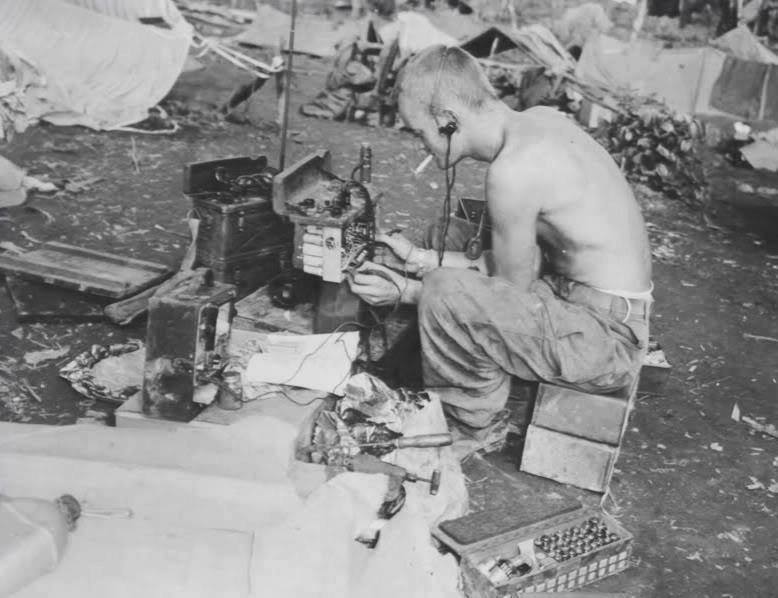
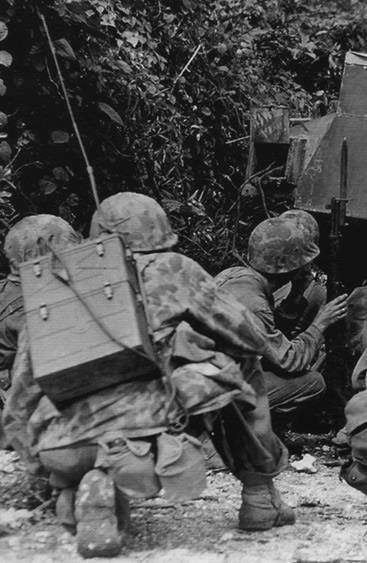
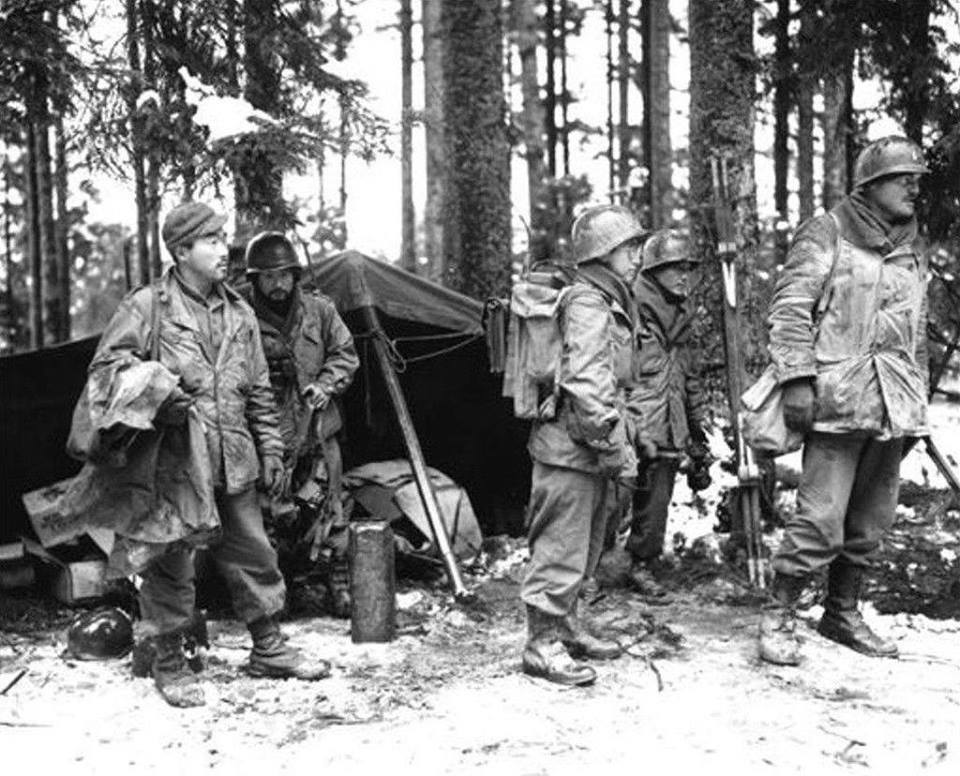
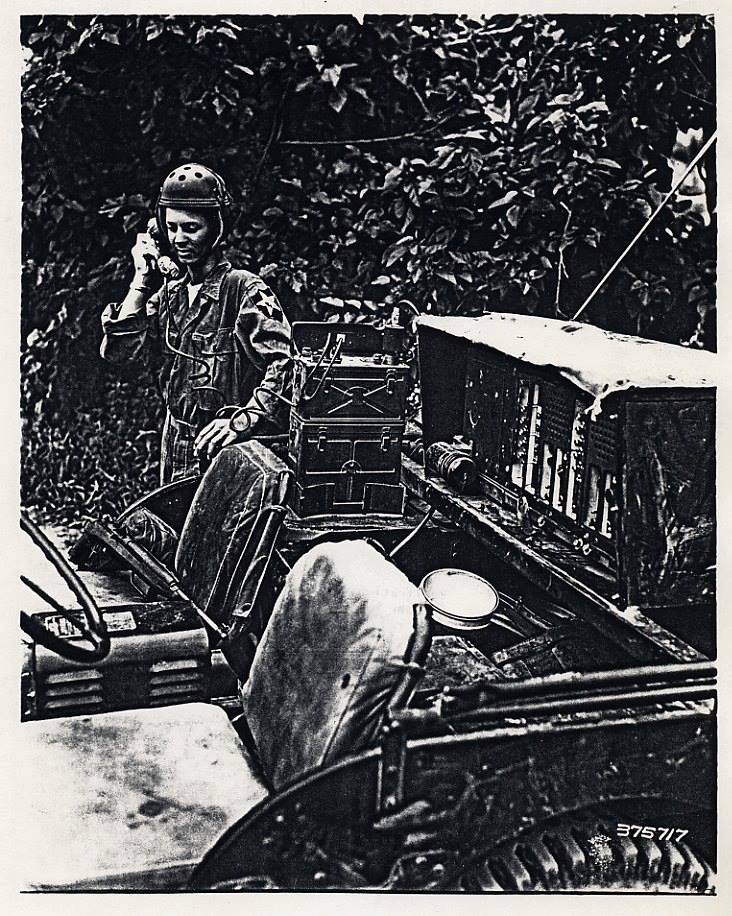
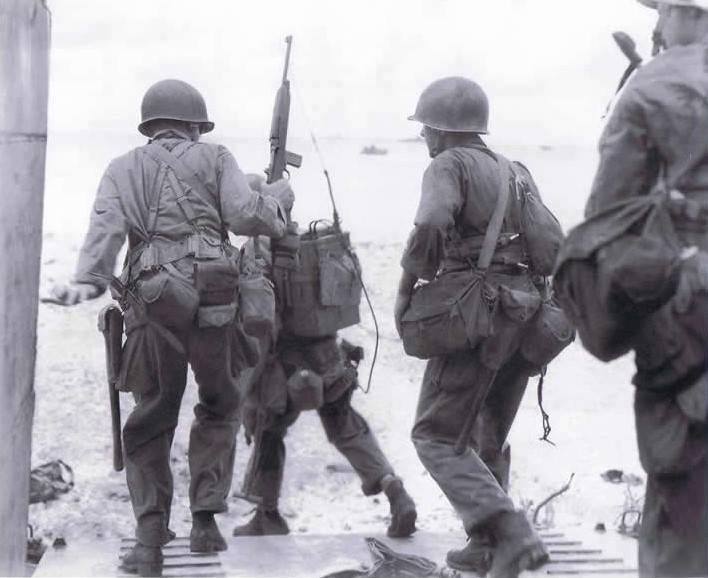
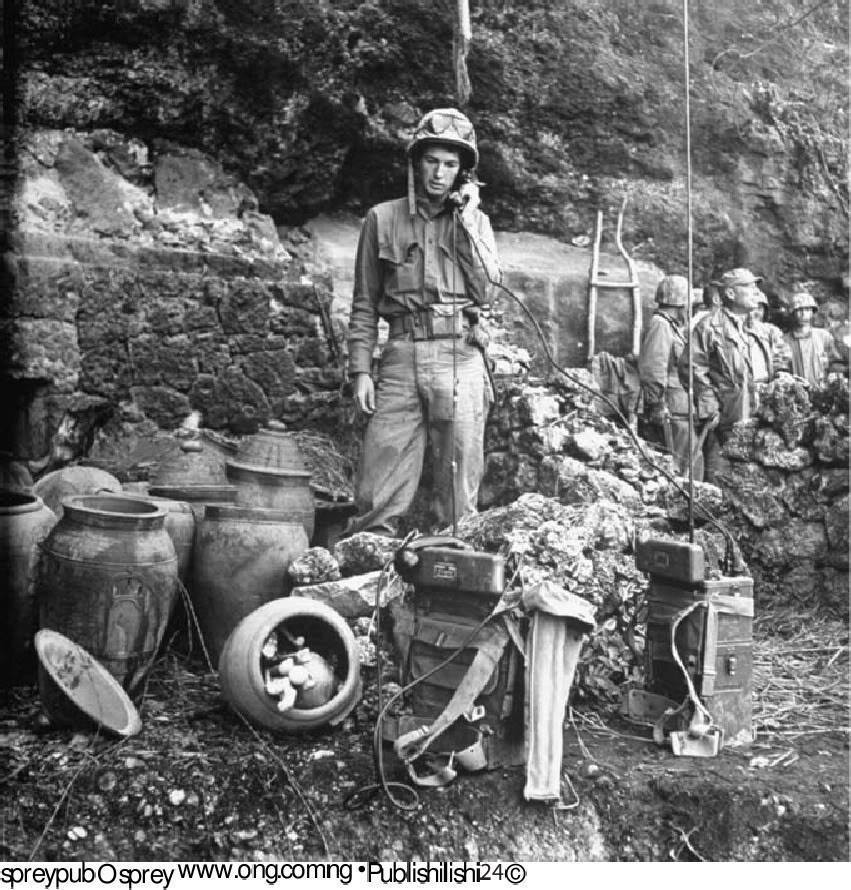
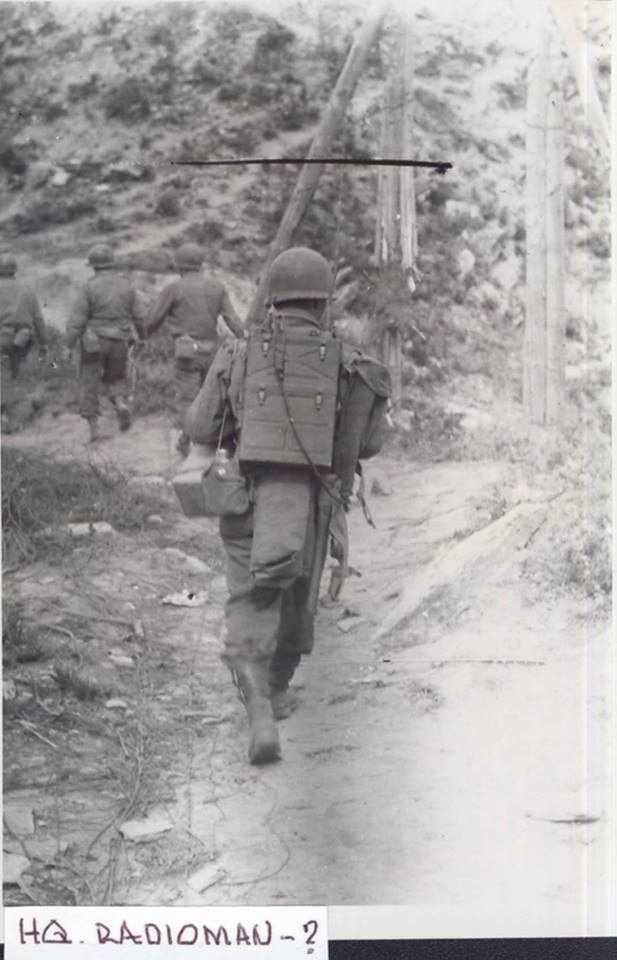
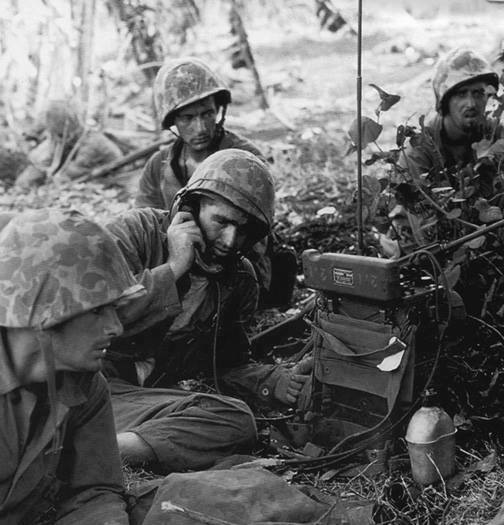
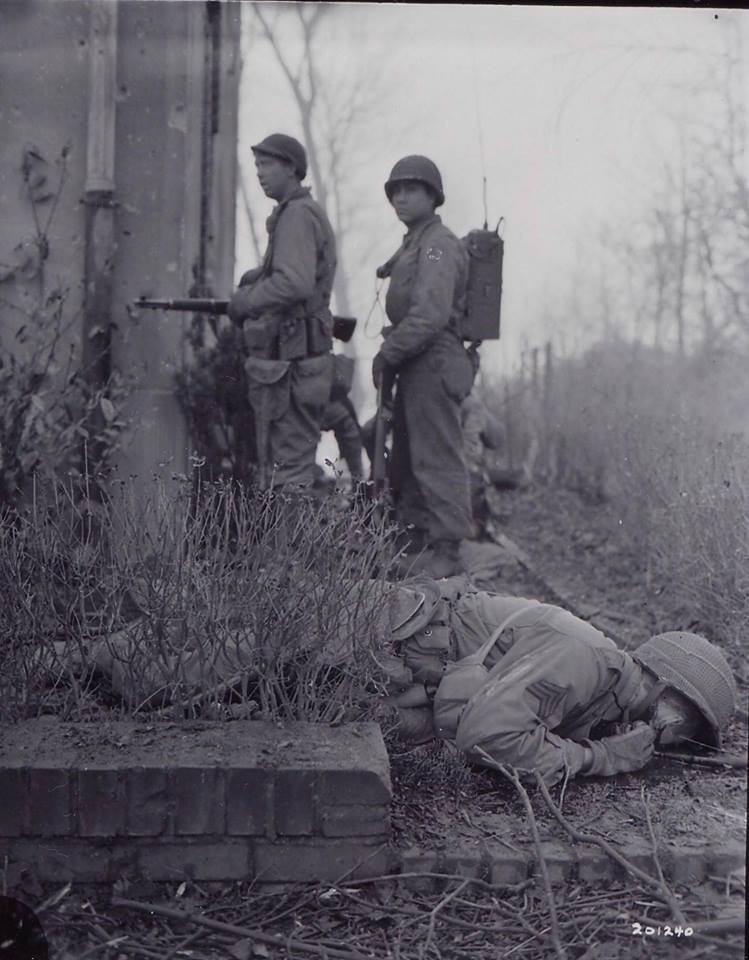
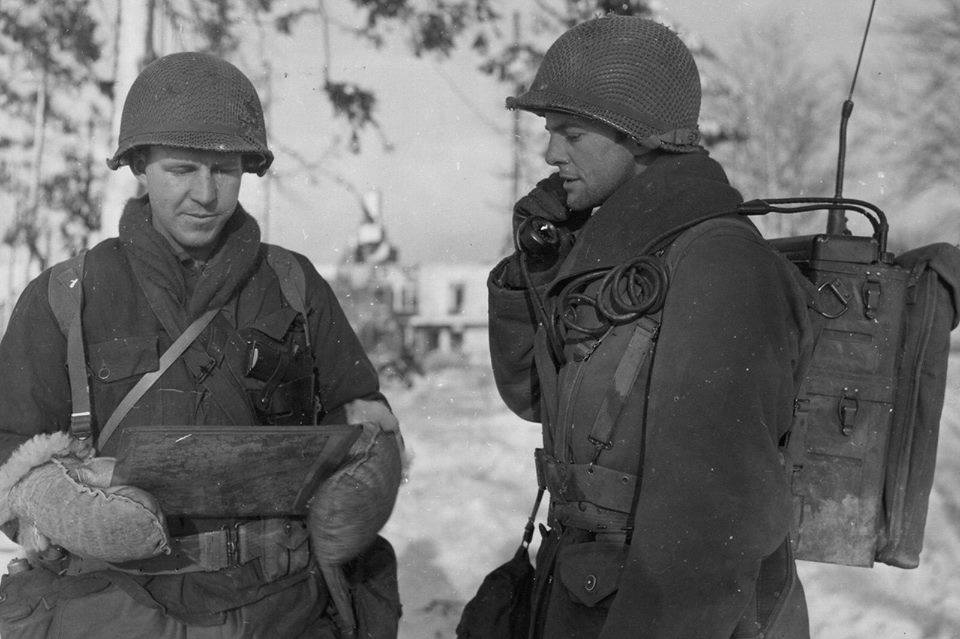
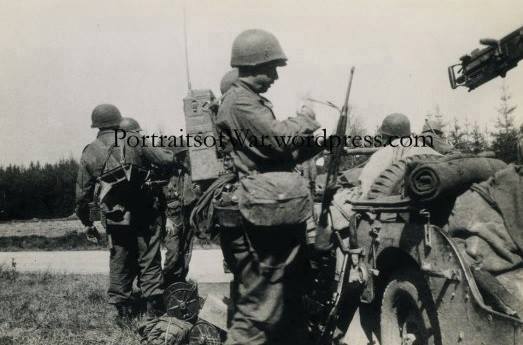
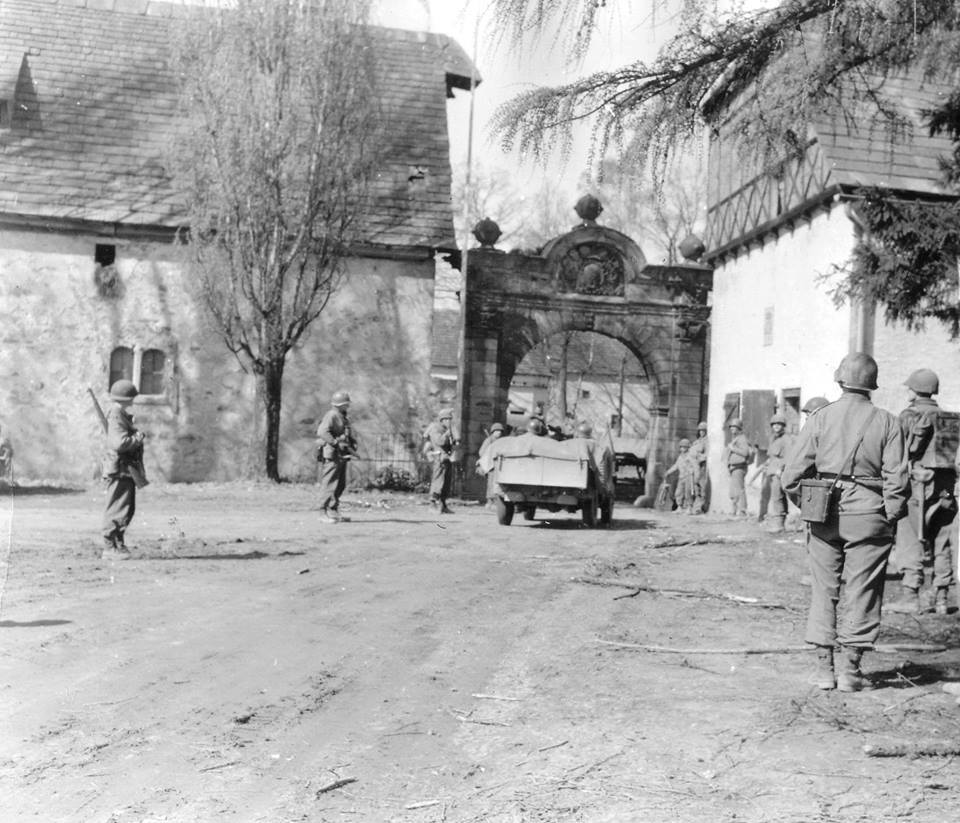
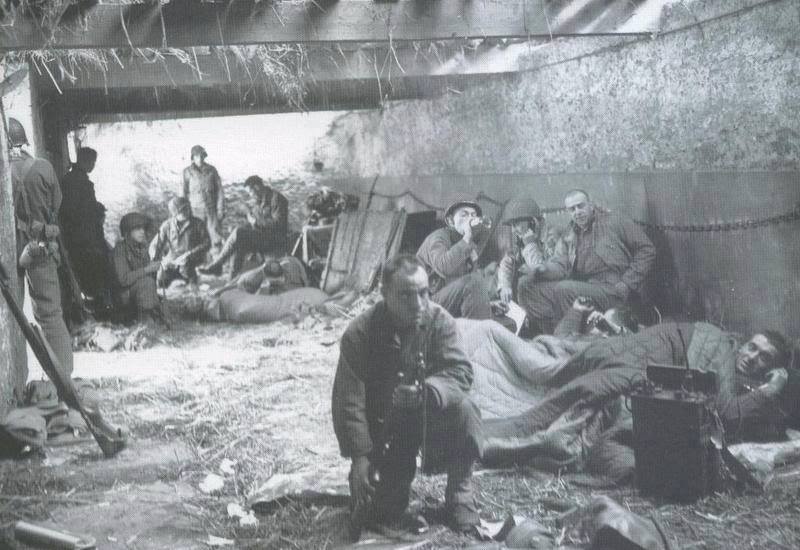
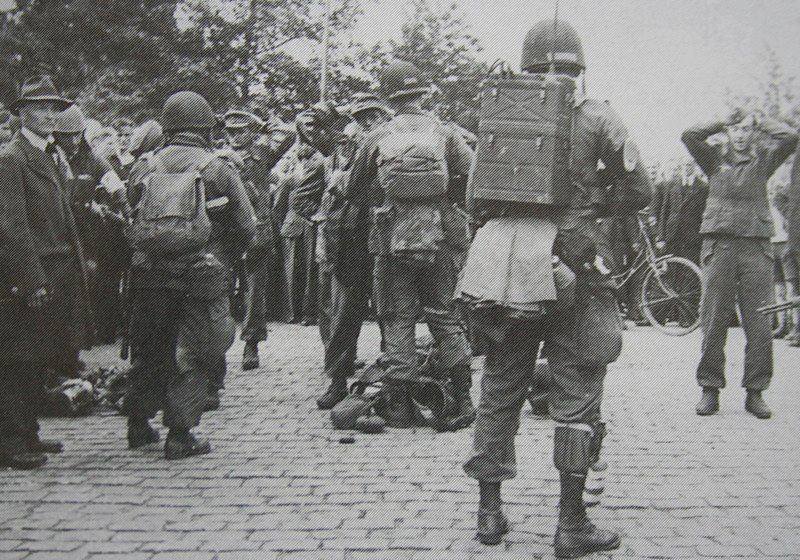
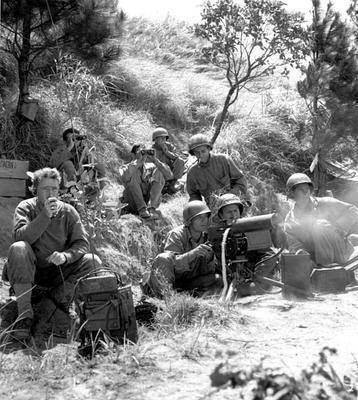
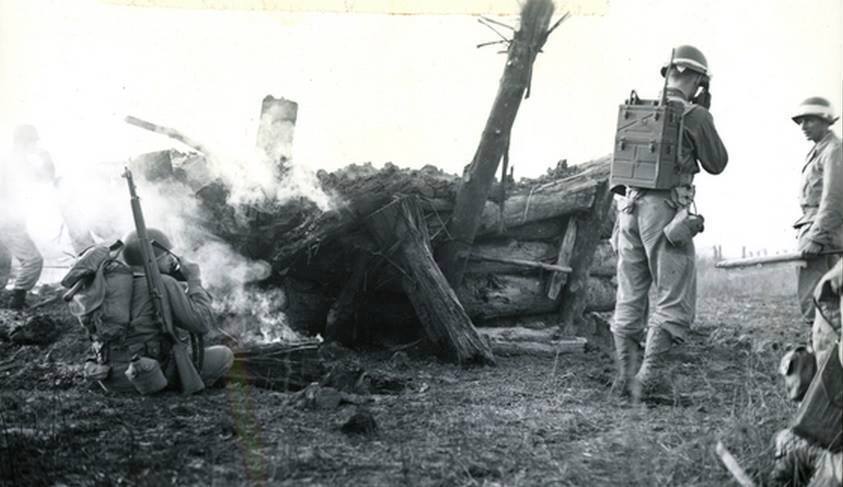
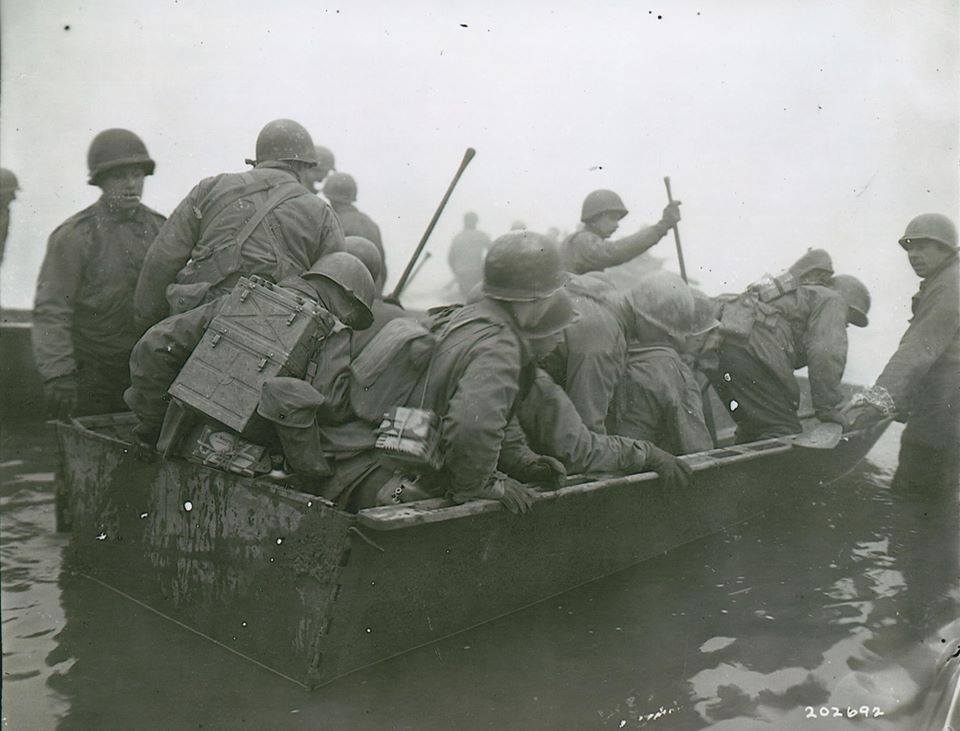
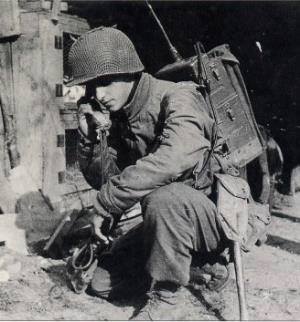
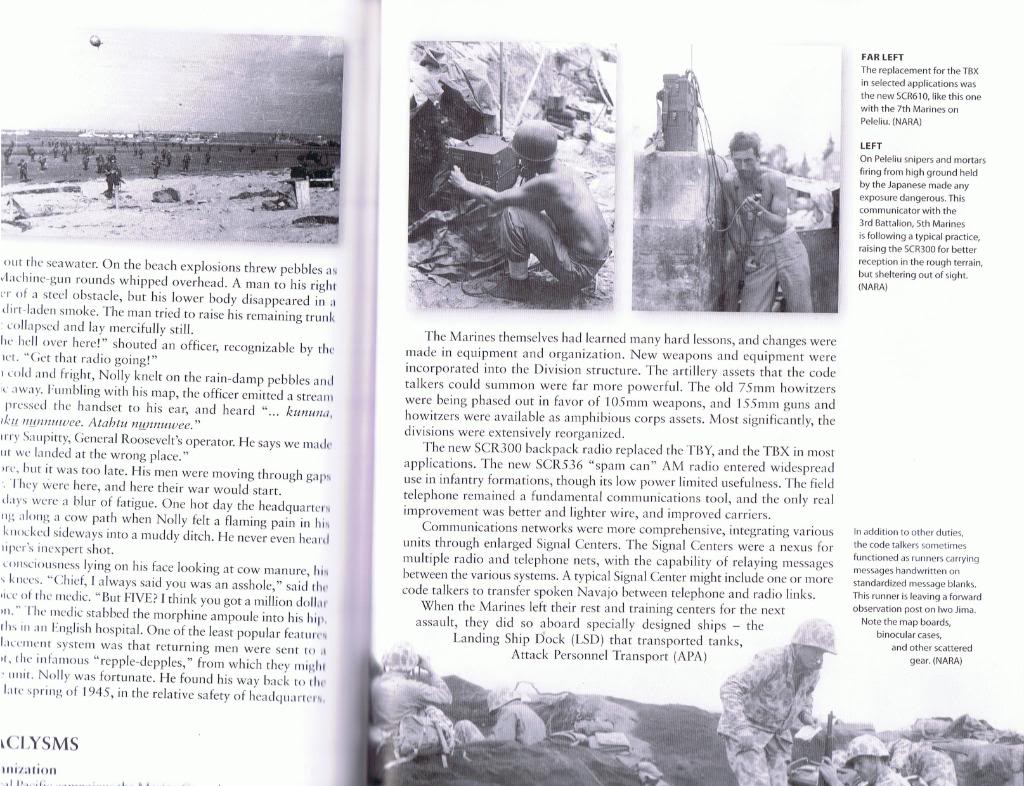
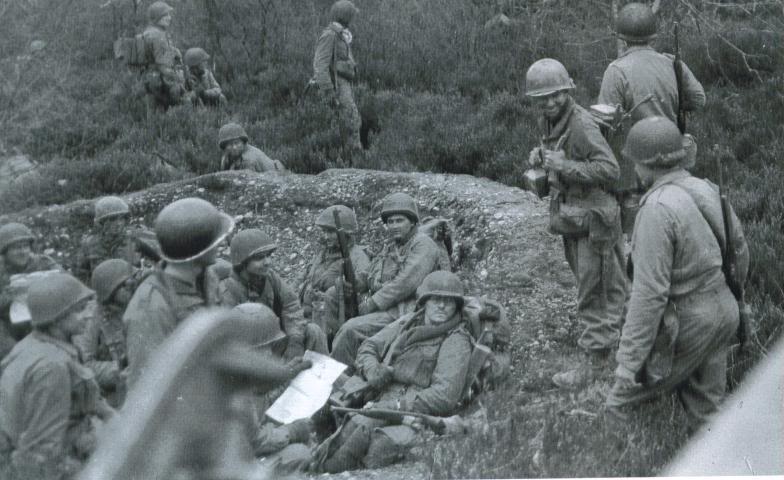
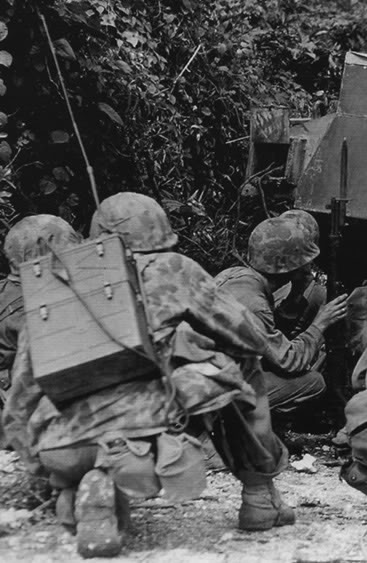
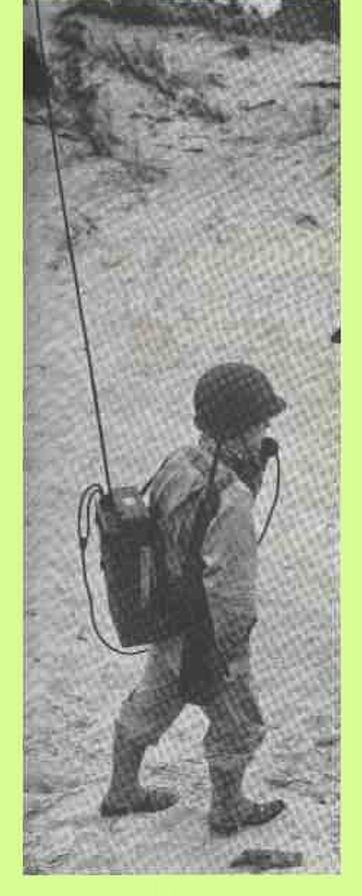
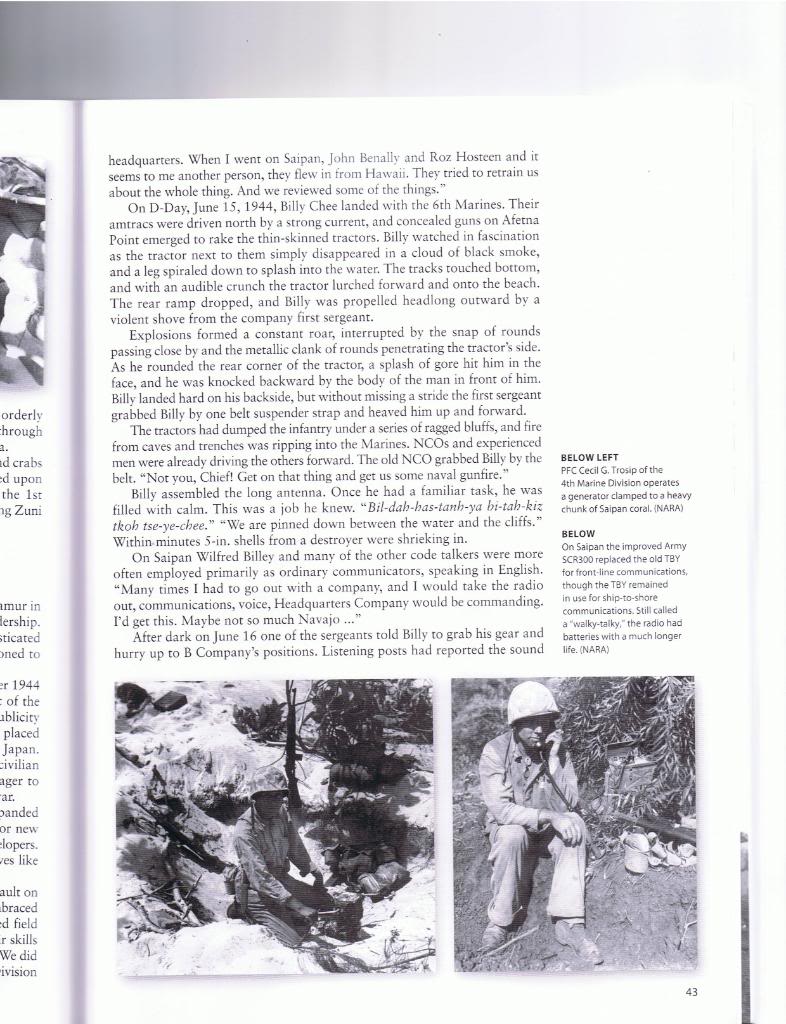
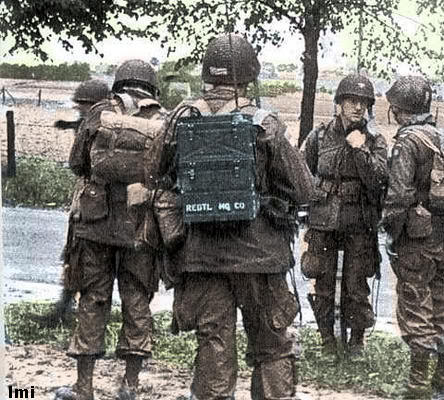
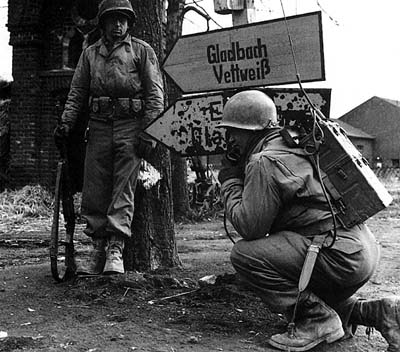
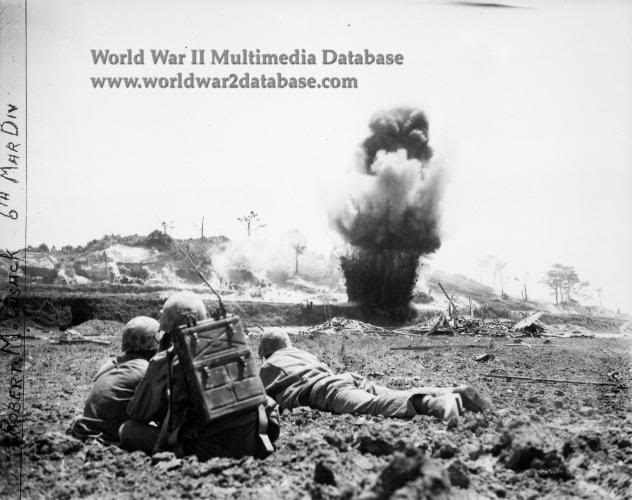
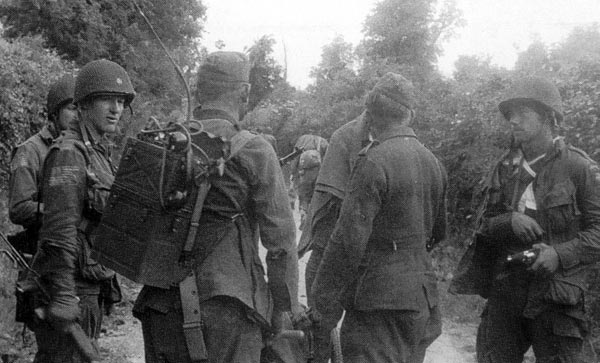
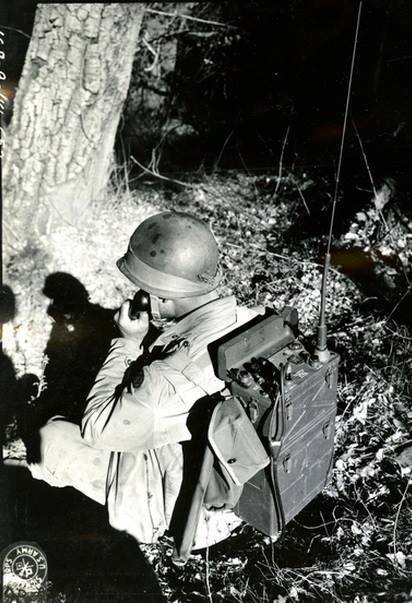
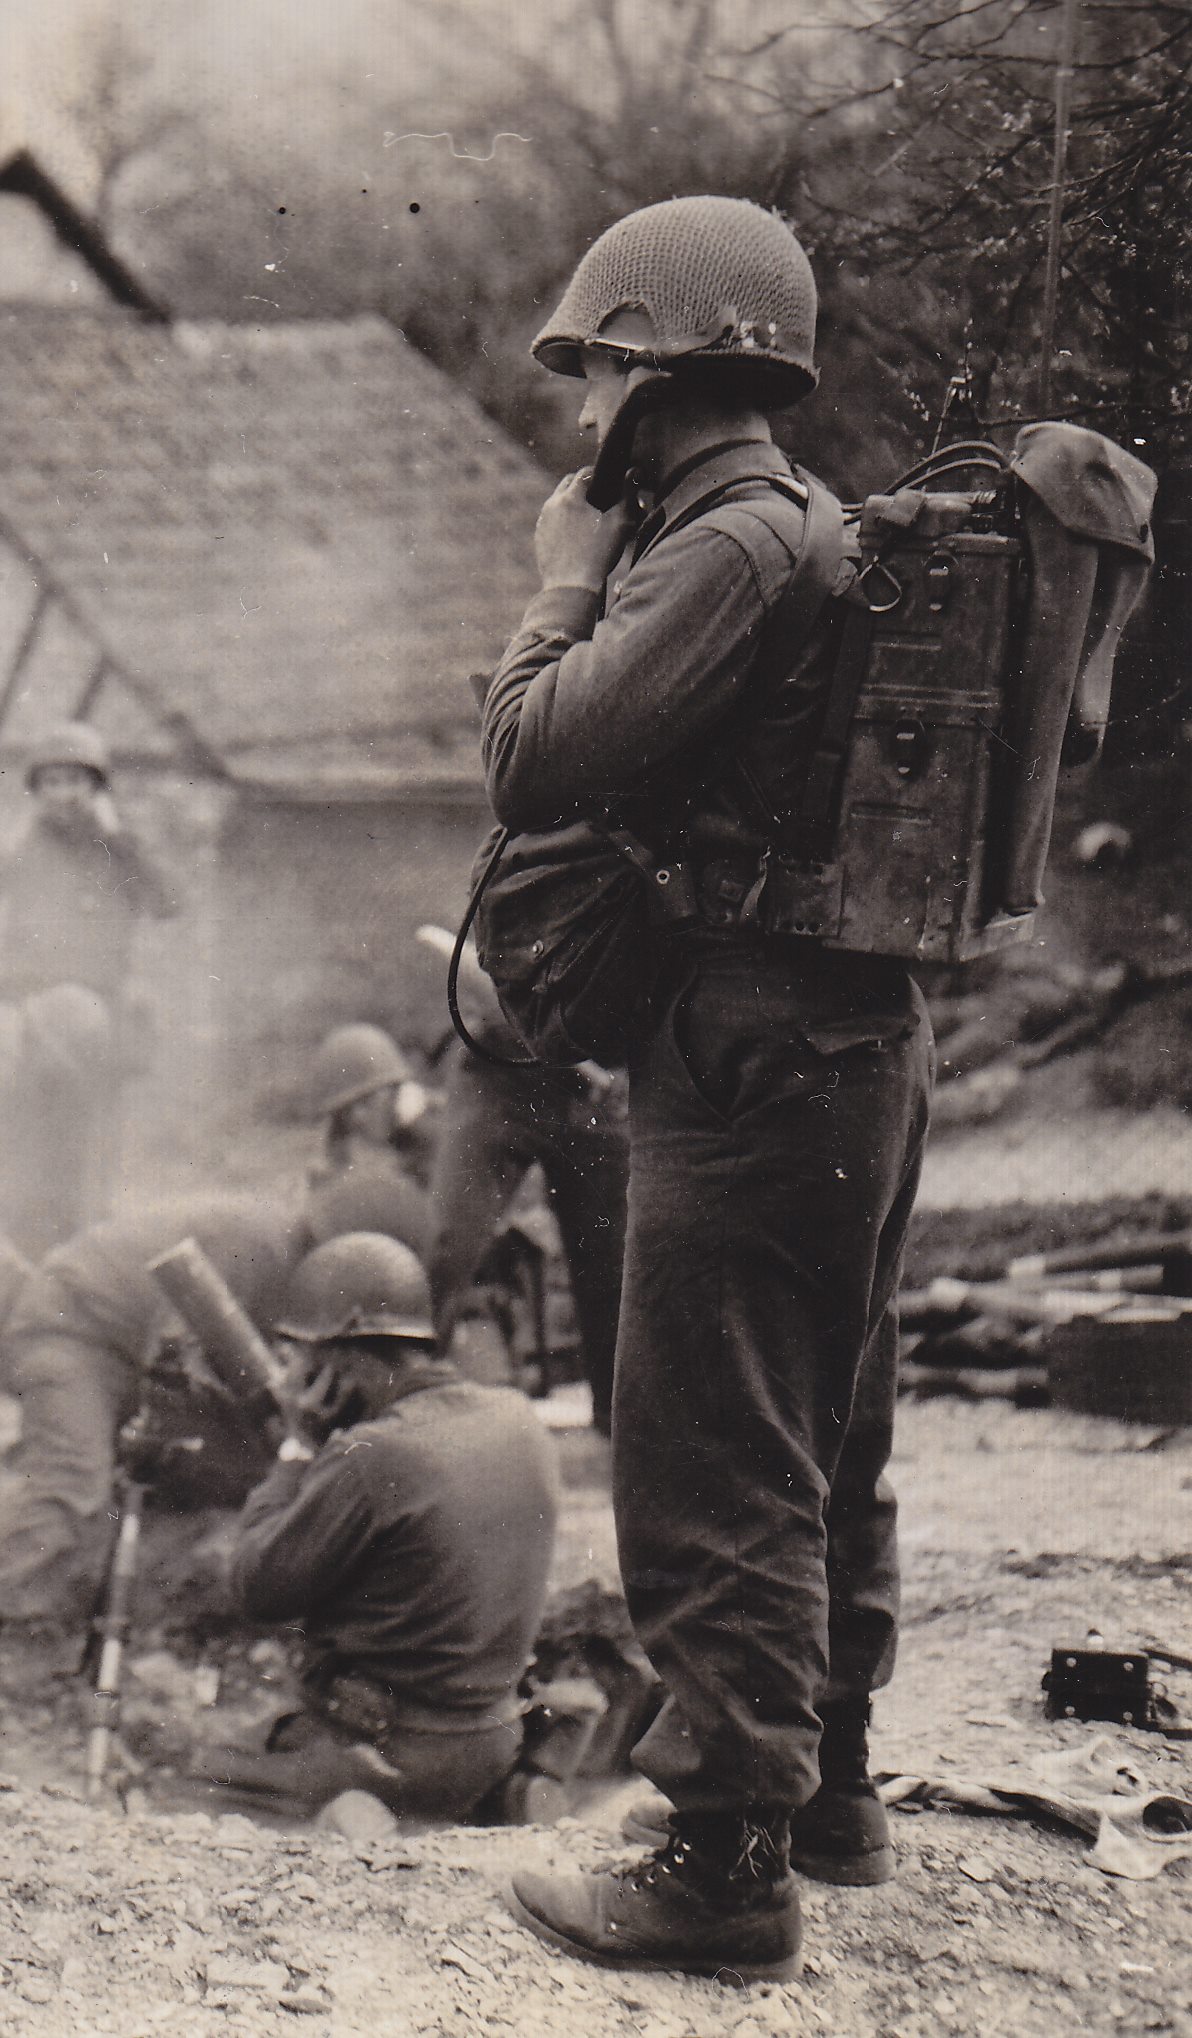
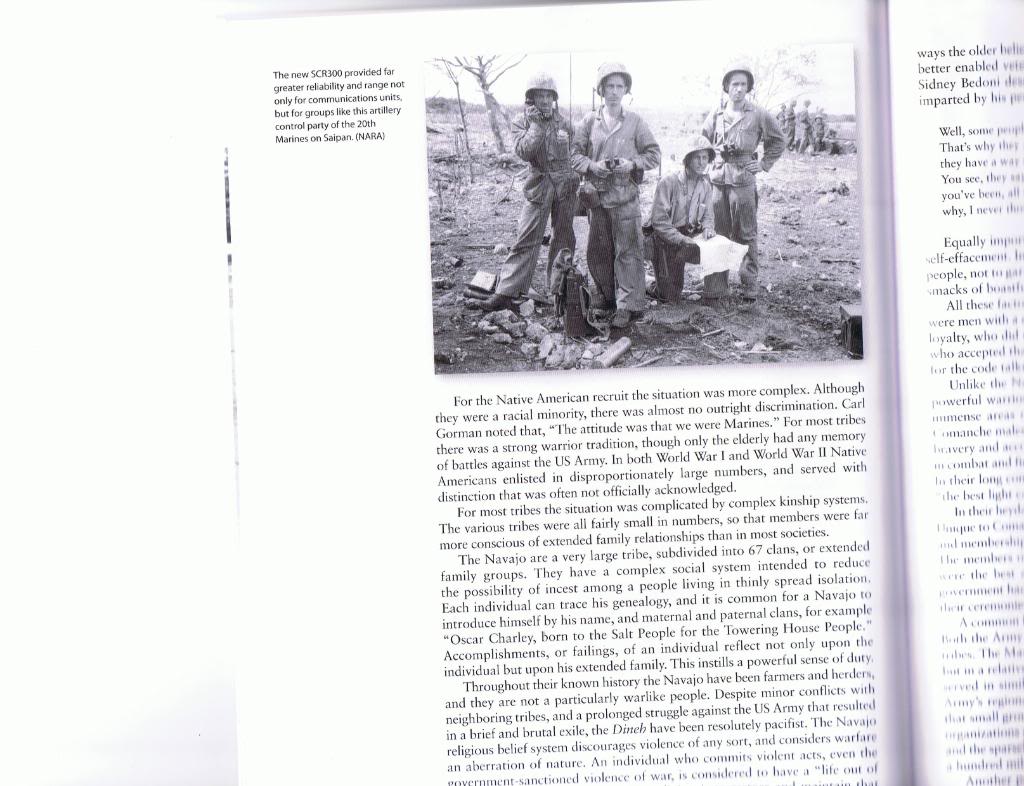
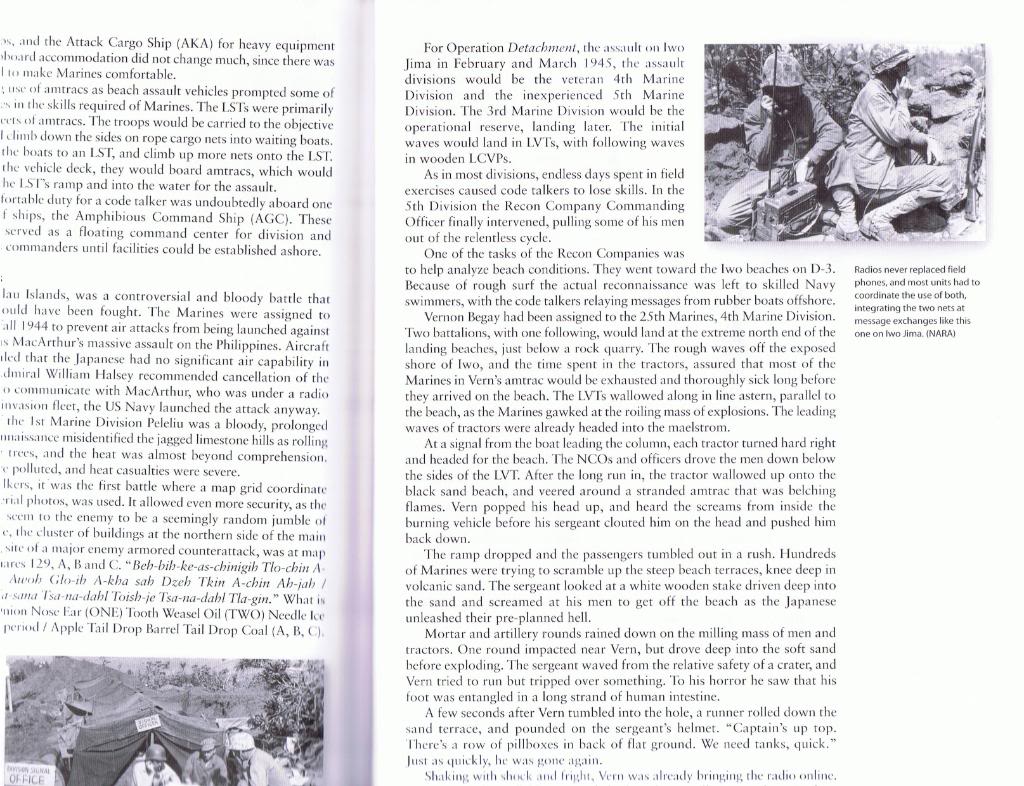
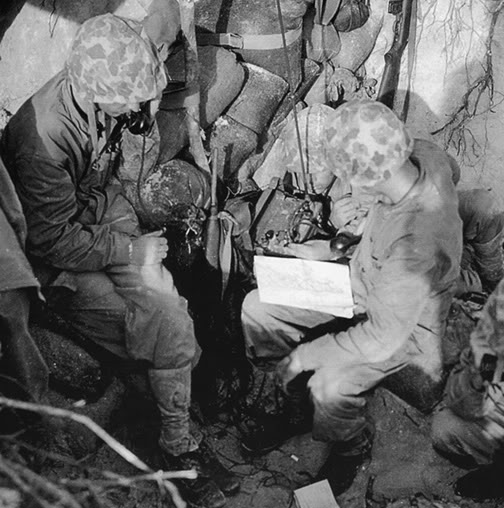
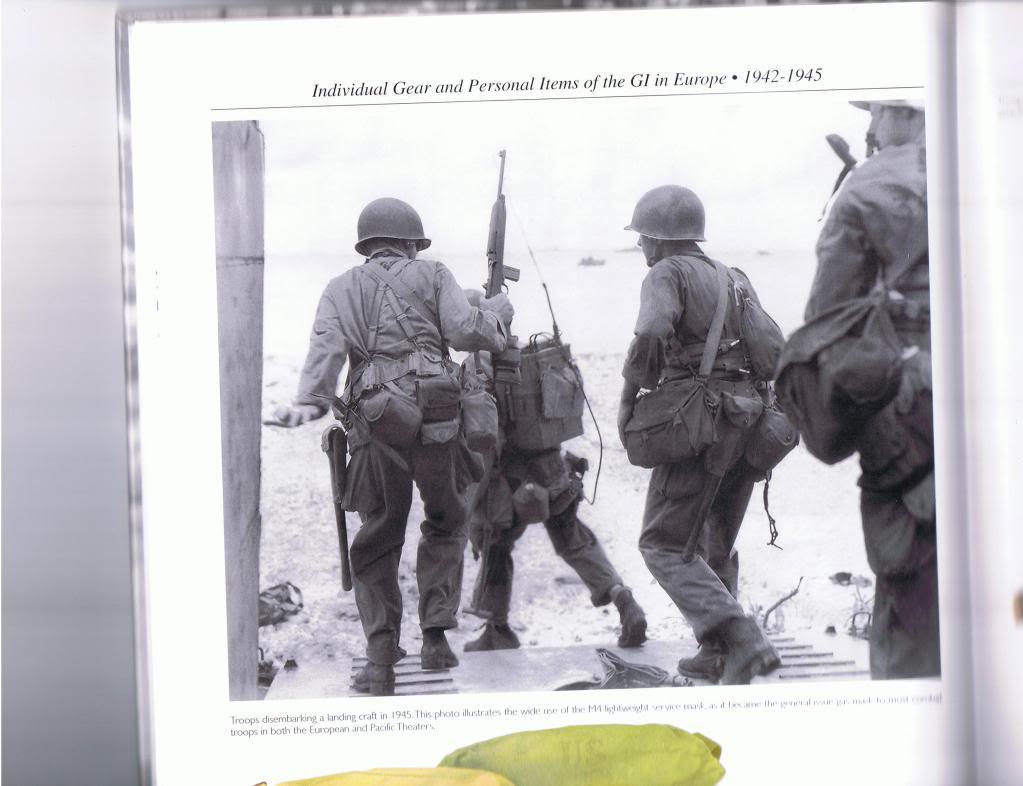
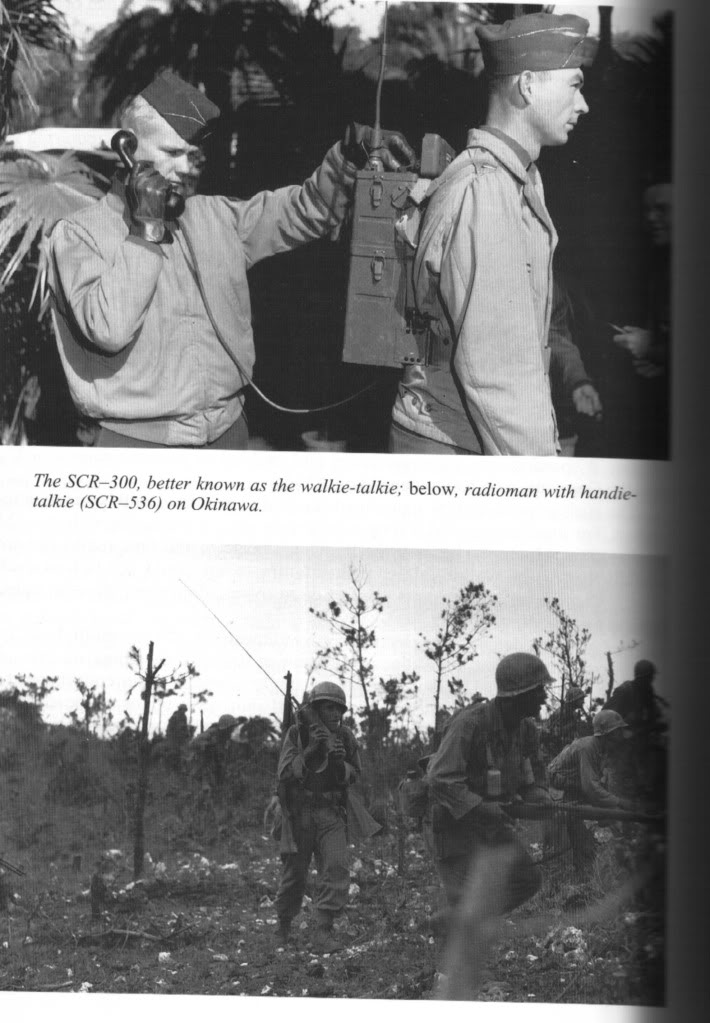
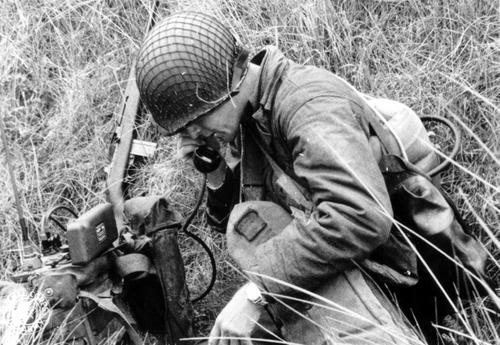
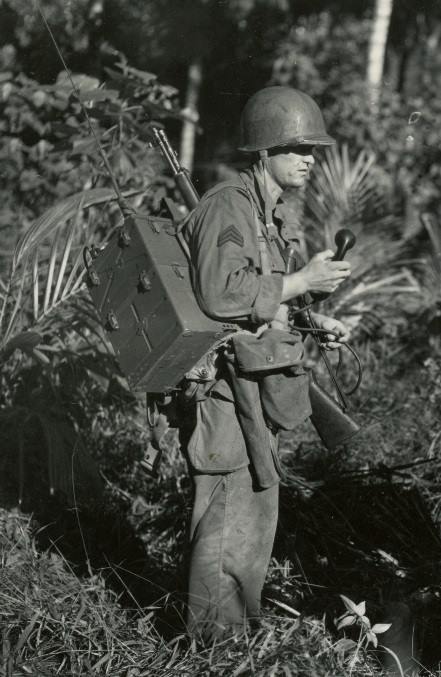
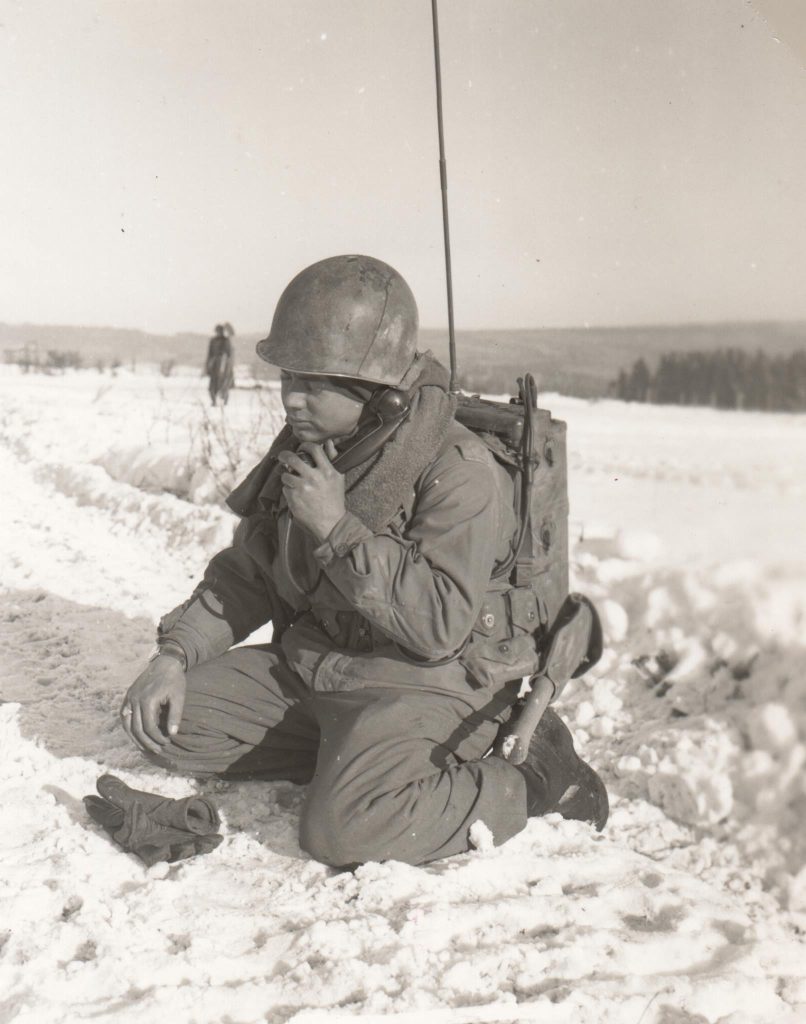
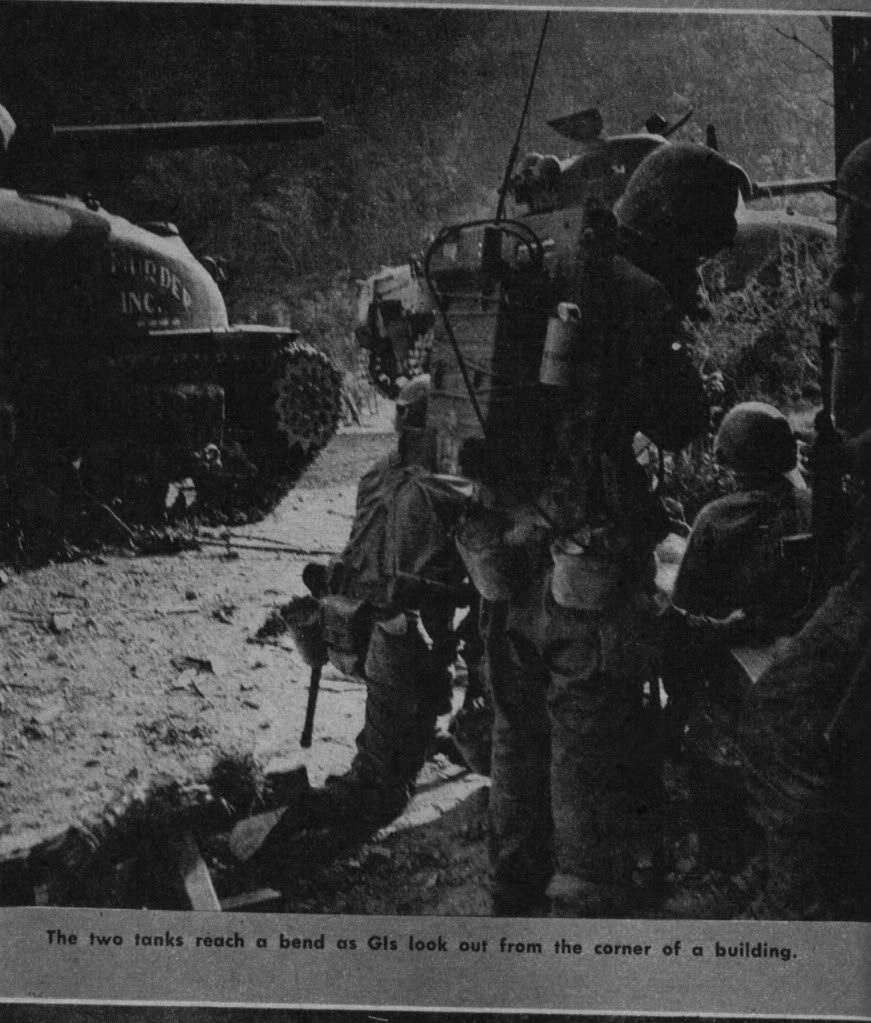
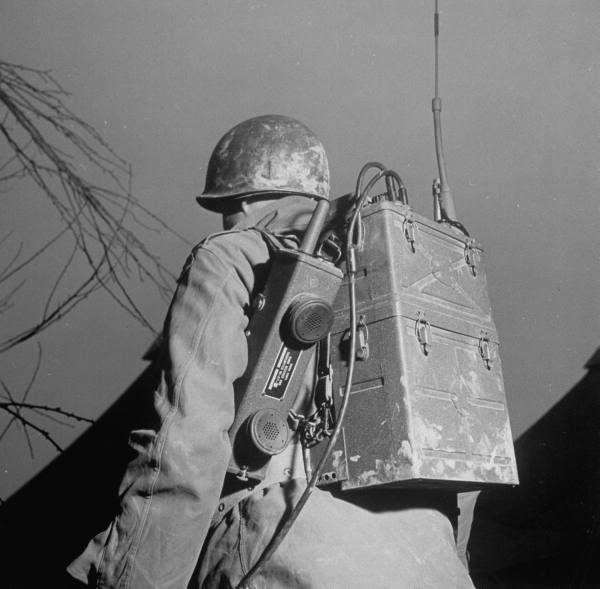
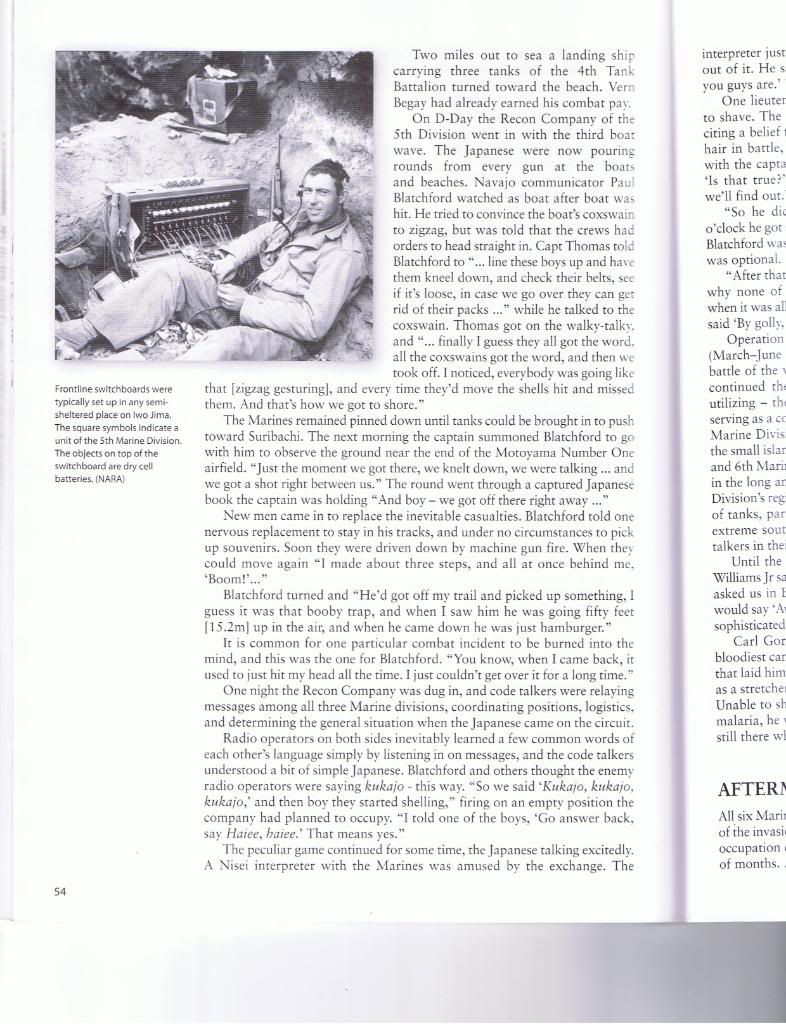
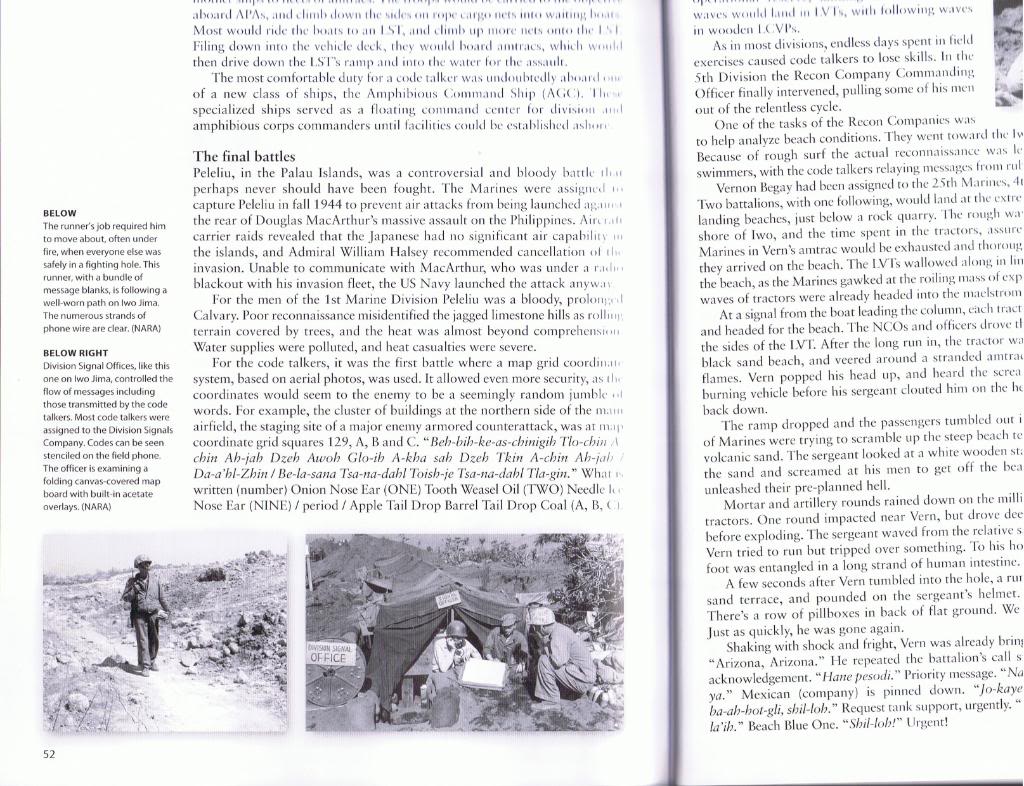
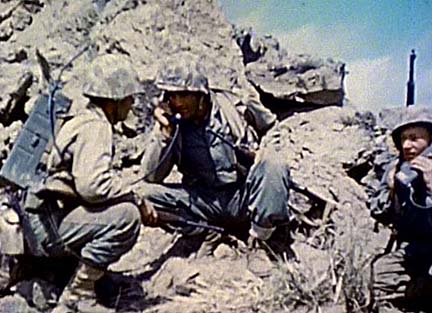
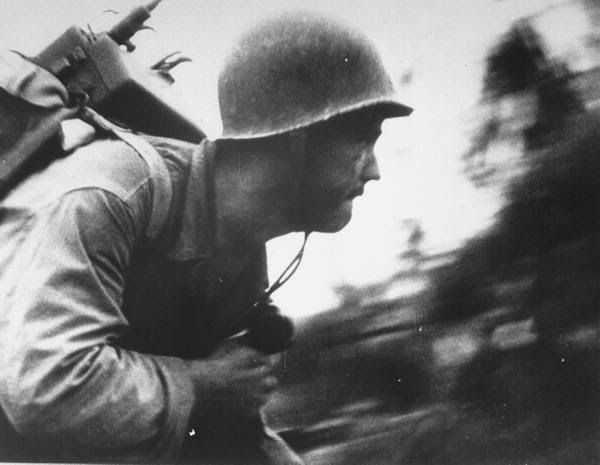
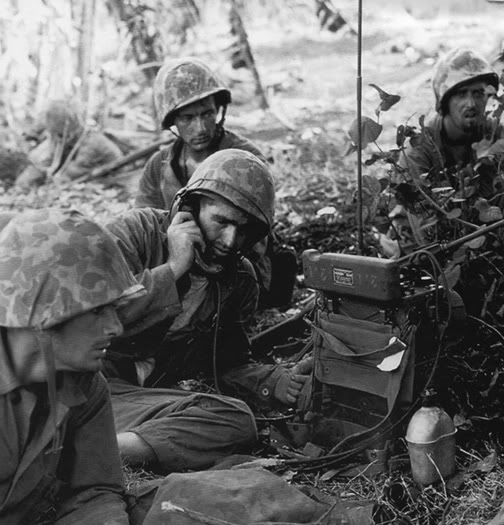
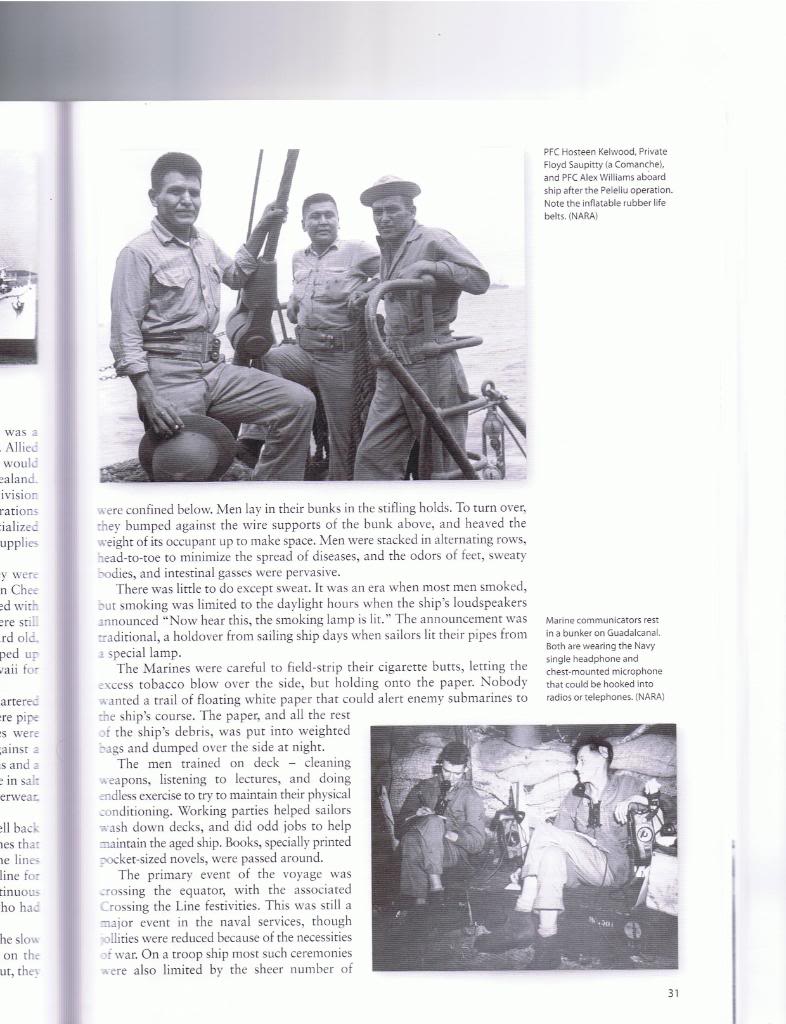
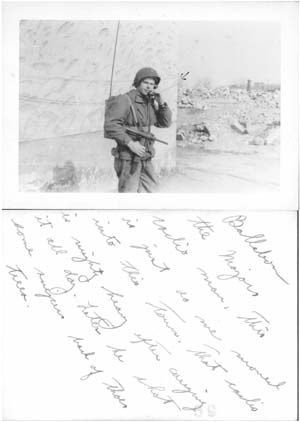
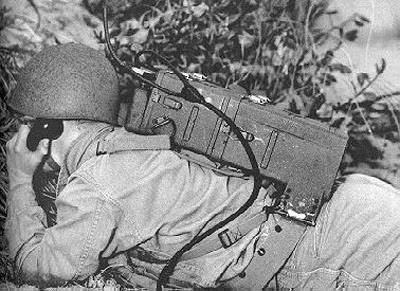
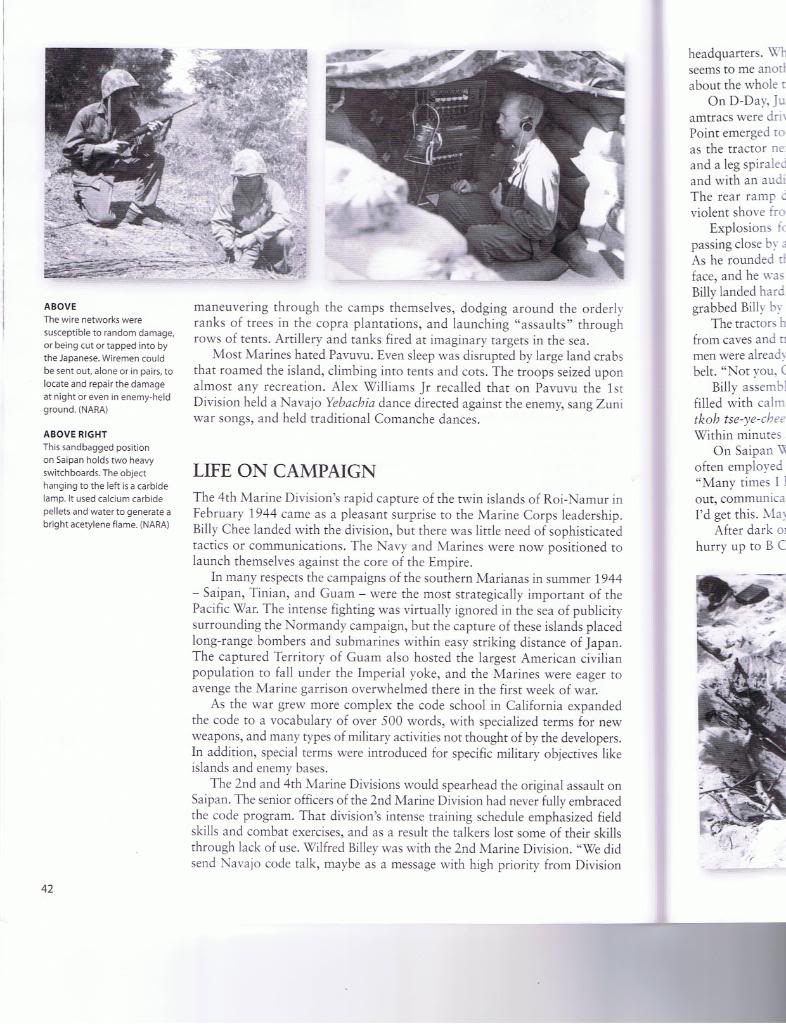
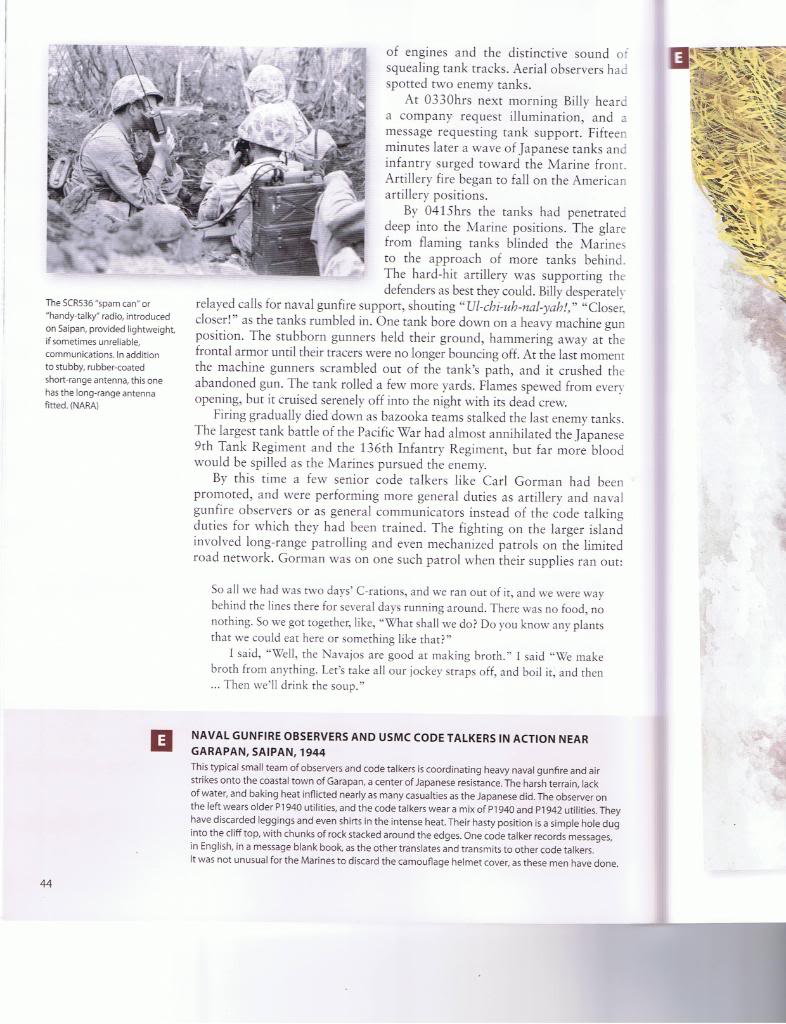
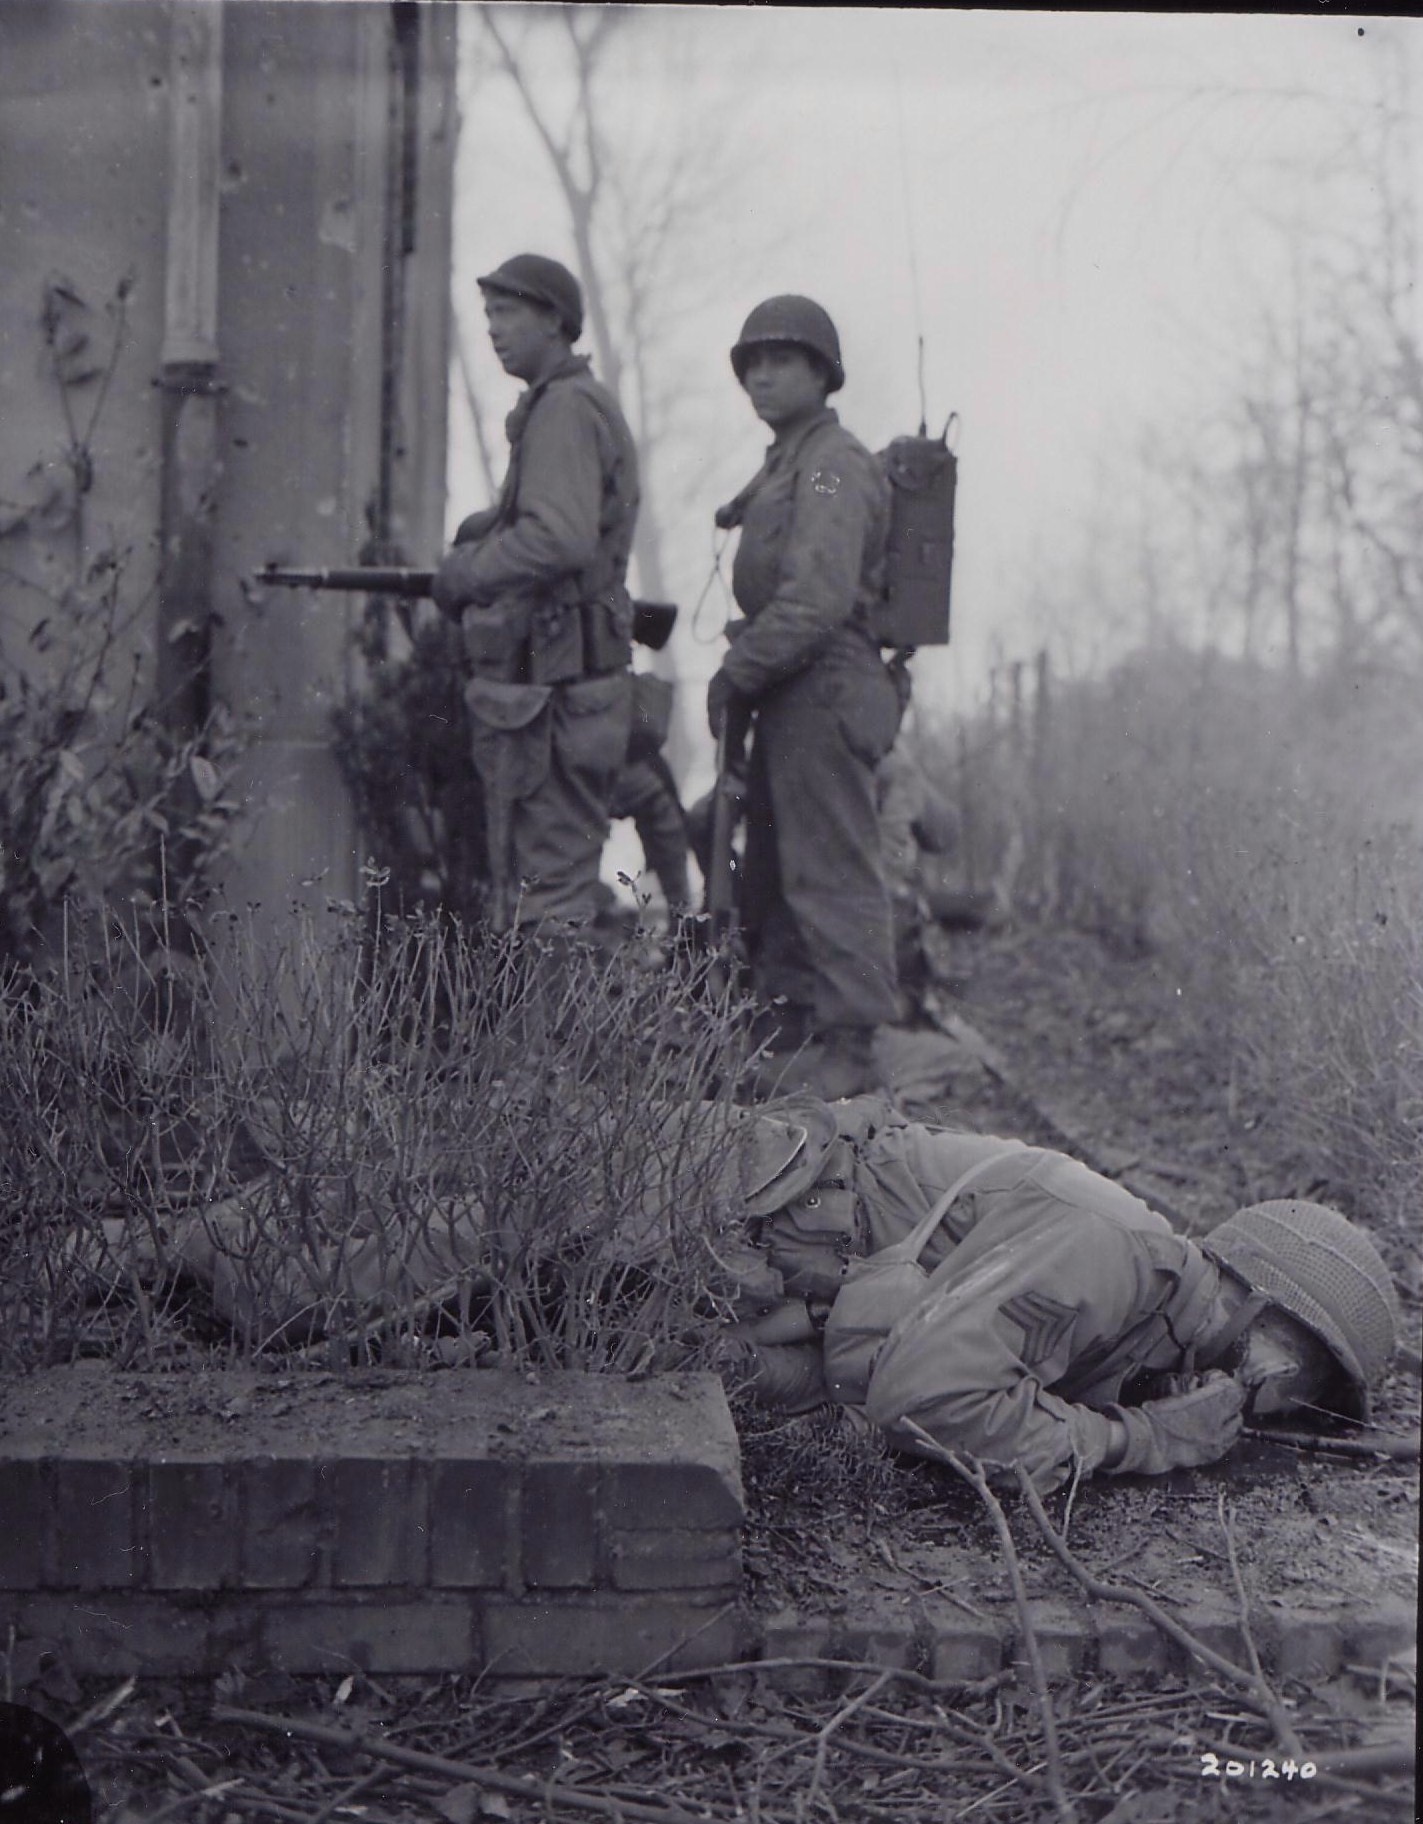
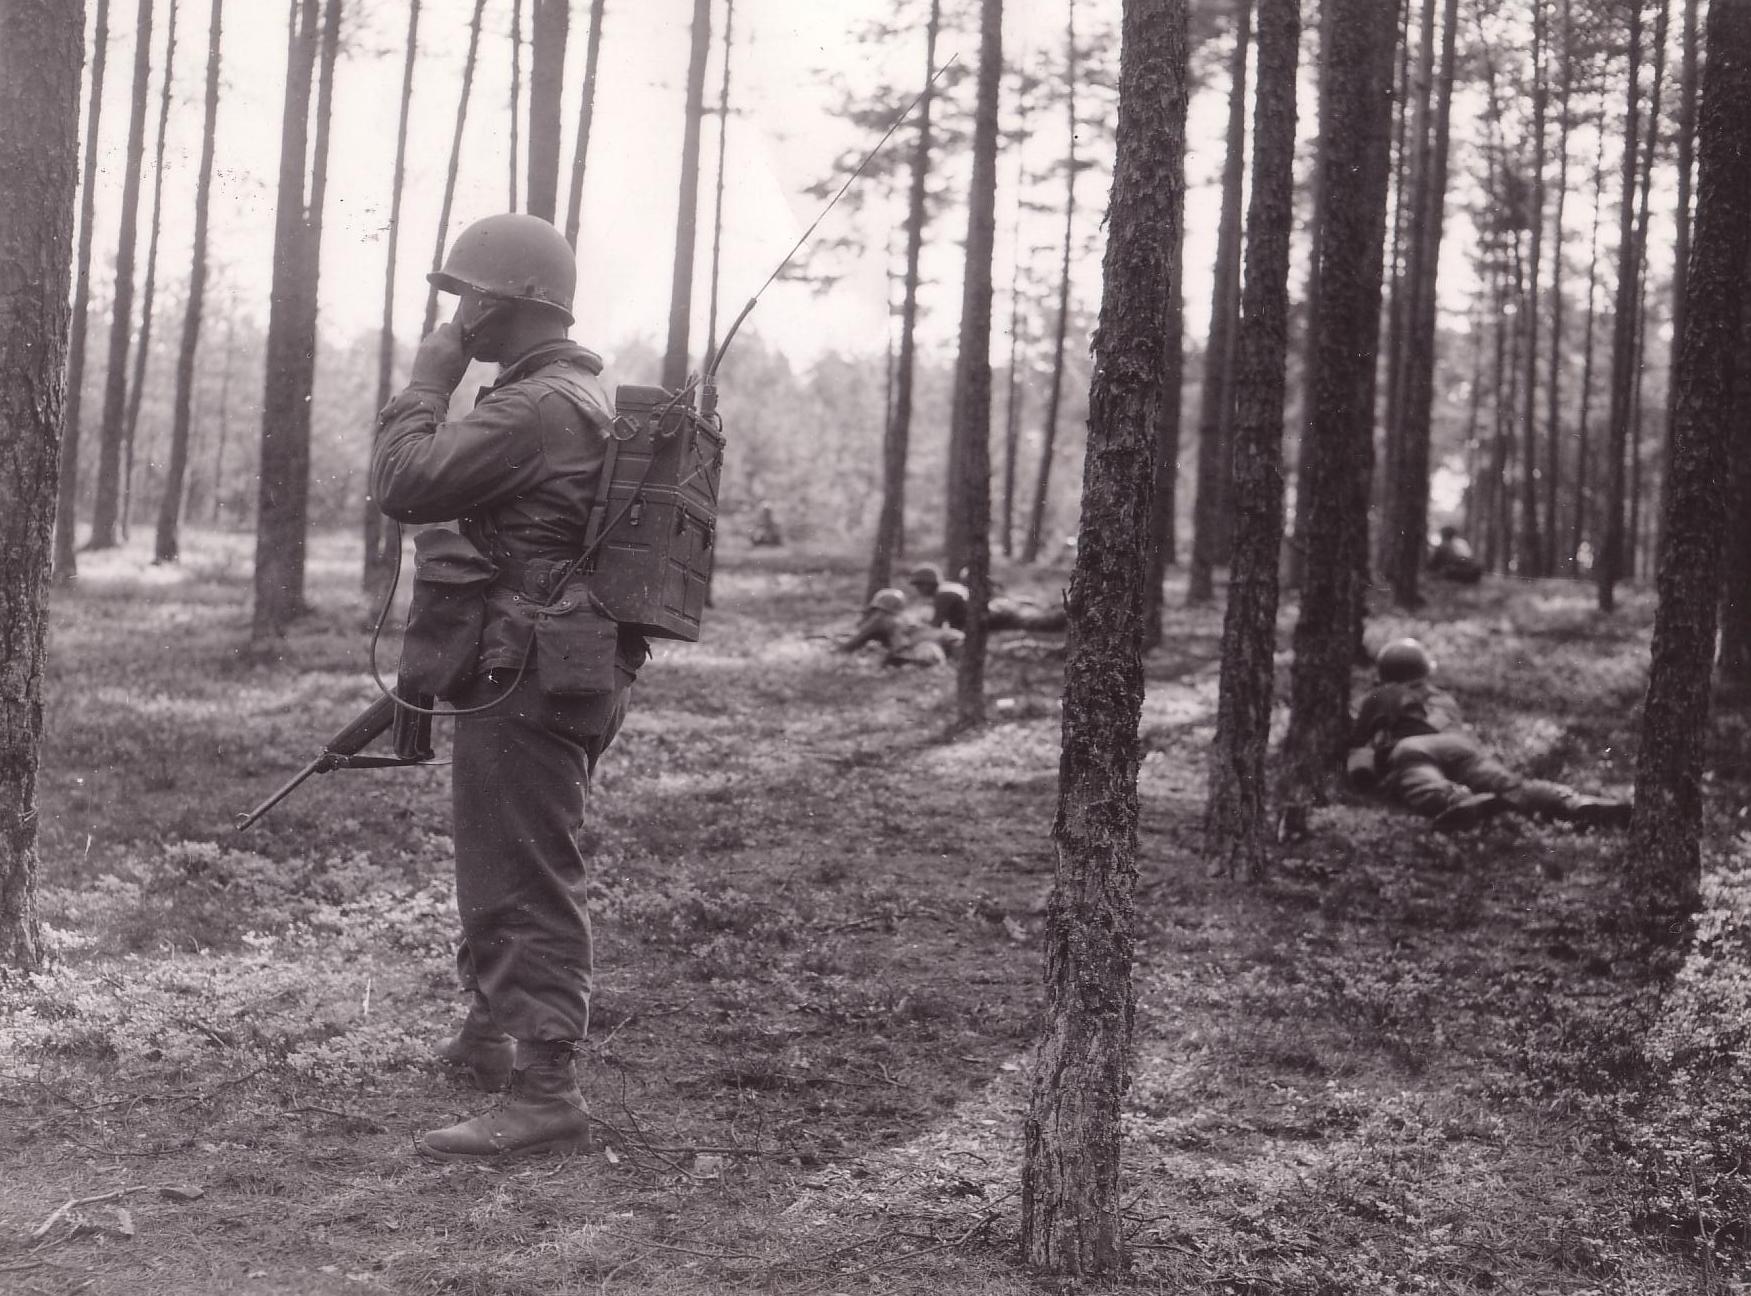
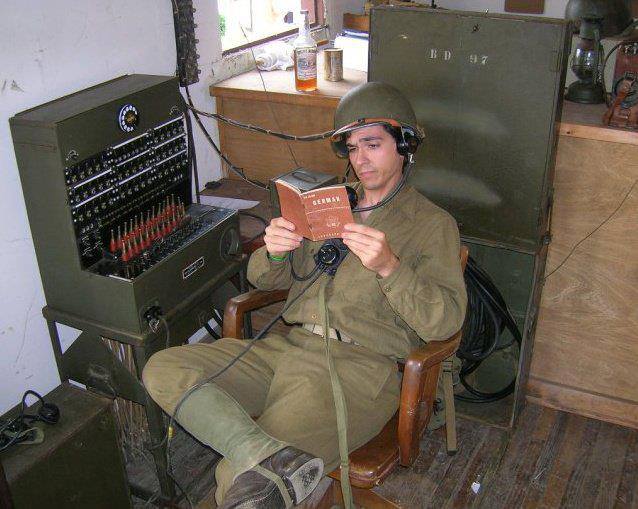
Below is a group of original SCR-300 radio images (though some images are also of field phones and switchboards, as they are commonly seen together with a radio, especially in a command post type setting). These were collected by Chad Phillips on Facebook and reposted here to get it out of their walled garden and searchable on the broader internet. You can download the complete photo collection here.
Shows the SCR-300 next to a small group of officers. The radio operator has an M1943 shovel and what may be a raincoat tucked over a belt on his lower back, below the radio
Images
Post-War image from 88th TRUST occupation duties, but it’s not like things immediately changed when the war ended.
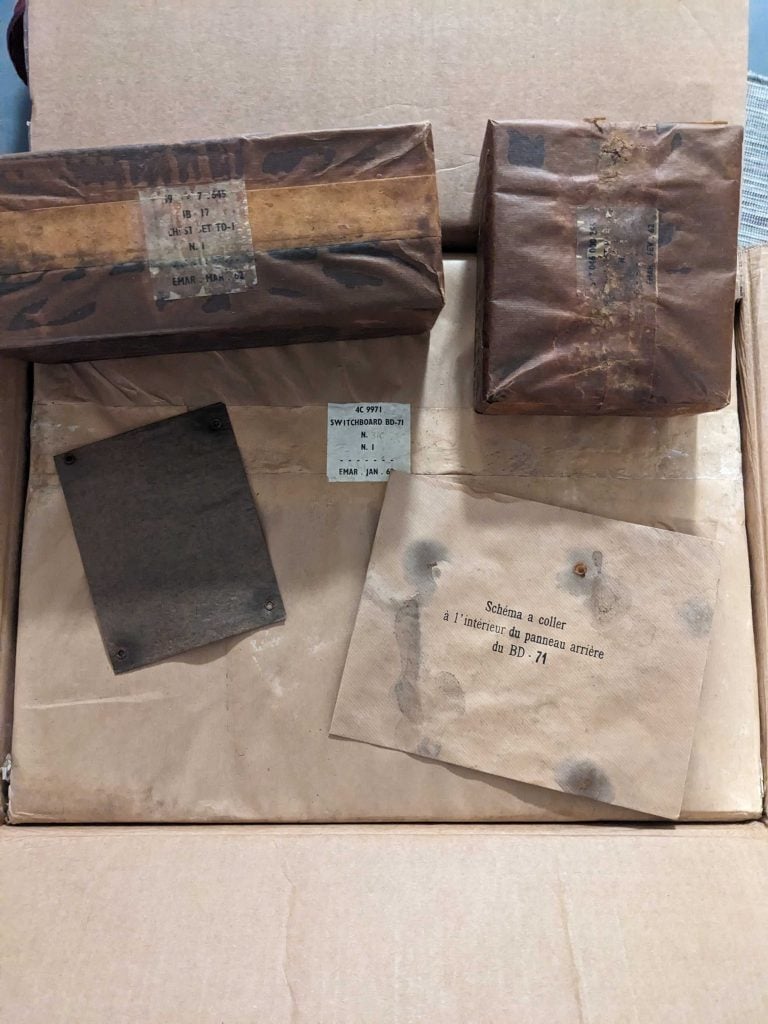
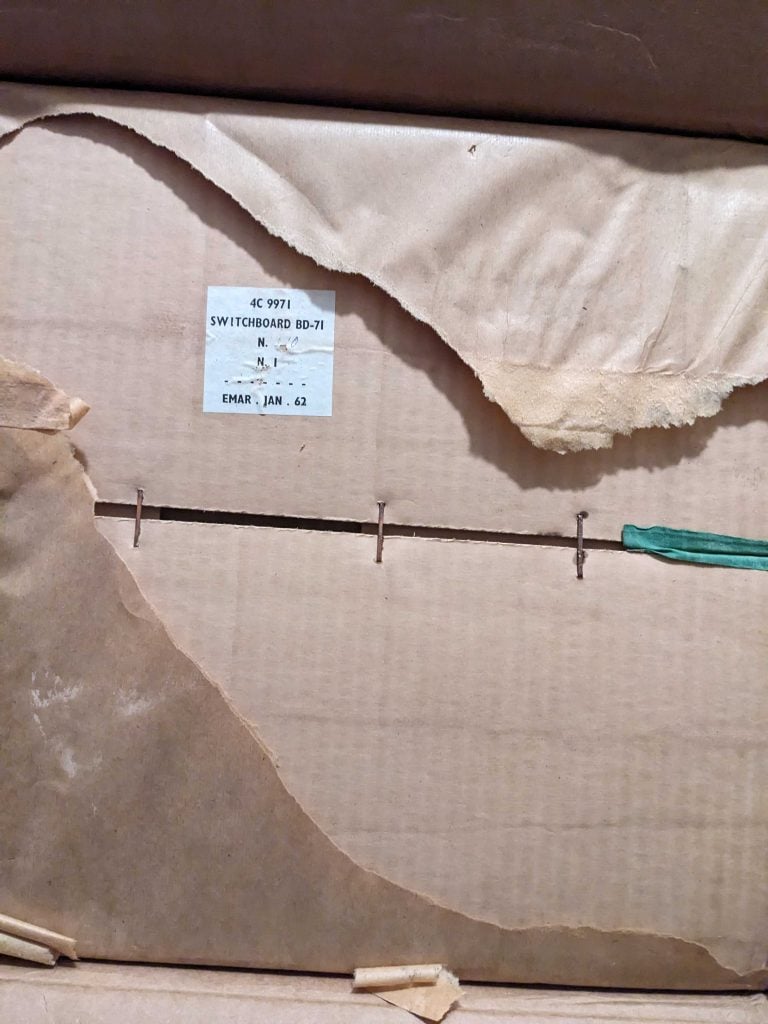
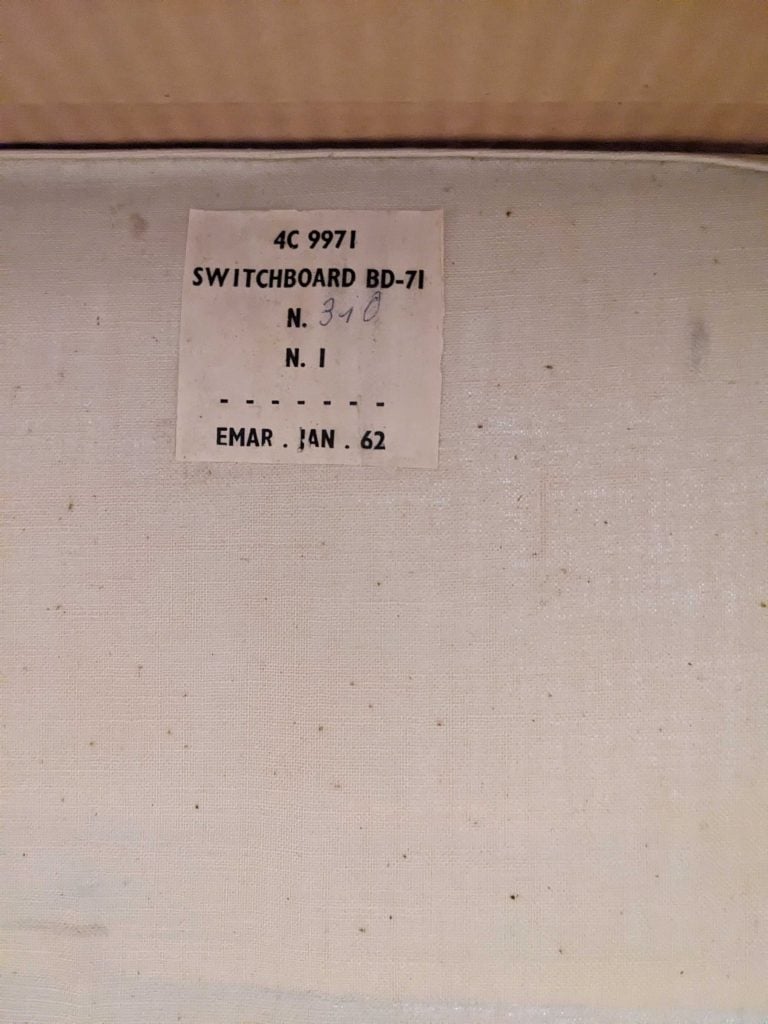
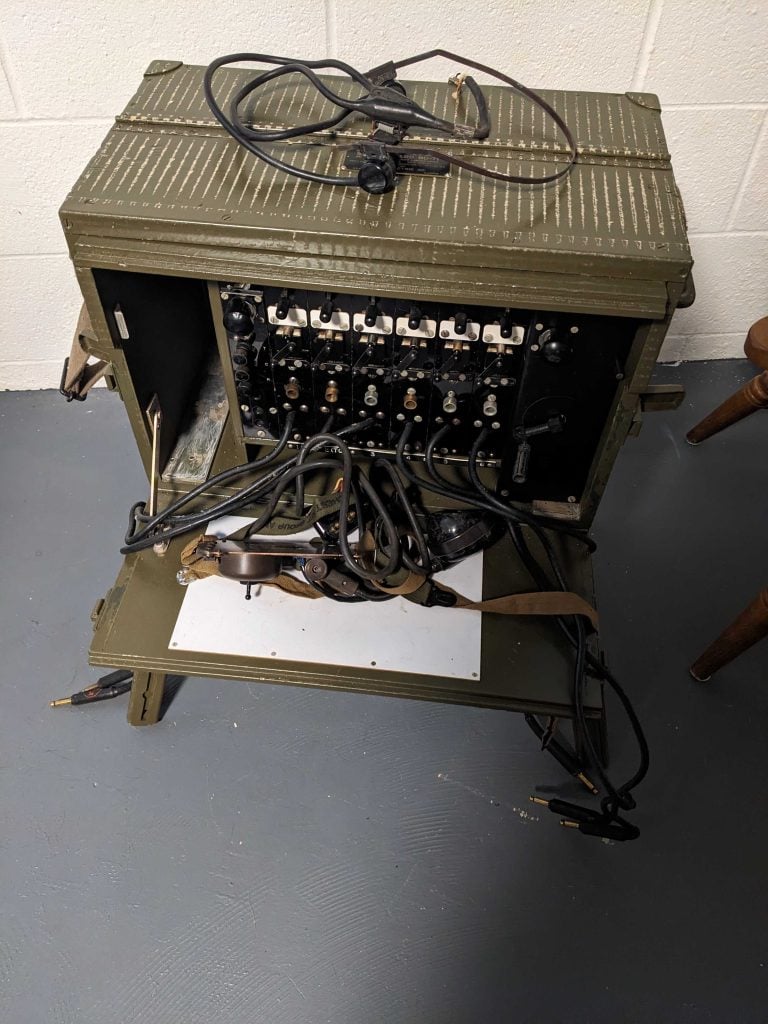
Advanced Guard Militaria offered a French repacked switchboard for $250 dollars, shipped. When I saw that I pounced on it as it was a good price and I wanted to rebuy the BD-71 switchboard I once had. I bought that one for $80 dollars at an auction in 2011.
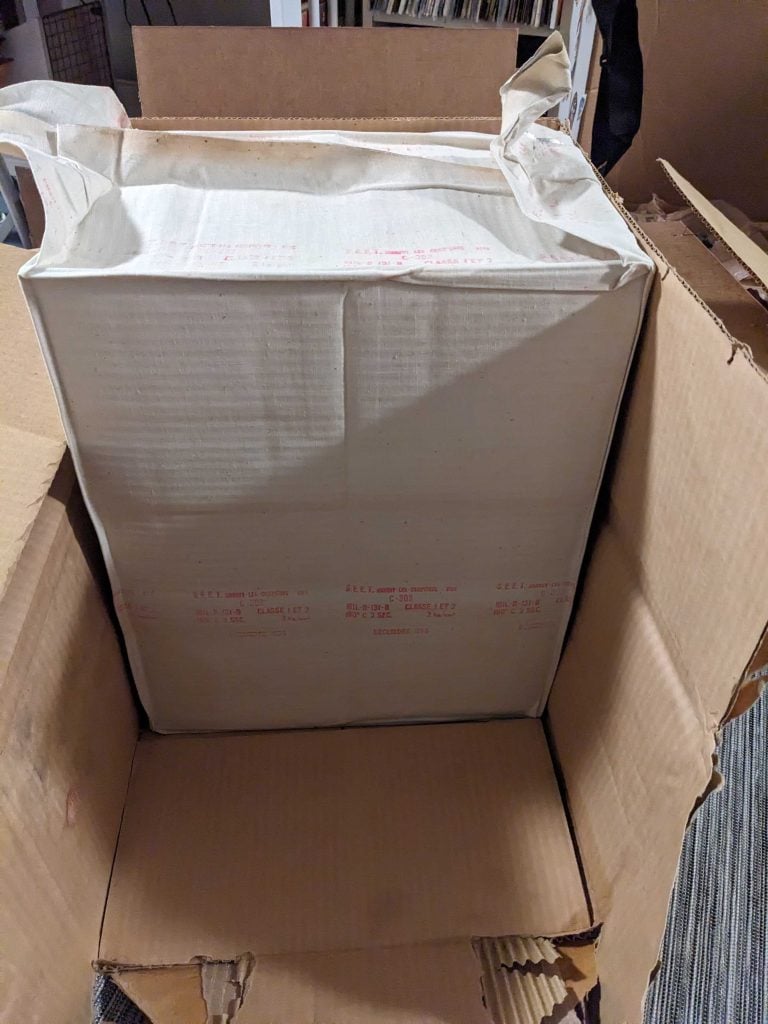
The switchboard came in a large box and a smaller box contained the accessories.
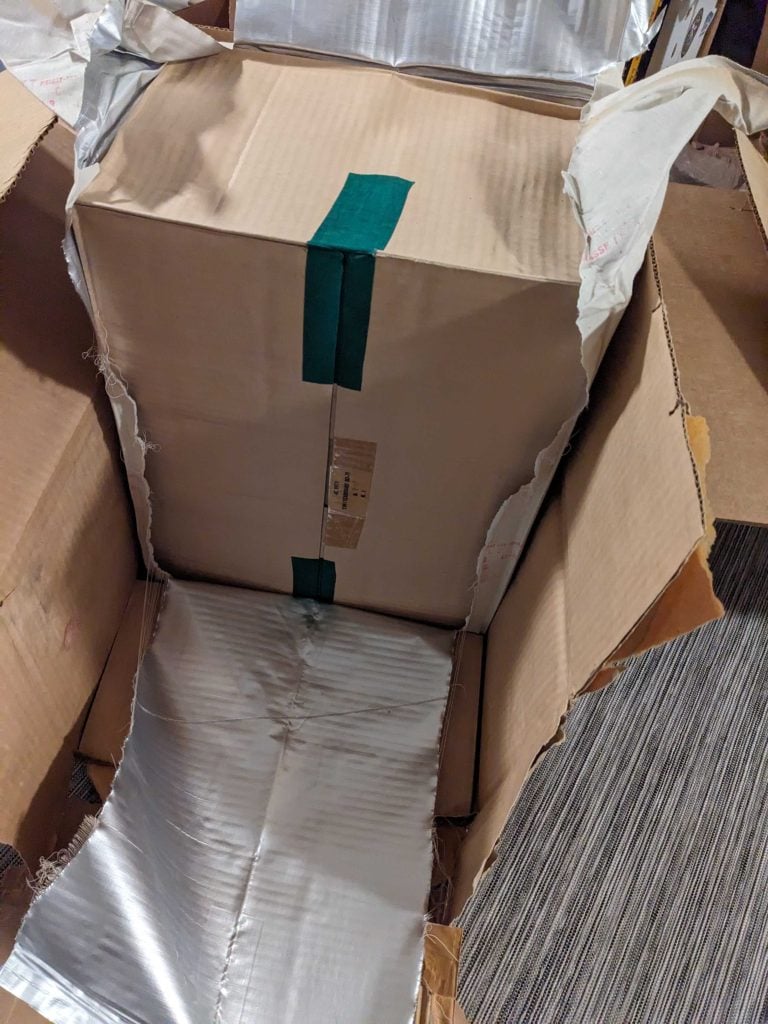
Unpacking the switchboard was like peeling back an onion. First I had to peel back some paper coverings and open the box.
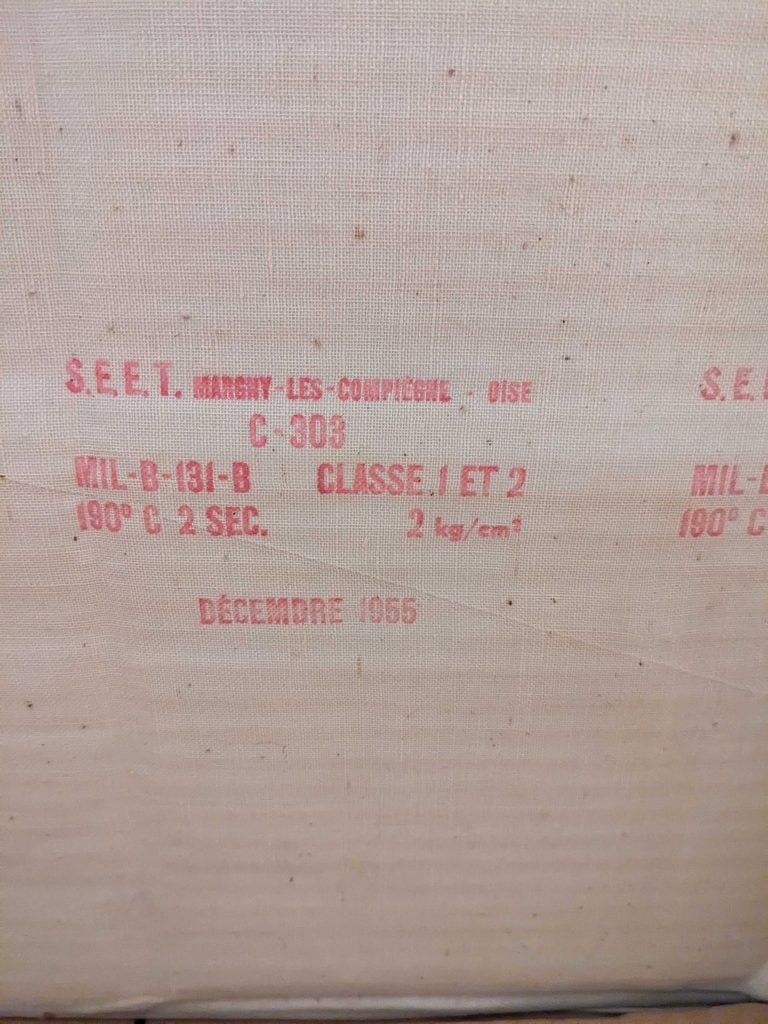
Next, I discovered some kind of canvas, metallic-backed waterproof bag. When I opened it up, I probably should have done it outside to be safe as the bag appeared to be vacuum sealed, and yet when I opened it, I heard gasses escaping.
Who knows what kind of gas might have been pumped into the bag prior to sealing? At any rate, I got a lung full of 1968 French air.
When I opened it up, there was another box!
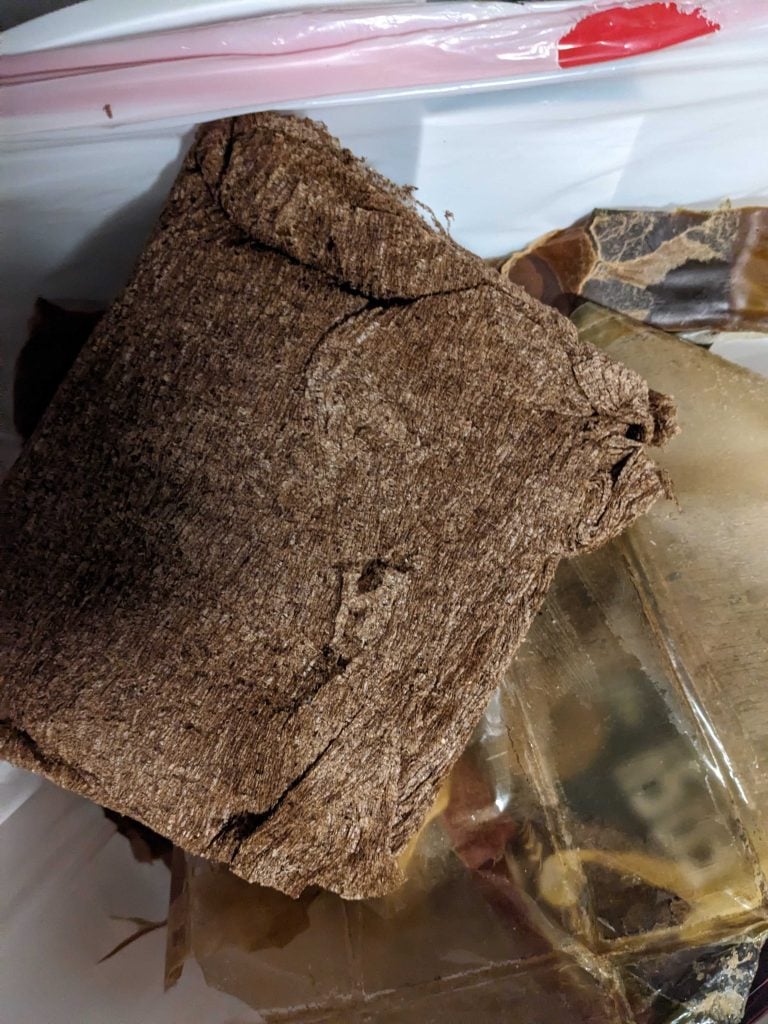
When I opened the box, the switchboard finally came into view. It was packed tightly up against cardboard (which left packing lines on the unit). It also contained this weird brown cloth-like packing material (if anyone knows what that is let me know!) –
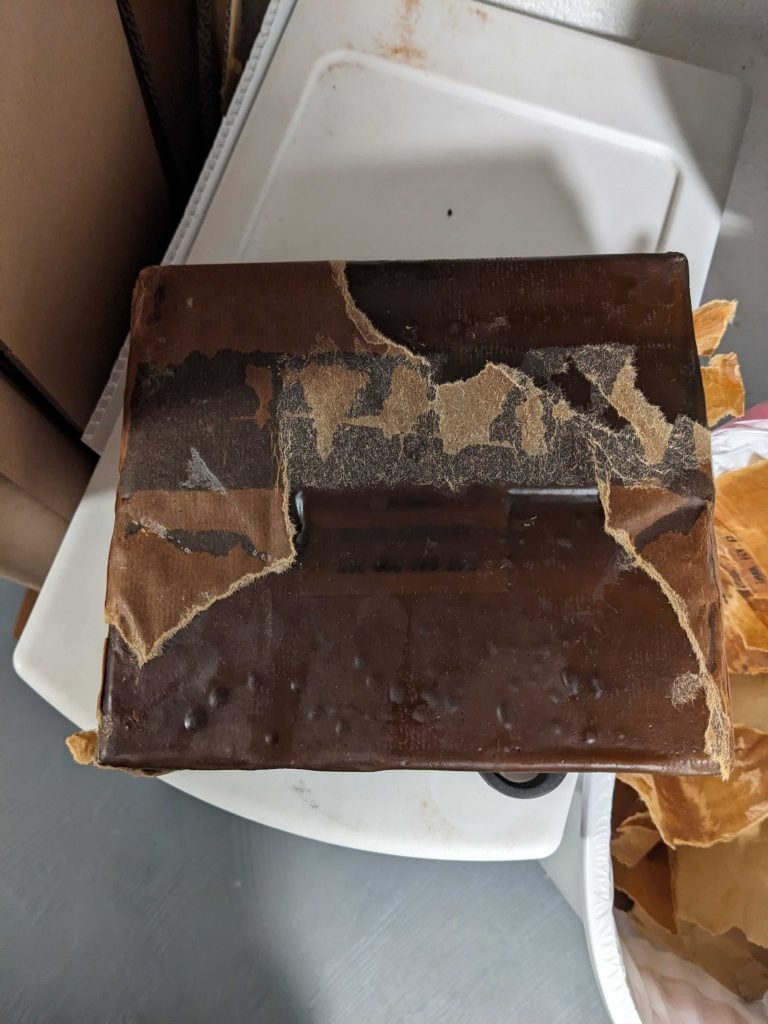
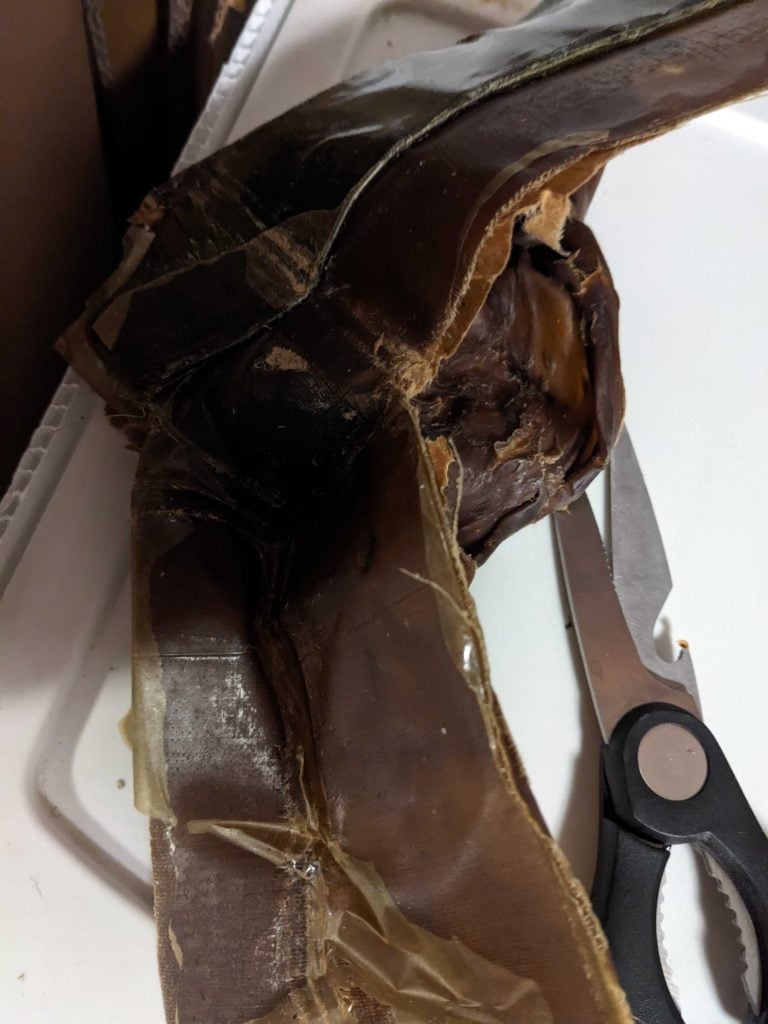
The accessories were all in waxy and gummy waterproofed cardboard boxes. I had to use scissors to cut it open.
The results look great! I really like the switchboard, the white/tan cardboard lines not so. If anyone had an idea on how to remove them without damaging the wood let me know!
When I began to open up the switchboard, there were documents and manuals. There was a French inventory list, a French wire and circuit test, a wiring diagram, and a field manual, TM 1-330.
The wiring diagram can be downloaded as a pdf here and is 7in x 9in. The material isn’t quite computer print paper, but not cardstock. I’d say if you could find a lightweight cardstock, that’s probably the best, or just printing it off on white computer paper would also work. The diagram would be glued or taped (unsure which) to the inside access panel in the back of the switchboard.
Now to make the switchboard more historically accurate to WW2, I bought a data plate and swapped it out. I kept the old French one and just added it to my bar as kitsch.
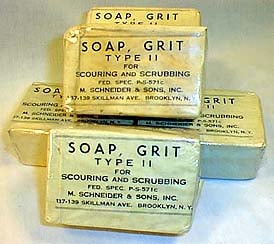
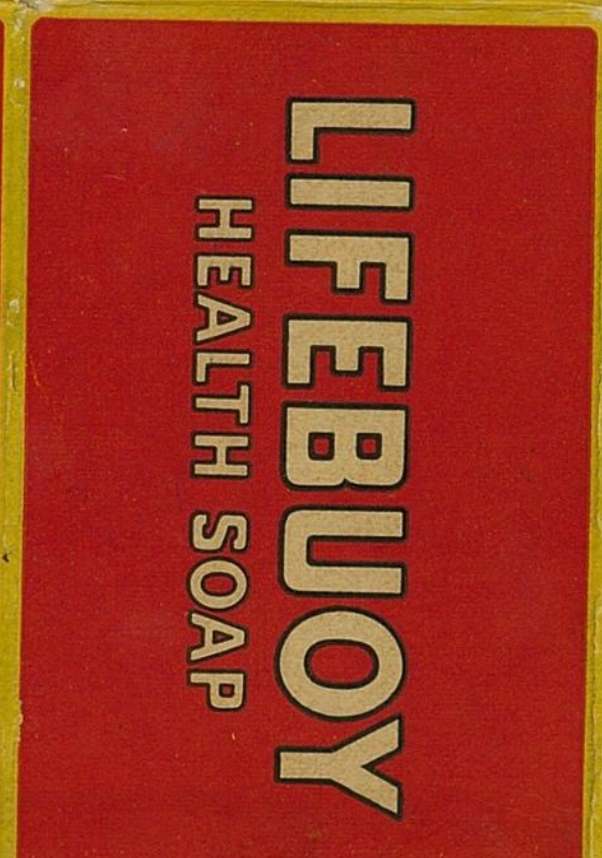
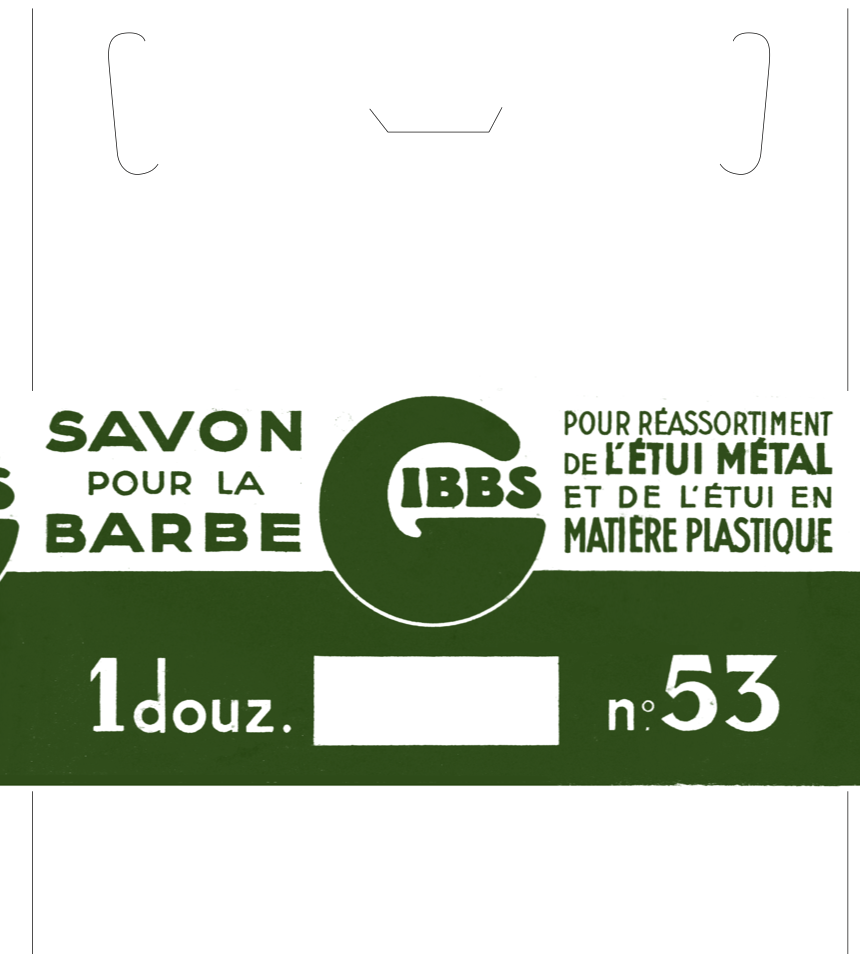
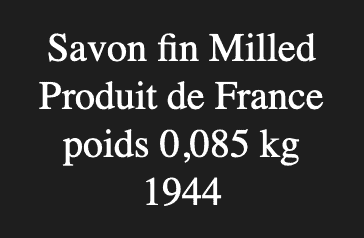
Hobsons Soap 4oz Airborne – Looks to be some kind of 101st Airborne -branded soap box. Made by the Hobson Soap Co. out of New York. Print on cardstock and then cut and fold where applicable. The soap was likely wrapped in paper inside the container. Use any standard 4-oz soap bar.
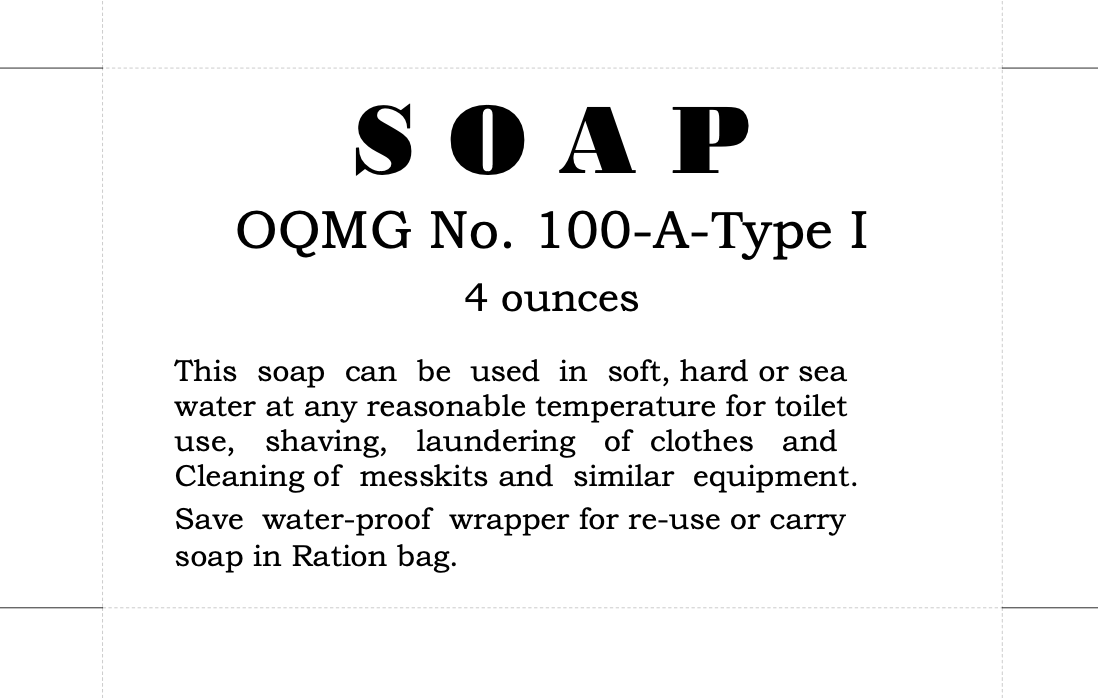
Soap OQMG No. 100-A-Type 1 4 oz – Bar of soap wrapper. Print regular paper. Use a standard 4-oz soap bar. The soap wrapper was made waterproof somehow. Maybe dipped in wax or used white waxpaper to wrap the soap, and then put the bar of handsoap in the box. Should be about 2.5″X 3.5″X 1″.
Foot Powder 1/5 Ounce packet – Print on brown bag-like paper, fold and glue, and wrap in cellophane. Put 1/5 ounce of foot powder into it. Five of these go into a Foot Powder, 1 Ounce box. For another packet to print, see here.
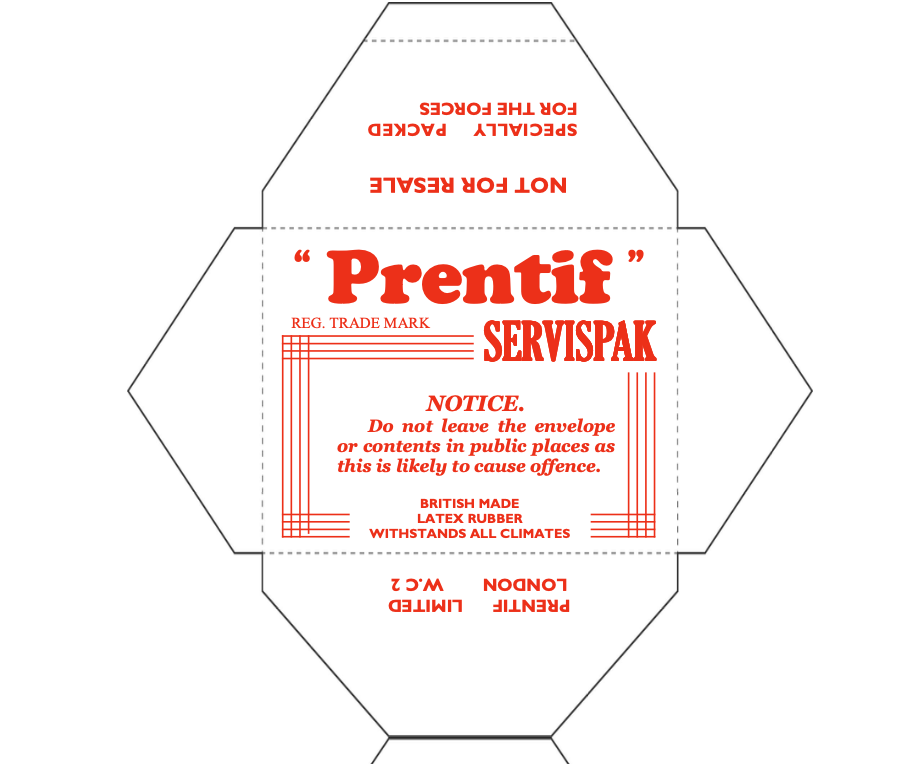
US Condom wrapper – Forthcoming. For a historical review of condoms in wartime service, see Condoms in WW2.
Toilet Paper Package – The US Army got 22 sheets wrapped up in brown kraft paper. About 6in in wide by 4in. long
Fold in the sides to the center. Fold up the bottom to about a third. Use some Elmer’s type glue to glue the bottom. Put toilet paper in the top. You can glue the top down or leave it open so you can reuse the package. Note that you really have to smash the paper in.
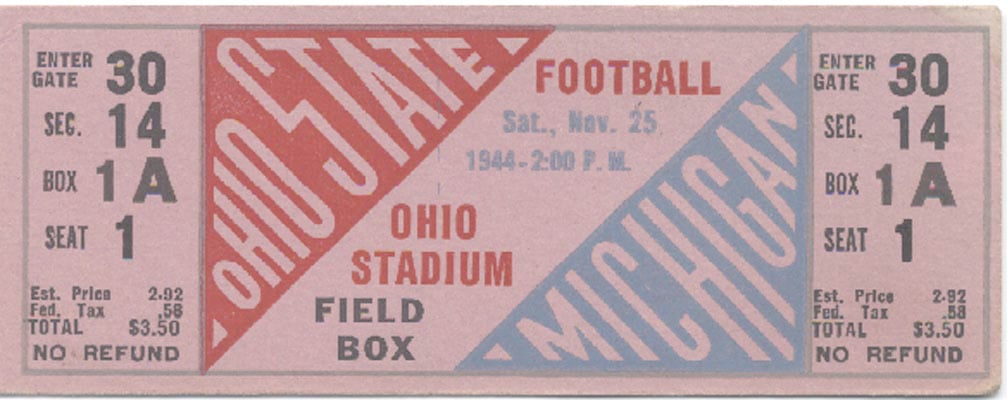
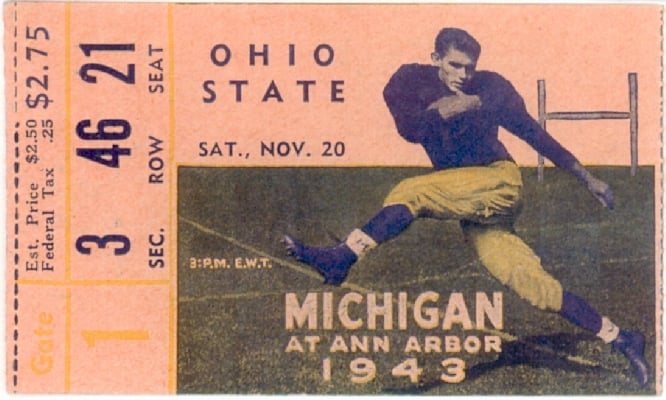
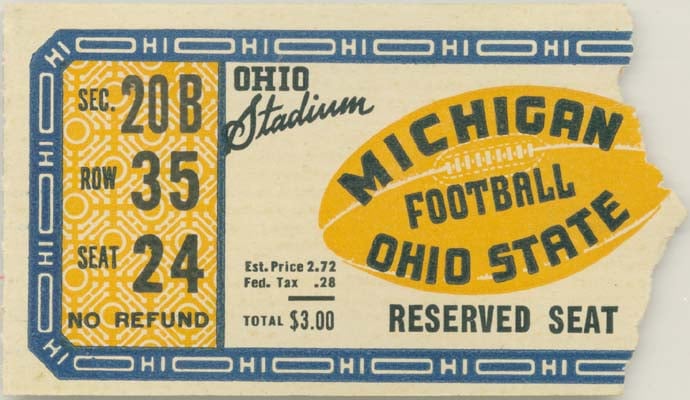
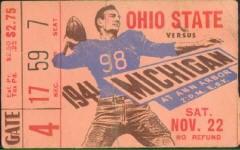
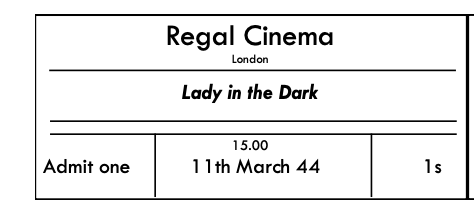
The Ohio State University vs Michigan Football Game Tickets 1941-1944 – The actual size dimensions are unknown, but probably whatever the standard ticket was for a regular football game of the time period. Images don’t show the back of the ticket, but I’m guessing it was blank.
World’s Fair 1939 Tickets – Probably not found in the pockets of any soldier in WW2, but listed here for historical reasons.
Virginia Alcoholic Beverage Control Board Permit No. 157416 | For use by a member of the US armed forces or its allies. It is dated 2 Dec 1944.
3.5in wide by 2.25in long.
The paper type is unknown, as is the use case. There is no PDF associated with this; you’d have to take the images and create one.
V-Mail and Writing
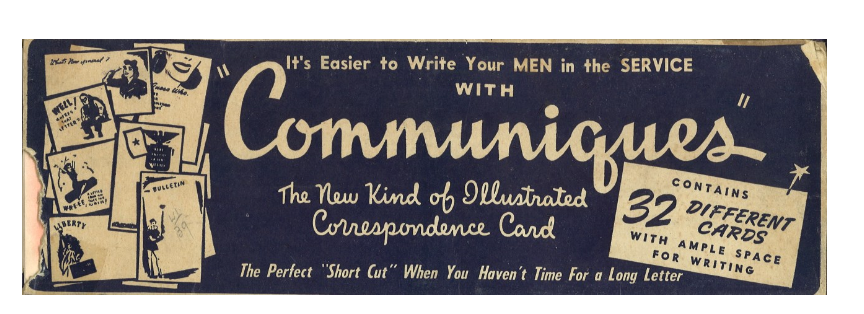
V-Mail Envelope – This has two parts. The front and the rear. Print off the front first on a standard 8.5×11 sheet of printing paper. Then, flip it over such that the address on the rear is at the bottom (link to my Google Drive) when holding the front. See the image gallery for specifics.
Then fill out the V-mail using a pencil or a WW2-era pen. Fold the sides inward and then close it.
Note that the actual V-Mail is 9.25 inches high by 11in. wide. This is because the envelope closure lip extends out.
Dog Tag Silencer – This soldier wrapped them with rubber rings to keep them from jingling.
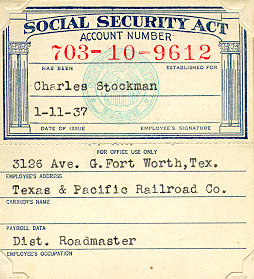
Social Security Cards – SS Cards were issued during World War Two. The example shown is from 1937. The card would change as the war progressed. For a history of changes, see: SSN Version History. Size is unknown, but likely the size of a standard-issue SS Card.
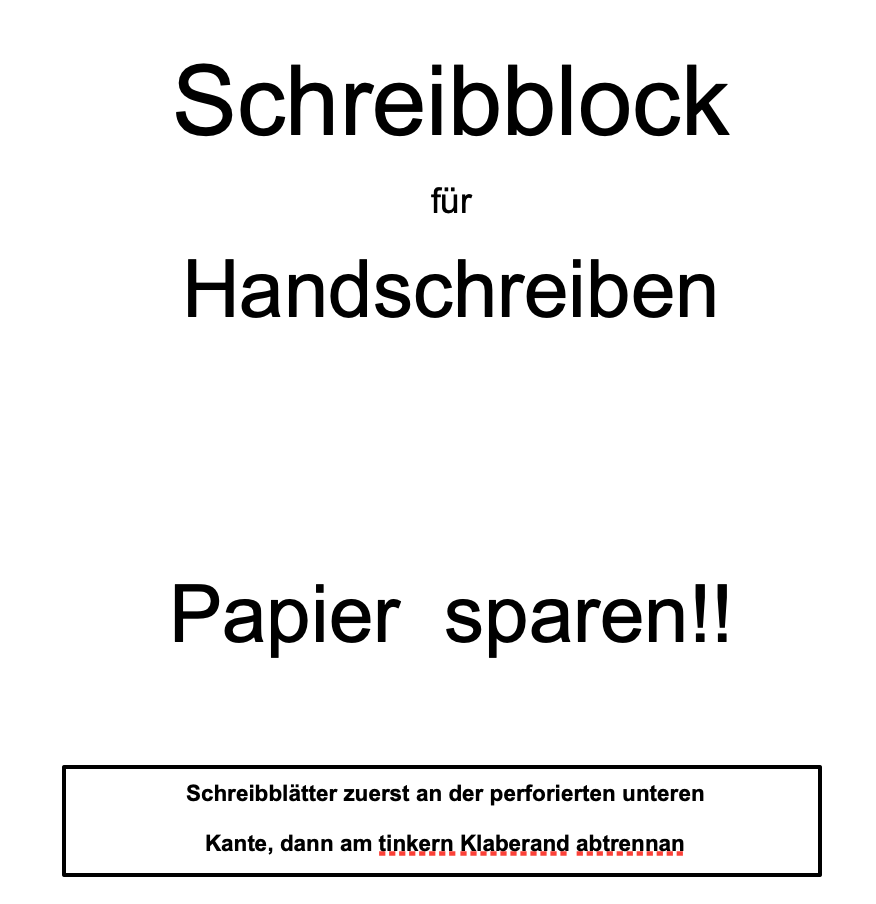
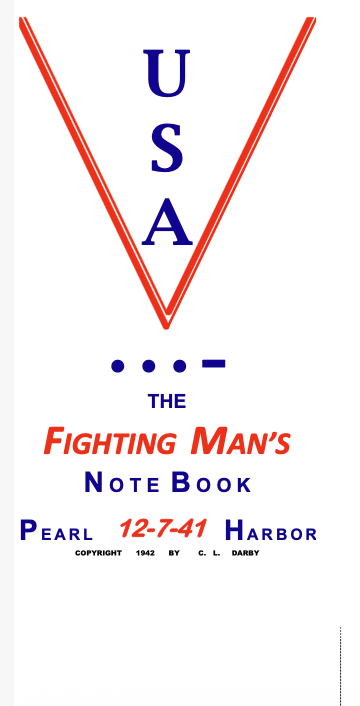
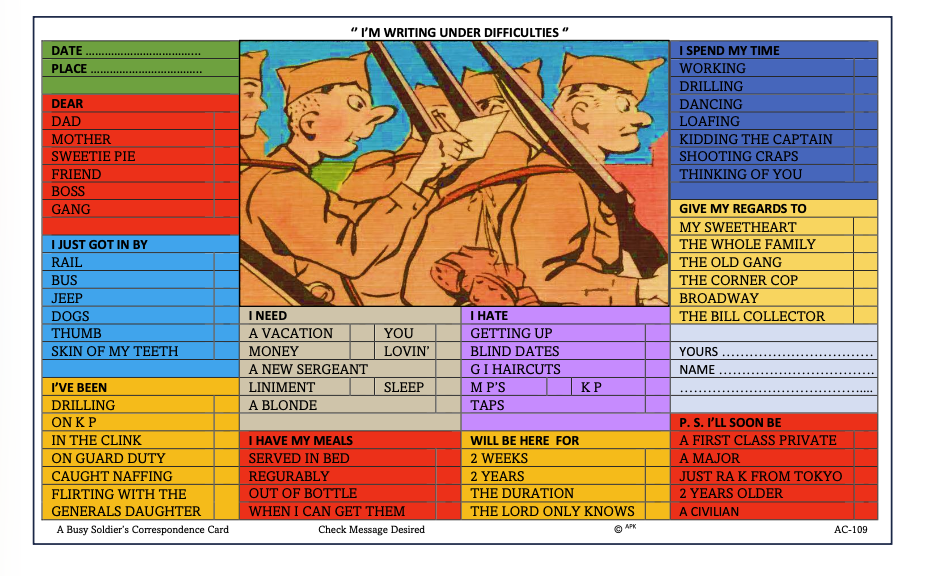
Fighting Man’s Notebook and The Service Tablet – Two types of notebooks. I made the Fighting Man’s one, and it turned out pretty well. The Service Tablet doesn’t include the number of pages.
This is a brown paper wrapper, and the size is unknown. But you may be able to use AI to get a rough idea.
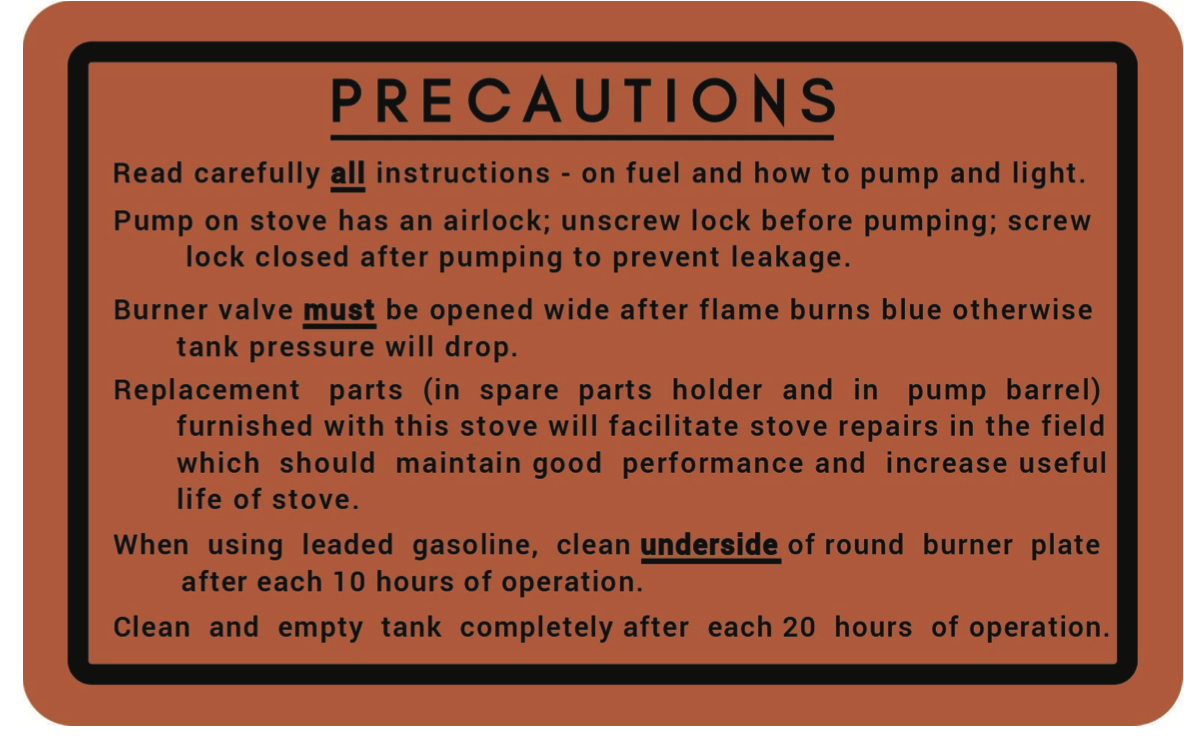
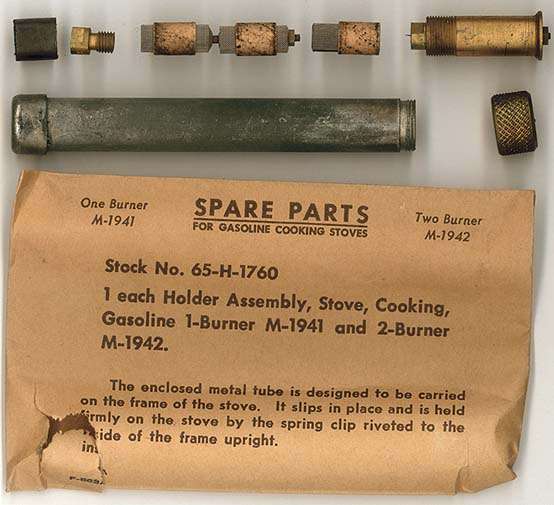
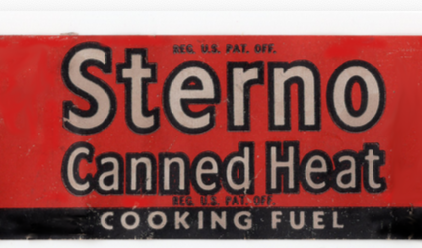
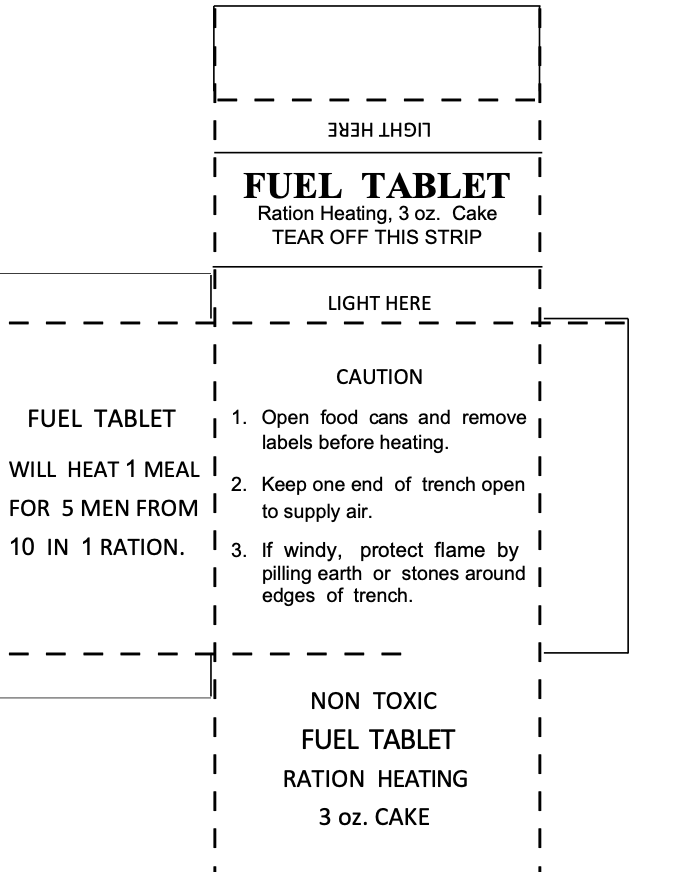
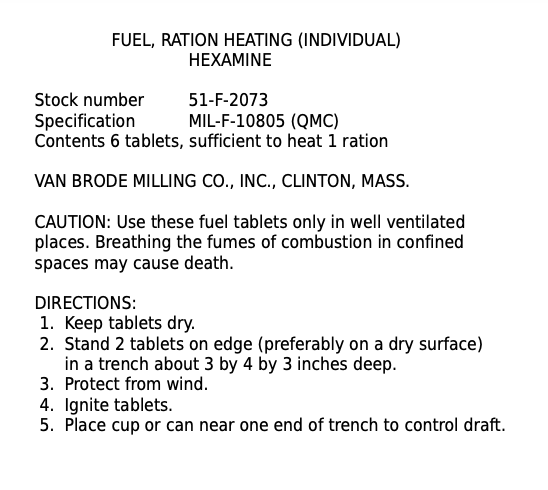
Stove contractors include Coleman (models 520 & 523 ), Prentiss-Wabers, American ( AGM – American Gas Machine ), Aladdin , State Machine Products ( SMP ), and perhaps others. Contents:
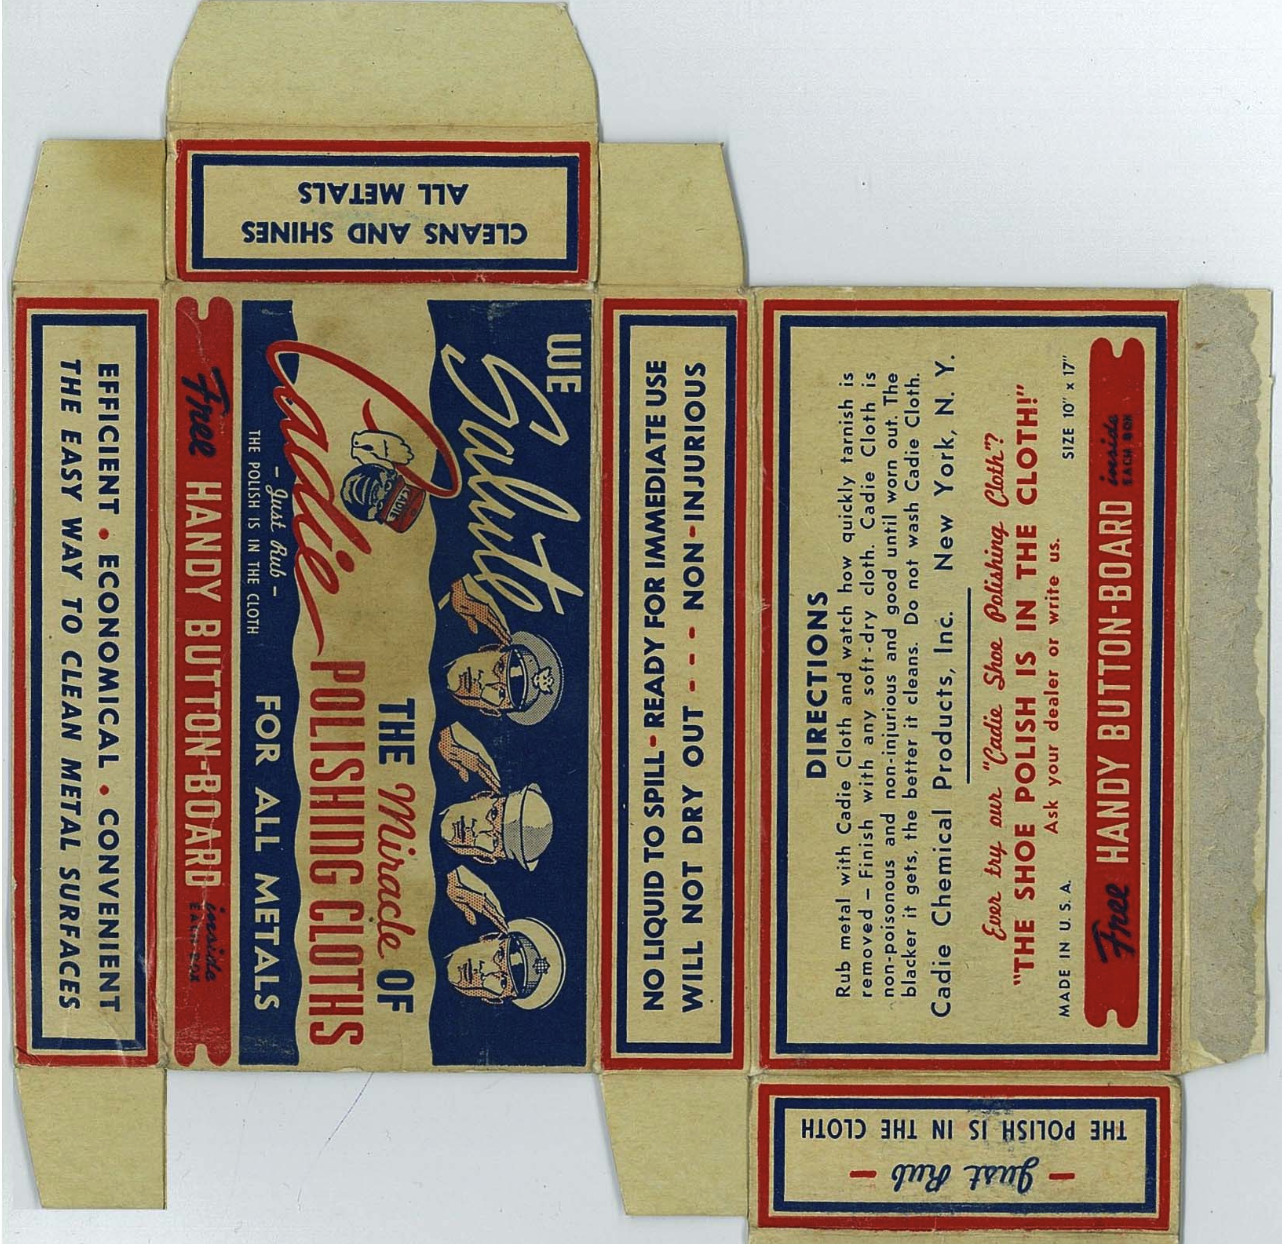
Cadie Polishing Cloth – The cloth itself is a metal polishing cloth. Probably a kind of Jewelers Rouge Polishing cloth. Size is unknown, but I doubt the size of that cloth has changed.
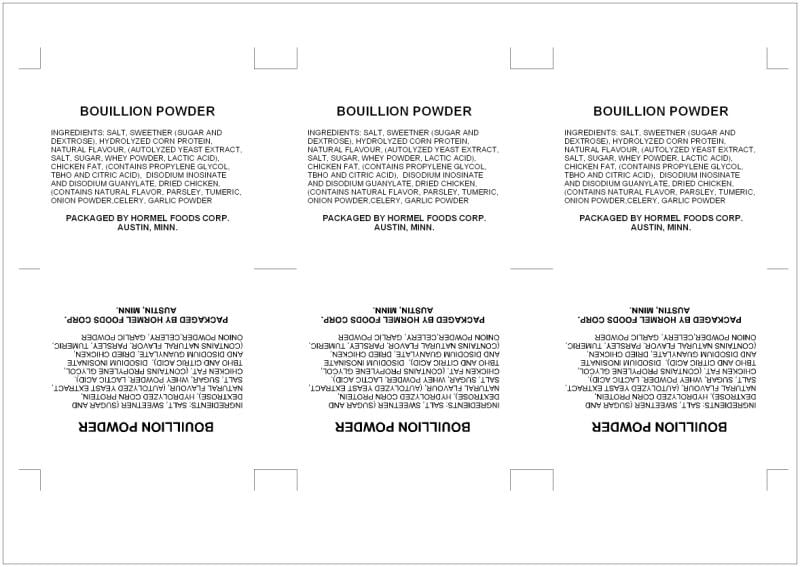
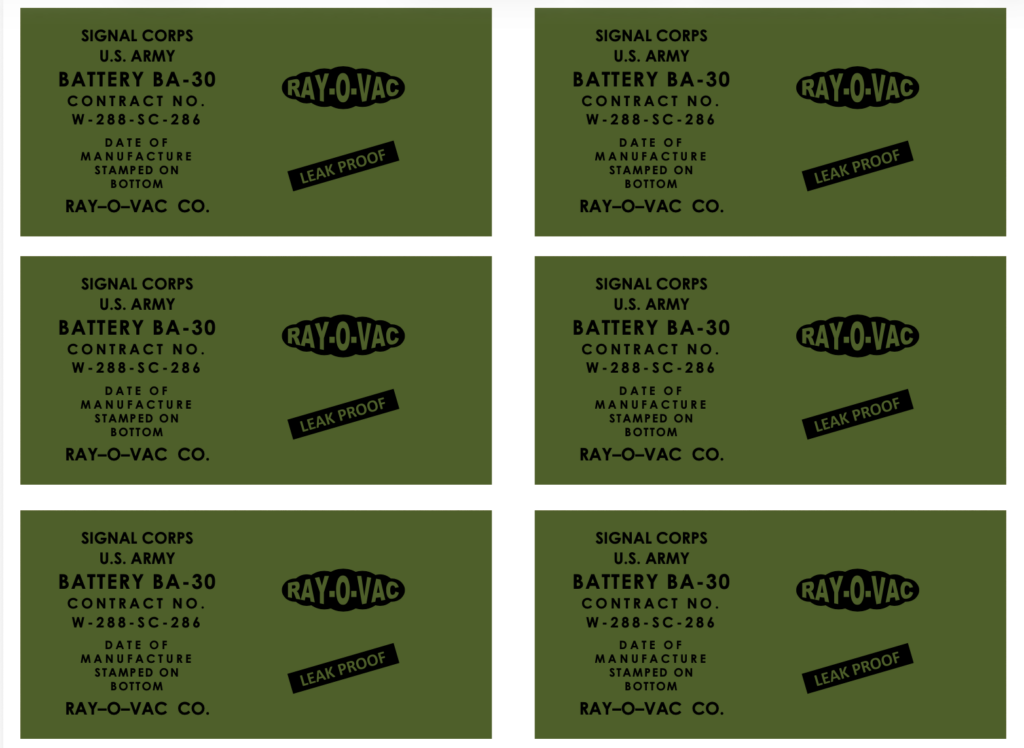
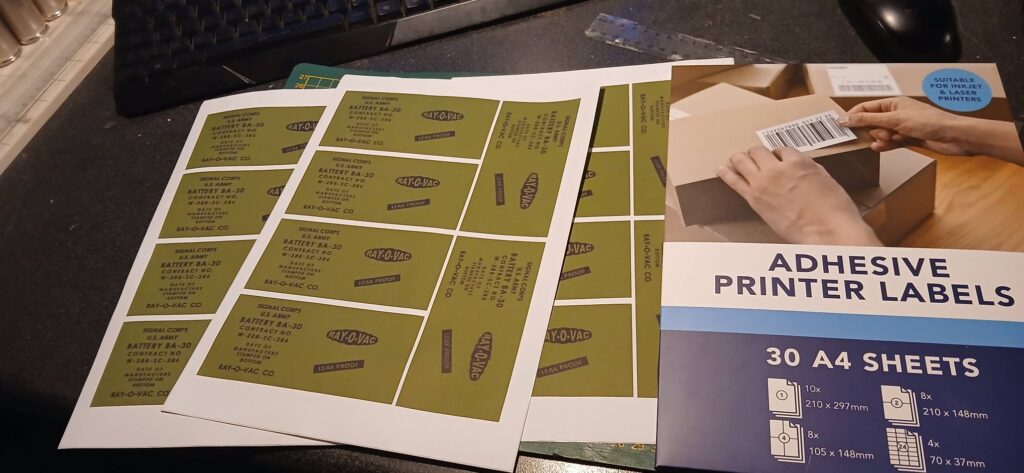
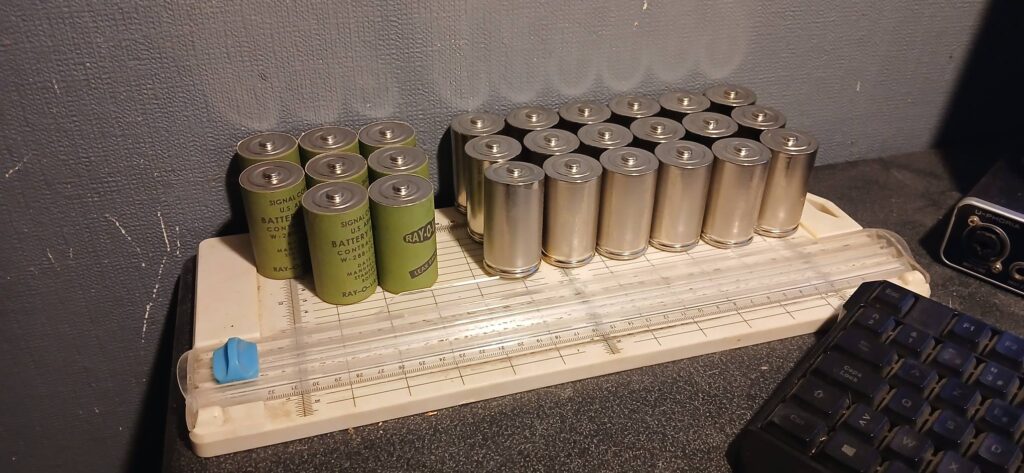
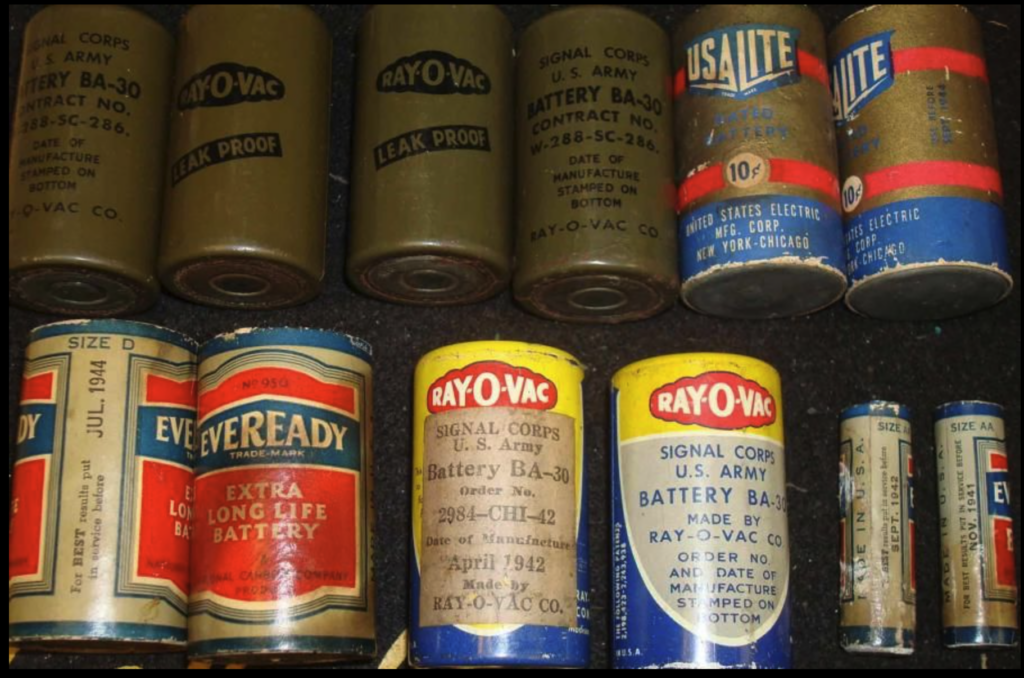
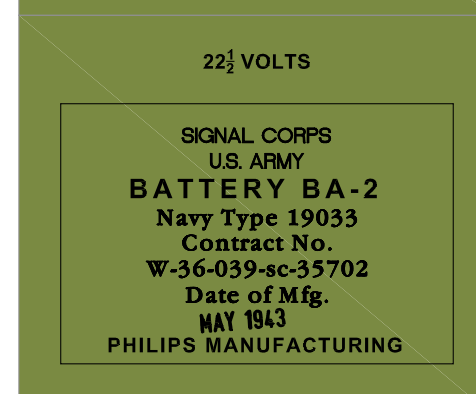
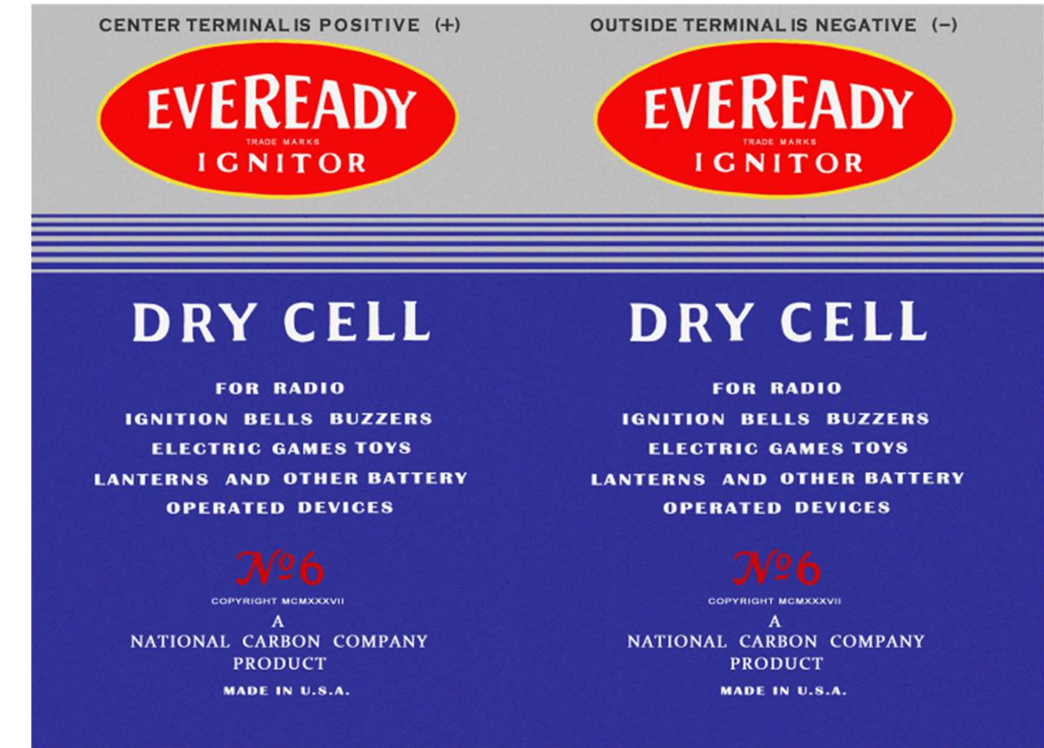
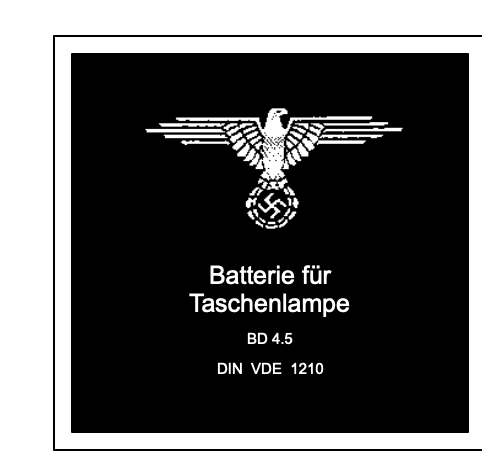
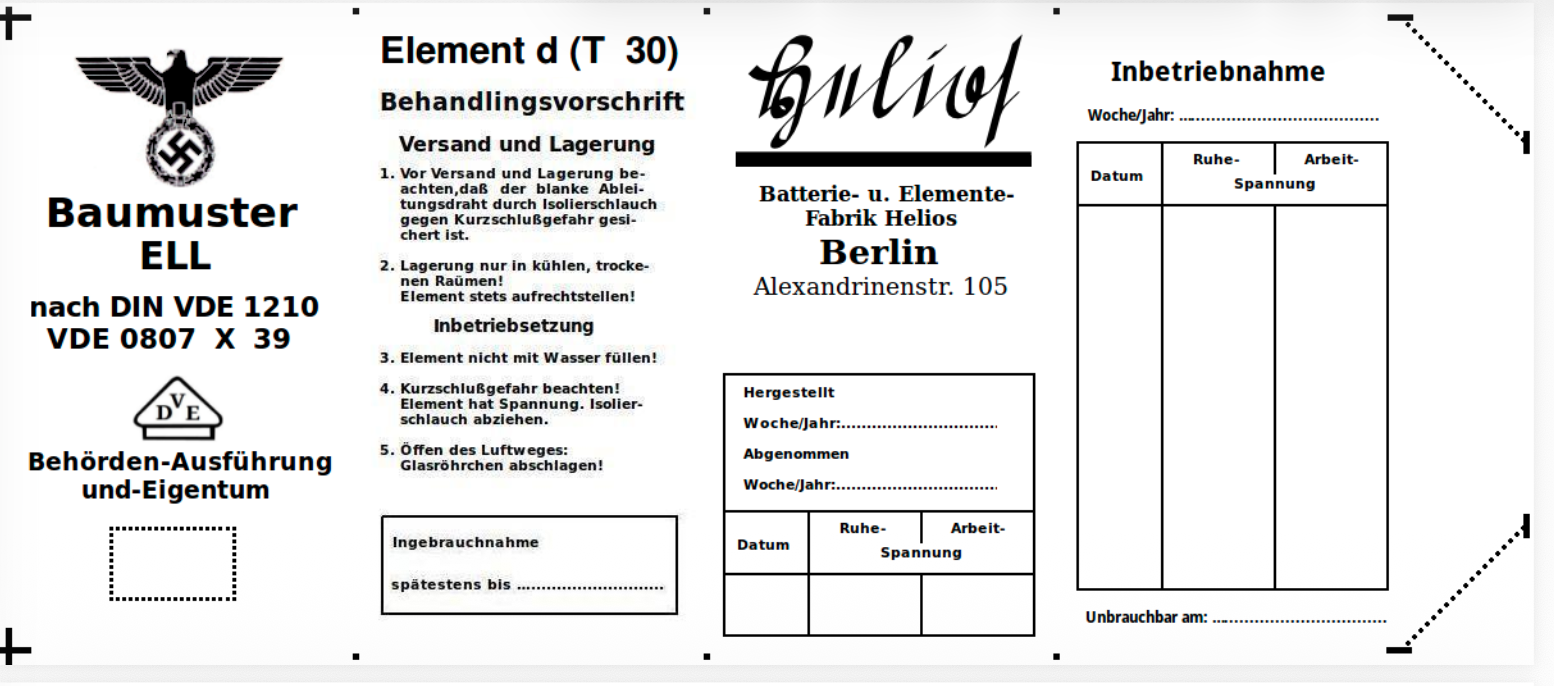
I would recommend using an Adhesive Printer Label when you print to make it easier to wrap the label around the battery. You’d likely need to experiment a bit with which label is going to work best.
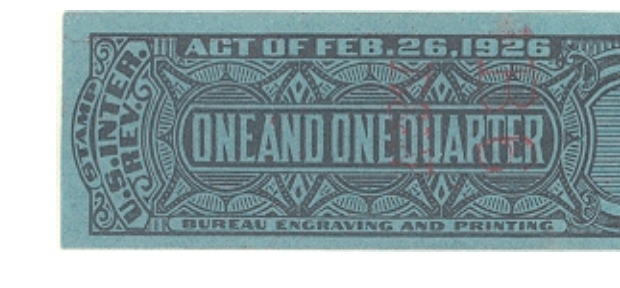
Tobacco Box Tax Stamp – A stamp that would be affixed to secure the box and verify that taxes on it have been paid. The stamp banner seems to be cut off, but that may not matter, as you would fold this over the lid to secure it.
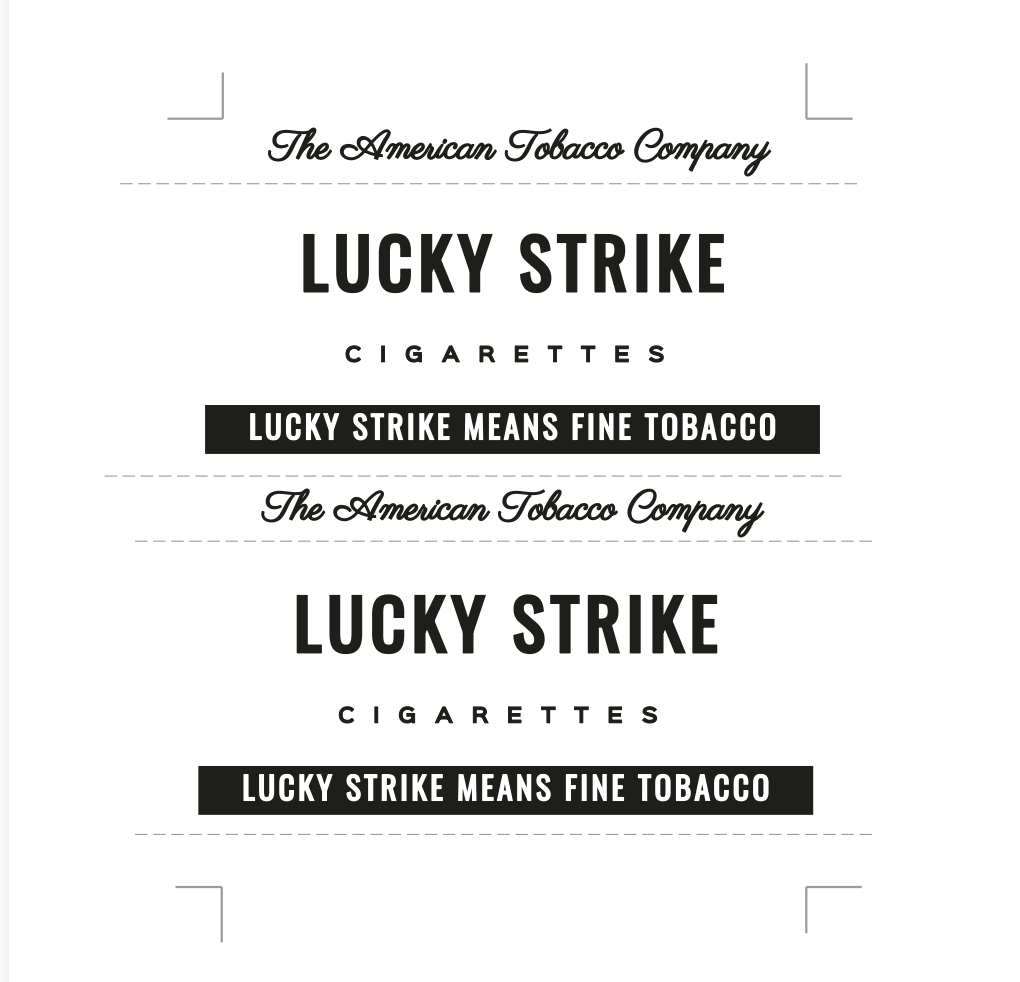
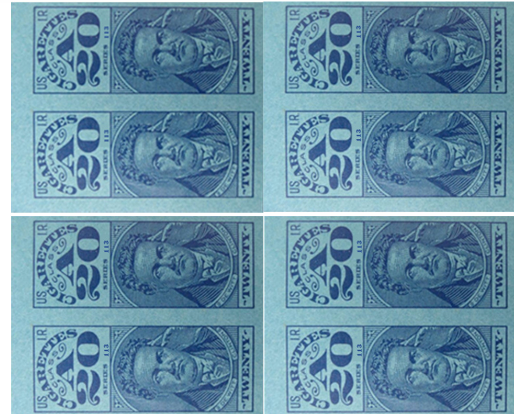
1943 CIGARETTE TAX STAMP – Cigarette Tax Stamps are numbered by year. Look at the small blue number below the “0” in the number 20. The date of manufacture is 1910 years greater than the 3-digit number shown. So just add 110 + 1910 = 1940 / 111 + 1910 = 1941 / 112 + 1910 = 1942 / 113 + 1910 = 1943 / 114 + 1910 = 1944 / 115 + 1910 = 1945