Arduino Piezo Buzzer Project
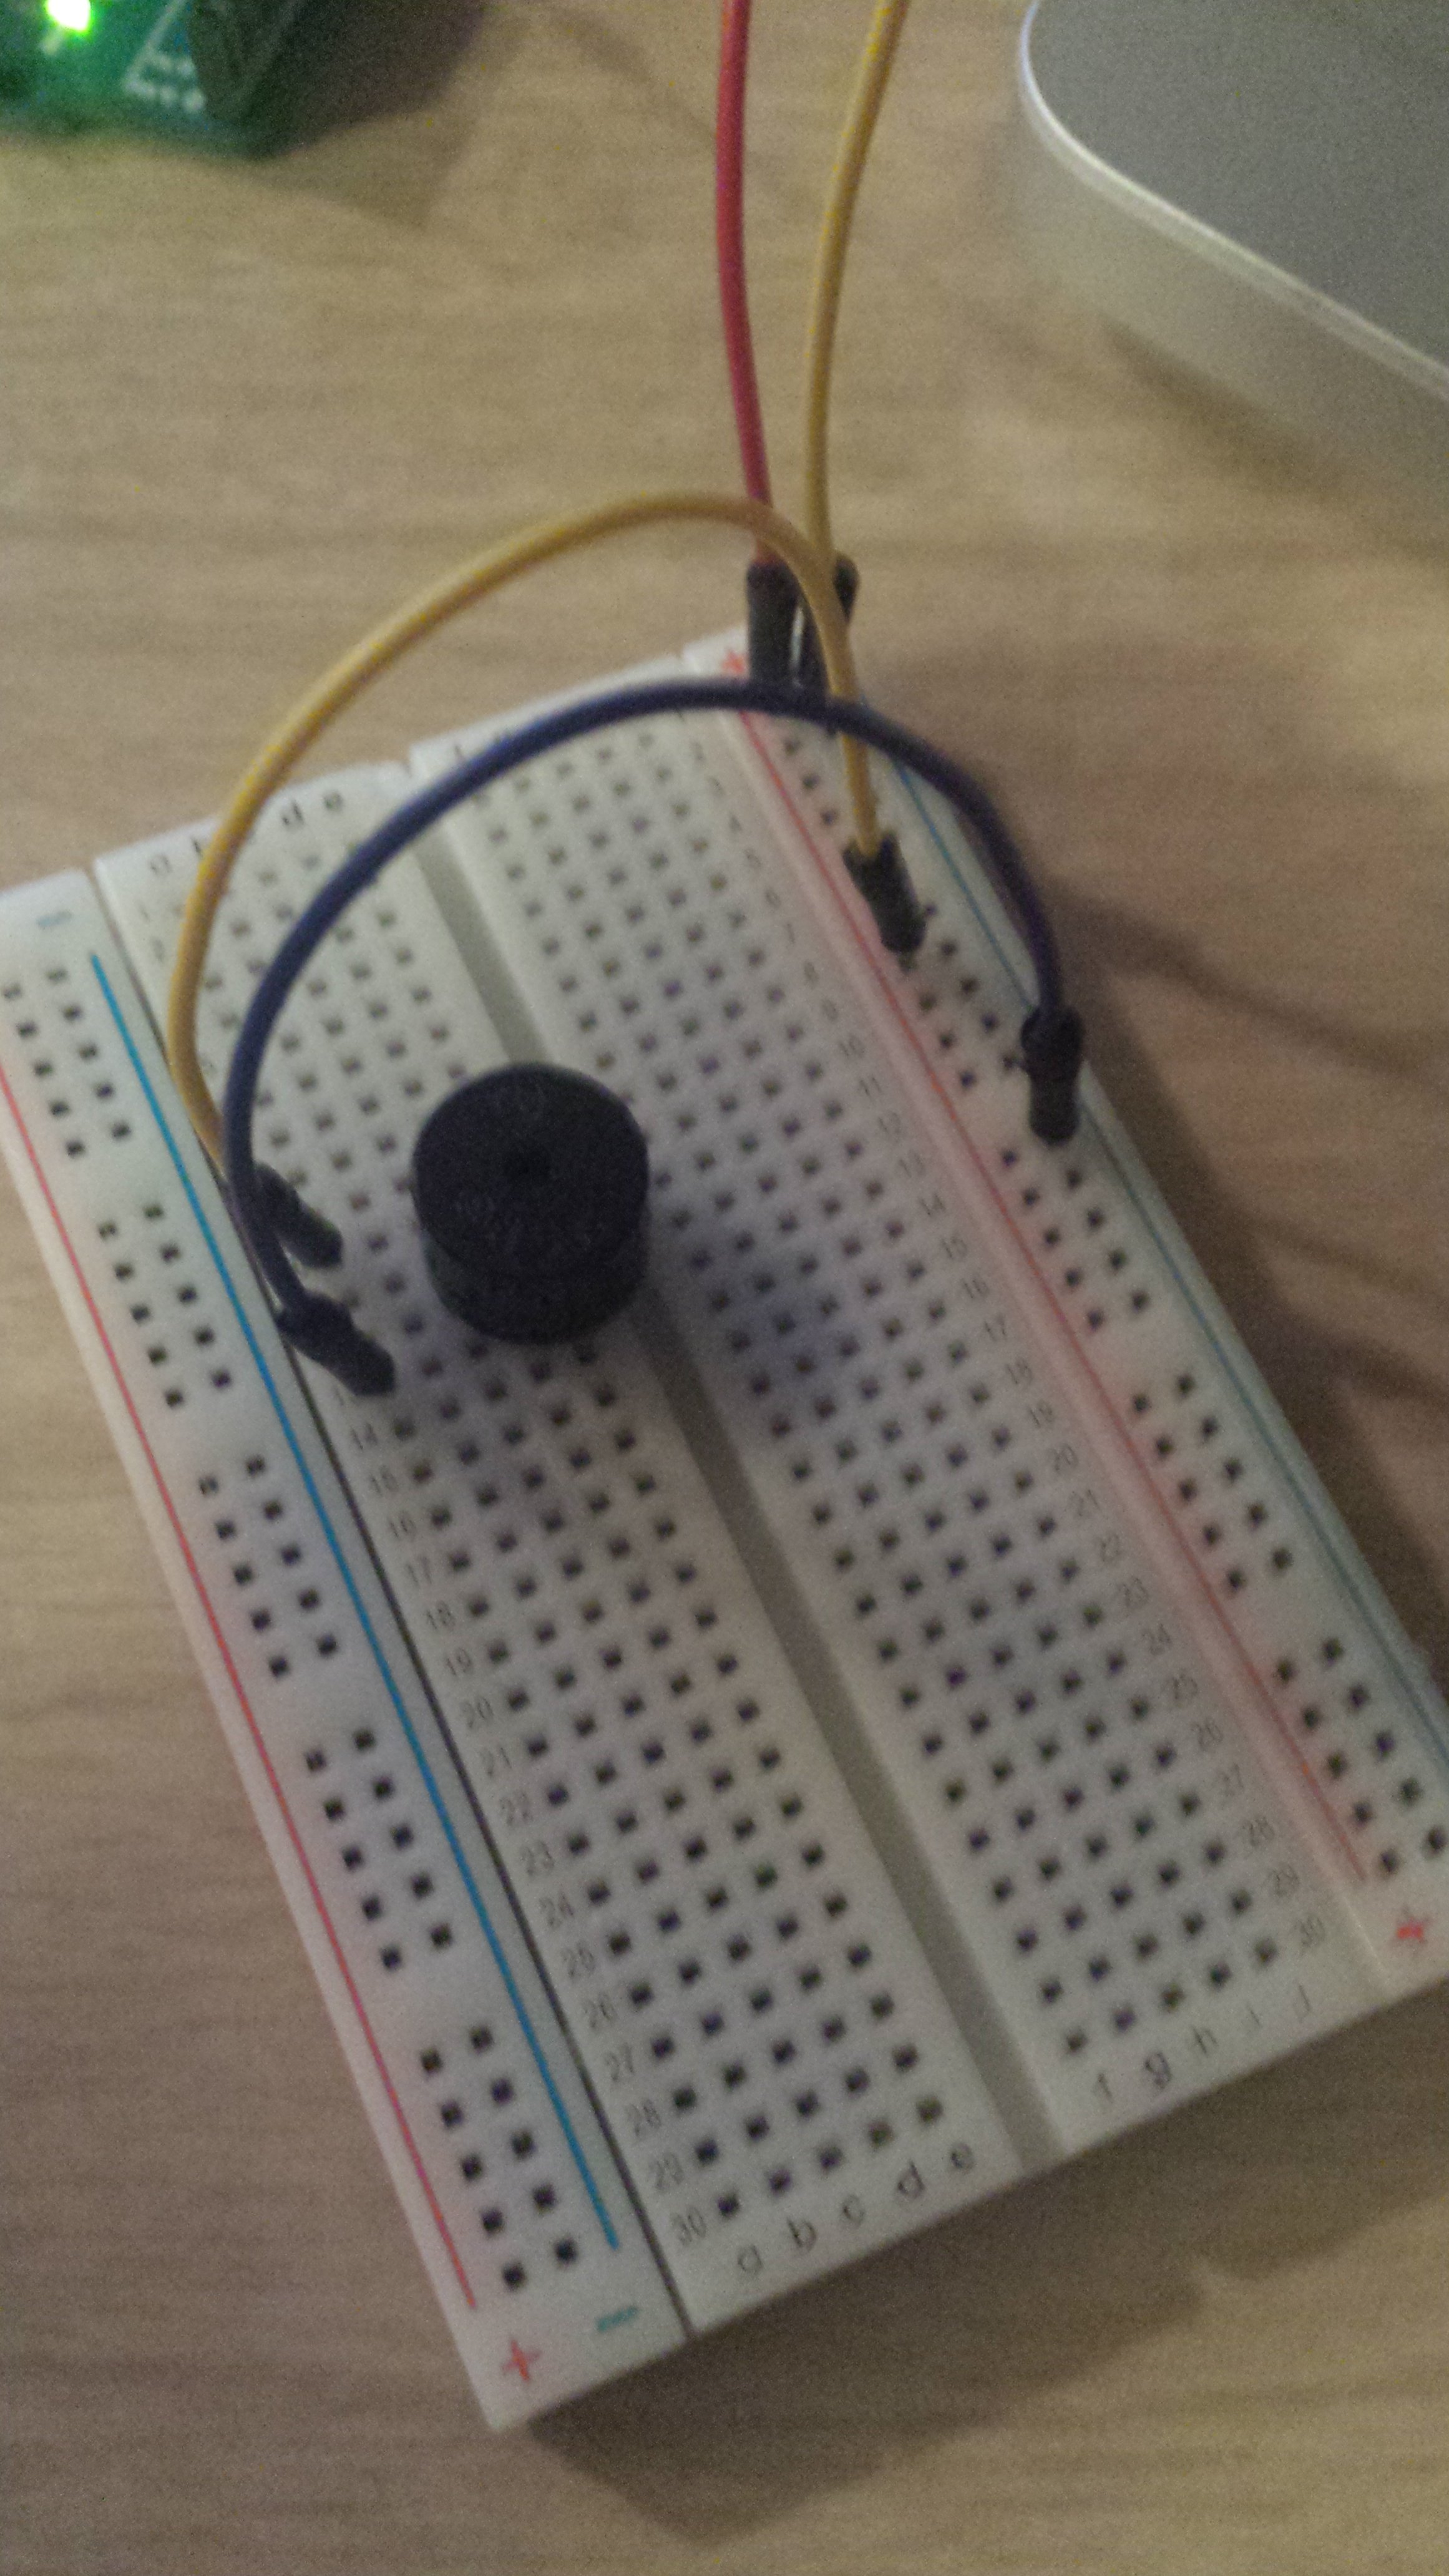
You will need 4 wires and a Piezo buzzer.
Connect the wires as shown to complete a circuit with the Piezo buzzer.
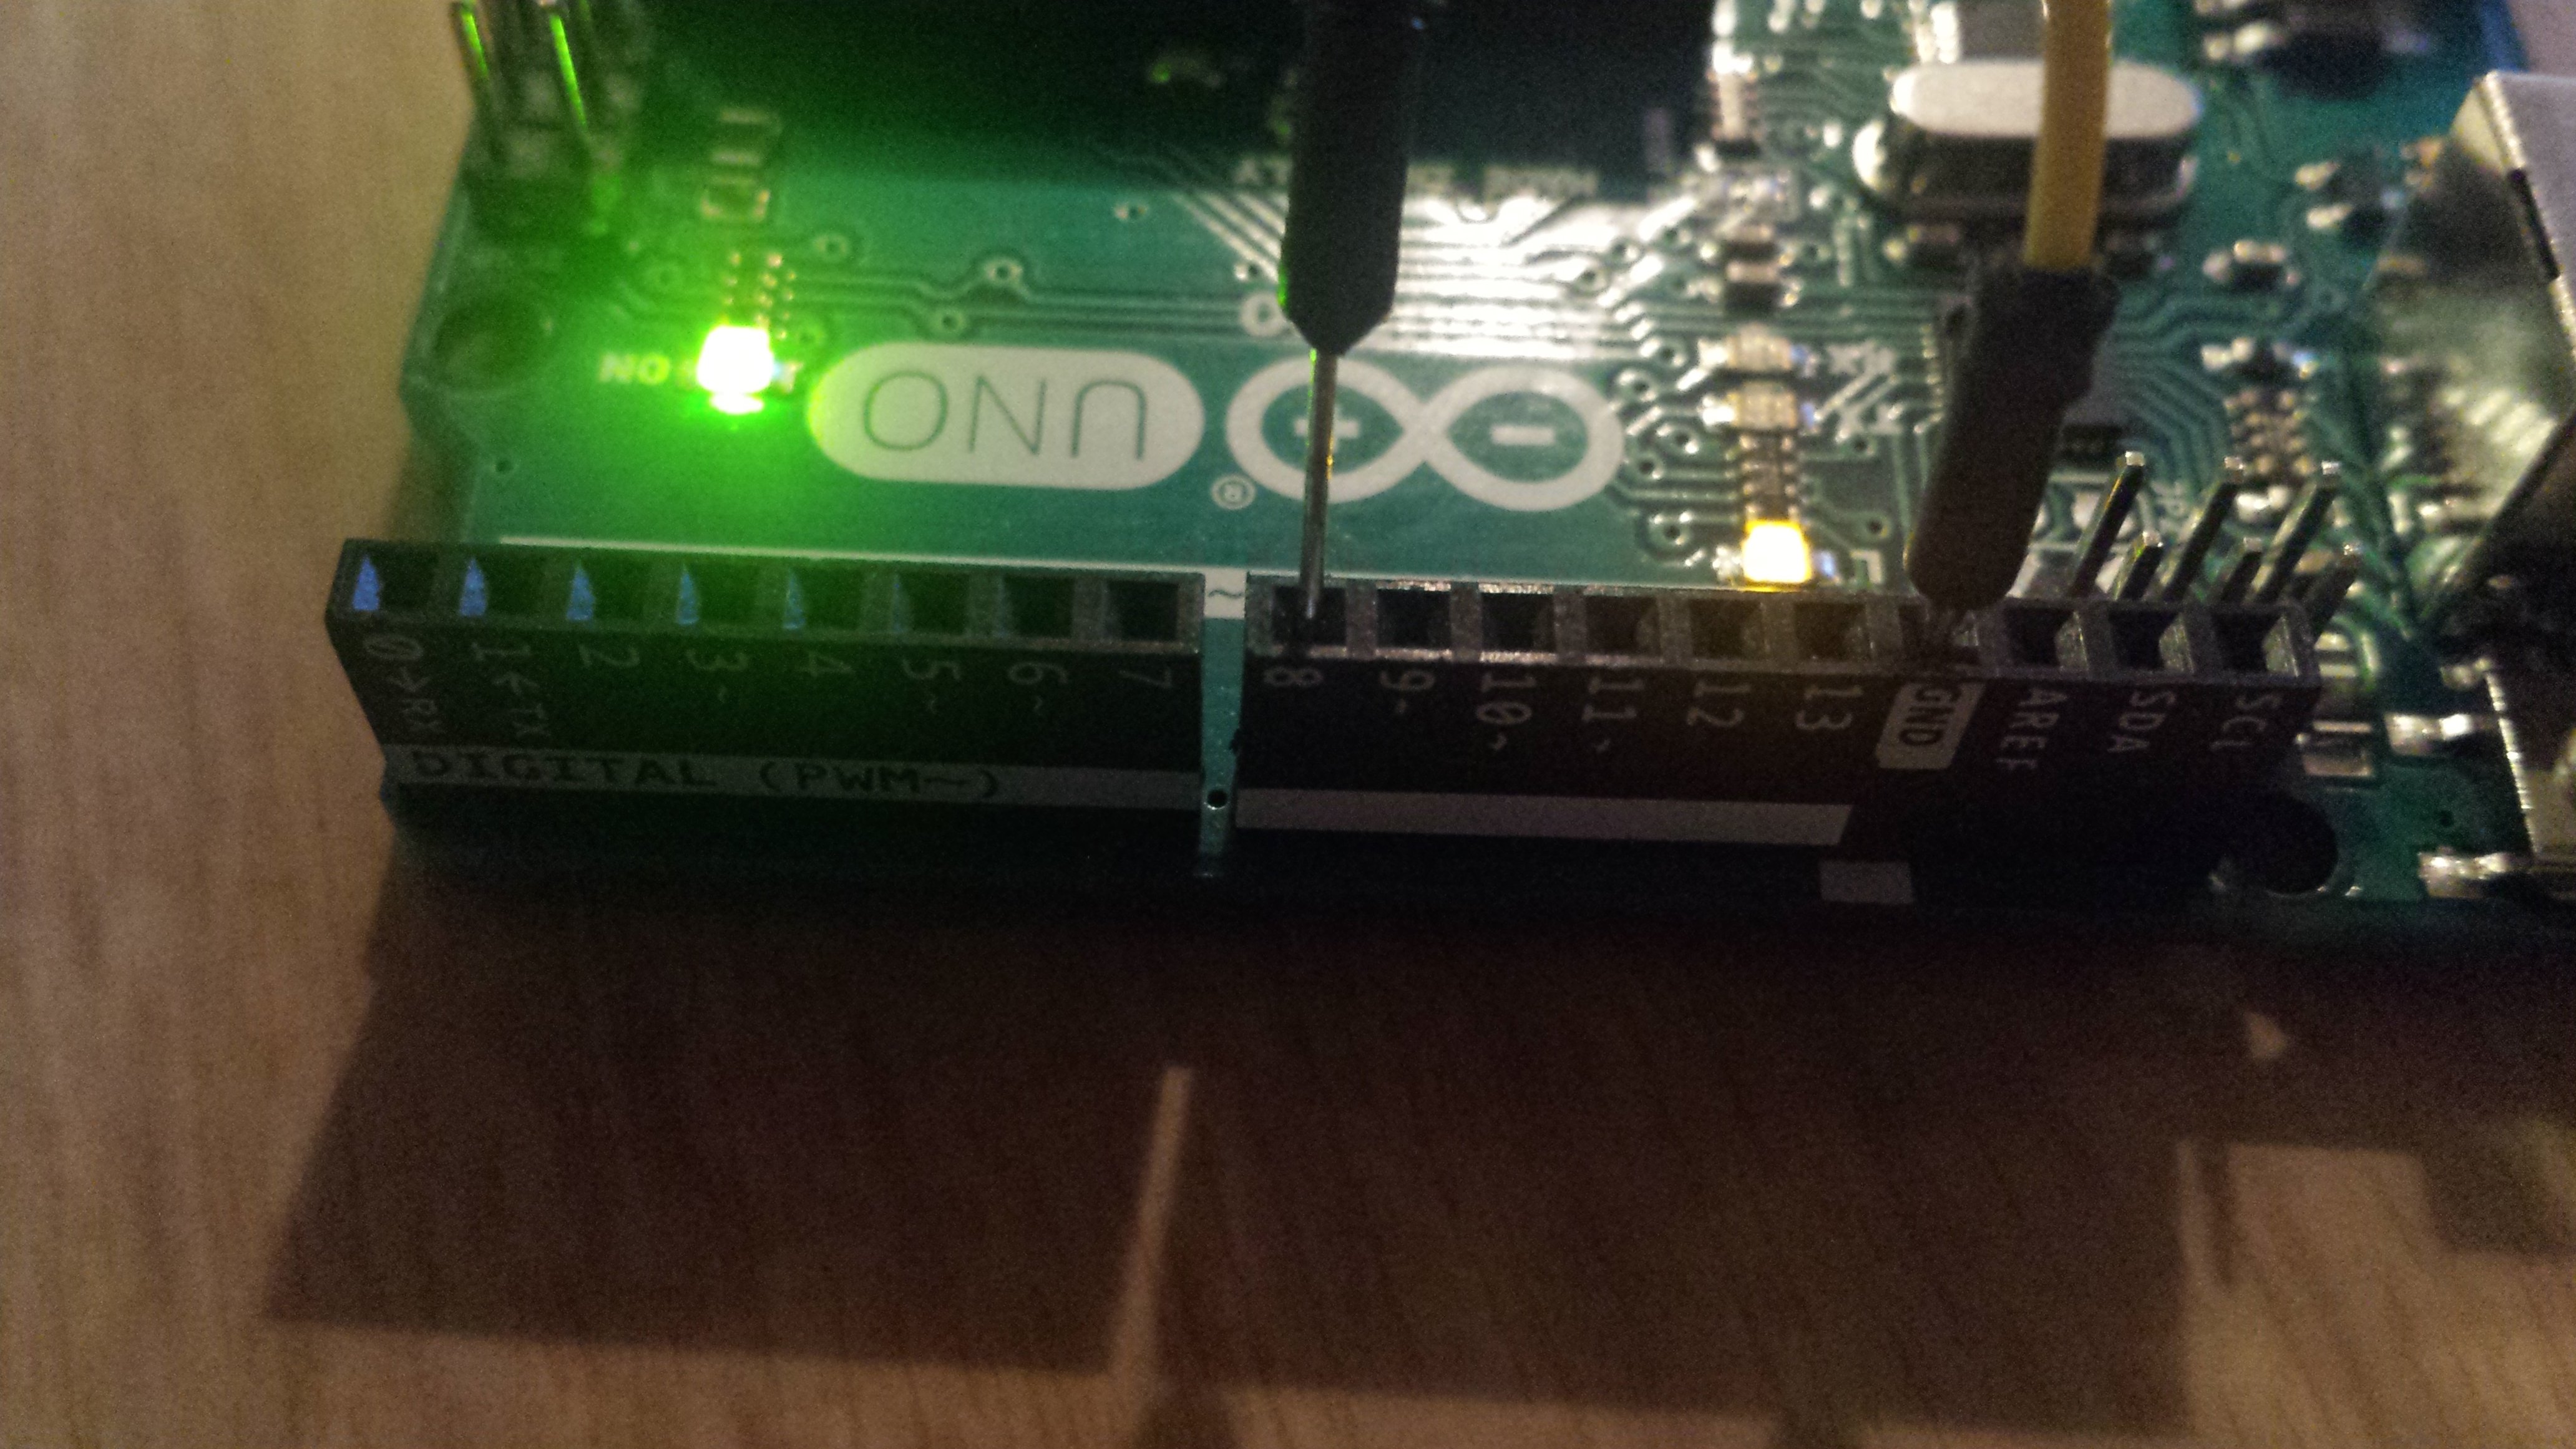
The negative wire should go to the digital ground pin while the positive wire should go to digital pin number 8 and positive should be in ground. If that does not work, place the positive wire in the 5v power pin.
To code the Piezo buzzer you will need to create a tab or file that your main Arduino code can access. You should call this new tab pitches.h
To create a new tab click on the arrow located all the way to the right and select New Tab.
Name this tab pitches.h and insert the new code. Use the code located here to cut and paste into a pitches.h tab
Then select the your original sketch (also known as your code) and insert the following code by cutting and pasting it.
Code Challenges:
- Figure out how to place the melody on a loop
- Figure out how to change the melody notes
- Figure out how to change the kind of notes
- Figure out how to adjust the delay between each note.
- Can you play a recognizable tune? (Note: delete everything in your pitches.h file and insert all the following code into the Arduino Main sketch). You do not need any resistors and make sure your positive wire is in pin 13 and your negative wire is in pin 3.


